

- Replies 17
- Views 4.7k
- Created
- Last Reply
Top Posters In This Topic
-
Mariocand 7 posts
-
CumminsTech 3 posts
-
TFaoro 2 posts
-
Me78569 1 post


Most Popular Posts
-
-
Personally, I would buy new ones and let them wear to the cam properly. While it may look like there is no wear, each one has worn a little different to each cam lobe.
-
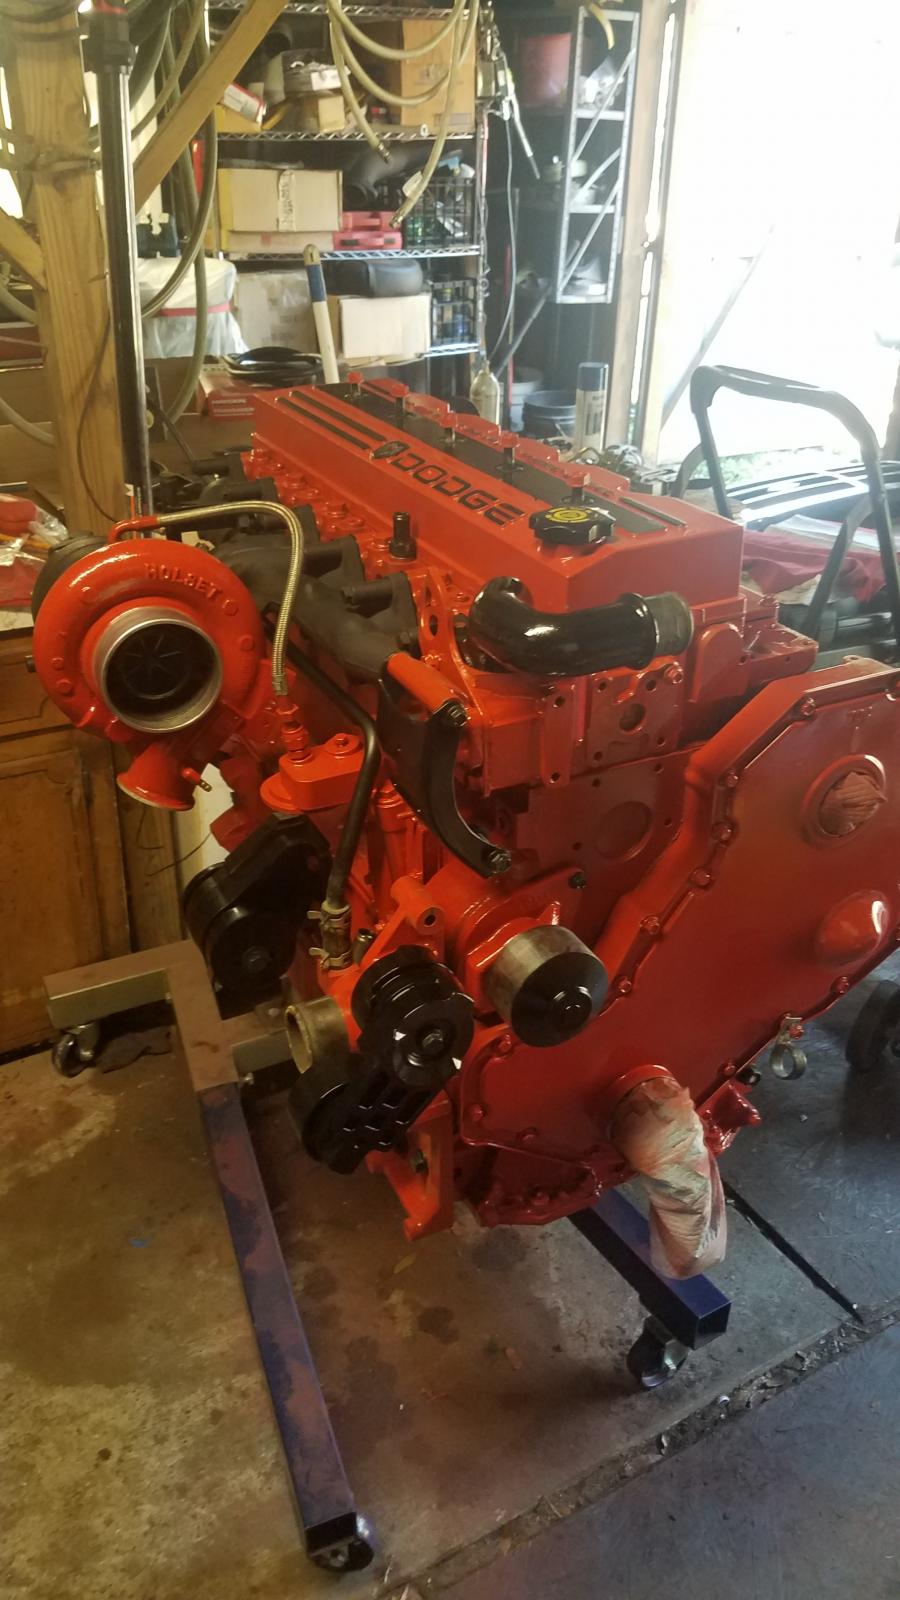
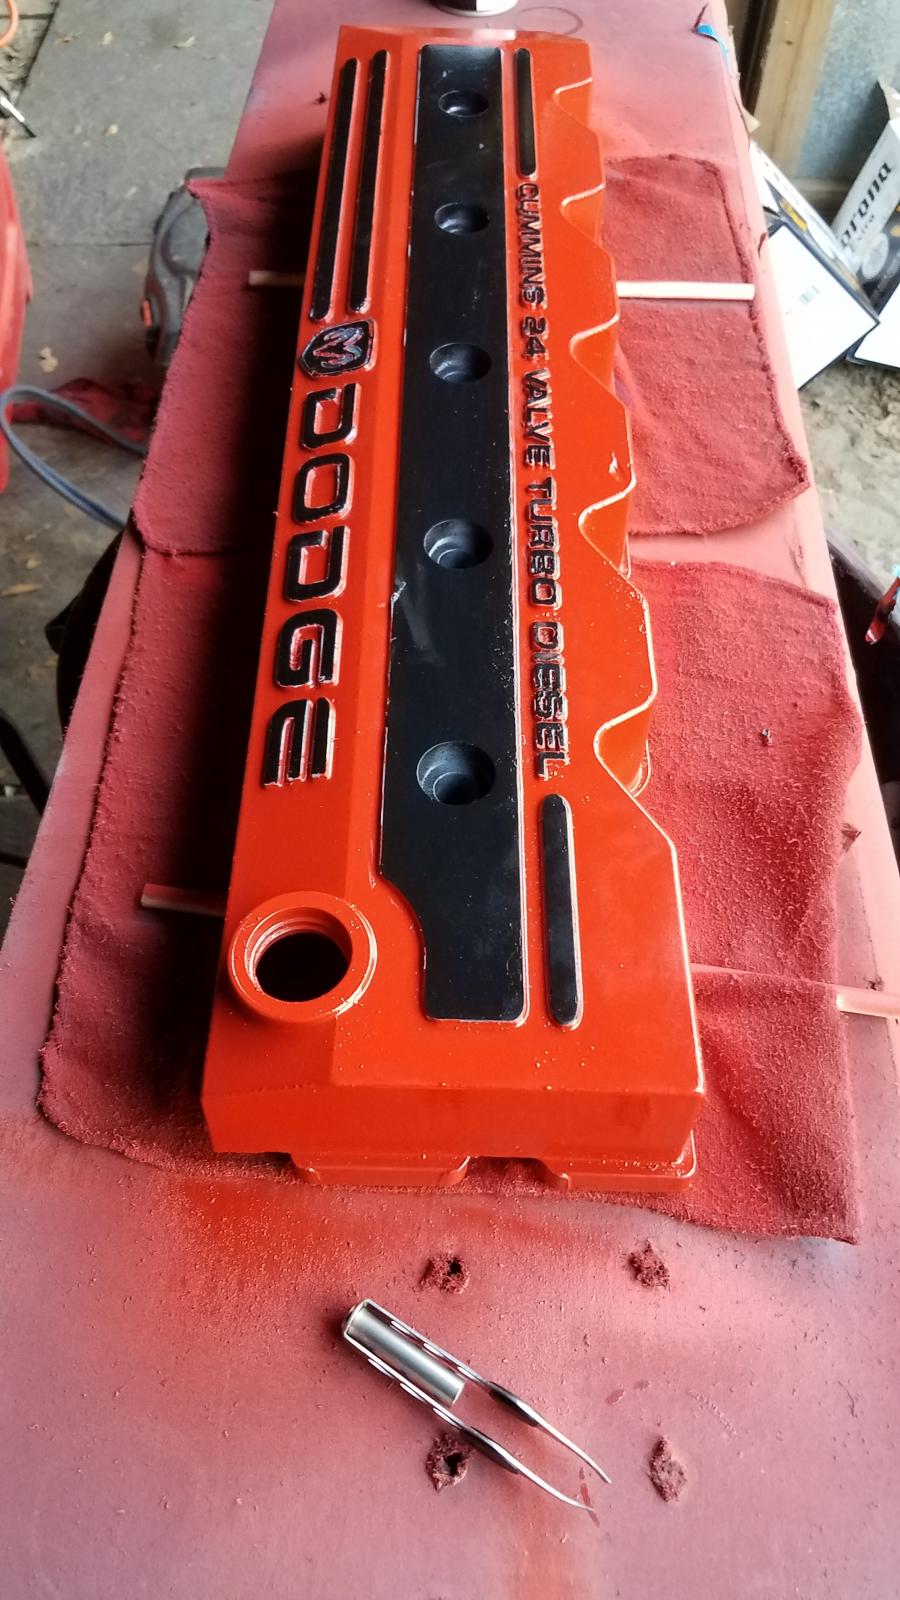
Some painting pics. Waiting on block to get done at machine shop.....
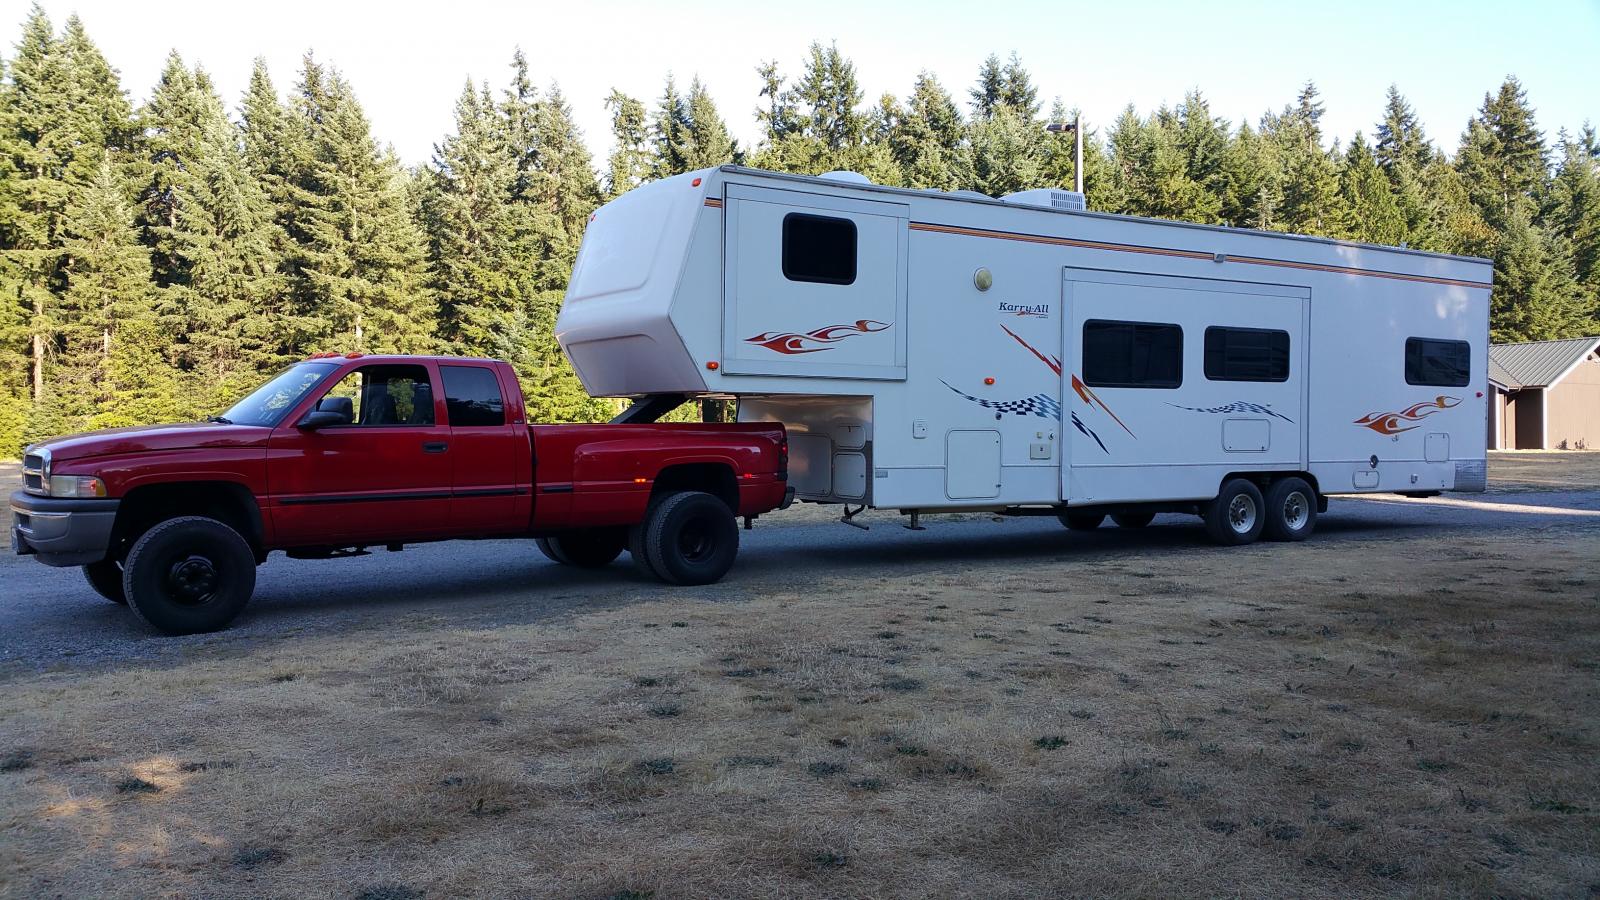
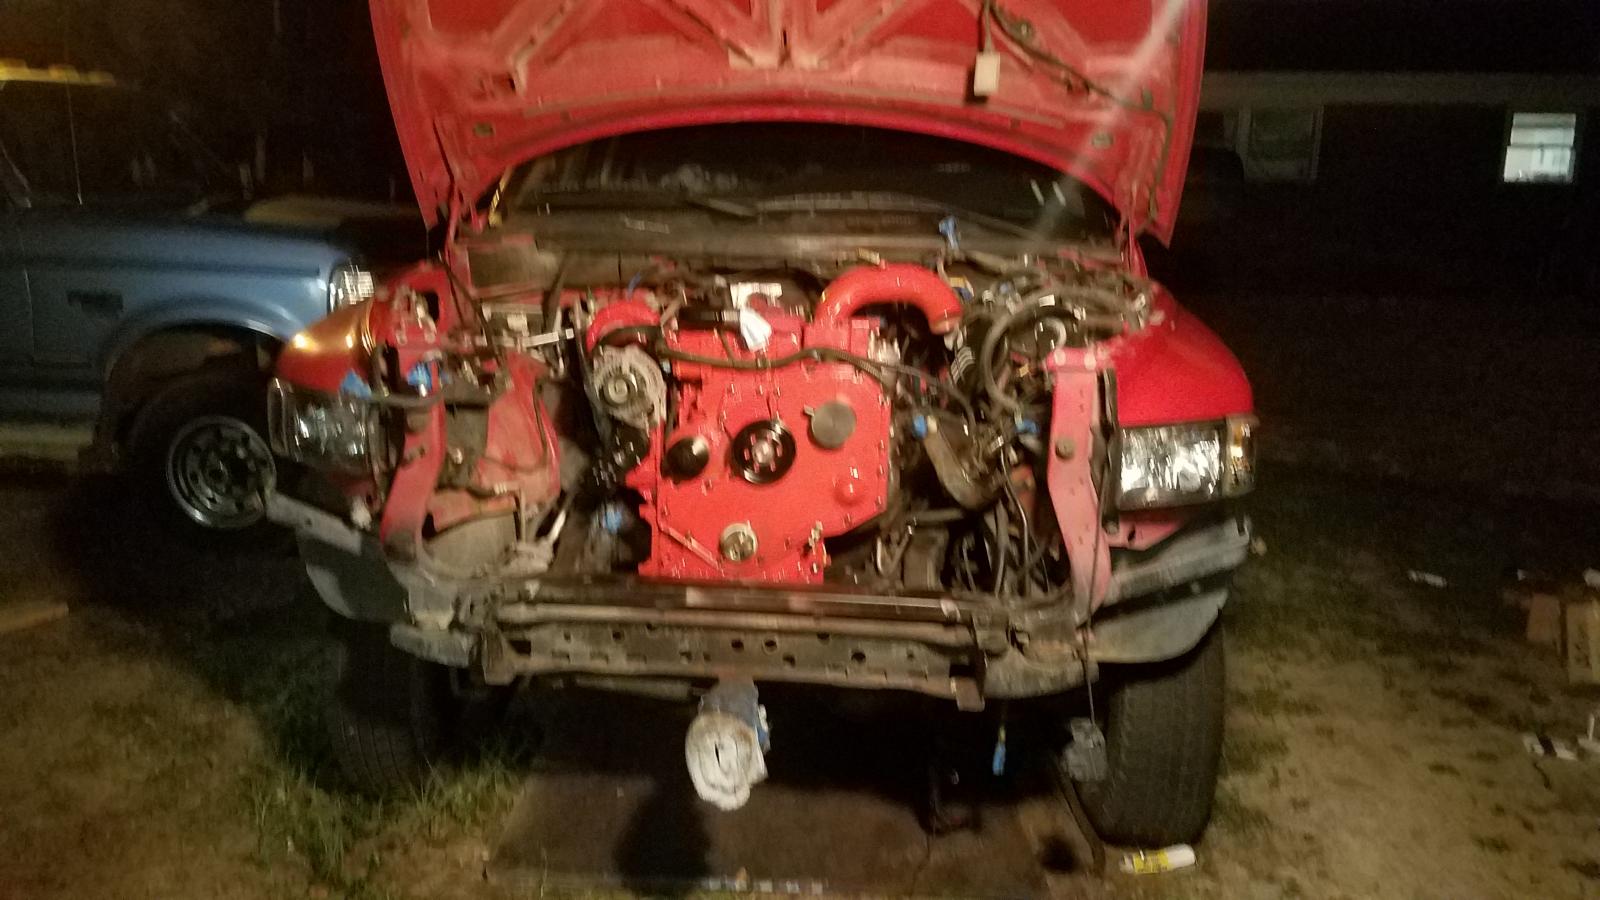
I am currently in the middle of my rebuild of my 99 cummins.
I made one mistake in my disassembly of the block. I forgot to remove the tappets and lay them out in order and with everything else after i removed cam. I spun the block on the stand to work on something else and down fell all 12 tappets onto the garage floor as I am chasing them down before they rolled under bench, cussing my way as I go.
Now my question to you guys is this, how important is it for the tappets to go where they where. Everything else is meticulously laid out and my ocd is driving me up the wall about this. Does it matter? I can not see any differance in wear, marks, or with the micrometer between them.
This rebuild is a preventive maintenance rebuild and not because it blew up or something like that. 260k on odometer. No wear, just leaky seals.