Jump to content
Posted

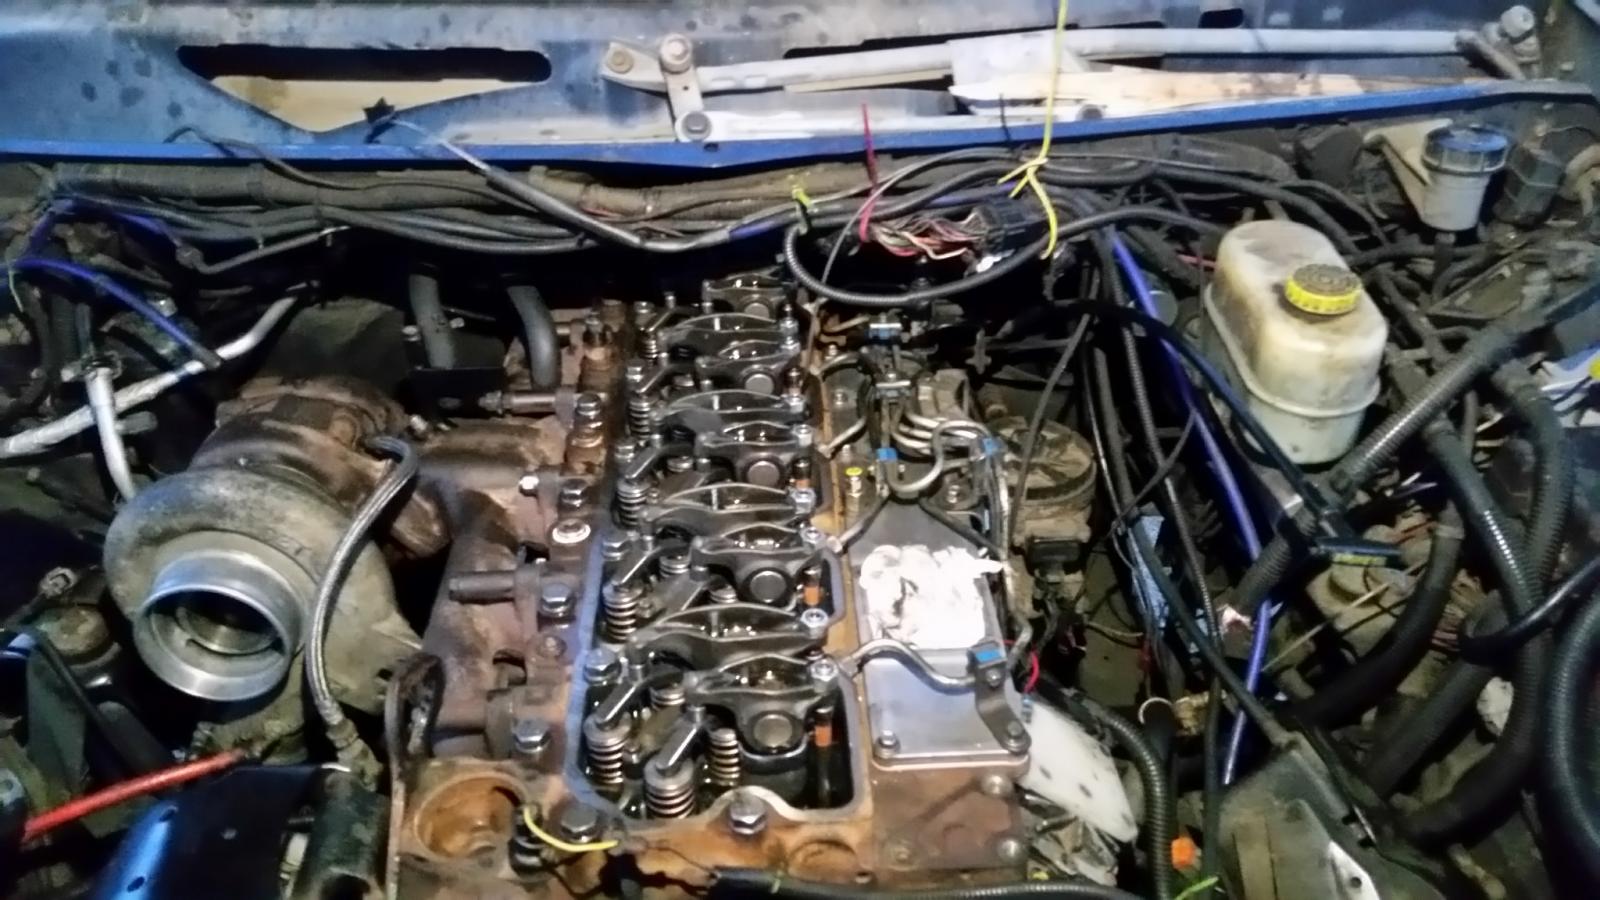
 I finally got started on this in earnest today. Did a little on it Monday pm. Then today after the morning mist died away and I got the doctors appointment out of the way the fun began. Itwent pretty well. Not one ceased bolt. They all came out nicely. Made this far today.

20190326_181418.jpg.2ea990b9a228f68b51876a092f285210.jpg20190326_181437.jpg.8ba86fe8771b9fa69cf1f59caf56e836.jpg20190326_195807.jpg.a3098e9c507cf9674b2f9e4c87d6b8ed.jpg

My helper.20190325_161159.jpg.2b5cfb35ab847be893780a71c253b6cb.jpg

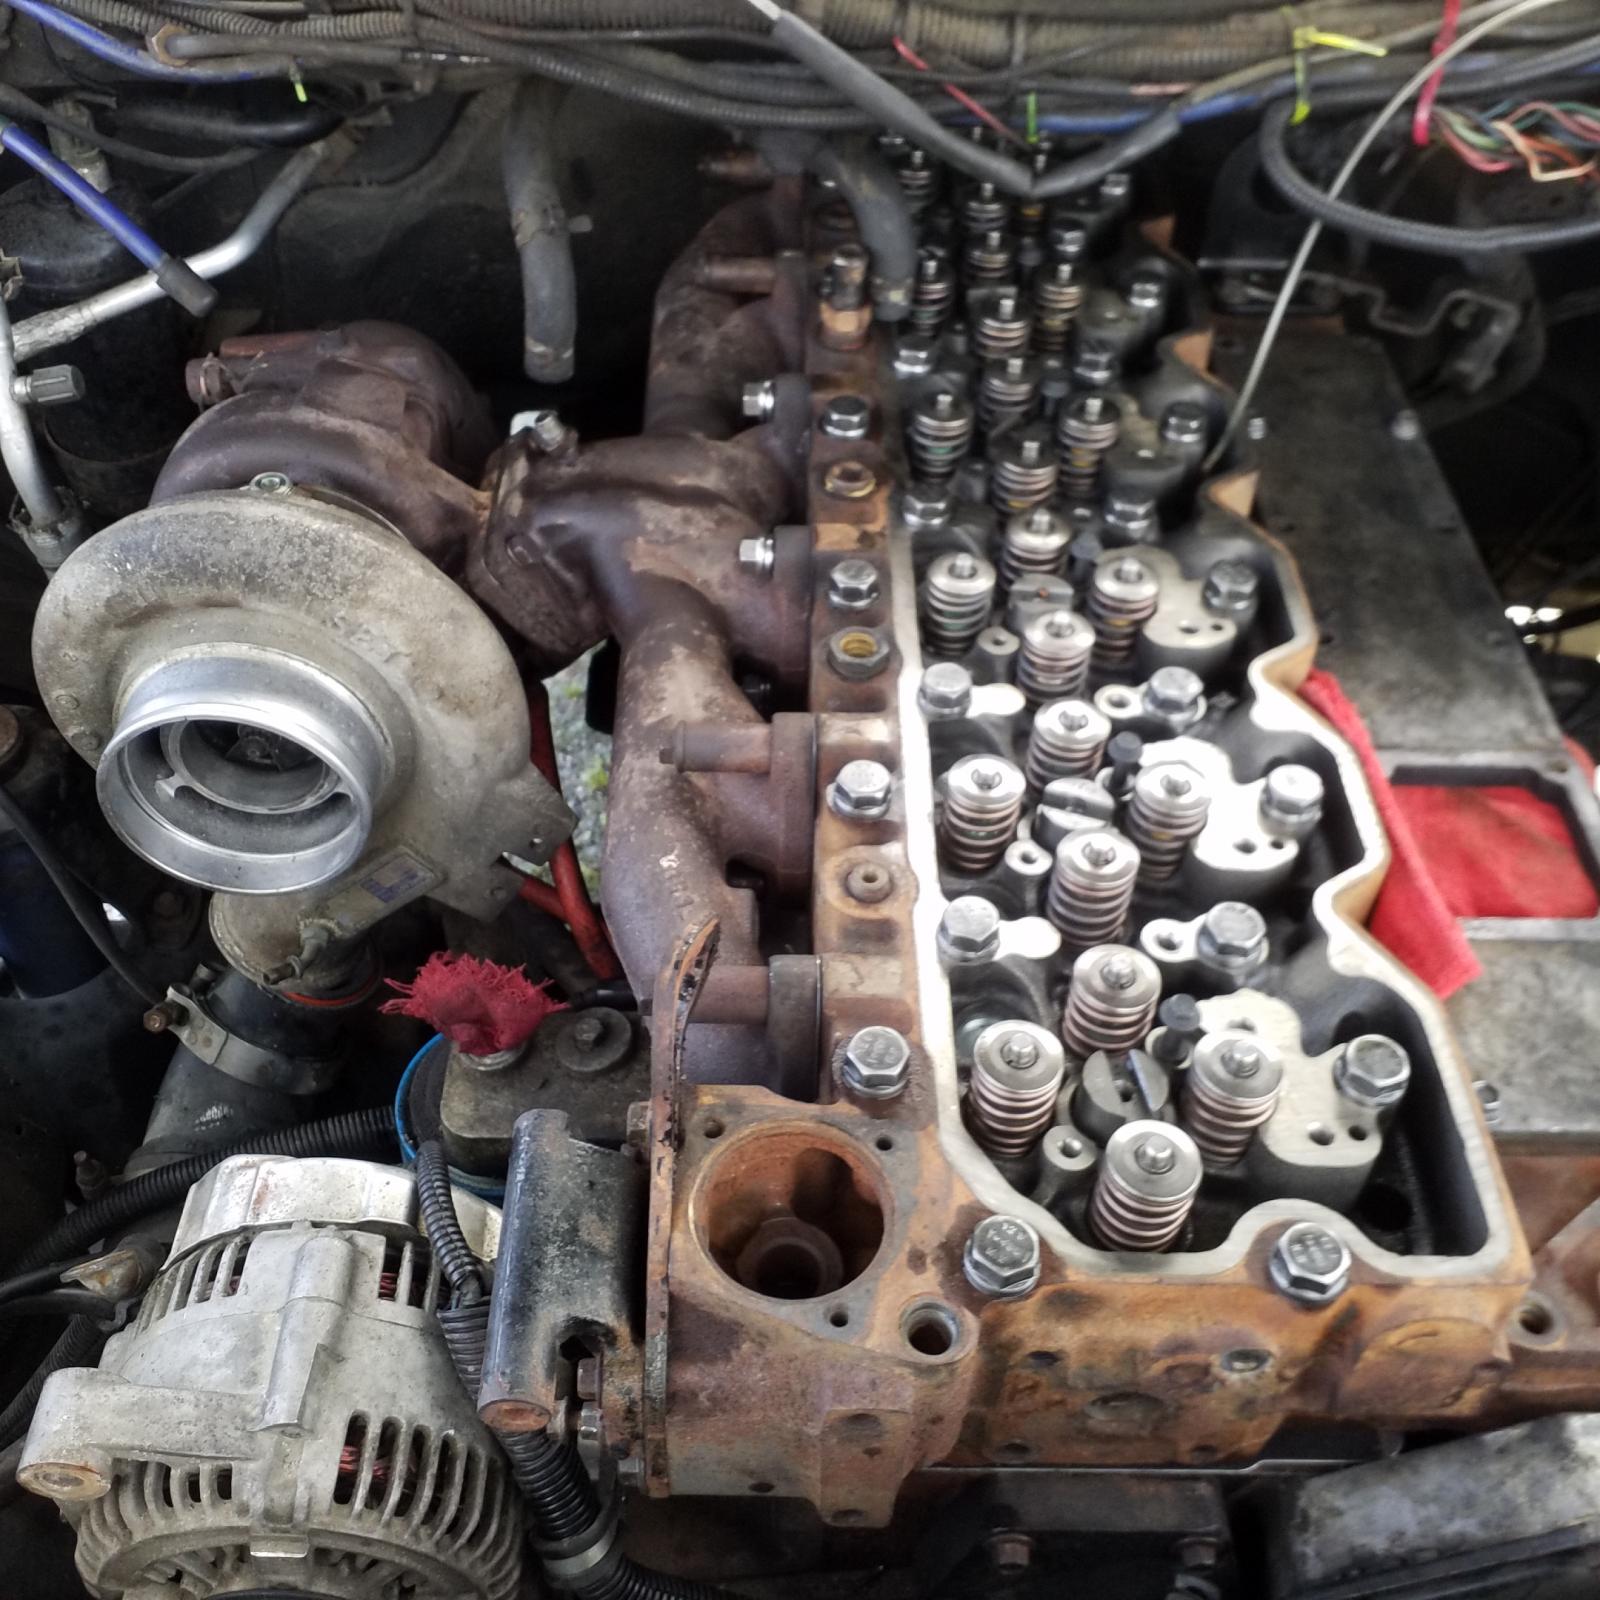
The offending leak. The oil is from some bad pouring out of the gallon jug.

20190326_181510.jpg.31432a031193df7c42bb7fd4a84319a6.jpg


Now a couple questions.


Those metal strips between the pairs bolts at the front and rear of the exhaust manifold, are they necessary to reinstall? I thought they were under the bolt heads until I destroyed them all and realized they were over the bolts. They appear to keep the bolts from backing off? I will have to find some if necessary.


The exhaust manifold gaskets have raised area on one side, does this raised portion go to the block or the manifold?

.

This arrived yesterday.

20190325_145838.jpg.d5bcf8800d64512feb768a9bf61e1cad.jpg

Hope to have the head off and to the machine shop tomorrow. More to come.

  • Replies 211
  • Views 26.7k
  • Created
  • Last Reply

Top Posters In This Topic

Most Popular Posts

  • Pile it on boys, I dont care. After 3 minutes of priming and 5 minutes of on an off starting,       SHE IS ALIVE AND PURRING LIKE 24V.     Test drive after lunch.

  • Dieselfuture
    Dieselfuture

  • Tractorman
    Tractorman

    I don't know you that well, so I would never treat you like others do.  When you are done, are you going to put the roof back on the chicken house?   - John

Posted Images

Featured Replies

4 minutes ago, dripley said:

I never say any mention of re torquing the head bolts like you do the studs. I have to take it that it is not necessary.

I believe that's why you go extra 90 degrees and kinda put tension on bolts so they always pulling. And that would make sense 70lb + 90 degrees is close to 150lb so they probably settle to 130ish

20 minutes ago, Mopar1973Man said:

Funny ARP 425 stud end at 125 foot/pounds...

I know,  I was kind of thinking same thing how bolts get more pressure. My A1 studs are torqued to 135

12 hours ago, Dieselfuture said:

I believe that's why you go extra 90 degrees and kinda put tension on bolts so they always pulling. And that would make sense 70lb + 90 degrees is close to 150lb so they probably settle to 130ish


That's a much higher torque than I understand it to be on the stock bolts. I think it's closer to 110lb/ft. 


1 hour ago, Mopar1973Man said:

Funny ARP 425 stud end at 125 foot/pounds...


Based on stud vs bolt, and the application procedure the ARP's will be tighter at 125 than OEM bolts at 125. 


The ARP's will also stretch less for the same amount of cylinder pressure, which is why they can hold more. 

  • Author
On 4/11/2019 at 9:35 PM, Dieselfuture said:

Just to be safe check your valve lash soon. You're using used set and your pushrods, things will wear in a little and settle down. My new ones did. :2cents:

I gave to add to this. When installed the used rockers I swapped out the adjusters from the oe to the used ones. Made sure they went back on the same pushrods and the pushrods went back in the same holes. Hopefully they will all be happy to be together again.

1 hour ago, dripley said:

When installed the used rockers I swapped out the adjusters from the oe to the used ones. Made sure they went back on the same pushrods and the pushrods went back in the same holes


Good thinkin'!


- John

  • 2 weeks later...

Sorry , but I got to ask, after all the FINE work you did, why didn't you paint the head,exhaust manifold etc?

  • Author
1 hour ago, Blueox01 said:

Sorry , but I got to ask, after all the FINE work you did, why didn't you paint the head,exhaust manifold etc?

2 reasons. One, i made the better part of 464k miles with it looking like this so I figured whats a couple hundred more. Plus the head looks pretty much like the block. I did however polish all the heads of the head bolts, bet you missed that.


Two, I did buy some high heat ceramic based paint. Guess I should have read the instructions. It required 3 different bakes in the oven at different temps with cooling cycles. Everything was too big for the wifes oven. So it just went back on as it came off. I did paint the tappet cover with the paint but it would not fit either. I noticed when I was fitting the new gasket that it was scrapping the paint off. 


Thats my story and I'm stickin to it.

I just used some engine paint from pats store, few coats later looked good for me, next day I put the head on. 

Maybe when you get to 1000000ml you can paint it then :whistle2:

If mine ever makes a million I'll buy the wife an oven big enough to put the whole dang engine in :lmao:

  • Author

I think I am going to let 500k be my million. Should be able to make that just before I retire.


I did clean up the valve cover and took a sander to the brushed aluminum portions and then shot a coat of clear matt finish on it.