Jump to content
Posted

Well I've made it home for the summer and it's time to start tearing this thing apart. I will begin tomorrow, but yesterday I took it to the dyno. Laid down 503 / 1215. I was very pleased with the numbers, but the knocking is getting worse to it's time to take it apart.


7168E6BE-46F5-484E-A46E-6623D3EE87A9_zps

  • Replies 1.7k
  • Views 200.6k
  • Created
  • Last Reply

Top Posters In This Topic

Most Popular Posts

  • All done

  • IT RUNS!!!!! Video coming later. Barely any smoke, surprisingly.   This thing runs soooooo smooth. I only ran it for five minutes (Per Hamilton instructions.) But it's nice to know it's running and

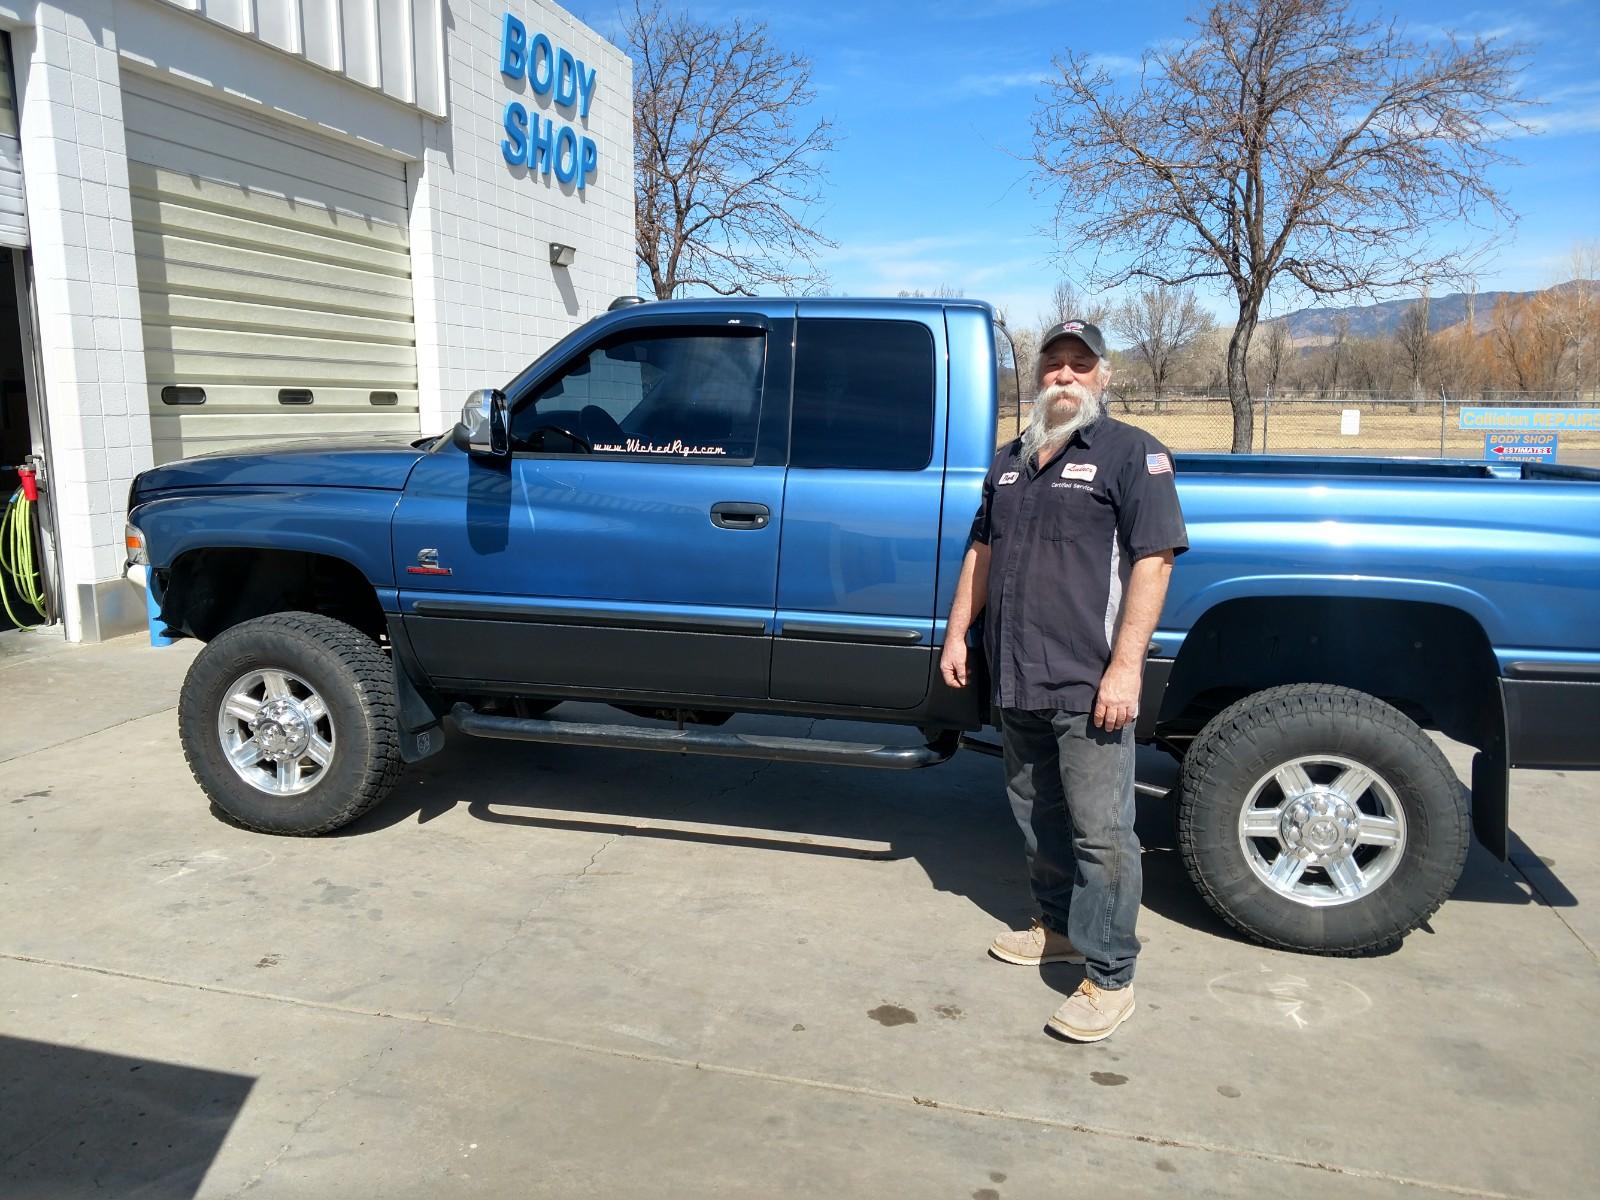
  • That would look cool! Too bad I live in Colorado.... Epoxy Primer Bed Liner

Posted Images

Featured Replies

  • Author

I thought about a girdle, but at only 700 (The MAX this truck would ever see) I don't need one. If I was going Ppump and 800+ then I would have put in rods, stronger head studs, gorilla girdle ect ect.

I thought about a girdle, but at only 700 (The MAX this truck would ever see) I don't need one. If I was going Ppump and 800+ then I would have put in rods, stronger head studs, gorilla girdle ect ect.


Yes the BIG girdles are needed at 800+, but there has to be a reason Cummins put them down in the 325hp range???? Just thinking out loud and am not sure what, if any, difference it will make for you. 


The big difference at moderate power is you just cannot make that power continuously, even towing, so the strain is short lived. 

Helps keep the crank journals in alignment while under heavy torque loads to prevent bearing failures and or crank failures. There is a fair amount torsional twisting of the cast blocks under load surprising as it seems. This is why they are always used in Cummins marine application engines, those engines have unlimited cooling and can and do run at high hp and torque loads all day long which is what I was referring to with my 250 gallon water tank in the bed comment a few posts back.

Helps keep the crank journals in alignment while under heavy torque loads to prevent bearing failures and or crank failures. There is a fair amount torsional twisting of the cast blocks under load surprising as it seems. This is why they are always used in Cummins marine application engines, those engines have unlimited cooling and can and do run at high hp and torque loads all day long which is what I was referring to with my 250 gallon water tank in the bed comment a few posts back.


The other advantage that marine engines have over vehicle engines is constant  load/rpm. If a boat engine is at 2000 rpms the load will almost always be the exact same regardless of boat speed, etc. Additionally a boat engine should have the prop/generator/jet tuned so that peak hp and peak rpms are always at rated rpm.. meaning that at 2000 rpms the engine is not at 100% load based on prop demand. A pickup engine can sit at 2000 rpms all day and go from 0% load to 100% load and back to 0% in a matter of seconds or just look at load while going thru rolling hills. The use is just so much harder on an engine in a vehicle than a boat. 


A good example is the hp vs prop demand chart from the QSB 480 spec sheet. As you can see the prop should only draw about 80hp at 2000 rpms but the engine is capable of 356. Look at the requirements at the bottom. One could not achieve rated rpms at full throttle if the prop demanded WOT at 2000 rpms (think back to the hp vs torque thread). 

post-249-0-04943700-1436223273_thumb.jpg

Nope... I used high temp RTV on the timing case and timing cover. I know it sealed well because I had to take it off once haha. Everything else was fine... Just a little bit of RTV where needed.


The problem with coloring... What goes with blue?? Not much, so black it was. I could have painted the whole motor the same as the manifold and turbo but that was too flat for me. I think rburks is correct about that gloss dying off.... Not sure about before the first oil change though! 150 - 200 miles is the first change. 1,500 is the second change.

well lets to an experiment. just to see what the difference will do. i used shellac on all gaskets, you didnt, lets see who starts to see oil or a leak and we can learn from that. sound good? I already have 3500mi on the rebuild and nothing yet. And no this isnt a "you did it wrong" thing, i honestly want to know if doing it differently has different outcomes :)

Just like every other spec sheet which is a scenario from a perfect world that doesn't exist. Marine use is much like vehicle use and application specific and totally dependent on the loose nut behind the controls.

  • Author

well lets to an experiment. just to see what the difference will do. i used shellac on all gaskets, you didnt, lets see who starts to see oil or a leak and we can learn from that. sound good? I already have 3500mi on the rebuild and nothing yet. And no this isnt a "you did it wrong" thing, i honestly want to know if doing it differently has different outcomes :)

Sounds good to me! Although, I don't know how "controlled" of an experiment this is. Maybe one of us has a warped pan, timing cover ect.


Just like every other spec sheet which is a scenario from a perfect world that doesn't exist. Marine use is much like vehicle use and application specific and totally dependent on the loose nut behind the controls.

:lol:

Just like every other spec sheet which is a scenario from a perfect world that doesn't exist. Marine use is much like vehicle use and application specific and totally dependent on the loose nut behind the controls.


Yes and no. The guy with the throttle control doesn't have gears or the ability to lug unless they are changing the pitch/prop. A prop at x rpm will always take the same ± power once rpms have stabilized. 

Sounds good to me! Although, I don't know how "controlled" of an experiment this is. Maybe one of us has a warped pan, timing cover ect.


:lol:

true

Yes and no. The guy with the throttle control doesn't have gears or the ability to lug unless they are changing the pitch/prop. A prop at x rpm will always take the same ± power once rpms have stabilized. 

Just like a vehicle the loads change wave conditions and current conditions change and turns are another load all twill cause a marine engine to lug down, just as many variables as a vehicle has only without different gear ratios. I boat avidly and travel extensively and live and long for the marine life and ride on as many different kinds of vessels as I can and believe me they all have different conditions that make them lug, maybe a barge or cruise ship can live the perfect life of steady eddy cruising but not smaller vessels, have you seen deadliest catch where those ships are climbing waves taller than the boat in wind and storms with loads on, they are not running at a steady constant loaded engine speed.

  • Author

Let's keep it on topic gentlemen.... 


Not much show and tell tonight. I drilled the crank for the fluidampr pin kit. That was fun... Then I made my brother hang on to the clutch while I torqued the dampr bolts down to 90 ft-lbs.

IMG_20150706_181902_802_zpskfln3k0o.jpg


Then it was all wiring... I think I have it how i like it now. I ran another loom across the front to hold the TST, MPG/high idle fooler, and pyro wires. I then ran everything with looms inside the metal wire holders. Wiring things properly takes forever....

IMG_20150706_222813_811_zpsdzvuvtfw.jpg


IMG_20150706_222826_560_zpskrkfkv3m.jpg


IMG_20150706_222846_157_zpsmxuytoma.jpg

Looks like it was time well spent cleaning up all the wiring. I have a little OCD panic attack every time I look at the mess of wires under my hood.

  • Author

100% correct Mike.... BUT for now I'm done switching modules and changing things around. I think I've experimented enough with my four programmers :lol:

Just like a vehicle the loads change wave conditions and current conditions change and turns are another load all twill cause a marine engine to lug down, just as many variables as a vehicle has only without different gear ratios. I boat avidly and travel extensively and live and long for the marine life and ride on as many different kinds of vessels as I can and believe me they all have different conditions that make them lug, maybe a barge or cruise ship can live the perfect life of steady eddy cruising but not smaller vessels, have you seen deadliest catch where those ships are climbing waves taller than the boat in wind and storms with loads on, they are not running at a steady constant loaded engine speed.


But not nearly as much as a vehicle. I've been around maritime ops a little bit as well and even delivered fish to some of those deadliest catch boats in the off season from crab. 


For a given engine rpm the load varies only by  a small percentage but it can still vary. ±10% variance is a lot different than 0-100-0-100-0 thru rolling hills on a heavily loaded vehicle. 

You make this look way too easy. Like you only have a few hours in the whole project. Tools in one hand and camera in the other! Thanks for sharing.

Great work. Setting the bar high.

  • Author

Thanks guys. It takes FOREVER to do it right... If I was slapping it together just to make it run then I could have already done it three times.... I will say this staying up till 1am then up at 5 for work is killing me. Here's tonight's progress


Damper... one last picture.

IMG_20150707_194205_482_zpsksz2gsp8.jpg


(Finished up the final touches on wiring) New return line for the power steering. New O rings on all of the A/C lines. and hooked them up. Then put in the intercooler, plastic shroud, radiator, and condenser. I know it looks like hell.... I'll be getting a new one before the A/C is charged. I hooked up both supply and return lines to the radiator.  I then filled up the oil filter and spun it on. Clocked the compressor housing and V band elbow, and I hooked up the charge pipe from the turbo to intercooler

IMG_20150708_242343_920_zpseckzibqr.jpg


On the drivers side I dropped in the fuel filter assembly and hooked up the supply line. Got a new O ring for the dipstick and installed it. Hooked up the fuel pressure sender, hooked up the charge pipe from the intercooler to intake horn. I also ran the vent tube off of the 12V tappet cover. (5/8 line is VERY tight)

IMG_20150708_242624_782_zps1xs4229b.jpg


Here's how she sits now. I'm really liking how the wiring turned out on it. I wish I would had done this a long time ago!

IMG_20150708_242649_259_zps91avucls.jpg


IMG_20150708_242717_477_zpsuu8gt2wp.jpg


Not sure if I'm going to button things up and get it running tomorrow or save it for thursday and rebuild the trans tomorrow. Either way you should see an update!