AH64ID
Unpaid Member
-
Joined
-
Last visited
Everything posted by AH64ID
-
Not too bad, considering its about all uphill on your way home too. I've been tweaking my driving style on my little man-wagon and am seeing a 10-15% increase in fuel economy according to the SGII, I have been able to break 40 on 2 separate trips home from work now!
-
Don't let these guys fool you! A 3K lb camper is heavy and probably has your front end overloaded, and that wears BJ's out. I have 75K miles on my OEM's and hope to make it to 85K, but they are already showing the signs of retirement. 65K miles is not abnormal for a Dodge front end, not in the least.Get a set of the $$ ones (not the $$$$) and do it yourself, that's my plan for this winter.
-
Empty there is more throttle response and cruise EGT's appear a little lower. Towing the puff of smoke at the shift, if I shift at 2K rpms or so, is MUCH smaller and shorter. EGT's appear to climb slower and stabilize a little lower as well (especially in 2-4th gears). I can't do a 100% comparison as I sold the trailer I have been towing for the last 4 years, but I am quite happy. My new trailer is 7' longer, 8" taller, and 1,500 lbs heavier (had dumped water by this point, and drank most the beer :-)). I generally pulled grades at the same EGT as the old trailer, and more power! The big grade I pulled this weekend is about 2 miles at an average of 5.7% grade, with sections of 7-8%. The last 1.5 miles averages 6.7%. I was in 5th gear, at 55 mph, 2250 rpms. The truck was at 60-65% load for the majority of the hill, and about 26 psi of boost. I started at 1050° and finished about 1125-1150°. My old trailer pulled the hill at 50-55% load, 24 psi and 1125°-1150° peak so I think the air flow from the airboss must be increased! I do have the grid heater delete installed right now, fired up at 29° like it was 100° outside.There is a short, 1/3 mile, stretch on the way home that is a 10% average grade. It's my 6th gear test stretch. 94%-WOT, 1210°, 1700 rpms and ~28-30 psi, down from 1250° with the old trailer/intake.
-
True, but by making a setup work great with 4.10's, you can then put it in front of taller gears and make the people who don't tow happy. If you gear the trans for 3.42's, then you end up with low, lower, and super low!Heat is another reason, if you put all of your gear reduction in one box then you put all of your heat there too. May as well spread it out.
-
Low rpm/speed/gear operation. Grated you can play with the trans gears to get the same overall gearing with taller rear end gears, but to get the same 1st gear performance out of 3.42 (3.55 not an option on a 3rd gen) you would need a 6.76:1 first, which is possible just a larger gear than they use now.
-
Just a side note on the volt meter. It's 100% driven by the ECM, and is a guide at best. I did a grid heater delete last week and it still shows 11 volts when the grid heater should be working, but there is no heater, thus no volt drop.
-
Where the nut for #24 is, it is taller than the OEM bolt and touched the valve cover.
-
I only had clearance issues at the back, IIRC #24, and had to take about 1/4" off my valve cover to get it to seal.
-
I track the error every fillup, the error is never the same 2 tanks in a row and for my truck varies from 8% - 35%. Here is small sample.
-
Should peak about 30-32 psi.
-
I don't see that telling you to remove the nut and check the depth again, but do 12-17 1 time per stud, or 26 times, not 52.
-
My CR had valve cover issues, so be sure to check it. Not sure you need to back them off and check where they sit, haven't heard of anyone doing that before. Personally I'd take them to 115, the 125 (or 130 if you want) and then hit the block heater overnight, 125 again, then drive for awhile and recheck at 125 (or your 130).
-
I liked the sound, but it was VERY quiet. My Garrett on the other hand can howl and I LOVE IT (good thing as there is no ring to remove/replace). Luckily it's not too loud when towing.
-
I too used a pair of small screwdrivers, mine wasn't a PITA, but was a pita. It's an awkward position for sure.
-
Get some!!
-
Hehe, that made me laugh out loud.. Sucks, but funny none the less.
-
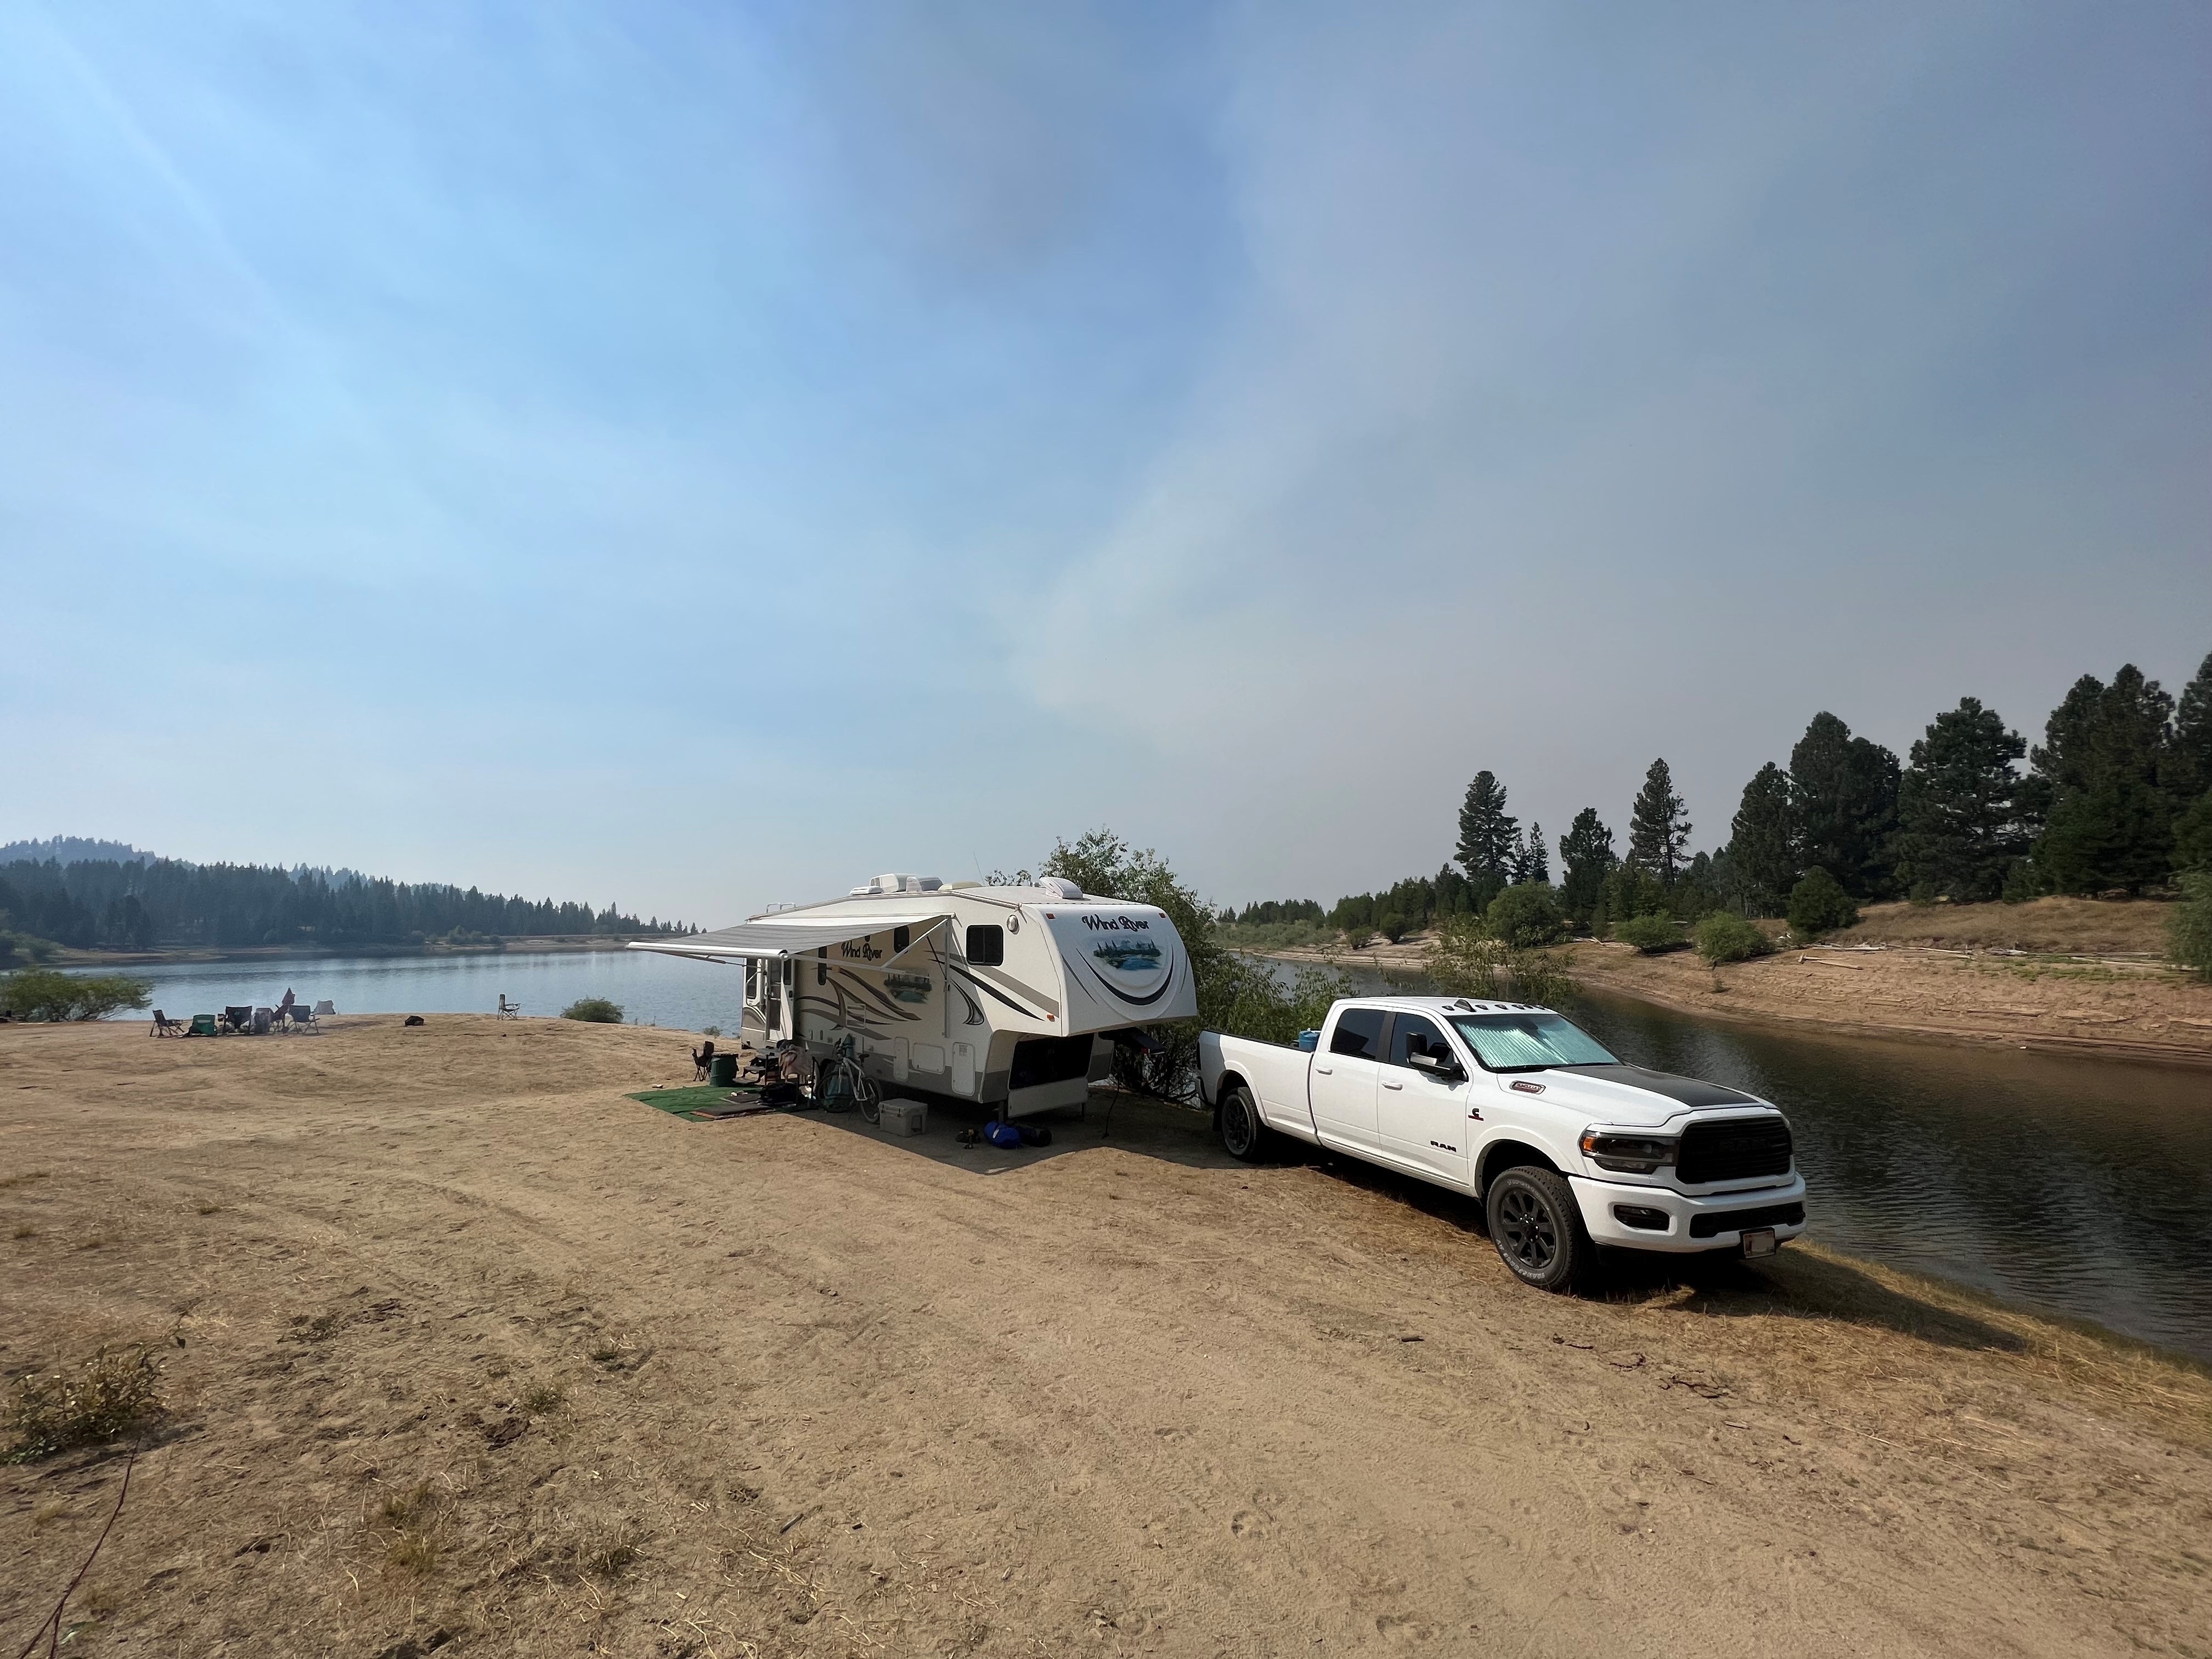
That's a good looking pickup.
-
The CR's are slower to come down in rpms in free rev, its partially the nature of the pressure and partially ECM programming. When it hangs up is when injectors are suspect.
-
Congrats! I am sure you will enjoy it.
-
I put a little liquid pipe dope on the threads. The mounting holes on the head are thru as well, and there was a slight amount of sealant on the stock bolts, I put a little dope on them too. The stuff is good for 100 psi instantly, and 300 psi after 48 hours, I should be good
-
Yes, it's the plate under the rail. I have his MK2+ kit, and intake horn on the truck as well. --- Update to the previous post... Well I got the install done this afternoon, probably no more than 2-3 hours of honest work. I started about 5 and finished about 8:15, and that included a dinner break, chasing the kids, helping with the kids bath, and a glass or two of vino... It's pretty darn simple, thou I'll admit I didn't follow the instructions too close. The instructions tell you to remove each injector line, and then the rail. I didn't want to break that many leak-free connections, so all I did was remove the line at the head on 1-4, and at the rail on 5-6, then the supply and return lines and pulled the OEM plenum out with the rail attached via the line clamps. I then swapped the rail to the new plenum, and reversed the removal. The only PITA part was trying to torque the injector lines. I borrowed, and broke :banghead:, a 12 pt crows foot from work and the other one I had was all but impossible to get on there. 22 ft/lbs isn't too much thou, and I just used the "arm-o-meter", so far no leaks. I installed the grid delete, and will put the heater back in around Sep-Oct. It should only be a 15-20 minute job to swap it. Even with the grid installed I think the flow will improve as the grid will be about 0.5"s higher, and give more room for the air to move foreword/aft. After installing it I hooked up all the connections but the injectors. I ran the LP for a few 25 second cycles, and then used the starter for 3-4 5 second cranks. I did this to get the pressure up in the rail (saw 17K for a second, then held steady at 6K) to check for leaks, and to get the return flow back to the tank. I wanted to flush the rail/lines of any debris that may have gotten into the lines while working on the system. I think I moved enough fuel to clean anything out. I will have to drive it to work this week, need to use the receiver as a vice to adjust my equalizer hitch for my new TT, and will report back. First tow should be in the upcoming weeks. It sure is shiny and purdy!! --- Update to the previous post... --- Update to the previous post... One thing I noticed, that I was expecting, is that the new cam has more overlap (if the OEM had any) on the intake/exhaust valves. Right after doing the cam install I noticed that my IAT's would go up about 10° with the exhaust brake on, where they didn't with the OEM cam. Looking at the OEM plenum I can see that I am pushing a little soot into the intake, but no where near as much as I thought. Cylinder 4 is the shortest, and most direct shot and nearly all the soot is around it. If it was a huge amount of air moving back thru I would have more soot in the intake than that, and it's been nearly 20K miles. Seeing that the overlap really is there, and wasn't in my head, makes me even more happy I swapped the turbo as now 28-30 psi of boost only has 22-24 psi of drive, where with the stock turbo it was 40-50 psi of drive. I am certain I am moving a LOT more air at 30 psi than the OEM setup was ever capable of at 30 psi. --- Update to the previous post... I also found it interesting that there is rust on the inside aft intake horn bolt, and rust lines from about that location to the back cylinders. I have zero idea how any liquid would get up there to work thru the bolt, especially since when the motor is running there is positive pressure in the manifold 99.99% of the time.. My only thought is that maybe the bolt wasn't as tight as it could be, and when I would rinse the motor (maybe twice in the last 3 years, and low pressure) water would seep down the bolt hole and into the plenum. I wonder if it was enough of a boost leak that I will see more boost or anything else? Or maybe I am off base, any thoughts?
-
If your jake is like mine the rod that actuates the butterfly valve is threaded. You would simply pop the ball and socket apart and turn the socket end. But I wouldn't go more than a turn or two, or you may hinder flow when the EB is off.
-
Without a gauge you can't.
-
Do you monitor back pressure?With my cam I can hit 60# a lot quicker than I could with the stock cam, and I wonder if the tighter lash will add more? I may have to adjust my EB just a hair.
-
My dad is bringing his 06 to town in a few weeks for some goody installs and I think we are going to adjust the vavles on both of our rigs. I plan to use 8/18 on mine, and since his in an 06 (10/26 stock) I am not sure what I am going to do, probably 8 on intake but ?? on exhaust.