Jump to content
  • Welcome To Mopar1973Man.Com LLC

    We are a privately owned support forum for the Dodge Ram Cummins Diesels. All information is free to read for everyone. To interact or ask questions you must have a subscription plan to enable all other features beyond reading. Please go over to the Subscription Page and pick out a plan that fits you best. At any time you wish to cancel the subscription please go back over to the Subscription Page and hit the Cancel button and your subscription will be stopped. All subscriptions are auto-renewing. 

Front Crank Seal Help .... and show and tell of what the dealer did


Recommended Posts

  • Owner
1 minute ago, Wild and Free said:

Sorry brain fart on my end about keeping the engine from turning while tightening or loosening the damper bolts.:doh:


Were all human... We all make mistakes. :wink:

1 minute ago, Wild and Free said:

I usually lay the cover on a board in the spot the seal goes so it doesn't flex when pounding the seal in and you got it correct on the way the sleeve goes on.


Great suggestion. I didn't even think about that... :doh:

  • Like 1
Link to comment
Share on other sites

cool deal... what about the direction of the speedy sleeve?  that bevel on the inside of one side was i right about it going on the crank first then pounding her home.  if it was on the outside then it would be last on per the video.

Link to comment
Share on other sites

Im sure that their are more than one version of the speedi sleeve out their, Ive put over a 100k miles on my truck since I installed it so I really don't remember. but one thing to check, Does your install tool fit in that bevel? if that's the way the directions say I would lean toward that way.

Link to comment
Share on other sites

LOOK WHO GOT THEIR SPEEDY SLEEVE ON...


Ok I did panic a bit.  I was trying to hammer it on w/ a piece of wood, but couldn't get leverage.  Couldn't get a pry bar there.  Wound up tapping on the seal w/ a hammer but saw I started to mar up the front. 


So what did I do?  Deeeeeeeeeerp....... I put the flywheel back on and tightened all the bolts in rotation.  Frigging easy as cake. 


2016-04-07%2018.38.06_zpssr4tnbje.jpg2016-04-07%2018.38.11_zpsjk8ftauj.jpg2016-04-07%2018.38.21_zpscdxovz3q.jpg


Here is where you can see a dinged up the front of the sleeve a bit, but I didn't oblong it or make anything the gasket will catch on.  plus it doesn't ride up there anyways.


Green loctite 620ed that sucker on there....she ain't moving.


2016-04-07%2018.38.28_zpsn4iclysq.jpg


Letting that dry overnight.


Tomorrow... pressing the gasket in the timing cover. 

Edited by bms231
  • Like 1
Link to comment
Share on other sites

.......................................


......................................


So mike and I were having a discussion about this "install tool" and would like some user input as I am going to turn this thread into an article. 


how do you use this tool? 


Drive seal in from rear of cover:

the way it is angled it looks like you take the plastic sleeve out of the seal (which technically ur not supposed to do) then insert the seal into the back of the timing cover and use this tool to hammer it home. 


Two problems:

1. you have to remove the plastic protective guide

2. you are hammering on the side the teflon seal bends towards, however, it looks like the round nose of this tool avoids contact with anything but the metal surface... if it doesnt slide around which it will probably do until the seal is seated down into the cover


The installer tool does however fit perfectly into the hole, seats on the concave portion, and rim catches the timing cover to ensure an even, level, properly depthed seal ... although it does look like it will be in pretty far from the front and not flush against the front like some people say it should be. 


2016-04-07%2020.37.38_zpscenjtwo5.jpg2016-04-07%2020.37.44_zpsxg01aebx.jpg


rear of timing cover

2016-04-07%2020.37.56_zpsfsne0zn7.jpg


From the front:

Other approach is to try to hammer this home from the front using a piece of 3" ID exhaust coupling i bought at autozone for 2.99 or a 2" pvc pipe cap purchased at lowes for 2.29. 


I really see no problems w/ this approach as you are hammering away on the flat metal side of the gasket.  the only issue is you have no way to get proper depth or guarantee 100% level as the tool does NOT fit in the front of the cover in any shape or form. This is as far as it will go which is like 1mm in ....... dear god my thumb looks old

2016-04-07%2020.38.22_zpsh1zpuyer.jpg


Sudo approach:


Drive this puppy in from the front.  Go a little deep.   Then give it one or two whacks from the back with the tool.  I am thinking I like the sudo approach.  Thoughts?

Link to comment
Share on other sites

you MUST install the seal from the front. using the tool from the front drive it all the way home till the lip of the tool if flush with the cover housing lip.  The part of the tool that goes down into the cover is what evenly seats the seal. its a PITA to start but once started (using a 2x4 to get even impact pressure) work your way around the tool lip and seat the seal. Dont be afraid to put some punch into it, i used a 6lb deadblow and was hammering pretty good to seat it. and congrats on installing the speedy sleeve!


here for example using the cummins install tool on the rear seal by seating it from the "front" of the seal housing. first picture shows the seal seated all the way with the tool resting on the face of the seal housing, and second pic is where the seal sits in the housing from the rear. the tool sets the depth perfect so go in from the front, set it and forget it. DONT pound on it from the rear you will damage it.

IMG_6072.JPG

IMG_6073.JPG

Link to comment
Share on other sites

dang. my tool doesn't fit from the front. I will dork around tonight. I got two seals just in case. 


it's amazing... 50% of people demand front. 50% demand back. Cummins b manual says back actually. I read it on a thread somewhere. #heregoesnothing

Link to comment
Share on other sites

Well I just destroyed the first seal.


Can't go in from the front.  The front of the new timing cover is too narrow.  You wind up gouging out the sides of the seal.


Can't go in from the back.  Install tool from cummins isnt worth a dang.  Won't stay level.  Messed up the seal in every way possible. 


I am now officially stuck. 


Hell, I even tried putting the little turd in my vice grip to squeeze it in......... no go.  Oblonged the seal.


Link to comment
Share on other sites

I destroyed my first seal going in from the back and bent my second seal from the front and it now it leaks.


Use light force tapping the seal and make sure it goes in perfect/y level/flat. Did you install the cover on the engine yet or doing this on the ground? If installed on the engine/timing case, there is wiggle room with the bolts and cover. Meaning if the bolts are loose, you can move the cover up down left right about a 1/16th and it can be off center from the crank, making a seal install impossible.  

  • Like 1
Link to comment
Share on other sites

I see that I'm not the only one that destroyed first seal. I got a few thousand miles out of my first install before it started leaking, and I think it was due to not being seated square. I put another one in and now over100k with no leak.


I know I posted in earlier comment and it's been posted in others is that you need to lay that cover flat on a bench and secure it. And put some blocking on the underside of the cover so it does not flex when you drive the seal in. 


  • Like 1
Link to comment
Share on other sites

Once I tried doing a seal on a 12 valve and took cover off to do KDP which was sticking out about an 1/8. anyway got the seal in from the front because I couldn't get it to go from the rear and when installing it back on to crank it took so much force to get it stretched over the crank with that plastic guide it pushed the seal out of the cover, and I used some red thick loctite. Then I reinstalled the seal and tried without the plastic guide and it still poped out of the cover, after a while i got pissed and put the old seal in as it wasn't leaking before just figured i'd change it cause i have cover off. Long story short these front seals are a bit... and I'm starting to wonder if there are different sizes available. I know that the one I got was for that engine from cummins dealer according to engine number and it didn't have a sleeve. 

Link to comment
Share on other sites

  • Staff

Has anyone tried with the cover off installing the seal with a press or even a C clamp?  Using a piece of wood to support the housing and spread the load and a large socket to fit the circumference of the seal place it in the press or C-clamp and tighten till flush.  By doing this you're not beating on the seal with uneven pressure which could cause it to deform and it should go in straight. 

Link to comment
Share on other sites

Ii it were mine  I would check that cover real good for warpage or any deform and check the OD of the seal compared to the OD of a factory cummins seal with a caliper gauge and also the seal housing in cover. If all within specs it should fit.


the press would be a great idea. Even a shop with a hydraulic press could install it  with ease , sure would be cheaper than ruining a seal

Link to comment
Share on other sites

read all the above... update and response to a few of ur comments...


new timing cover.  dealer destroyed last.


install is happening off  the truck.


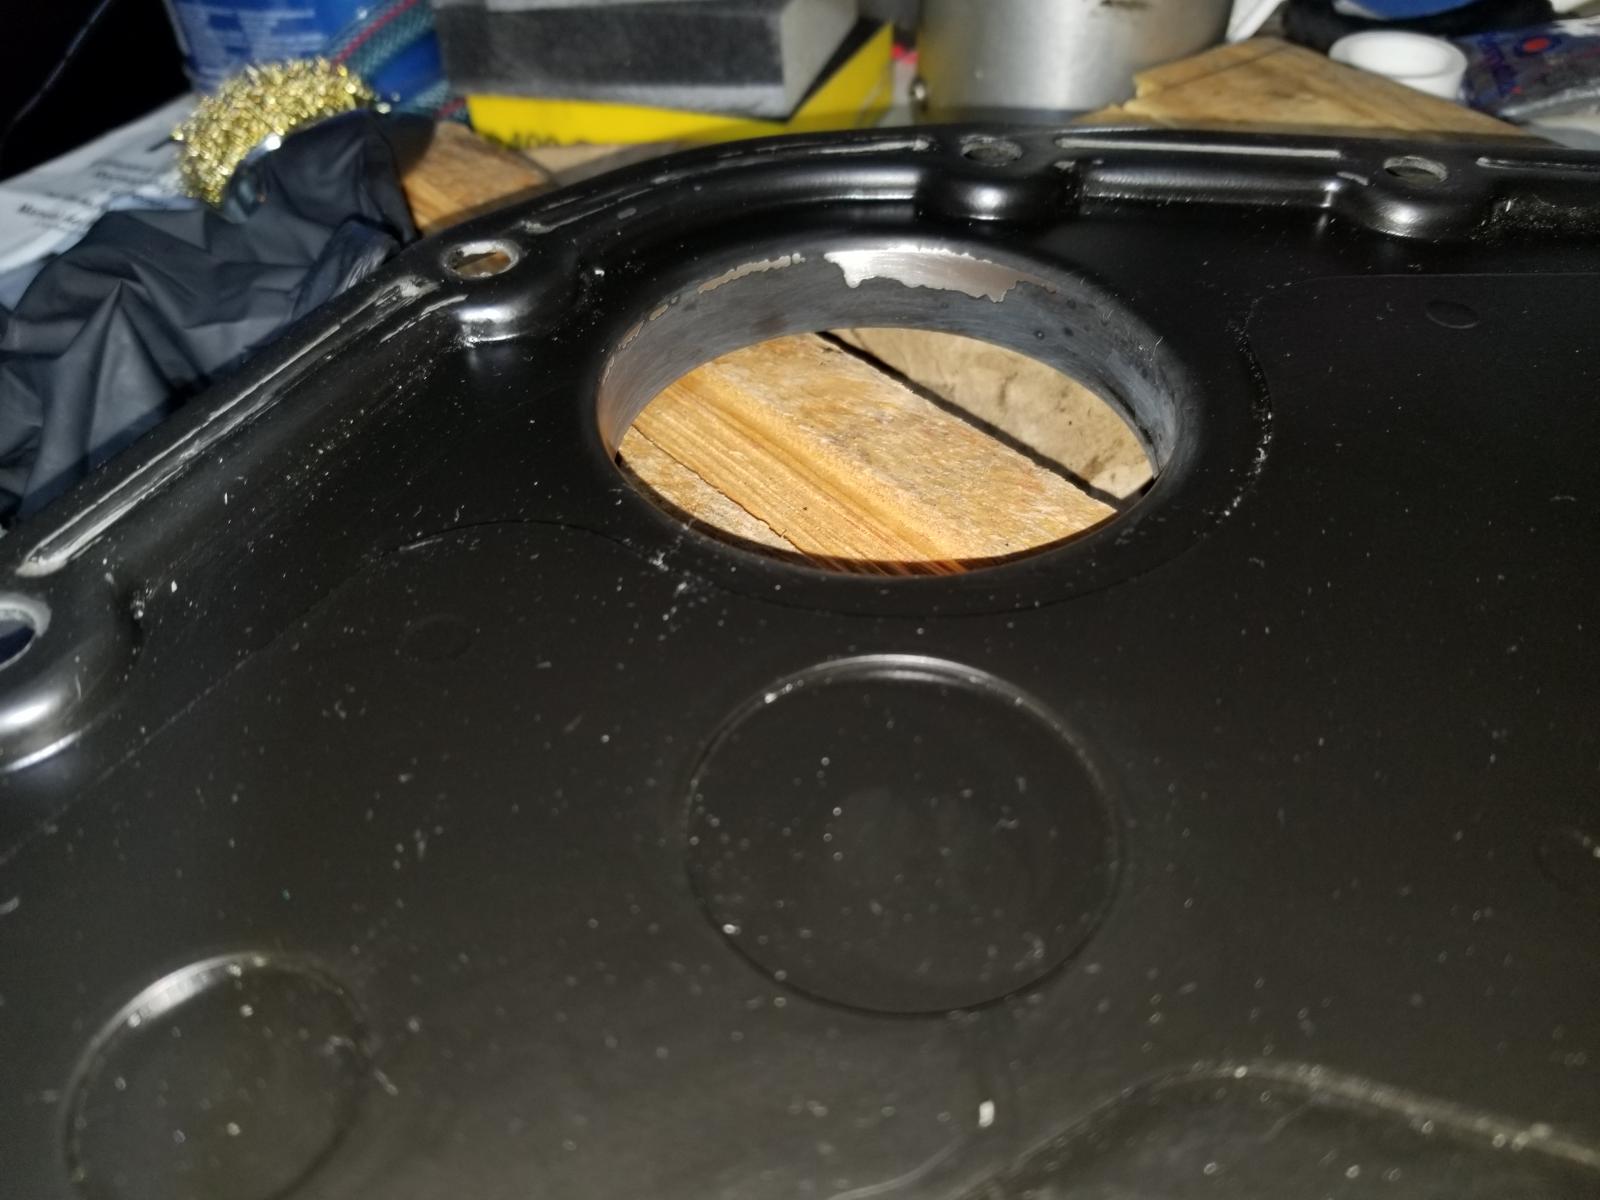
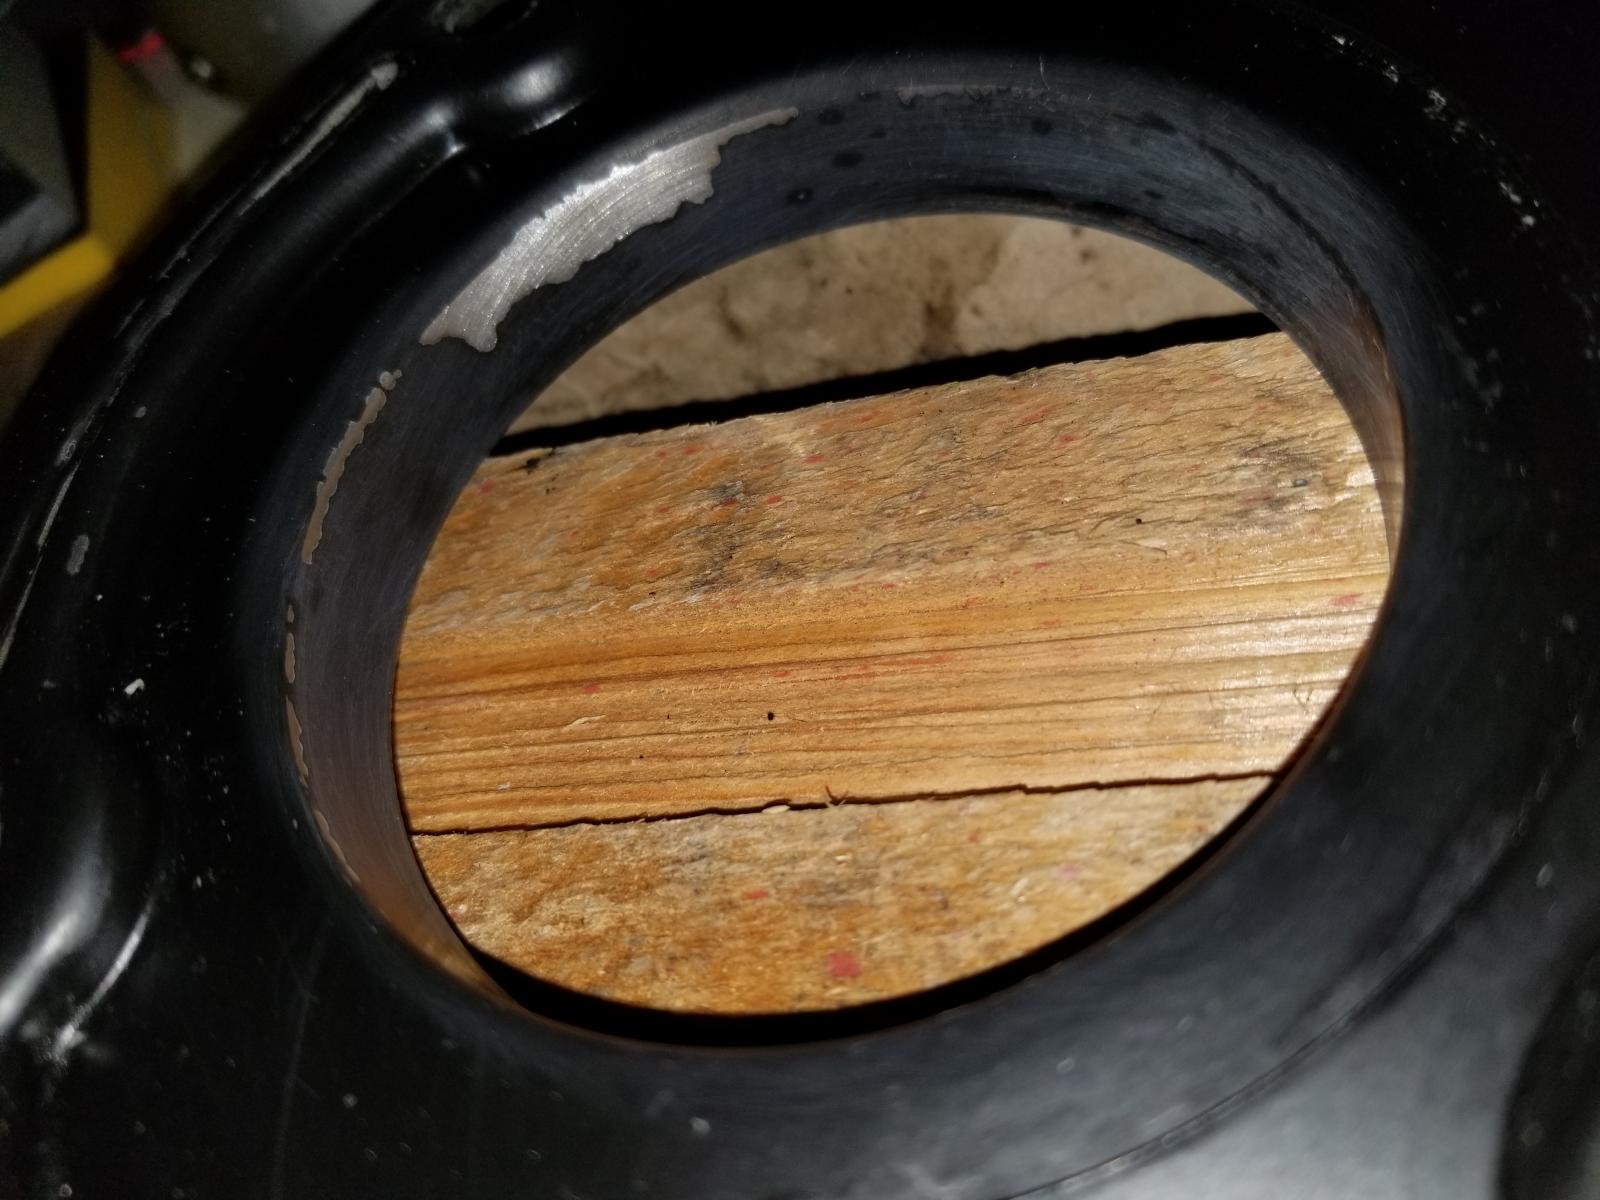
Here is what I did.  I went to harbor freight.  Got a 1 TON arbor press I saw someone use on another thread.  I overnighted a seal install kit from amazon for 40 bux.  There is NO WAY in hell this was going to go in from the front square.  I tried w/ my original destroyed seal and the seal actually bent.  I played around and this is what I did......


went from the front (kinda).  I put the thing in crooked on purpose.  I then used the arbor press to press the one side down w/ the seal die set.  I then came in from the back and found one of the seal kit dies fit perfectly inside the cummins installer tool.  I then pressed put the die in the tool and pressed in from the back seating the seal to the correct depth.  I had to use nearly 1ton of force to get this little bugger in.  it must have something to do w/ a new cover.  i found it would be SOOO much easier if i took the paint off the inside of the timing cover and the red paint/crap off the outside of the seal... but i did neither b/c I assume it's there for a reason.  this thing was a PITA to get in.  it is nearly perfectly level.  as close as I will ever get it IMO.  not 100% sure i didn't bend the timing cover in the process even though I had it on a block of wood flat on the press.


Items Used:

LocTite 620:

http://www.amazon.com/Loctite-234772-Temperature-Retaining-Compound/dp/B003T7UXUI?ie=UTF8&psc=1&redirect=true&ref_=oh_aui_detailpage_o01_s00


Astro Bearing Race and Seal Driver ($40):

http://www.amazon.com/Astro-7824-Bearing-Driver-Master/dp/B00061SGFO?ie=UTF8&psc=1&redirect=true&ref_=oh_aui_detailpage_o00_s00


1 Ton Press (59.99 - 20% coupon)

http://www.harborfreight.com/1-ton-arbor-press-3552.html


Just realized phone update makes these photos come sideways...


2016-04-10%2015.35.37_zpsusr0bmkg.jpg2016-04-10%2015.35.47_zpstkahv3fb.jpg


2016-04-10%2015.35.23_zpssa5pmkse.jpg


2016-04-10%2015.35.11_zpsvwpsu6ng.jpg


2016-04-10%2015.56.59_zpsmvg26kar.jpg


2016-04-10%2015.40.10_zpsgwjknhpv.jpg


2016-04-10%2015.40.14_zpssdz8nrny.jpg


Link to comment
Share on other sites

×
×
  • Create New...