Jump to content

Welcome To Mopar1973Man.Com LLC

We are privately owned, with access to a professional Diesel Mechanic, who can provide additional support for Dodge Ram Cummins Diesel vehicles. Many detailed information is FREE and available to read. However, in order to interact directly with our Diesel Mechanic, Michael, by phone, via zoom, or as the web-based option, Subscription Plans are offered that will enable these and other features.  Go to the Subscription Page and Select a desired plan. At any time you wish to cancel the Subscription, click Subscription Page, select the 'Cancel' button, and it will be canceled. For your convenience, all subscriptions are on auto-renewal.

Posted
  • Popular Post

Several guys have expressed interest in a thread about the 392 stroker Hemi that I'm building. I figured I'd go ahead and chronicle everything the best I can.


I'm still waiting for some parts to show up, but here's the basics of what I'm doing.


The stock Dodge 5.7 Hemi has a bore of 3.917", and a stroke of 3.58", for a total displacement of 345 cubic inches...or 5.7 liters. I am having a little fun with this one, so I'm boring it .010" just to clean up the bore. I'll be using Mahle forged pistons specifically designed for the crankshaft and rods that I'm using. Speaking of crankshafts, that's where all of the fun will come from on this particular engine. Several manufacturers make a crankshaft for both the 5.7 Hemi as well as the 6.1 liter Hemi (they share the same stroke) with a stroke of 4.05". Why 4.05"...? That's kind of an arbitrary number, isn't it? Well, with a 5.7L block, bored .010" over, and a 4.05" stroke, the engine displaces exactly 392 cubic inches, and the same crank in a 6.1L block (also bored .010" over), yields a displacement of exactly 426 cubic inches... Both of these numbers are throwbacks to the Hemis of old...the old elephant engines.


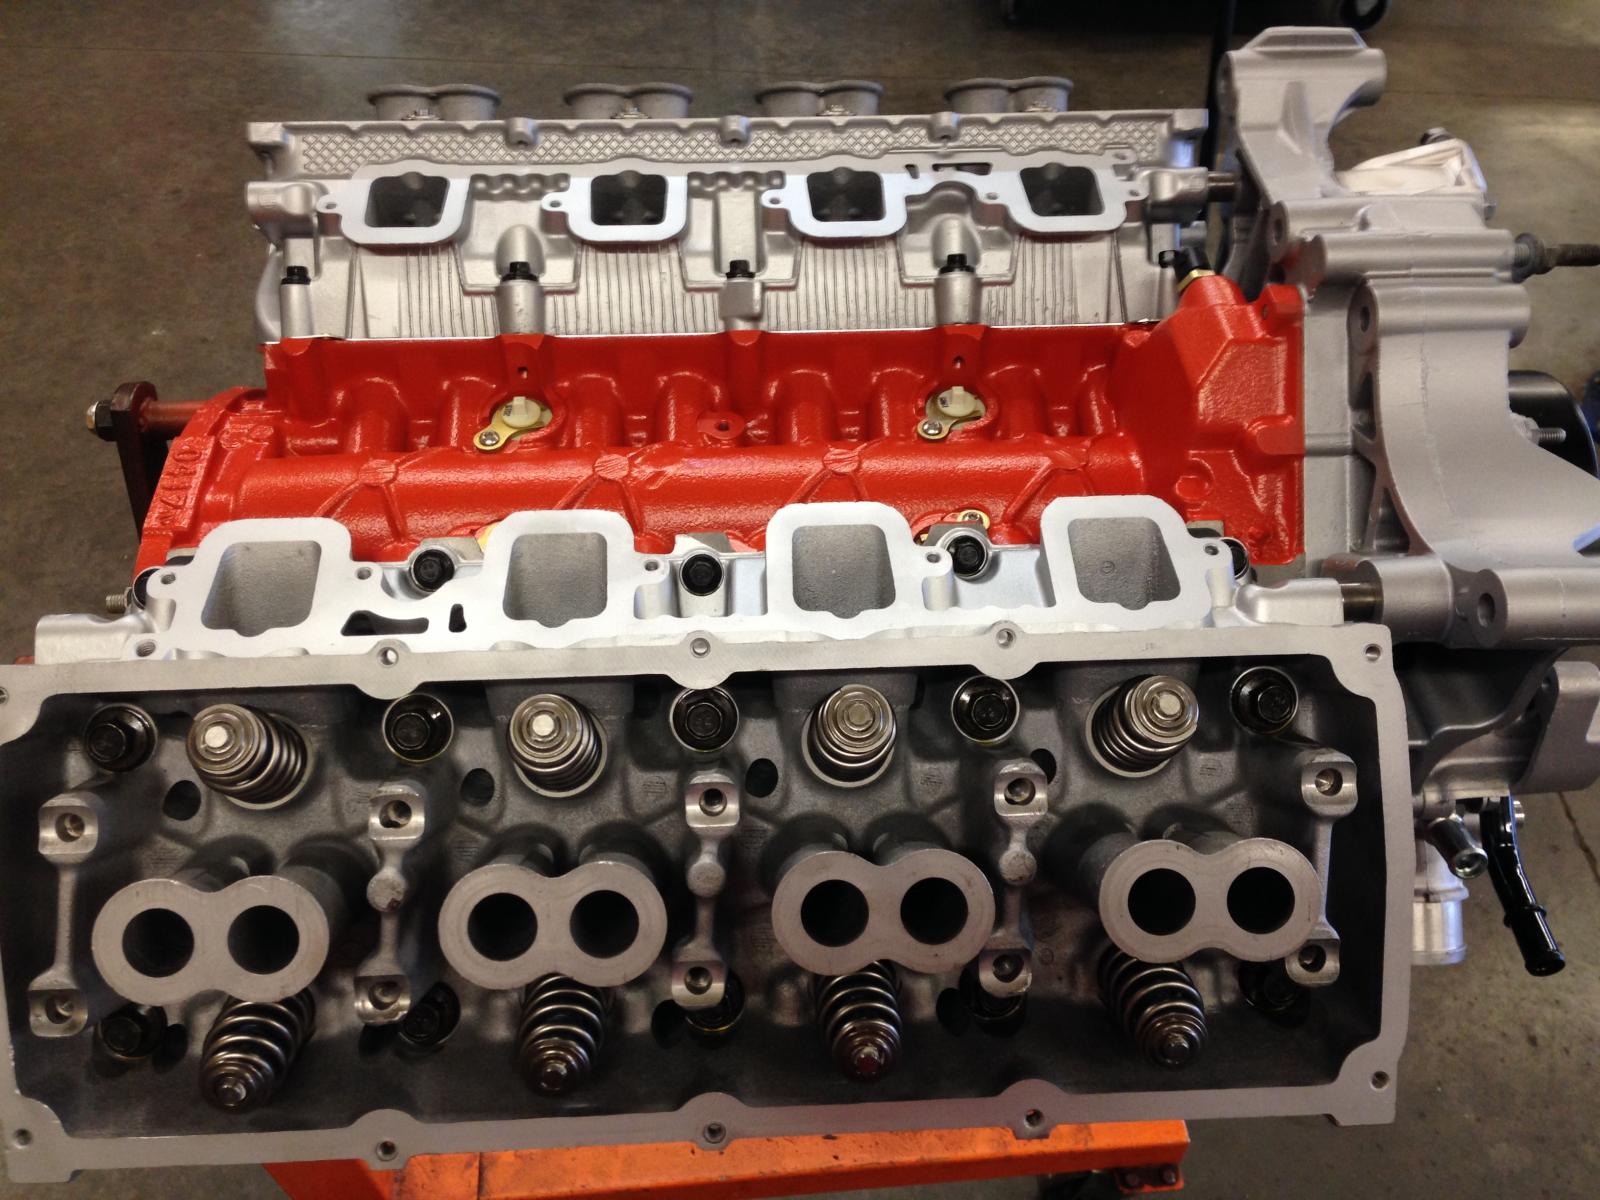
Up top, I'm keeping the 5.7 heads, but I'm installing the larger stainless valves from the 6.1L's. Replacing the intake seats is something you'll want to do on ANY Hemi engine that you build because they are notorious for dropping them even when mildly overheated. There is not much of a press-fit from the factory, and they drop right out when they get hot enough. So, since I was having the seat replaced anyway, I had larger seats installed in both the intake and exhausts to accommodate the larger 6.1L valves. The OEM 5.7L valves measure 2.0" inches on the intake side, and 1.55" on the exhaust. The OEM 6.1L valves are 2.08" on the intake, and 1.6" on the exhaust. Plus, the 6.1L valves are much lighter due to the hollow stem on the intake valve, and the exhaust stems are sodium filled for better heat transfer away from the combustion chamber. I am using PSI LS1511 valve springs with Comp Cams spring locators to keep them in place at the bottom. These were both made for the GM LS engines, but work great in the Hemi after machining the top of the valve guide down to .510". Valve spring installed height is set at 1.8". These springs have exactly 135 lbs of pressure on the seat at 1.8" installed height. Perfect...


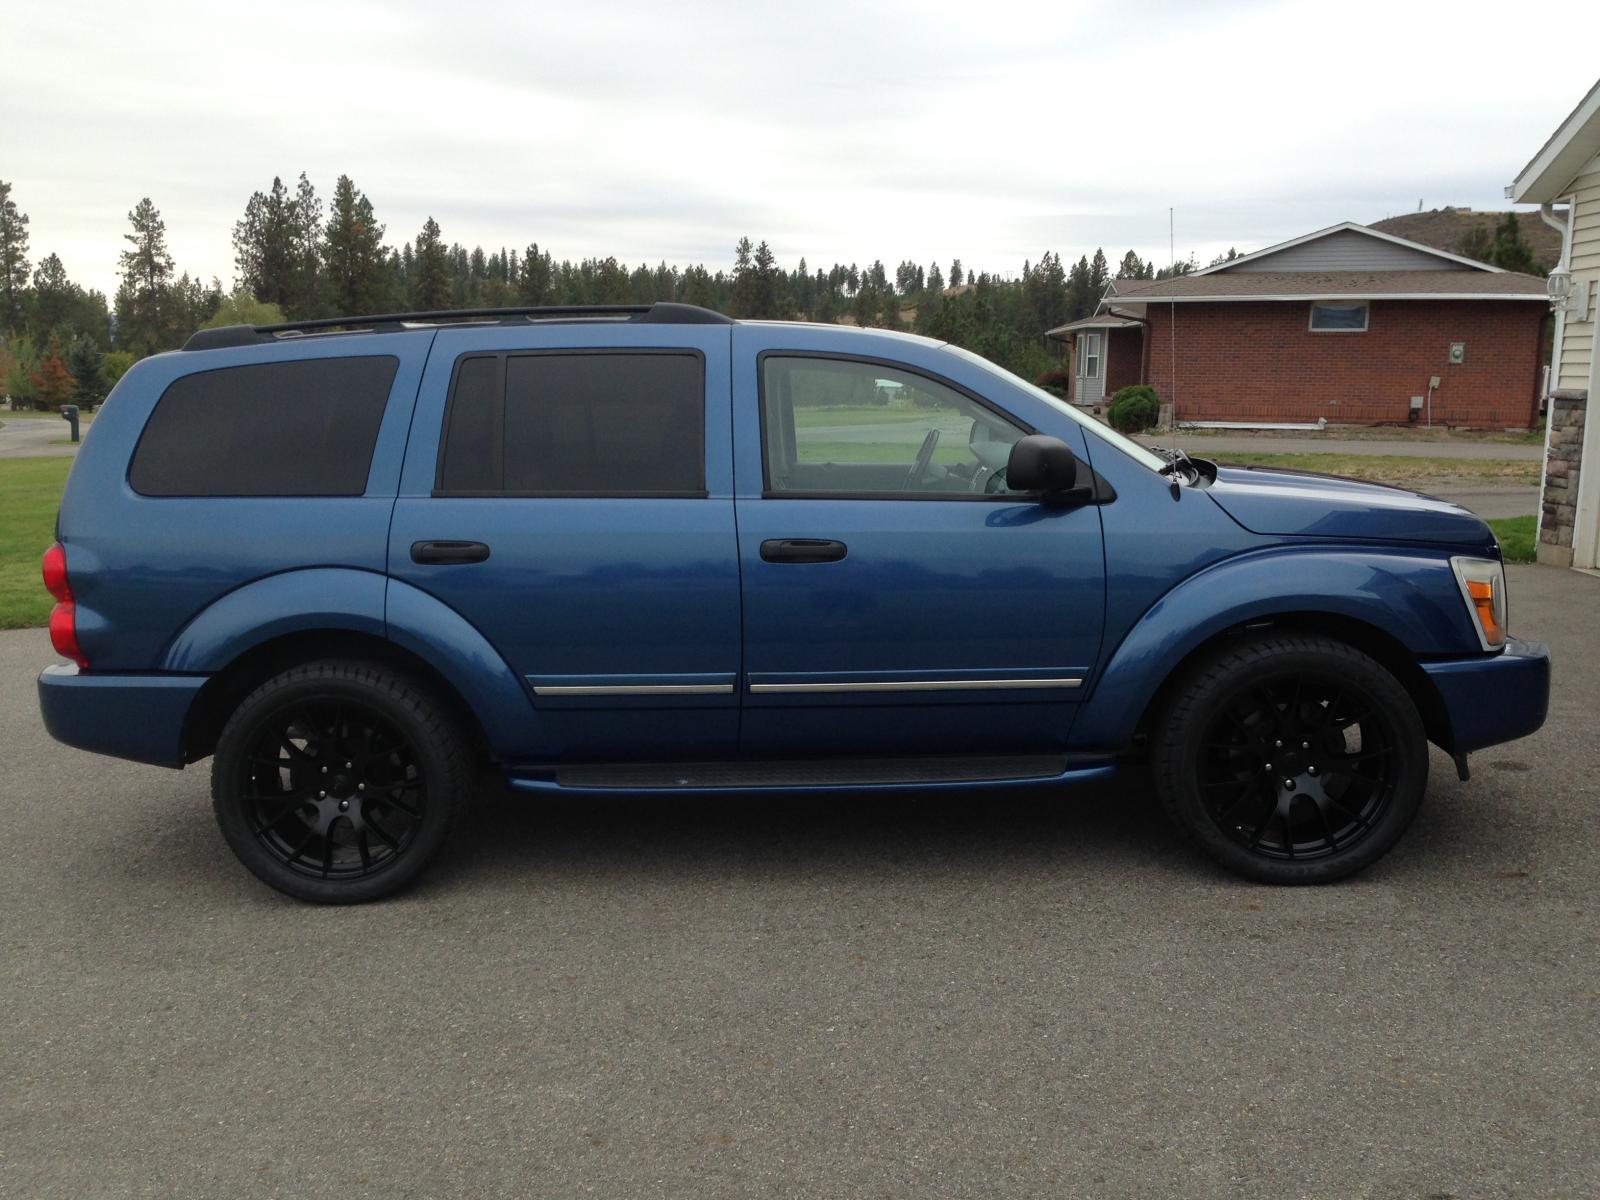
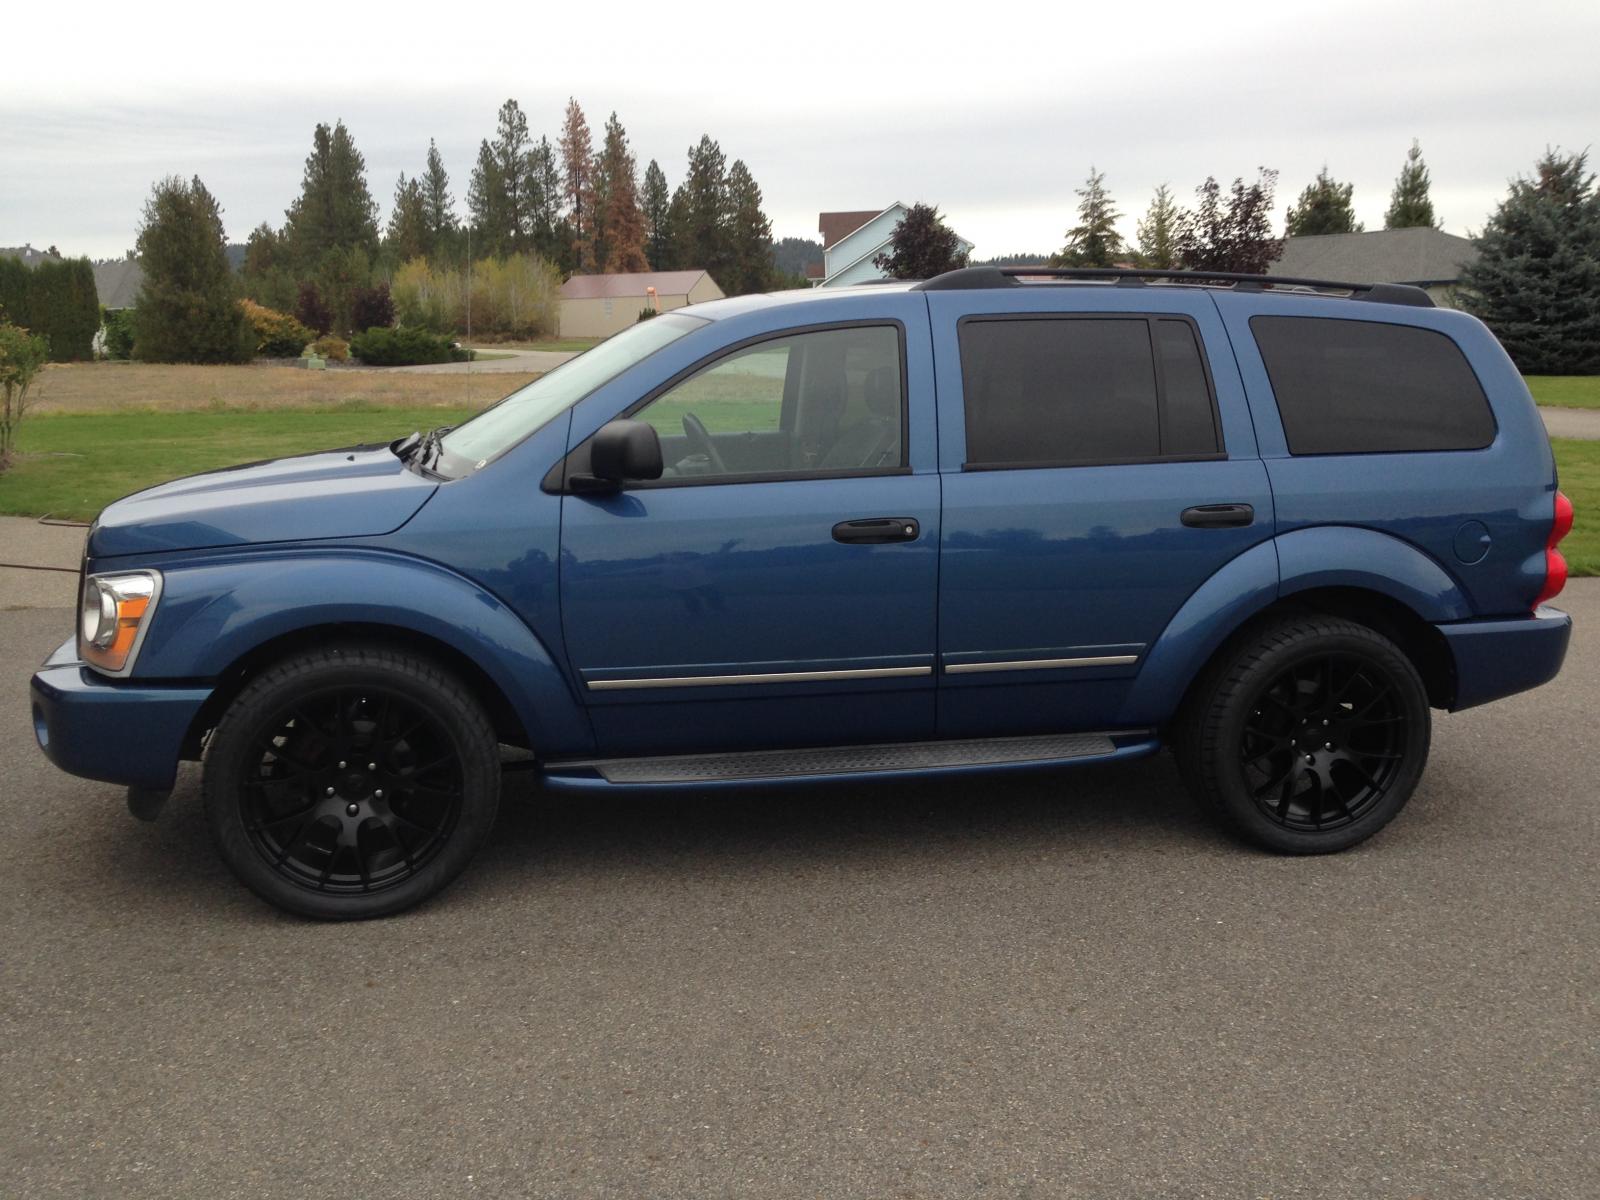
As far as the camshaft goes, the stock 5.7L cam is VERY small...! In the last Hemi I built (in my wife's Durango), I used a 6.1L SRT8 camshaft, which is quite a bit "larger", and runs very nice. On this build, I'm taking things a step further and had a camshaft ground with 221 degrees of duration (at .050") on the intake, and 227 degrees on the exhaust side. Lift is .575" on the intake, and .585" on the exhaust, and the lobe centers (LSA) are pretty wide at 115 degrees. This will help it play nice with the computer at idle.


So, that's what I'm building...a 392 cubic inch "stroker" Gen III Hemi engine with ported big-valve heads and a custom ground camshaft for an '04 Durango that I bought.


Pictures to come...

  • Replies 49
  • Views 32.1k
  • Created
  • Last Reply

Top Posters In This Topic

Most Popular Posts

  • Finally making some progress on the Hem build. All of the machine work is finally finished, and I can start going together with it.   After a thorough cleaning of the block, and scrubbing th

  • Well, it has been a busy summer. Lots of family trips, a lot of transmissions built, a lot of music played, a lot of outings on the boat, etc...   Progress on the Hemi has been slow, but I h

  • Got the engine installed and running. It fired right up...perfect oil pressure, no leaks, cooling system bled right out, valve train silenced itself after a couple of minutes to pump the lifters; no m

Posted Images

Featured Replies

  • Author

So, here are a few photos to start with...


First...a "before" picture. Here is the 5.7 as it came out of the Durango, with its heavily ventilated block (broken rod punched through the block in several places).imageproxy.php?img=&key=43aa2817b434971fIMG_1143.JPG


Here are the pistons I'm using. They're Mahle forged pistons with 6cc domes and a very short compression height (pin is well up into the oil ring groove). Also pictured are the OEM 6.4L Hemi injectors that I will be using.

IMG_1160.JPGIMG_1161.JPG


Here are the rods I'm using. They are Scat 6.125", small rod journal (2.0") small block Chevy H-Beam rods. The Mahle pistons use a .927" small block Chevy-sized wrist pin, and the Scat crank uses a 2.0" small block Chevy-sized rod journal. This makes the rods cheaper, and MUCH lighter...IMG_1173.JPG


Here is the crankshaft. The crank on the right of the picture is the OEM 5.7 crank, which is a cast iron crankshaft. The crank on the left is the 4.05" stroke Scat forged steel crankshaft that I'll be using in the 392.IMG_1174.JPG


Here is a picture of the camshaft that I had ground. Again, the specs on the cam are 221/227, .575"/.585", 115 LSA.Of course, it's a hydraulic roller camshaft.IMG_1155.JPG


Here is the double roller timing set that I'll be using. The 9 position crank sprocket makes it relatively easy to degree the cam. I'll be setting this cam up on a 112 degree intake center line (ICL). Below the timing set is the oil pump drive and oil pump spacers necessary for it to clear the double roller chainIMG_1170.JPG


Here are the LS 1511 valve springs I'll be using, as well as the Comp Cams spring locators for the base of the springs. At the bottom are the .500" Viton valve seals that I will be using.

IMG_1171.JPG


Cylinder head pictures to come...


Edited by Dynamic

Lookin good Jon!


Can't wait to see it all come together!

  • Author

Thanks! It's fun stuff to me. I enjoy it...except for paying for all this stuff.

:popcorn:

  • Owner
13 minutes ago, Dynamic said:

Thanks! It's fun stuff to me. I enjoy it...except for paying for all this stuff.


Kind of like all of use with our diesels its the fun stuff that cost so much... :broke:

  • Author

Here are a few photos of the port work today. Since the valves I'm using are quite a bit larger than the stock valves, I had larger seats installed in the heads; both intake and exhaust. After the large seats were installed, I had to get in there and match the bowl area of the port to the larger seats. The port work is not top shelf, but I was just trying to get the seats blended, not a full-on port job here. The Hemi heads already flow like crazy, so fancy port work and polishing was not my goal on these heads. Just by installing the larger valves and seat, and then blending the seats to the bowl area, port flow will increase dramatically over a stock port.


The heads are now ready to be final surfaced, and final assembled.


Intake seat before (I'm not sure why this photo is rotated 90 degrees, but it is.):IMG_1176.JPG


Intake seat after:IMG_1179.JPG


Exhaust seat before (Again, rotated 90 degrees.):IMG_1177.JPG


Exhaust seat after:IMG_1180.JPG


Both valves on their seats. (For those concerned, the nick at about the 4 o'clock position on the outer edge of the chamber will be cut out of there when I final surface the heads. I will be cutting .030" off of the head surface.)IMG_1181.JPG

  • Staff

cool stuff Jon, You've helped to educate me a little bit.


Must be nice to have a Dodge Durango so fast the cops can't see where it went. He he that's cool and I bet the wife loves it.


Nice of you to take time to share the progress.

Edited by JAG1

Is that year Durango full time 4wd or automatic 4wd? Just wondering if you'll have to upgrade the transfer case or any other drivetrain pieces?

  • Author
On 5/1/2016 at 7:04 AM, JAG1 said:

cool stuff Jon, You've helped to educate me a little bit.


Must be nice to have a Dodge Durango so fast the cops can't see where it went. He he that's cool and I bet the wife loves it.


Nice of you to take time to share the progress.


The fun stuff is yet to come. As soon as the machine work is finished, final cleaning and assembly begins.


Haha... My wife's Durango runs pretty good, but she doesn't really care. As long as it runs and gets her around in reliable comfort...!

23 hours ago, Buzzinhalfdozen said:

Is that year Durango full time 4wd or automatic 4wd? Just wondering if you'll have to upgrade the transfer case or any other drivetrain pieces?


The Gen 2 Durangos are an AWD drivetrain with the 545RFE 5 speed automatic, so, yes, basically full-time 4WD. I was going to pull the transmission down and build it, but it looks like there was some transmission work done already at some point in its not-too-distant past, and the fluid looks brand new. I think I'll just put a little bit looser (2600 rpm) torque converter on the front of it, do some valve body work on the bottom, and run it like it is. If I break it...oh well, I'll just build one for it then.


The transfer case and the rest of the drivetrain will be fine. I don't plan on doing any drag racing with it or anything like that. It's just a daily driver...with a little more muscle.

  • Author

Waiting...on...machine...work...!!!

  • 5 weeks later...

nice Hemi build!!!!!   it will go in what car?? or truck??

  • Author
1 hour ago, Frankstein said:

nice Hemi build!!!!!   it will go in what car?? or truck??

Thank you! It has been fun so far. It will be going into a 2004 Durango.


I'm still waiting on the machine shop to finish up with the last of the machine work. We had a little trouble getting the deck height exactly where I wanted it, but finally got it set. I'm a huge believer in running a VERY tight quench on the engines that I build. (The quench distance is the distance between the top of the piston and the bottom of the flat, or quench, area of the head when the piston is at the top of its stroke.) I like to run the quench at around .036-.038" on an engine that will see speeds of mainly 6,000 rpm and below. Higher sustained engine speeds require things to be a bit looser, but this engine will rarely even see 6K, so I'm setting it tight.


In order to set the quench, the engine needs to be mock assembled, and several measurements made. The Hemi combustion chamber is a bit different than a "wedge" style chamber, so there are a couple of other measurements that need to be accounted for in the head as well. You're basically measuring three things: the top of the piston relative to the deck of the block, the head gasket thickness and, in the case of the Hemi, the distance between the cylinder head gasket surface and the "quench pads" in the combustion chamber. The starting measurements that this engine had from the factory were: .003" piston protrusion (piston tops .003" higher than the deck of the block at TDC), .035" thick head gaskets, and .050" between the head deck and the quench pads. This calculates out to a .082" quench distance, which is typical of a production engine. When I mocked up the engine with the new crankshaft, rods and pistons, the uncut deck height was at .000", or "zero deck". We ended up cutting .012" off of the block deck (piston is now .012" out-of-the-hole at TDC), and .030" off of the cylinder head surface (bringing the distance from the head surface to the quench pads to .020"), and I'll be using a .029" thick head gasket. This all calculates out to an assembled quench distance of .037"...perfect.


All of these gyrations are time consuming, but well worth the effort in that the tighter quench distance forces the incoming fuel/air mixture up into the combustion chamber much more aggressively as the piston reaches TDC on the compression stroke. This gives you an engine that MUCH more detonation resistant, which allows you to run a higher static compression ratio and more timing advance for a given amount of fuel octane than the same engine with a larger quench distance.


Here is the crankshaft mocked up in the block and a rod and piston in each of the corner bores (cylinders 1, 2, 7 and 8) in order to measure deck height.

IMG_1199.JPG


Here is a picture of measuring the piston height relative to the deck. The deck had been rough cut to square up the block in this picture.

IMG_1200.JPG


This crankshaft has a HUGE stroke! It all fits in the block, but just barely. Here is one spot that I had to grind clearance for one of the rod bolts.

IMG_1203.JPG


More to come. Soon, I hope...!


  • 3 weeks later...
  • Author
  • Popular Post

Finally making some progress on the Hem build. All of the machine work is finally finished, and I can start going together with it.


After a thorough cleaning of the block, and scrubbing the bores with hot soapy water to remove all of the honing abrasive, the next step was to install the cam bearings.

IMG_1237.JPG


After filing all of the rings for the proper end gap, the pistons were hung on the rods for final assembly. Filing ring gaps is a tedious, iterative process, but one of the more important steps. Most ring sets anymore come "oversize" so that the ring gaps can be set where the builder wants them. I set mine at .018" for the top ring, and .020" for the second ring (for those scoring at home...).


Here are some of the pistons, hung on the rods, ready to install...

IMG_1258.JPG


After a few coats of Chrysler Hemi Orange paint, the crankshaft went in for the final time, as well as the front two pistons and rods (#1 and #2) in order to degree the camshaft. I like to degree the camshaft with as few pistons installed as possible because the less drag there is, the easier it is to be ultra-precise in the degreeing process. You obviously need #1 to establish TDC on the degree wheel, but I always like to install the other piston/rod that rides on the same crank journal to keep the rod from floating around side-to-side. It's a minor thing, but it's just my way...


Here's the block with the crank and front two pistons/rods final installed...

IMG_1242.JPG


Degreeing the camshaft is also one of the more important steps in any engine build. The cam was spec'd out and ground to be in a specific relationship to the crankshaft. The process of degreeing the cam ensures that when it is installed, this relationship is, in fact, correct. I had this camshaft custom ground with 115 degree lobe centers (the number of degrees between the center of lift of the exhaust lobe, and the center of lift of the intake lobe). I wanted to run this camshaft with the intake centerline aligned at 112 degrees ATDC (after top dead center) of crank rotation on the intake stroke. That is the center of intake lift (intake valve all the way open) occurs at 112 degrees ATDC. This is all done with a degree wheel and a dial indicator riding on the #1 intake lobe of the camshaft.


Here is that setup...

IMG_1255.JPG


Now, on to installing all of the other pistons, and assembling and installing the heads. (I had to order custom thickness head gaskets in order to get my quench set where I wanted it. Long story... I'm still waiting on those.)


  • 2 weeks later...

 Hello, new to this forum. I defintely love the build on the Durango. I have alot of questions as I am getting ready to do a build on my 07 Chrysler Aspen 5.7 hemi. I do not know much about the hemi's and would like to know some things about this engine as I have heard conflicting info about the 2nd gen and 3rd gen. I want to make sure this forum is still active before laying out there what I am doing for my build. I will wait for a reply. Thanks a bunch!!! I'm excited to belong to a Mopar forum. Been a mopar guy since my pops and I first build 20 yrs ago. 1973 Dart Swinger, 318ci

The forum is active, but we are mostly geared towards cummins powered vehicles, HOWEVER our members skills extend well beyond diesel, as you can see in this thread.


Welcome and post, I am sure of these guys will help you out.  

Awesome! Thanks for your response! Much appreciated, I guess I thought I was posting under the 392 stroker hemi build that someone was placing into a 04 Durango 

You are.


Dynamic is a well know trans builder in the PNW area.  

  • Author

I'll get some more pics uploaded soon. I have the bottom end put together, and waiting for head gaskets (which I had to have custom made). Long story short, everything went together great! All clearances came out basically perfect; no issues there. When you use good parts and have good machine work done, final assembly is generally a non-issue...


Chad, welcome to the forum. What questions do you have about building the Hemi? I've been building engines for about as long as I've built transmissions (about 28 years), and have done several of the late-model Hemi builds I generally try something different every time. This one has been my most "exotic" one yet, if you can call it that. One thing that I will tell you off the bat is to plan on getting a decent set of rods. The stock rods are VERY weak pieces, and are the reason that many of these things end up in the wrecking yard...

Thanks Dynamic for welcoming me to the forum, I have so many questions so I'll start simple as I am not starting the rebuild until next spring, I am wanting to do the rebuild myself and I still have yet to find machine shops in my area. I want something completely different than anyone else. As you see in my profile the look of this Aspen is unlike any other. I am big on Custom, but I still want that old school lope to this hemi. I am a bit confused on where to start. At first I wanted to rebuild the 5.7 I have considering I am about to roll over to 210,000 miles. Motor still strong. But to achieve the big rough radical idle I want like I had in my 71 SS nova 383 Stroker, I am not sure I can with the VVT. I have heard several with the 274 Comp cam @ I believe .619 which I think will be fine. I do want to make this a 392 stroker engine build. I want lots of torque considering the heavy vehicle that it is. but want a mean sounding motor. I do want to eventually place the Edelbrock super charger on this a couple years down the road so I am guessing with the bottom half to do a forged scat pack! I am on a budget but it seems that I will be saving myself around $5000 for tackling this project by myself. This will be my first build alone. I have assisted in a couple builds years ago on SB bowties. But my knowledge base has left me lol. I was told that with the stroker kit with this engine and port and polishing the heads and a thumper of a cam that I could see 650 horse at the crank with this build. I have a budget of $10K. Not sure if that mechanic was correct about the power output but he said that he has been building hemi's for years. I would like to keep the block I have and make the build as powerful as possible with just the stroker kit at first. and the cam and heads. I am also confused on what headers will fit with this setup as all I have found is Durango headers around $700 a set. I'll end this message for now as I have hit you with a lot.


Thanks again!!!IMG_0676.JPG


Did This Forum Post Help You?

Show the author some love by liking their post!

Welcome To Mopar1973Man.Com LLC

We are privately owned, with access to a professional Diesel Mechanic, who can provide additional support for Dodge Ram Cummins Diesel vehicles. Many detailed information is FREE and available to read. However, in order to interact directly with our Diesel Mechanic, Michael, by phone, via zoom, or as the web-based option, Subscription Plans are offered that will enable these and other features.  Go to the Subscription Page and Select a desired plan. At any time you wish to cancel the Subscription, click Subscription Page, select the 'Cancel' button, and it will be canceled. For your convenience, all subscriptions are on auto-renewal.