Jump to content
Posted

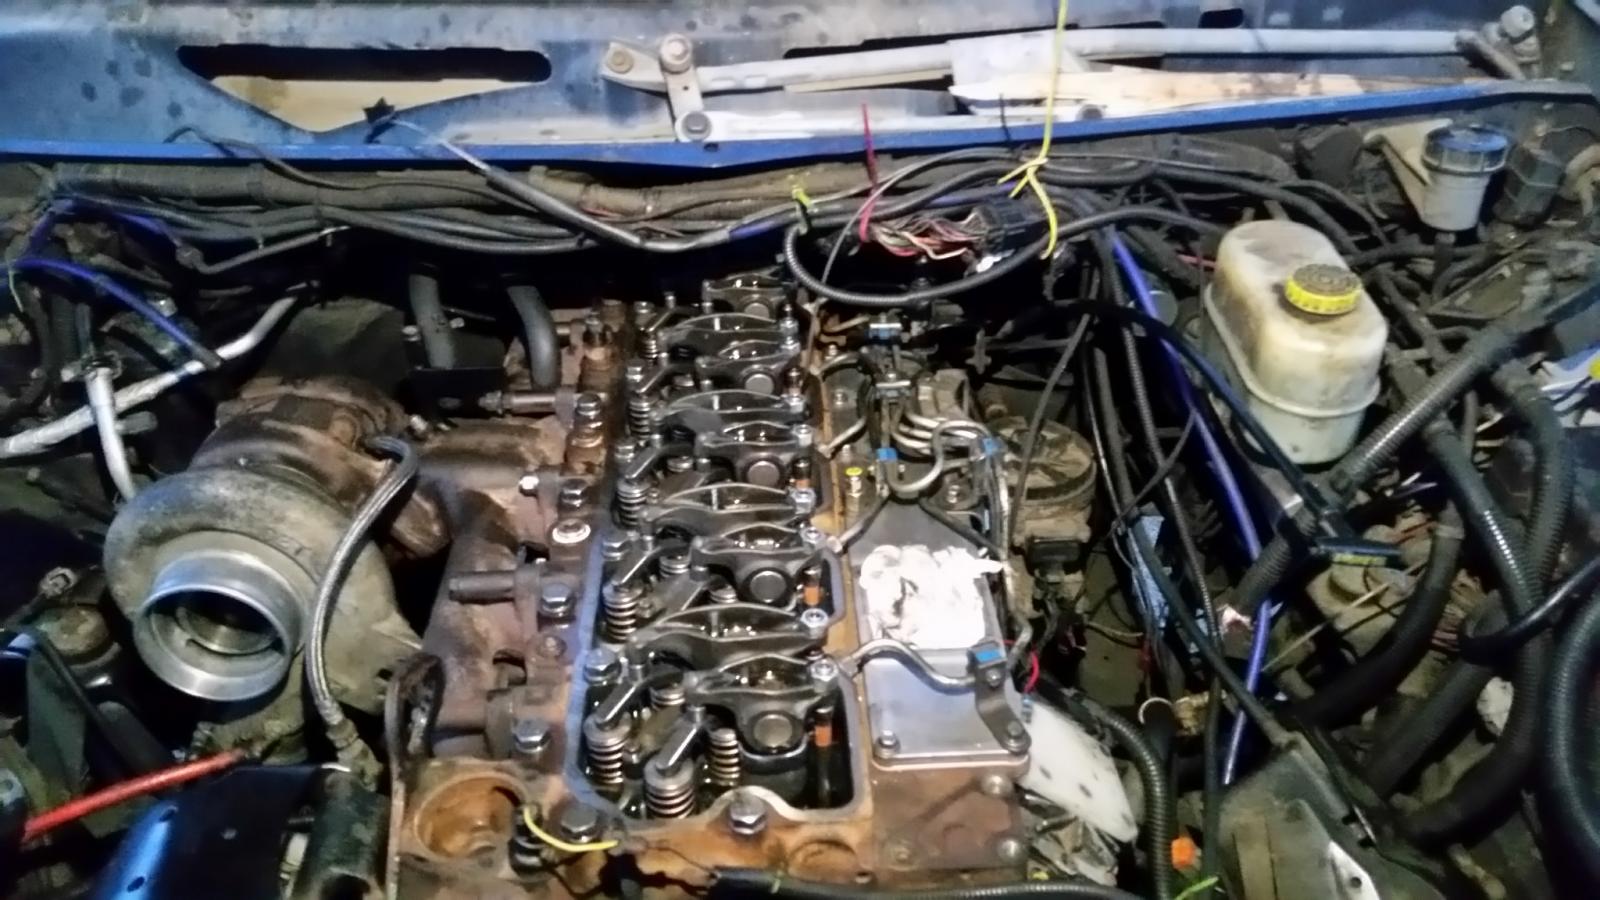
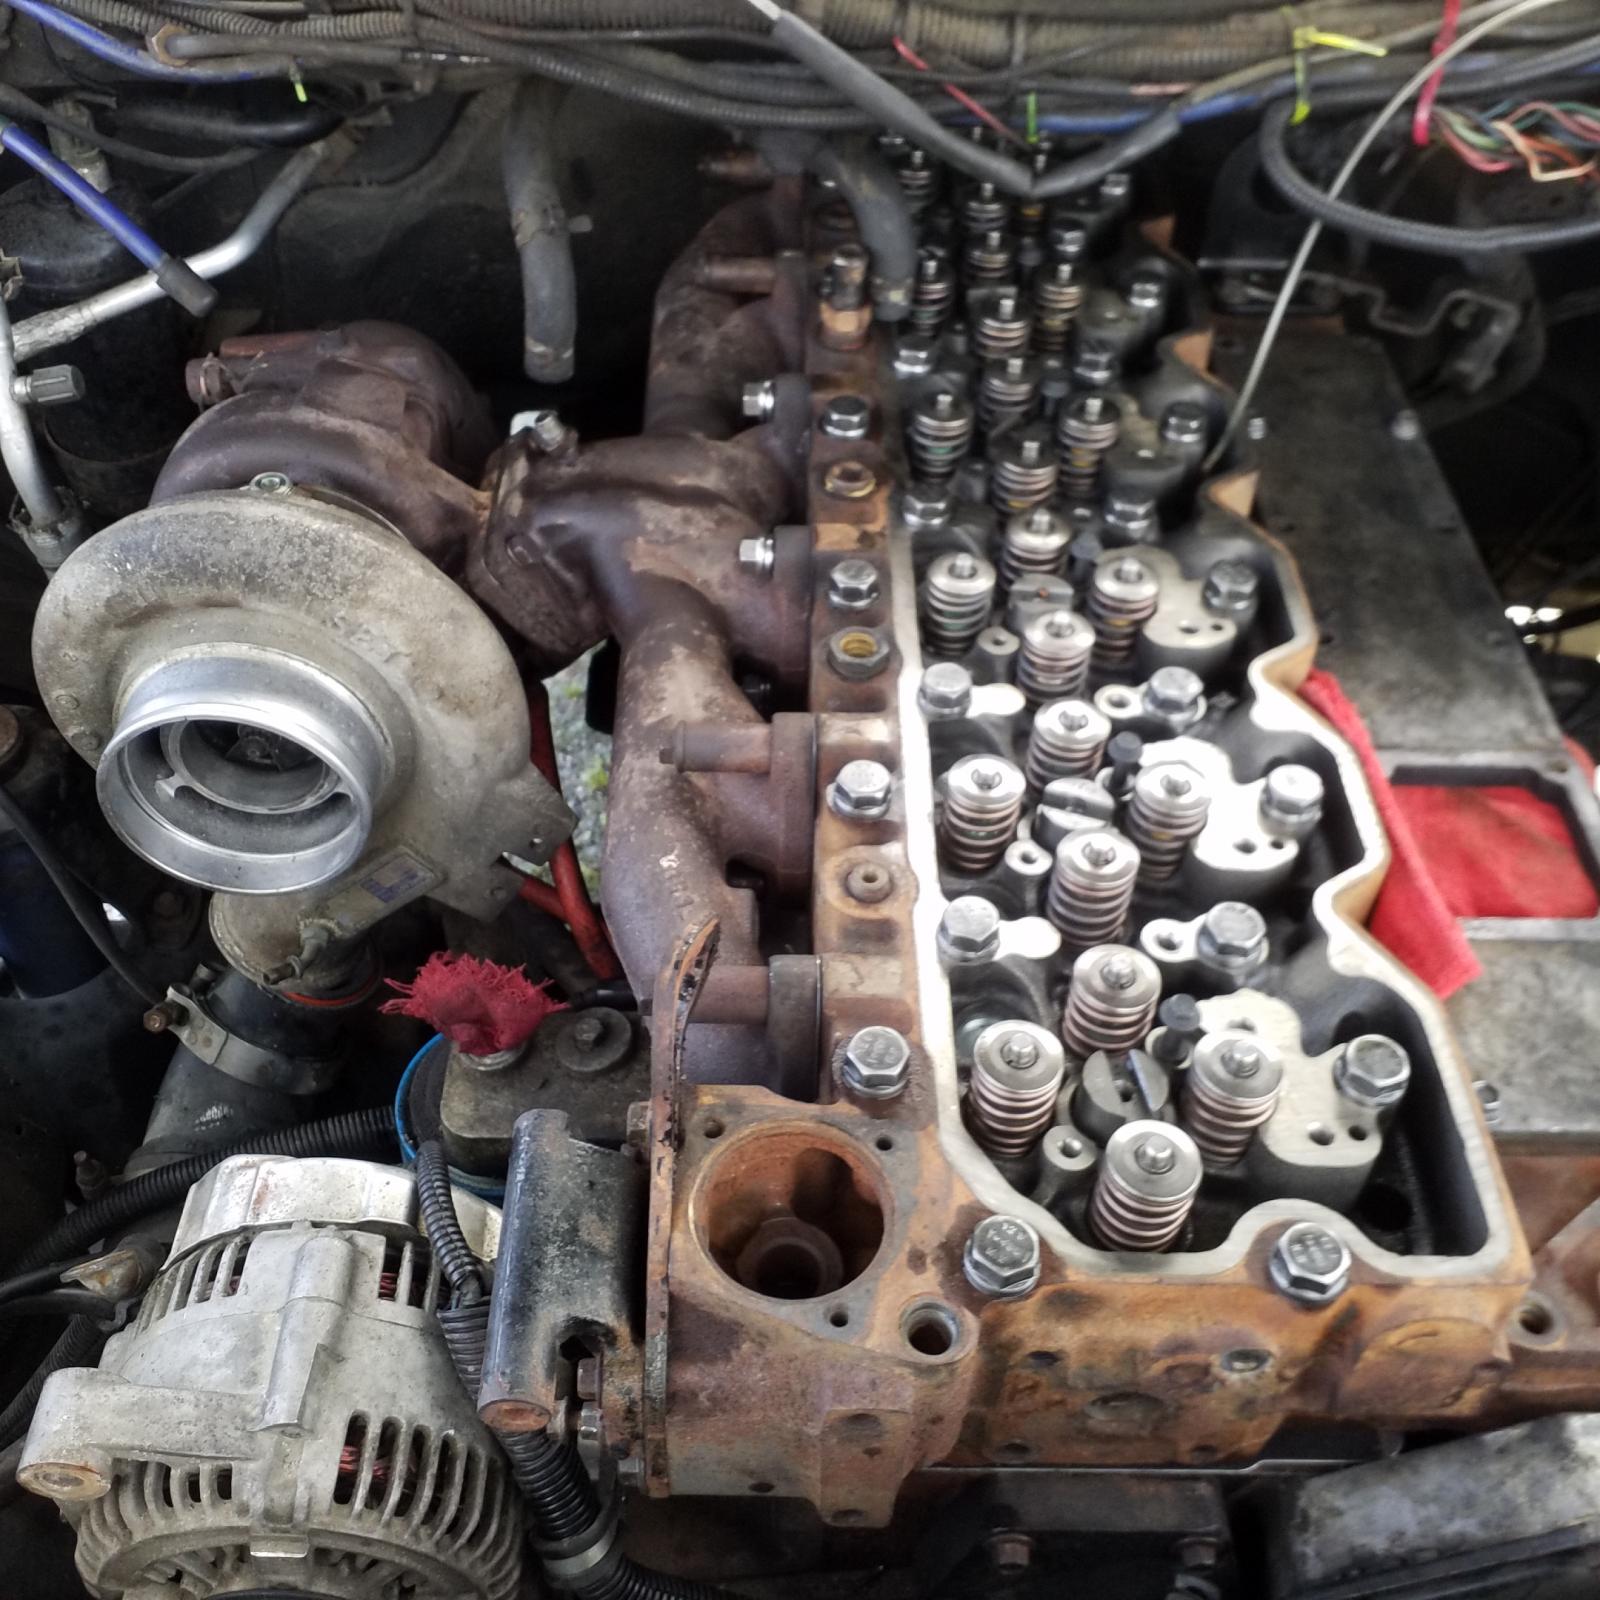
 I finally got started on this in earnest today. Did a little on it Monday pm. Then today after the morning mist died away and I got the doctors appointment out of the way the fun began. Itwent pretty well. Not one ceased bolt. They all came out nicely. Made this far today.

20190326_181418.jpg.2ea990b9a228f68b51876a092f285210.jpg20190326_181437.jpg.8ba86fe8771b9fa69cf1f59caf56e836.jpg20190326_195807.jpg.a3098e9c507cf9674b2f9e4c87d6b8ed.jpg

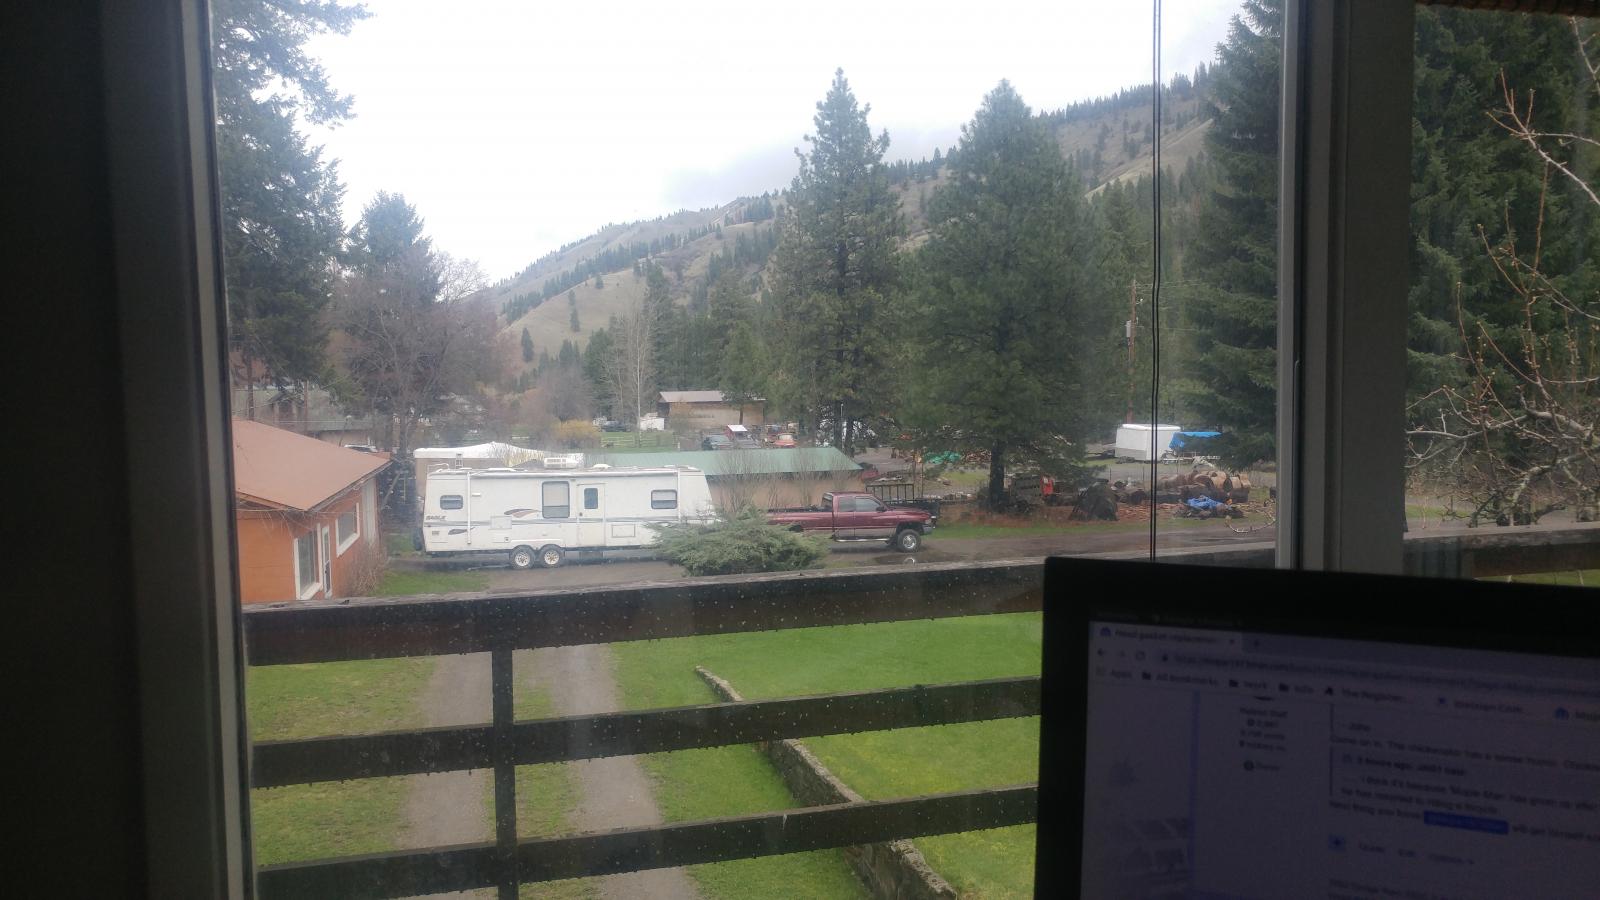
My helper.20190325_161159.jpg.2b5cfb35ab847be893780a71c253b6cb.jpg

The offending leak. The oil is from some bad pouring out of the gallon jug.

20190326_181510.jpg.31432a031193df7c42bb7fd4a84319a6.jpg


Now a couple questions.


Those metal strips between the pairs bolts at the front and rear of the exhaust manifold, are they necessary to reinstall? I thought they were under the bolt heads until I destroyed them all and realized they were over the bolts. They appear to keep the bolts from backing off? I will have to find some if necessary.


The exhaust manifold gaskets have raised area on one side, does this raised portion go to the block or the manifold?

.

This arrived yesterday.

20190325_145838.jpg.d5bcf8800d64512feb768a9bf61e1cad.jpg

Hope to have the head off and to the machine shop tomorrow. More to come.

  • Replies 211
  • Views 26.7k
  • Created
  • Last Reply

Top Posters In This Topic

Most Popular Posts

  • Pile it on boys, I dont care. After 3 minutes of priming and 5 minutes of on an off starting,       SHE IS ALIVE AND PURRING LIKE 24V.     Test drive after lunch.

  • Dieselfuture
    Dieselfuture

  • Tractorman
    Tractorman

    I don't know you that well, so I would never treat you like others do.  When you are done, are you going to put the roof back on the chicken house?   - John

Posted Images

Featured Replies

10 minutes ago, dripley said:

IIRC you go to the first value then the second value, which is 77 lb/ft then recheck the 77 and turn 90*. I do not remember a recheck of the first value.


Hmmm.. Maybe just to make you sure you did the second step right, I dont know. But step 3 is to recheck the torque, hence breaking it loose. This is my understanding and I am not speaking from experience by any means, hence all the questions.


Now for the both of you. What if any opinions due you 2 have on the 6.7 rocker assemblies?

Step 3 recheck, not re-torque, is the way I read it. I don't have any knowledge of putting on 6.7 rocker assy. my engine is together the way I'm happy with.

34 minutes ago, Blueox01 said:

The gasket compresses as you torque from the center out, you're just making sure every bolt IS at 77 ft lbs prior to step 4 turning each bolt 90*.  Why would you release torque AFTER you've compressed the gasket?


The FSM is not clear as to exactly how to perform this particular procedure, but I understand what @AH64ID is saying.  If you truly want to have the most uniform clamping force throughout the head, then backing off each bolt and re-torqueing to 77 ft/lb will achieve that.


From the FSM for my 2002 truck:


(a) Torque bolts to 80 N·m (59 ft. lbs.)

(b) Torque bolts to 105 N·m (77 ft. lbs.)

(c) Re-check all bolts to 105 N·m (77 ft. lbs.)

(d) Tighten all bolts an additional ¼ turn (90°)


- John


3 minutes ago, Tractorman said:


The FSM is not clear as to exactly how to perform this particular procedure, but I understand what @AH64ID is saying.  If you truly want to have the most uniform clamping force throughout the head, then backing off each bolt and re-torqueing to 77 ft/lb will achieve that.


From the FSM for my 2002 truck:


(a) Torque bolts to 80 N·m (59 ft. lbs.)

(b) Torque bolts to 105 N·m (77 ft. lbs.)

(c) Re-check all bolts to 105 N·m (77 ft. lbs.)

(d) Tighten all bolts an additional ¼ turn (90°)


- John


Re-check vs Re-torque  You can only "re-torque" if bolts are backed off,if you back of more than 59ft lbs you go through procedure again AFTER you've compressed the gasket? Asking for a gasket leak!

Edited by Blueox01

  • Author

Thats what it says, re check. Took me this long find it. But it does bode another question. Would breaking one bolt loose at a time compromise the head gasket? If I am not mistaken that is the process fori nstalling head studs on a bolted cylider head. But since you torque the studs tighter torque, is that why you can get away with bresking the bolt loose?

2 minutes ago, dripley said:

Thats what it says, re check. Took me this long find it. But it does bode another question. Would breaking one bolt loose at a time compromise the head gasket? If I am not mistaken that is the process fori nstalling head studs on a bolted cylider head. But since you torque the studs tighter torque, is that why you can get away with bresking the bolt loose?


One at a time will not effect the HG. 


Also, a new HG shouldn’t be effected by breaking torque, as demonstrated by the backing off 360° on 3rd gens.... unless the gasket is completely different. 

  • Staff

Hey Dave, I think you recheck the torque by seeing if they turn some more when you go back over them at the required torque setting. Each bolt works to help adjacent bolts do the work so going over them again, (not backing them off) is a good idea to make sure they are all equal squeeze on the head gasket.


Im often mistaken but as adjacent bolts get torqued the ones done before loose some their torque so you have to recheck them all. I wouldn't back off unless it specifically says to do that which seems wrong to me Dave.

Edited by JAG1

This is what I've always done, right or wrong it worked for me. 

Go in steps, say my head studs are at 135 final torque, I first go 50 on all, then 90 then 135, after they were all at 135 I went through torque sequence and backed them off lose, put more arp lube on everywhere torque it back to 135, one at the time on all 26.

As for chasing threads, I started doing it and noticed that tap was taking material out , when I went to put stud back in it seemed loser then before, so I said enough of that and just cleaned the holes really well, I also put a light coat of anti seize on studs to keep them from corroding. 

I'm also in disbelief that you didn't need valve work or guides, my engine must have been abused from new by po. Happy you didn't have to spend much money on it. What's odd is just to surface, pressure test, mag it should be almost higher price then what you got charged. They had to pull valves out toof, to check things out, then tank it to get all the crap off, that's some shop you got there. My shop would not just polish valves they would regrind them for sure no matter what and do 3 angle job. I just hope it works out for you. 

 Not sure what to say on rockers, they look same, if they are longer then you'll be changing cam lift. Rotate it all by hand before starting, looking close at all clearances. 

Edited by Dieselfuture
Autocorrect

4 minutes ago, JAG1 said:

Hey Dave, I think you recheck the torque by seeing if they turn some more when you go back over them at the required torque setting. Each bolt works to help adjacent bolts do the work so going over them again, (not backing them off) is a good idea to make sure they are all equal squeeze on the head gasket.

Thanks you made my point.

3 minutes ago, JAG1 said:

I wonder my Mopar1973Man hasn't jumped in to help? He knows the right way. :thumb1:

Guess I've done the way I described and the only leak my head gasket had was from the factory, not from any of my replacements. Last head gasket went 400K before a bad injector burned a hole in #6 sleeve, That WAS my fault, by bad maintenance.

This is what ATS say's about studs, not sure this extends to OEM bolts, different set up.


https://www.atsdiesel.com/PDF/120505/Dodge 24V & CR Head Studs-INST V1.3.pdf

1 hour ago, Blueox01 said:

Thanks you made my point.


But that’s the thing, you cannot tell they are all equal with that method. 


The method does work, and has for many years, but that does not mean they are all equal. 


It’s good enough for most users/uses, and that’s the end point. 


Edited by AH64ID

  • Author
30 minutes ago, Blueox01 said:

Guess I've done the way I described and the only leak my head gasket had was from the factory, not from any of my replacements. Last head gasket went 400K before a bad injector burned a hole in #6 sleeve, That WAS my fault, by bad maintenance.

This is what ATS say's about studs, not sure this extends to OEM bolts, different set up.


https://www.atsdiesel.com/PDF/120505/Dodge 24V & CR Head Studs-INST V1.3.pdf

This says to use a 12 X 1.75 tap on the threads. 


Outside of the article another thing I thought thats interesting is the head bolts only thread into the block only about 3/4 of an inch when there is at least sn 1 1/2" of threaded hole.

44 minutes ago, JAG1 said:

I wonder my Mopar1973Man hasn't jumped in to help? He knows the right way. :thumb1:

I called him but he did not answer.


54 minutes ago, Dieselfuture said:


I'm also in disbelief that you didn't need valve work or guides, my engine must have been abused from new by po. Happy you didn't have to spend much money on it. What's odd is just to surface, pressure test, mag it should be almost higher price then what you got charged. They had to pull valves out to check things out too, then tank it to get all the crap off, that's some shop you got there. My shop would not just polish valves they would regrind them for sure no matter what and do 3 angle job. I just hope it works out for you

As far as the guides go they are cast into the head and un serviceable from what I have read. I did tell when it got there and the 2 visits I made that if it needed more attention just call me. They have been in buisness longer than I have lived here. So I guess I put alot of trust in them. I saw the head with all the springs off but did not have tiime to see their next step. 


1 hour ago, AH64ID said:


One at a time will not effect the HG. 


Also, a new HG shouldn’t be effected by breaking torque, as demonstrated by the backing off 360° on 3rd gens.... unless the gasket is completely different. 

Apparently the 2nd and 3rd gens still might share traits even up into the 4 gens. The FSM I have was written 18 years ago, things chang


1 hour ago, Blueox01 said:

Step 3 recheck, not re-torque, is the way I read it. I don't have any knowledge of putting on 6.7 rocker assy. my engine is together the way I'm happy with.

How well have youf rocker assemblies held up your 01? I was not happy seeing mine. I did expect better.


Thanks gor the input, now me and Lucy got some thinning to do.

59 minutes ago, Blueox01 said:


Cummins has the same thing on 3rd gen head bolts. The loosening is important, as it helps set and equal calming force. 


What none of them mention is ensuring the tq wrench clicks while moving. They don’t mention that because it’s taught to always do that at mechanics training, so it should go without saying. That being said, lots of things should go without saying and they can’t. 

2 minutes ago, dripley said:

This says to use a 12 X 1.75 tap on the threads. 


I’ve always understood them to be 12 x 1.75. 


  • Author
5 hours ago, AH64ID said:

I’ve always understood them to be 12 x 1.75. 

The tap fits the bolt perfectly. But it will not go down the bolt hole even though the bolt will. I find that odd.

9 hours ago, dripley said:

As far as the guides go they are cast into the head and un serviceable from what I have read.

They get ovaled out, then need to be drilled out and pressed new in. 

3 hours ago, dripley said:

The tap fits the bolt perfectly. But it will not go down the bolt hole even though the bolt will. I find that odd.


Not necessarily odd. The tap should be slightly larger than the bolt, if they were the same size a bolt would have a hard time following a tap. It needs to cut just a little deeper than your threads. 


Odds are the threads just need cleaning. How much force does it take to spin it in the head? 

Edited by AH64ID

  • Author
2 minutes ago, AH64ID said:


Not necessarily odd. The tap should be slightly larger than the bolt, if they were the same size a bolt would have a hard one following a tap. 


Odds are the threads just need cleaning. How much force does it take to spin it in the head? 

Two fingers and no resistance. I hit holes with carb cleaner andit blew the crud out of them. Suckedup with a vac as it came out. The uncleaned ones not so. I am figuring they are good as long as they go in that easy.


24 minutes ago, Dieselfuture said:

They get ovaled out, then need to be drilled out and pressed new in. 

Are you saying they are seperate from the head and replaceable or drill the hole out and install something aftermarket?


My seals were all intact and the valves were reasonably rigid in the head. I did not have any pieces of seal on the head like Mike did. We did replace the seals but nothing to the guides.

  • Staff

I'm not sure about a lot of things as I get older, but it seems a stainless bristle tooth type brush could get in there and clean the threads if you spin it you will feel the threads pulling it down. Use the vac when lifting or turning the brush back out on its threads.

7 minutes ago, JAG1 said:

I'm not sure about a lot of things as I get older, but it seems a stainless bristle tooth type brush could get in there and clean the threads if you spin it you will feel the threads pulling it down. Use the vac when lifting or turning the brush back out on its threads.

I like that. Could even put the brush in a drill and slowly spin it and work it in and out.