Jump to content
Mopar1973Man.Com LLC
  • Welcome To Mopar1973Man.Com LLC

    We are a privately owned support forum for the Dodge Ram Cummins Diesels. All information is free to read for everyone. To interact or ask questions you must have a subscription plan to enable all other features beyond reading. Please go over to the Subscription Page and pick out a plan that fits you best. At any time you wish to cancel the subscription please go back over to the Subscription Page and hit the Cancel button and your subscription will be stopped. All subscriptions are auto-renewing. 

Recommended Posts

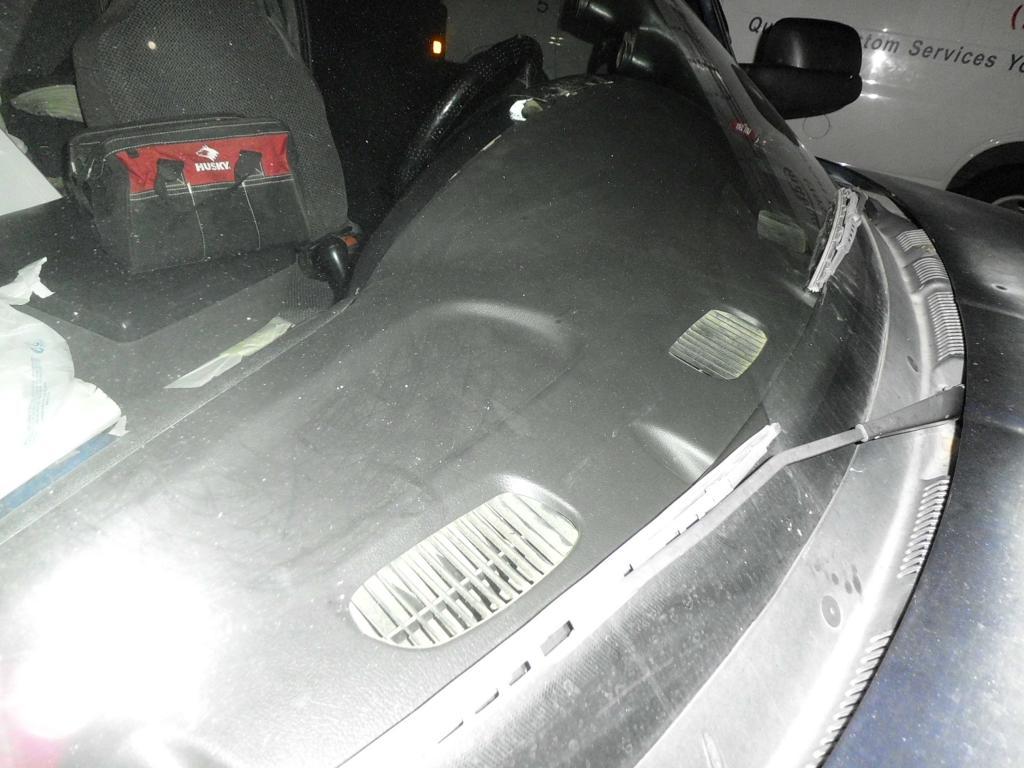
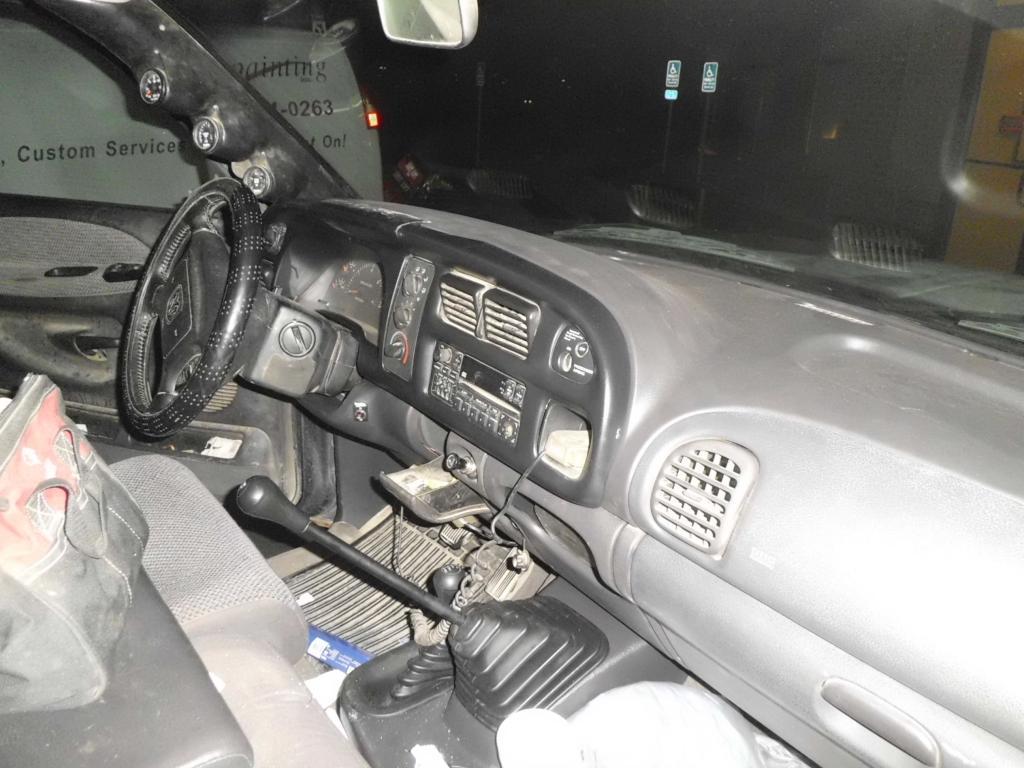
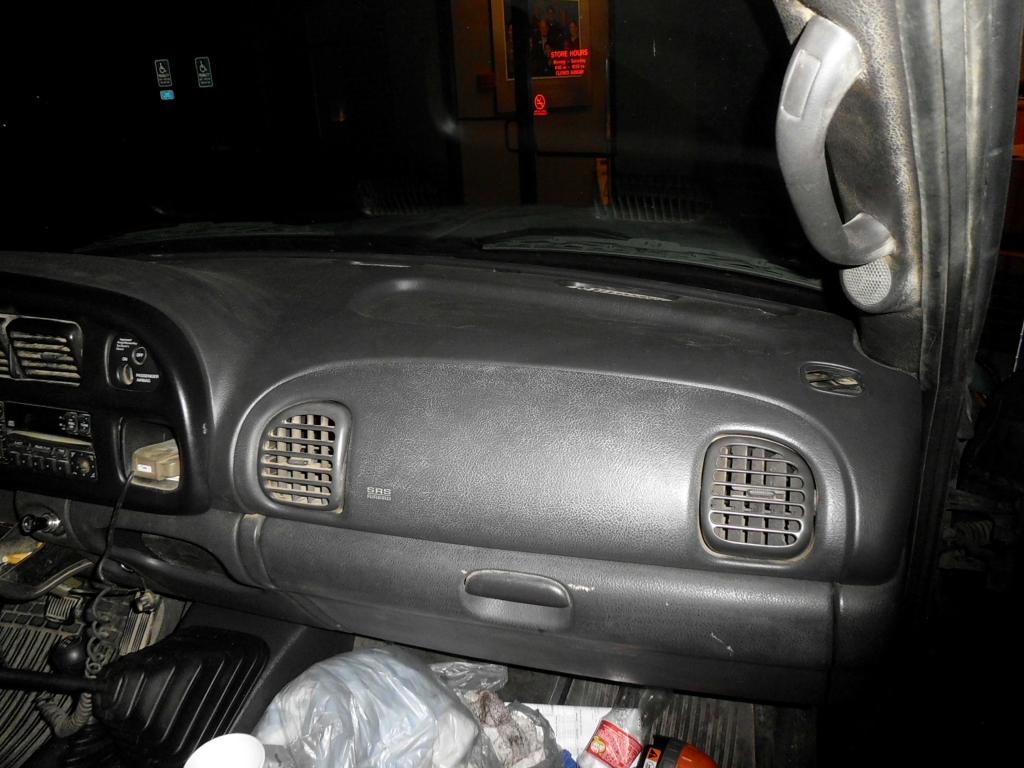
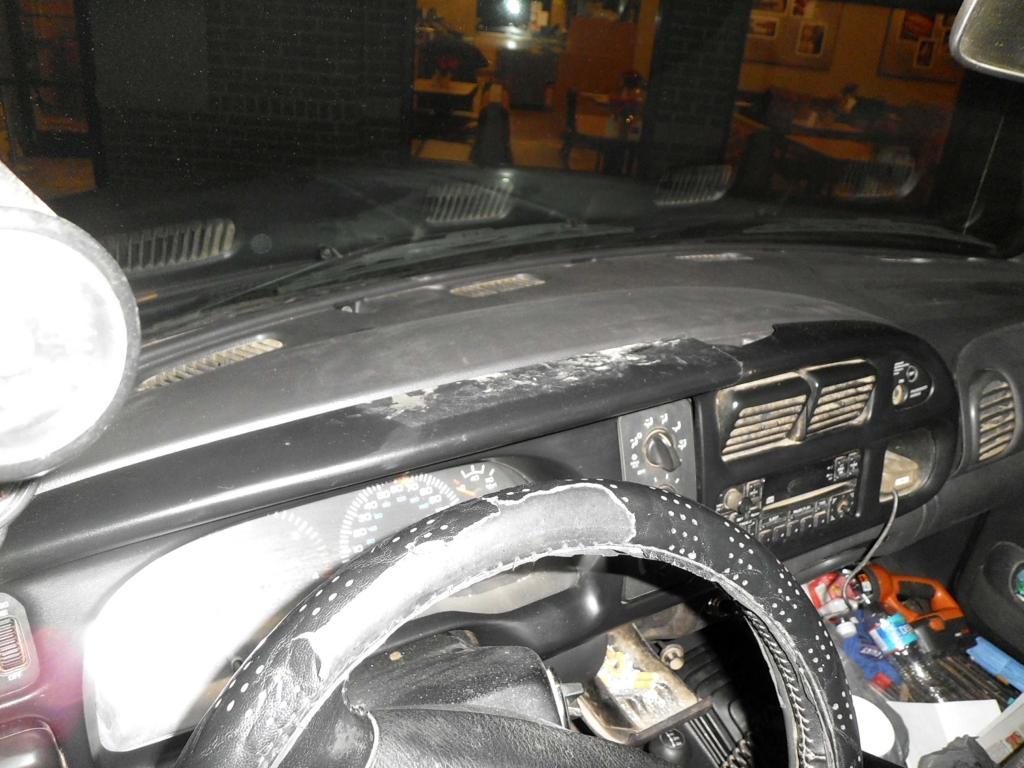
I have spent the past 2 days of my weekend replacing my severly cracked dash and a leaky heater core. In the process I also replaced my ac evap core. My heat had gotten to the point of the only way to regulate it was thru the windows. By that I mean the heat on full blast and opening a window when it got to warm, which was not to often since hy heater was not putting out alot anyway. I installed a new core and the Heater Treater part I heard so much about. The oe part for the blend door was broken and I am glad I had it on hand.I bought a replacement dash from LMC. The color match was spot on. The fit was very good. It was a fairly straight forward replacement. 90% of the screws were not to difficult to install, but the other 10% were a challenge. I used Mike's article for the HVAC rebuild for most of the work, but got a little inventive on doing both the HVAC work and the dash installl. I have pictures and will try and write it up in the near future as to what I experianced while doing both. I will say that the time frame posted for these were exceded by quite abit and if you attempt either one allow some extra time. Since this was my first time taking a dash apart of any kind, the unknown mutiplied the time frame that I needed.I would also like to add that I would never had even attempted something like this had it not been for this forum. The members here give so much confidence and info I feel notthing is impossible. Thanks guys.

  • Like 4
Link to comment
Share on other sites

I have spent the past 2 days of my weekend replacing my severly cracked dash and a leaky heater core. In the process I also replaced my ac evap core. My heat had gotten to the point of the only way to regulate it was thru the windows. By that I mean the heat on full blast and opening a window when it got to warm, which was not to often since hy heater was not putting out alot anyway. I installed a new core and the Heater Treater part I heard so much about. The oe part for the blend door was broken and I am glad I had it on hand. I bought a replacement dash from LMC. The color match was spot on. The fit was very good. It was a fairly straight forward replacement. 90% of the screws were not to difficult to install, but the other 10% were a challenge. I used Mike's article for the HVAC rebuild for most of the work, but got a little inventive on doing both the HVAC work and the dash installl. I have pictures and will try and write it up in the near future as to what I experianced while doing both. I will say that the time frame posted for these were exceded by quite abit and if you attempt either one allow some extra time. Since this was my first time taking a dash apart of any kind, the unknown mutiplied the time frame that I needed. I would also like to add that I would never had even attempted something like this had it not been for this forum. The members here give so much confidence and info I feel notthing is impossible. Thanks guys.

The saying goes something like this: "We the unwilling, lead by the unknowing, have done so much for soooo long with so little that we are now qualified to do anything with nothing." :woot:
Link to comment
Share on other sites

Congrats dripley!! I have dismantled most of my dash for a dash replacement as well and look forward to your write-up! Glad all went well and agree on the extra time :lol:...I was just talking with a friend about how it always takes me muuuuuchhhh longer than others haha.

Link to comment
Share on other sites

  • 2 weeks later...

Dripley,Looks great!! Nice work and write up!!On the temperature, have you ever verified that the dash gauge is actually reading without an offset? You might need to use another method of temperature measurement. This gauge is fed from the PCM. Have you had a scan tool connected to see what the PCM actually "thinks" it sees as a temperature input? If the PCM is "actually" seeing this temperature, you might need to pop the coolant temp sender out, and check its resistance to known temperatures. Also, according to my wiring diagram, the power for the sensor is "shared" with the power for the WIF sensor. If for some reason that is drawing too much voltage, the scaling of the coolant sensor will be offset.Hope you figure it out!!Hag

Link to comment
Share on other sites

  • 3 months later...

Dripley, Looks great!! Nice work and write up!! On the temperature, have you ever verified that the dash gauge is actually reading without an offset? You might need to use another method of temperature measurement. This gauge is fed from the PCM. Have you had a scan tool connected to see what the PCM actually "thinks" it sees as a temperature input? If the PCM is "actually" seeing this temperature, you might need to pop the coolant temp sender out, and check its resistance to known temperatures. Also, according to my wiring diagram, the power for the sensor is "shared" with the power for the WIF sensor. If for some reason that is drawing too much voltage, the scaling of the coolant sensor will be offset. Hope you figure it out!! Hag

I checke the voltage a couple years ago and as I remember it was fine. I have also replaced the sender twice with no differance. I recently bought a cheaper laser temp gun and have shot the tstat housing just after parking the truck with the engine runnig and seems to be close to the gauge. Though it varies alot aroung that area of the block.
Link to comment
Share on other sites

How hard for the dash out of 10 ? Thinking of doing mine .. ..

I would have to say a 4 or 5 if it is your first time. Getting the dash loose and hanging for install was a lot easier than I thought it would be. The dash screws that are under the dash are the hard ones. I did not know they were there until I removed the old one. It was easy to remove since it was in so many pieces. I also had the hvac box removed at the time which made the install easier. Now that I have done, I would agree with Rogan's rating. Even if it had ben a 7 to 8 it would be worth seeing and feeling a solid, uncraked dash. That thing bothered me more than any damage on my rig. It is well worth doing.
  • Like 1
Link to comment
Share on other sites

The dash fit and looks great, I hope it holds up for a very long time. The dash was $240 + about $30 for shipping and a $20 oversize part charge. It came in a rather large box wrapped in foam and packed in Styrofoam peanuts. I also ordered the reinforcement kit for $25 extra. It was a little pricey for no more than what was, but seemed to be cheap insurance. So it was about $315 for everything. Here is where I got it, http://www.lmctruck.com/icatalog/de/full.aspx?Page=93 It just fit right in no trimming or filing was necessary.

Link to comment
Share on other sites

  • 6 years later...

Doing heat core, evaporator, blower motor and resistor, and new actuators all around right now. When i took everything apart all of my foam gaskets and most of my firewall disintegrated. I was wondering which foam you use for your gaskets? And i can no longer get the firewall pad so i guess i make my own. Thanks in advance.

Link to comment
Share on other sites

4 minutes ago, billhulbert said:

Doing heat core, evaporator, blower motor and resistor, and new actuators all around right now. When i took everything apart all of my foam gaskets and most of my firewall disintegrated. I was wondering which foam you use for your gaskets? And i can no longer get the firewall pad so i guess i make my own. Thanks in advance.

I went the buildi g supply and picked up the closest thing I can find to the remnants that were left in there. There is more than one kind in it.  Matched it the best I could. Did not have to mess with the fire wall. You will also need some sealing foam on the evaporator and the heater core as I remeber. Bought that at the building supply also.


There is a fitting on the outside of the box that goes thru the fire wall for the condesate drain. It will get knocked when you remove the box. If you dont put it back on all the condesation will leak into the floor board. If you loose it dont worry you can replace it with anything that will fit on there from the same building supply. I have a piece of clear vynil tube on mIne. 

  • Like 1
Link to comment
Share on other sites

11 hours ago, dripley said:

You will also need some sealing foam on the evaporator and the heater core as I remeber. Bought that at the building supply also.

I just used black silicone, it's somewhat easy to peel off of things if you ever need to. Got a couple of tubes of it at Menards for few bucks a tube. Used some of it to go around the headlights to close up the gap between the fender, as the new cheap housings don't fit quiet the same and live a bigger gap.

Link to comment
Share on other sites

×
×
  • Create New...