Jump to content

Welcome To Mopar1973Man.Com LLC

We are privately owned, with access to a professional Diesel Mechanic, who can provide additional support for Dodge Ram Cummins Diesel vehicles. Many detailed information is FREE and available to read. However, in order to interact directly with our Diesel Mechanic, Michael, by phone, via zoom, or as the web-based option, Subscription Plans are offered that will enable these and other features.  Go to the Subscription Page and Select a desired plan. At any time you wish to cancel the Subscription, click Subscription Page, select the 'Cancel' button, and it will be canceled. For your convenience, all subscriptions are on auto-renewal.

Posted

Does my one have a list of supplies needed to do this. I couldn’t find an actual materials list in the articles about this mod. Thanks. 

  • Replies 229
  • Views 63.5k
  • Created
  • Last Reply

Top Posters In This Topic

Most Popular Posts

  • ASE Certified Master Auto Technician Board Of Directors 1,372 1,569 posts San Marcos, CA Donor Report post

  • You cant beat that for the most part. My youngest son is 43 and still manage to drag him in sometimes. We usually have pretty good time. Last time he said he did not do any thing. But when your laying

  • I have been manually operating my grid heaters with a momentary switch that switches both on at the same time since December of 2001, and for 307,000 miles.  If there were to be any negative side effe

Posted Images

Featured Replies

I pretty much reused everything aside from few ring terminals and you'll need a metric (6mm or 5mm) bolt to go in the case under vp for your bundle of grounds. I just ran mine to the driver side battery. I cut corners lol. 

  • Author
1 minute ago, Dieselfuture said:

I pretty much reused everything aside from few ring terminals and you'll need a metric (6mm or 5mm) bolt to go in the case under vp for your bundle of grounds. I just ran mine to the driver side battery. I cut corners lol. 

What size ring terminals? 

  • Staff
15 minutes ago, Marcus2000monster said:

Does my one have a list of supplies needed to do this. I couldn’t find an actual materials list in the articles about this mod. Thanks. 

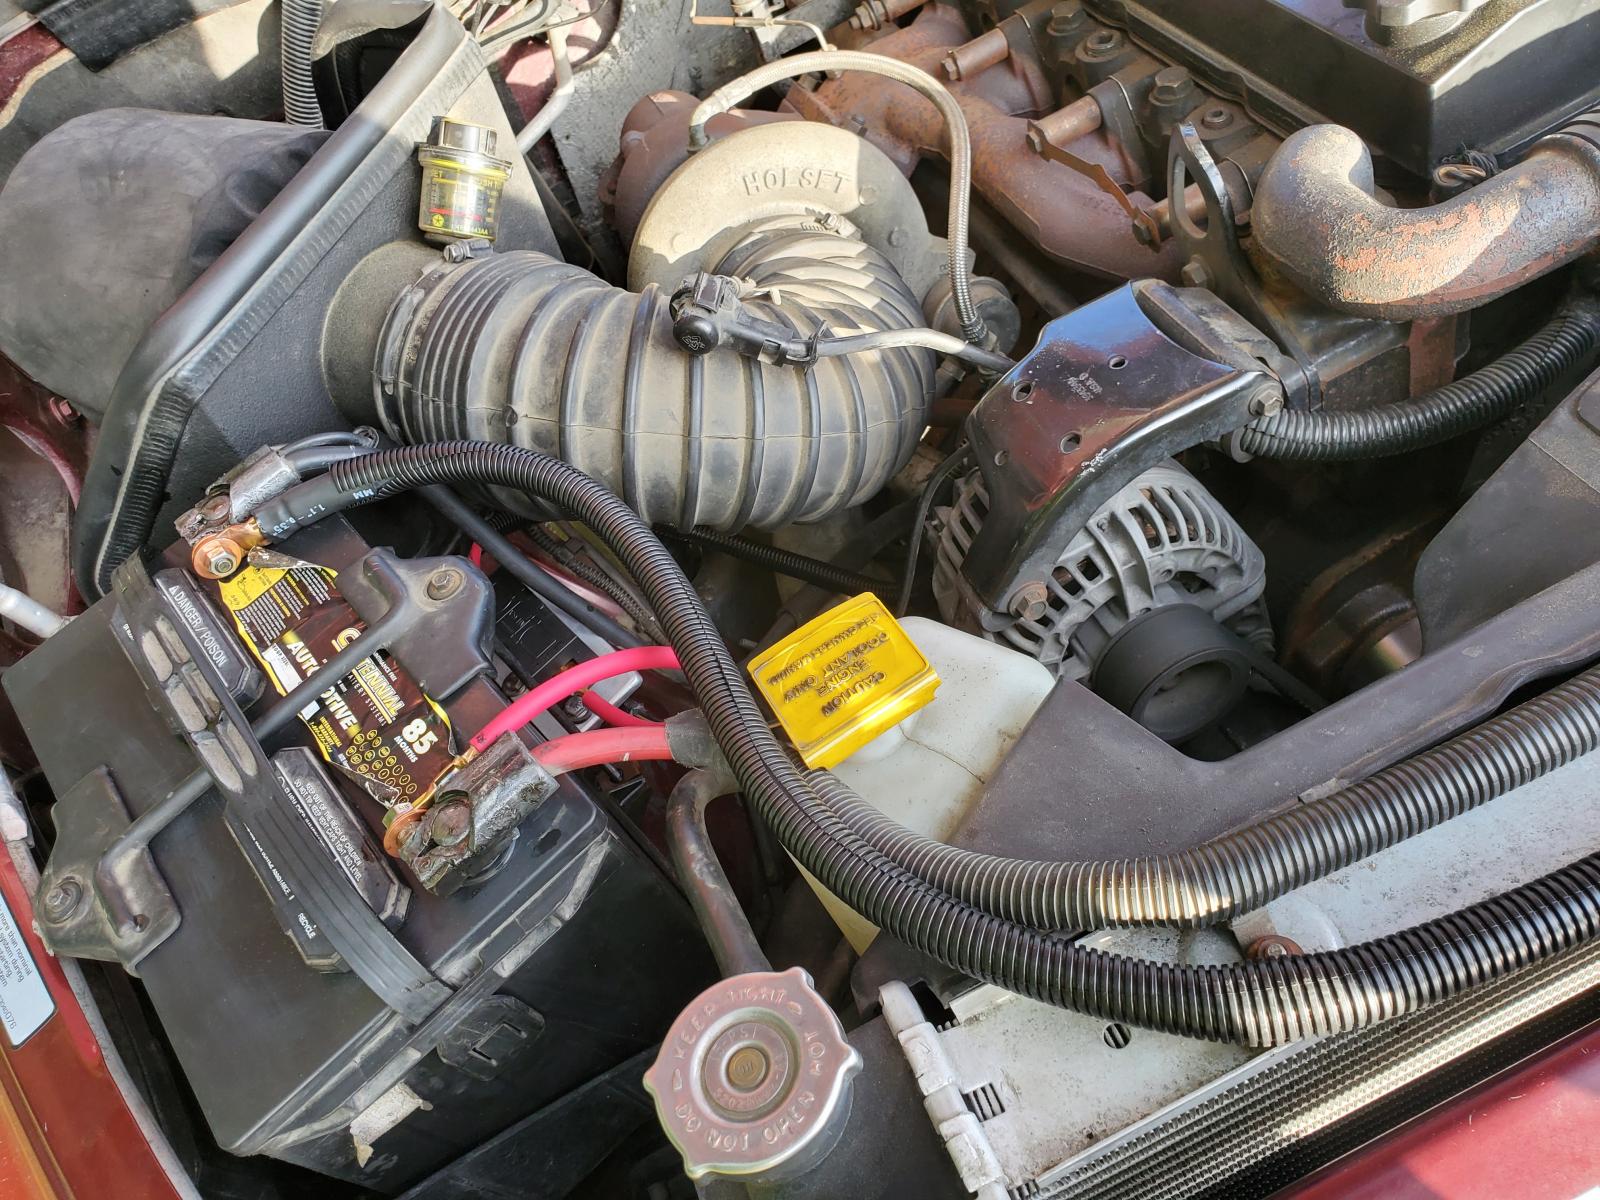
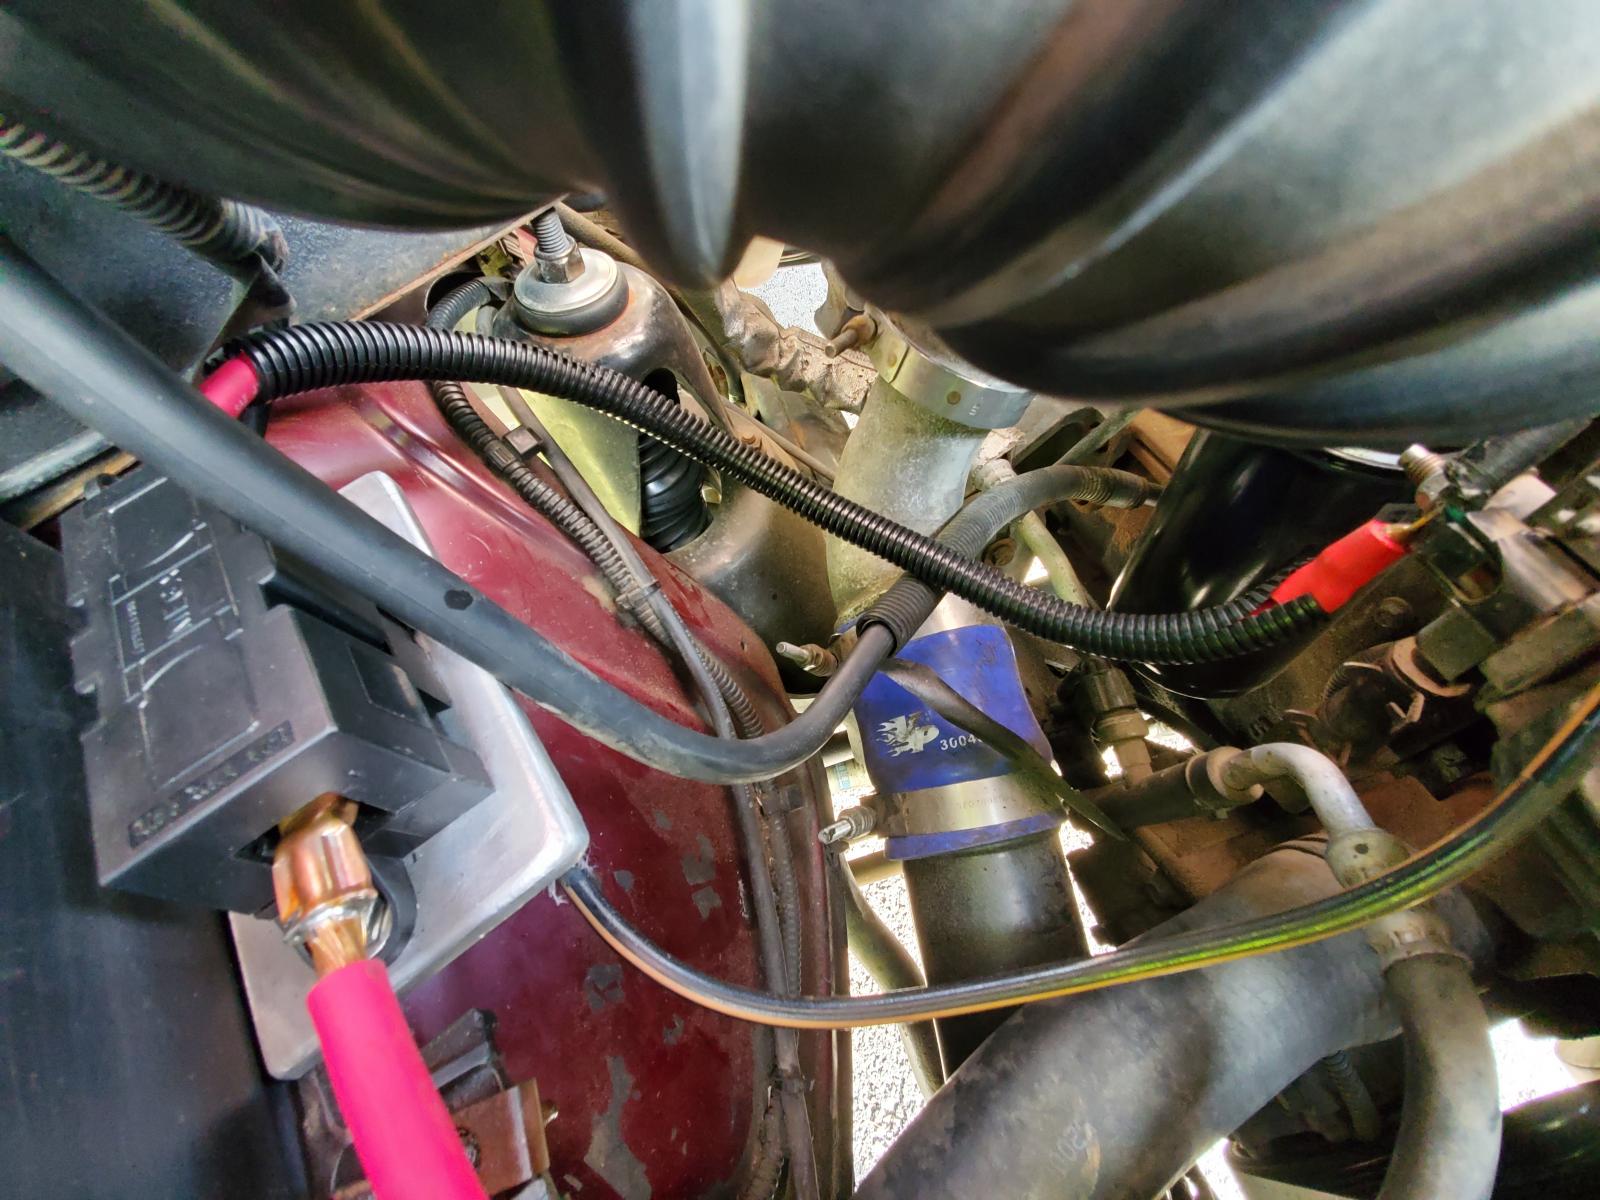
If you do the brunt of the work first before making your parts list you will be more accurate about what you need. Just some electrical, tape, ring terminals for # 10 wire and the bolt. Lugs for 4 gauge wire for the charging wire, some corrugated black plastic flex conduit or wire covering. Some shrink tubing,and electrical solder.


You should also do the alternator protection with the breaker and the PCM protection with a 5 amp fuse.

Edited by JAG1

  • Staff
  • Popular Post


  • ASE Certified Master Auto Technician
  • IBMobile
  • Board Of Directors
  • 1,372
  • 1,569 posts
  • San Marcos, CA
  • Donor

I've done mine already.  This is what I did.

1  Disconnect batteries


2  Unplug ground wire, the one (black/yellow) that comes by the alternator, at the aux. battery.


3  Remove the charging wire from the B+ terminal of the alternator.


4  Remove alternator top bracket.


5  Remove the ground and charging wire from plastic conduit removing the 3 clamps as you go.


6  Remove the 10mm nut that holds the charging wire at the PDC and throw the wire in the trash.


7  Cut the ground wire where the 4 wires are spliced into it and throw the old ground wire in the trash.


8  Strip the 4 ground wires an solder them in to a #10-12 1/4" eye lug.  You may have to spread the end of the lug open to fit all the wires be for you solder.


9  Install new 1/2" conduit on remaining wire that are in front of engine and reinstall the 3 clamps. Tape ends as you go with quality electrical tape.


10 Make the ground cable from engine to main battery.  Cut #6 AWG cable 18-20" long and solder lugs on.  I used a small butane torch to do this.  Don't for get to orientate the lugs for minimum cable twist and slid the heat shrink on the cable before you put the lugs on.


11 Attach ground wires and cable to engine case with the 5mm x0.08 bolt an a flat washer and attach other end to main battery negative clamp.


12 Make the B+ charge cable from alternator to the auxiliary battery.  Cut the #4 AGW cable 20" long slide on the heat shrink and solder on the lugs.  The sides of the #4-1/4" lug that goes on the alternator B+ post may have to have its side ground off by a few thousands to make it fit in the insulator.


13 Attach the B+ charge cable to the B+ terminal of the alternator and the auxiliary battery positive clamp.  Refit alternator top bracket.


14 Inspect all work, reattach all battery cables to the batteries and rest APPS.


15 Start engine and test DC and AC voltage at B+ terminal and both batteries. 


A battery shop has the cable and lugs.  The rest of the materials, (solder, heat shrink' cable cover, #12 -1/4 lug, bolt and washer), came out of my supplies, 


2' #6 AWG        $5.54

2' #4 AWG        $5.54

1 #6 -1/4" lug        .47

1 #6 -5/16" lug       .47

1 #4 -1/4" lug        .47

1 #4 -5/16 lug        .47

             TOTAL 12.96


1 M5 x 0.08, 30mm long

1 solderless terminal #12-10, 1/4" ring.

If you add the circuit breaker in line then you will need additional #4 AWG cable and corresponding lugs.

Since I used new cables the old cables were not saved but if there is no corrosion and insulation is still good then reuse the cables. 


Edited by JAG1

I just did this mod today.  It was relatively simple.  The hardest part was removing all the tape from the wires and getting everything out of the wire loom.  I also wasn't able to disconnect the alternator bracket (bolt wouldn't budge) so that made things a little harder.  I also had to run to the store a few times because the ring terminals I got were too small because the bolt I needed was an M6x1.0 and I bought an M5x0.8 and the ring terminals for it.  I also forgot to get the big ring terminal for the battery side of the ground :doh:.  I didn't do the charge line from the alternator to the passenger side battery yet, that will be for another day, of course I'll have to fight with the wire looms again but at least I didn't tape it all up yet.  

When I installed the alternator earlier this summer I got a 0.03VAC reading (if I remember correctly) from the alternator and after doing this mod I get next to nothing for a reading (0.001VAC).  

When I started the truck it ran for a little bit then the High Idle kicked in and then the truck started surging.  I though "great, WTF did I do" :ahhh: but then I remembered I cracked the fuel line at the VP to rotate a 90 degree connection up so the fuel line didn't go right across the power steering pump cap and it was probably just running the air out.  As soon as I realized what was happening it went away and idled normally.  Whew!!!  Took it for a quick drive around the block and everything works great.   

Hmm, I wonder whats the next fix for this truck...  Injectors and Quad??? :whistle:


I forgot to add my 13yr old son was home from school so he was out in the garage with me "helping" so that adds a little extra time to the job too.  :thumbup2:

  • Popular Post
57 minutes ago, hdpwipmonkey said:


I forgot to add my 13yr old son was home from school so he was out in the garage with me "helping" so that adds a little extra time to the job too.  :thumbup2:

You cant beat that for the most part. My youngest son is 43 and still manage to drag him in sometimes. We usually have pretty good time. Last time he said he did not do any thing. But when your laying under the truck and need tools not having to get up and get them is a blessing. So here is to the sons and other helpers.:cheers:

Not complaining at all.  I enjoy having my little helper out there with me, although he's not so little anymore.  He's almost as tall as me now...  

I agree with you @dripley :cheers:

  • Author
18 hours ago, IBMobile said:


  • ASE Certified Master Auto Technician
  • IBMobile
  • Board Of Directors
  • 1,372
  • 1,569 posts
  • San Marcos, CA
  • Donor

I've done mine already.  This is what I did.

1  Disconnect batteries


2  Unplug ground wirer, the one (black/yellow) that comes by the alternator, at the aux. battery.


3  Remove the charging wire from the B+ terminal of the alternator.


4  Remove alternator top bracket.


5  Remover the ground and charging wire from plastic conduit removing the 3 clamps as you go.


6  Remove the 10mm nut that holds the charging wire at the PDC and throw the wire in the trash.


7  Cut the ground wire where the 4 wires are spliced into it and throw the old ground wire in the trash.


8  Strip the 4 ground wires an solder the in to a #10-12 1/4" eye lug.  You may have to spread the end of the lug open to fit all the wires be for you solder.


9  Install new 1/2" conduit on remaining wire that are in front of engine and reinstall the 3 clamps. Tape ends as you go with quality electrical tape.


10 Make the ground cable from engine to main battery.  Cut #6 AWG cable 18-20" long and solder lugs on.  I used a small butane torch to do this.  Don't for get to orientate the lugs for minimum cable twist and slid the heat shrink on the cable before you put the lugs on.


11 Attach ground wires and cable to engine case with the 5mm x0.08 bolt an a flat washer and attach other end to main battery negative clamp.


12 Make the B+ charge cable from alternator to the auxiliary battery.  Cut the #4 AGW cable 20" long slide on the heat shrink and solder on the lugs.  The sides of the #4-1/4" lug that goes on the alternator B+ post may have to have its side ground off by a few thousands to make it fit in the insulator.


13 Attach the B+ charge cable to the B+ terminal of the alternator and the auxiliary battery positive clamp.  Refit alternator top bracket.


14 Inspect all work, reattach all battery cables to the batteries and rest APPS.


15 Start engine and test DC and AC voltage at B+ terminal and both batteries. 


A battery shop has the cable and lugs.  The rest of the materials, (solder, heat shrink' cable cover, #12 -1/4 lug, bolt and washer), came out of my supplies, 


2' #6 AWG        $5.54

2' #4 AWG        $5.54

1 #6 -1/4" lug        .47

1 #6 -5/16" lug       .47

1 #4 -1/4" lug        .47

1 #4 -5/16 lug        .47

             TOTAL 12.96


1 M5 x 0.08, 30mm long

1 solderless terminal #12-10, 1/4" ring.

If you add the circuit breaker in line then you will need additional #4 AWG cable and corresponding lugs.

Since I used new cables the old cables were not saved but if there is no corrosion and insulation is still good then reuse the cables. 


Thanks for this Martin. I may take some pics and verify that I’m working with the correct wires before tearing into the project. So on the #4 AWG  cable from the alternator charge terminal to passenger side positive cable ami reusing cable from somewhere or am I buying new #4 cable 20” long to put they’re? 

  • Owner

No need to buy cable. All the charge can be salvaged and reused. Even the ground wire on passenger side can be reused for the driver side.

I just noticed @IBMobilehas to reset the APPS in his rundown of the procedure, how important is that?  I've never done that after reconnecting the batteries after any work on this truck. :shrug:

  • Owner

Technically anytime the batteries are disconnected you should do APPS reset.


How important is it? Well I can't remember the last time I actually done an APPS reset.

Ok, just wondering if thats the reason why the engine was surging after working on it yesterday when the high idle kicked in.


Sorry for high-jacking your thread @Marcus2000monster 

I forget to do it more often than I rember to. Never noticed any difference

  • Author
1 hour ago, hdpwipmonkey said:

Ok, just wondering if thats the reason why the engine was surging after working on it yesterday when the high idle kicked in.


Sorry for high-jacking your thread @Marcus2000monster 

No problem I’m a hijacker myself lol. :moon:

32 minutes ago, Marcus2000monster said:

No problem I’m a hijacker myself lol. :moon:

Highjackanosis. Most folks dont know they have it.

3 minutes ago, dripley said:

Highjackanosis. Most folks dont know they have it.

I was just diagnosed with it but I am being treated so it should clear up soon.  Its just a little itchy still... :lmao:

  • 3 weeks later...

What about a new fuse for new wire to alt on passager side.

  • Staff

Yes, it can be in stalled to protect the alternator in that cable.  Some people are using a 150 amp circuit breaker and others are opting for a fuse block with a 150 amp AMI/MIDI or ANL/AMG type fuse.

                                                                           circuit breaker

                                                thTJ06CTTO.jpg.240935930289da67d97d99362929f0e2.jpg


                                           thKJMJ6SXU.jpg.2d339c1ce7e747e9411ca9106b708fb3.jpg

  • Owner

Just remember you blow the fuse there is no resetting to get home. This is why I opted for resetable circuit breaker. If the breaker pops in short time then you know you've got a alternator issue.

1 hour ago, IBMobile said:

Yes, it can be in stalled to protect the alternator in that cable.  Some people are using a 150 amp circuit breaker and others are opting for a fuse block with a 150 amp AMI/MIDI or ANL/AMG type fuse.

                                                                           circuit breaker

                                                thTJ06CTTO.jpg.240935930289da67d97d99362929f0e2.jpg


                                           thKJMJ6SXU.jpg.2d339c1ce7e747e9411ca9106b708fb3.jpg

What do you think of these 2 don't look at the amps just the pics is  one better or the same

Screenshot_2019-02-21-15-18-44.png

Did This Forum Post Help You?

Show the author some love by liking their post!

Welcome To Mopar1973Man.Com LLC

We are privately owned, with access to a professional Diesel Mechanic, who can provide additional support for Dodge Ram Cummins Diesel vehicles. Many detailed information is FREE and available to read. However, in order to interact directly with our Diesel Mechanic, Michael, by phone, via zoom, or as the web-based option, Subscription Plans are offered that will enable these and other features.  Go to the Subscription Page and Select a desired plan. At any time you wish to cancel the Subscription, click Subscription Page, select the 'Cancel' button, and it will be canceled. For your convenience, all subscriptions are on auto-renewal.