Everything posted by Mopar1973Man
-
Mopar1973Man will now has a shop open for business
Yup. We realize this already. Suppose to be down there this evening but my house is a trainwreck after emptying the pantry and my bedroom closet for access to the attic.
-
Death wobble is found in even other vehicles
Neither do I. Typically there is something wore out in the front causing the tires to cup or wear the shoulders off.
-
Mopar1973Man will now has a shop open for business
I'm just getting started and hung up today with OuR Factor insulation company is here today taking care of the house. Later today I'll go back down to the shop and help on clearing out the 2 post bay and drag the 2012 Ram down for new dual disc clutch.
-
Dog tracking
I just hitch up a trailer and that is my leveling kit.
-
Death wobble is found in even other vehicles
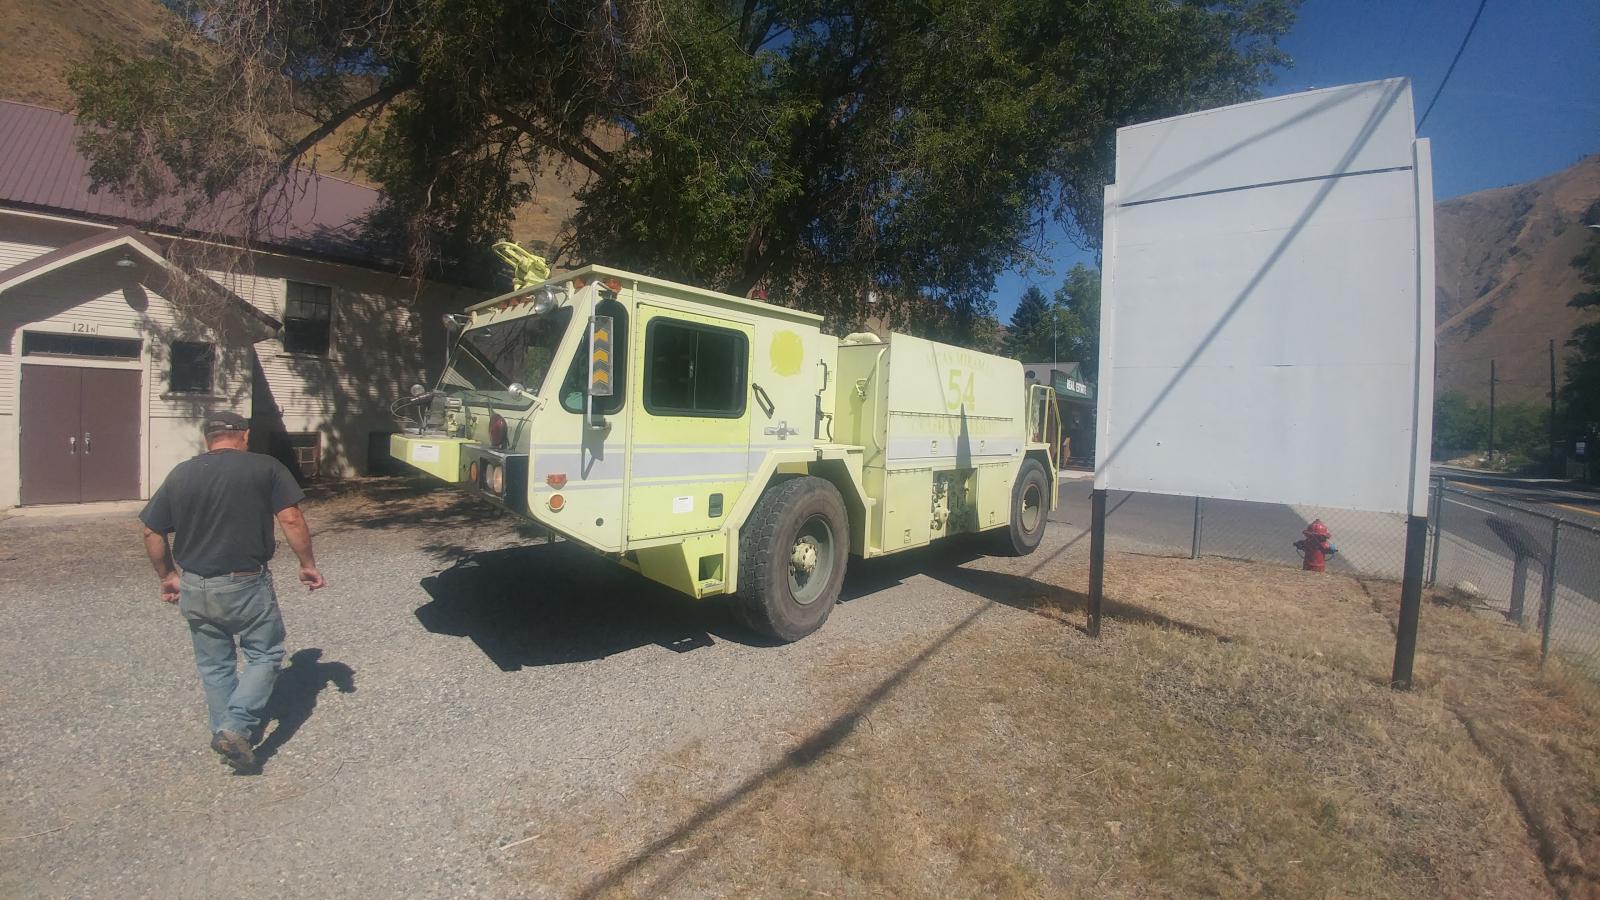
Salmon River Rural Fire Dept got a upgraded fire truck. This is a Oshkosh from a military base. Powered by a Cummins Big Cam 400. Strange enough right around the 40 to 45 MPH speed this beast get a death wobble pretty good. The fire chief and I took it into town to load it with water and see if water weight helps. Kind of but still there. The driver side tie rod end is rather sloppy (possibly) and the tire is cupping on the inside from possibly being toed out. I suggested on just replacing both and if any slack is found and have it aligned up again. Beyond the fact is a military fire truck this thing is set up rather weird where the cab is a wide one row of seating and the driver is the second seat in on the driver side. We are currently working to get this put together for our local fire dept. Awesome truck and has plenty of power to haul 1,000 gallons of water and climb our steep canyon grades.
-
Mopar1973Man will now has a shop open for business
Here in the very near future the owner will upgrade from 8,000 to 12,000 pound two post. We both agree 8,000 is borderline for most of the newer trucks like Ford diesels.
-
Mopar1973Man will now has a shop open for business
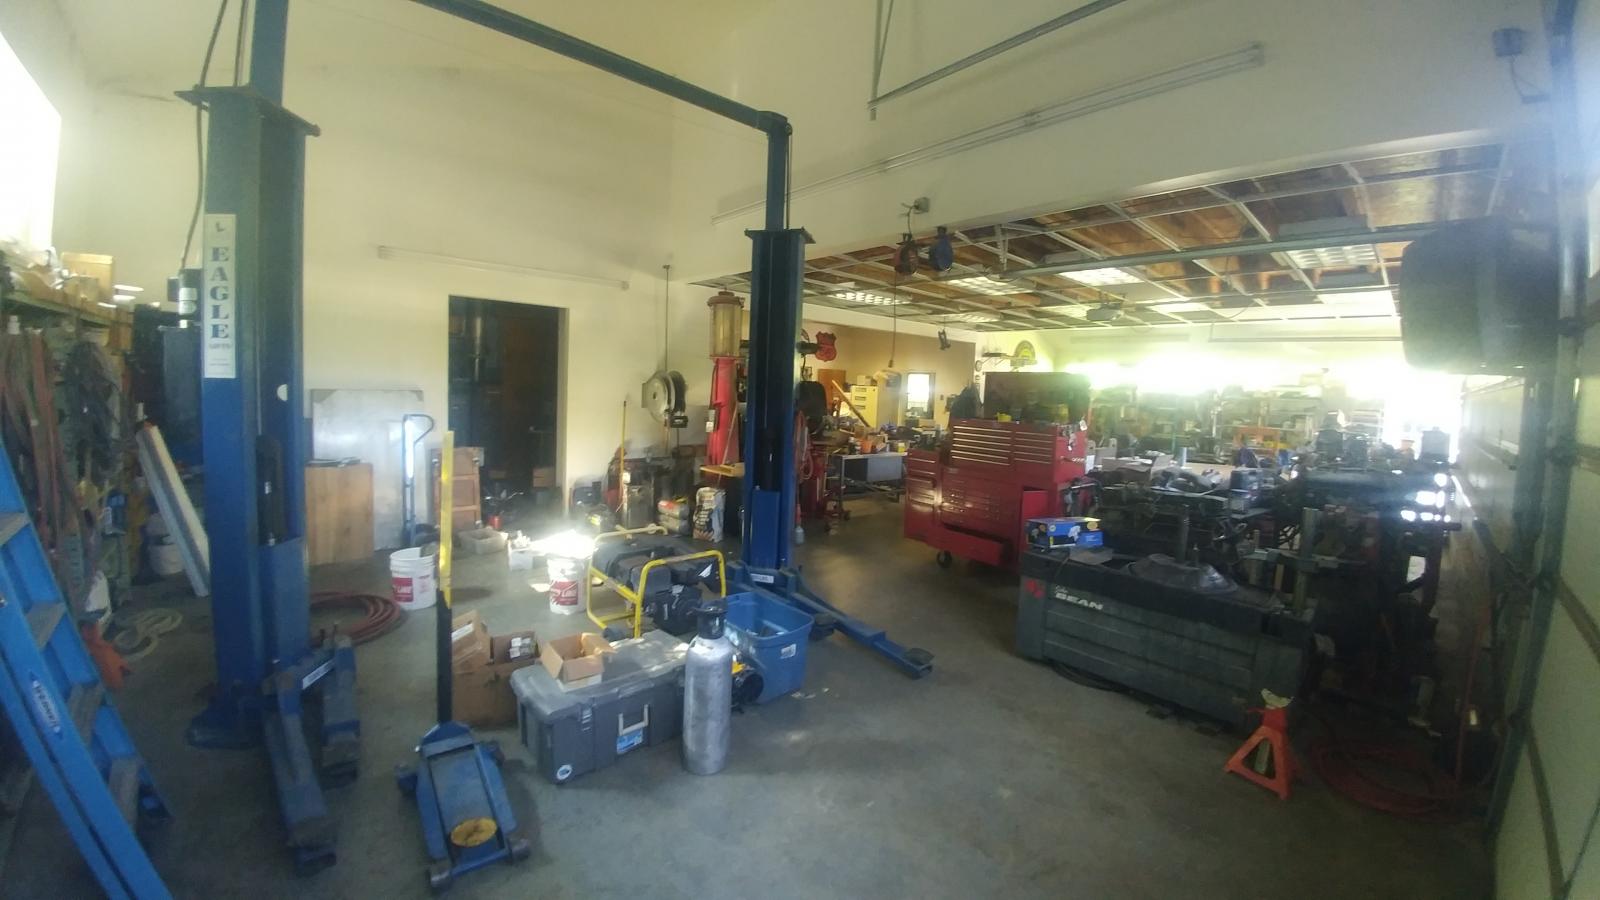
As of last night I've started my own shop in Pollock Idaho. I've been taking to people about the lack mechanic shops in the area. Then a guy I've know that has a 3 bay shop already he's will to make a business agreement where I get to use his shop for a percentage of the profits. So far this is a work in progress and nothing is set in gold yet but working towards how we both would like to see things happen. I will have one bay with a 8,000 pound two post lift and then two other flat ground bays to work from. Floors are heated in the winter time, and A/C (swap cooler) during the summer. I've got to give the owner a hand moving some stuff to storage but he's agreed to clean up his junk and get me working space.
-
Help with a Towing Tune
About 15* at 1,500 and then about +3 degree step up for the rest of the spans and the max just +1 off the 3,000 RPM.. The oil temp might naturally run hot being your towing. I'll admit that is one variable I've not had the chance to study yet. My travels have all be empty so far.
-
OEM & Aftermarket
Not even one month old and failed on my previous post. I'm 90% sure this is a Robertshaw 330 high flow thermostat and produced by Mr. Gasket of all weird companies. Just to show this failure is common to split the body from the disc. Just to show this design is used by Chevy 6.5L Diesels. https://www.napaonline.com/en/p/MRD385190 So here we are Cummins does not produce the thermostat. Mr. Gasket does using Robertshaw 330 high flow design. Common to split apart in different applications. Just as @mr.obvious thermostat failed in his 2002 Dodge Cummins. So is it worth the $40 to $60 price tag to find out you have a part not even a Cummins part just reboxed Mr. Gasket. I've call Robertshaw and they do not acknowledge that they sell thermostats. This is when I found the tie to Mr. Gasket who is currently producing. As I said I'm 90% sure of this.
-
Help with a Towing Tune
Need all the settings... Max Timing is the maximum timing the Quad will give normally the rest of the timing setting are how much retard of timing will occur in different conditions. We need to see it all. Truck is heavy. I'm typically 7,300 to 7,500 pound empty.
-
in-tank lift pump
Thank Gawd, I'm not using the stock basket.
-
An old New member here.
Idle chatter forums like this do not count. ZERO gain. Now all your post in the tech forums will gain count +1.
-
in-tank lift pump
Some of us park in unheated shops that might be a bit warmer (+20*F to +30*F). This give you cheating start with warmer fuel and not have to struggle with -15*F out of the starting gate. To this date I've NEVER gelled up yet.
-
OEM & Aftermarket
-
Check gage light/ engine light/ temp reads 240
Check error codes and list the numbers out... There might be more at hand here.
-
An old New member here.
Actually @Electrojake he was referring to the fact that you might be creating the article or someone would be. This is what make this site so popular is the the fact you can write your own articles and crate a notebook of information that you can refer to later and share the link with another forum or member here. All other forums out there are just forums. M73M is way different being the membership can produce articles, have your truck garage, and many other functions. Last time I checked there is over 15 GB of website data here.
-
2 codes idling high and low
The solution could of been as easy as replacing the APPS sensor with a Timbo's APPS for about $170.
-
Battery cable re-do
You suppose to be on the same polarity. If your working positive both probes are on the the positive side. Never touching the negative side. Then visa versa doing negative side you never touch positive.
-
CACA Bluetooth Stereo
I wonder if the video signal isn't making it back to the deck that is what turns the screen over to back camera mode. If the video line is dead then the stereo will not flip over.
-
OEM & Aftermarket
Tidbit more. @mr.obvious did a bit more testing. He put both Cummins old thermostat and the new thermostat in a pan of water and heated. Watching they both open exactly at the specified 190°F as stamped on the thermostat. The problem is when left to cool the new Cummins thermostat is EXTREME slow to close back up taking up to 3 minutes. The old thermostat only took a mere 30 seconds or so. This explains why the the new one is running cold sided.
-
Battery cable re-do
That's why most of this stuff is in the article database so we can revisit those thing again later and renew our knowledge on different things.
-
An old New member here.
We all learn from each other here. Like I just did a post on re-sealing a 2002 transfer case which I've got to post some more to. There is no dumb questions here. The only dumb question is the one you DON'T ask. We have guys from all walks of life here. working folks, performance nuts, hot shot truckers, etc. I'm sure someone of the pile will have an answer or an idea on how to fix, repair, diagnose, etc. Just jump in and start asking questions.
-
in-tank lift pump
According to Eric at Vulcan performance the 2010+ lift pumps have better longevity and better pressure and volume for the 4th gen engines. As for the 3rd Gen pumps still have serious problems with volume and pressure. Not to mention longevity is rather poor yet. This is why the 2010+ pumps seem to be better solution for stockish trucks.
-
An old New member here.
We switched over to subscription based. https://mopar1973man.com/subscriptions/ BBCode is obsolete here. No longer really used. This is all up to date HTML5 coding not like CF.com with old school PHP software. Here you go... https://mopar1973man.com/settings/signature/ No longer here... All subscription based now. There is a lot of the information tied up in the article section. This coming winter I'm going to be writing more articles for the 4th Gen. We already have raided the Mopar storehouse for information just need the time to convert PDF files into HTML5 coding and do all the SEO coding (Google) too. I apologise for being short on current info for the 4th gens but I'll get caught up. Personal note I'm a cancer survivor so I'm currently working mostly to pay my hospital bills. This why I'm bit behind on getting articles wrote for the site.
-
An old New member here.
Welcome to the family... What are you looking to do? What are your goals exactly?


