War Eagle
Unpaid Member
-
Joined
-
Last visited
Everything posted by War Eagle
-
Looks really close to the house. Did you get any water inside? Hope not. Looks like you had a gulley washer. Good old mid west downpour! Now if the ducks would fly in then you wouldn't have to travel so far to shoot them.
-
There is a 14cm2 housing that has the stock outside dimensions of the HX35 12 cm2 exhaust housing. Complete direct bolt up. No exhaust mods. I chose this housing to reduce back pressure. The turbo change was the first thing I did after putting the ZXT+ on and there was some lag off the line compared to the stock 12cm2 housing but passing and top end was a good improvement over the stock HX35. When I then installed the RV275's the lag completely disappeared. As I mentioned with the stock HX35 with posi rear end I could not spin the wheels on dry pavement from a non-boosted launch. With this setup I can leave a nice pair of black marks on dry pavement from a non-boosted launch. Surprised me and I don't do it often but I was never able to do that before. People who have borrowed this truck and driven it comment on it being a real jackrabbit starter.
-
I run the ZXT + with an updated 2010 tune with RV 275's and a HX35/40 hybrid on my gen 2 truck and I don't make any smoke on hi or low tune. My turbo housing is the stock drop in unit so a pacbrake could be installed without any system modification. The turbo housing is the 14cm2 instead of the 12cm2 HX35 original. No spool lag with this setup at all. I have a posi rear end and can spin the rear wheels on pavement from a dead stop and non-boosted launch.
-
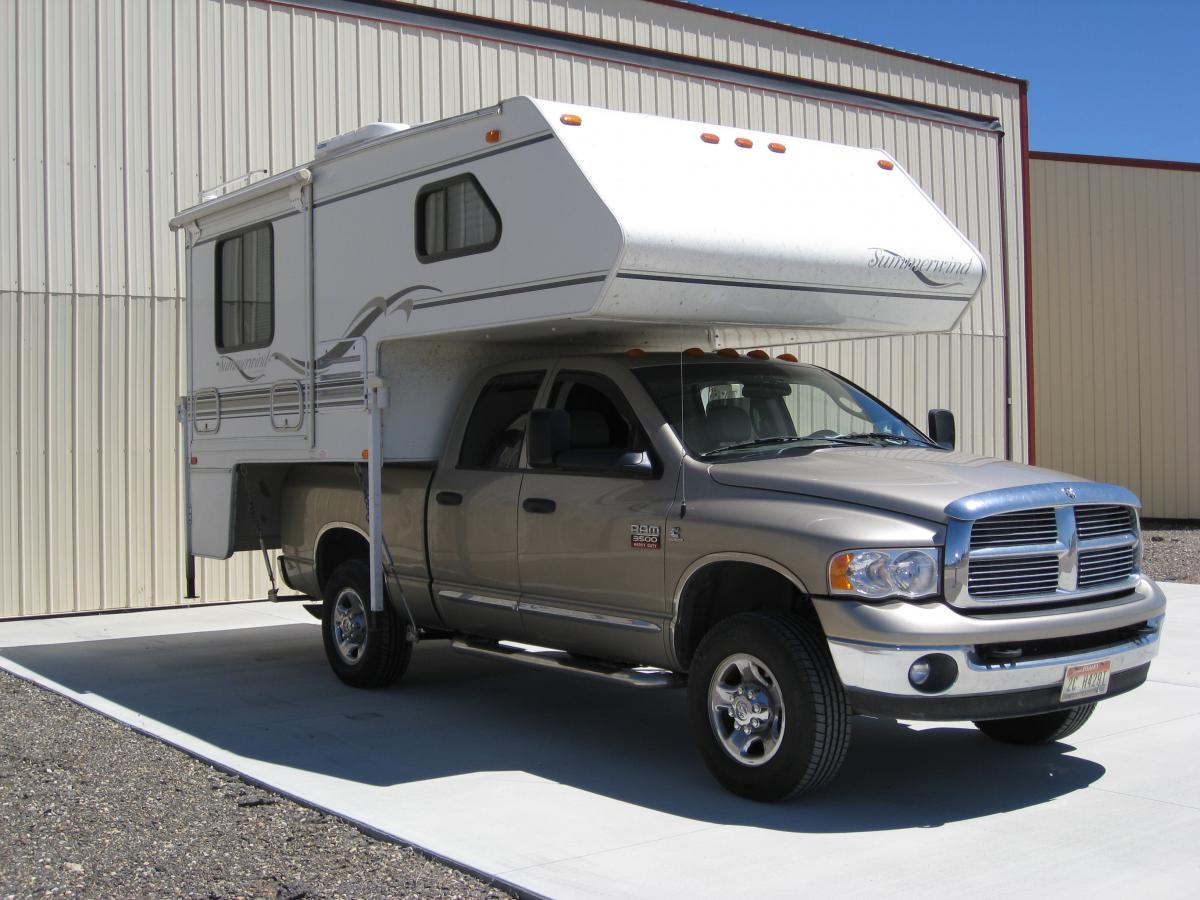
I carry a slide in camper that weights in close to 4k. Traveled to Florida and to upper Michigan on two different trips using the gen 2 truck. Trip to Florida I had mileage from a low of 9.8 (coming back through Texas up to Kansas with a stiff headwind all the way) to a high of 15.3. Sometimes I pull a boat (double axle trailer) with the camper on but it doesn't seem to cost me any noticeable mpg's when I have the camper on. The drag comes from the barn door effect I'm pushing down the road. I usually drive 60 to 62 mph except when pulling a hill I keep my boost to 10-12lbs or less so speeds drop down to 47 to 50 mph. On the trip to Michigan my low was 11 and my high was 16.2 with the camper on. Ditto on the speeds. With the camper on the gen 3 truck I haven't made any long cross country trips but go to the mountains around Northern Idaho and have achieved 13.8 on the low side to 14.6 on the high end. Again, the few times when I pull the boat I haven't been able to see any loss of mpg's because the camper is such a barn door and the boat just hides behind the door. Speeds maintained as above


-
Next! My vehicles need a bath too!
-
Well replaced the in tank fuel pump and re-installed the tank. It was more of a challenge for me to re-install than remove because it is fairly tight quarters to get your hands in everywhere where you need to reconnect fuel lines, electrical connections and all the hoses and clamps. But got it done in about 1 hour or so and then put in about 6 gallons of diesel so I could start the truck and take out to fill the tank and get first impressions on driving the truck with all the updates. Driving seems like the front end is so free and easy feeling. Doesn't feel like the same truck. The engine load seems to be down about 2-4% while driving in various situations around town and a little on the open country roads. Nothing scientific but just from the gauge readings. Hope that translates into some economy when I get more driving experience with the freewheeling hubs. Put about 40 miles on it and then took a quick temp reading on the hubs with the infra red temp gauge. Only showed 91 degrees so I'll keep and eye on this reading as I put longer trip miles on it to ensure that I don't have the bearings too tight. Filling the fuel tank went much faster than normal. Pump clicked off at a tad over 31 gallons. So I went 8 miles from my house to get to the gas station so even if I burned a gallon of gas to get to the station (which I am sure didn't happen) I now had slightly over 37 gallons in the tank. So i am concluding that by relocating the tank vent I have much improved my refueling experience by shortening the time to fill the tank and picking up 3 + useable gallons in my tank. Next stop is to get the front end aligned and then start checking my mileage.
-
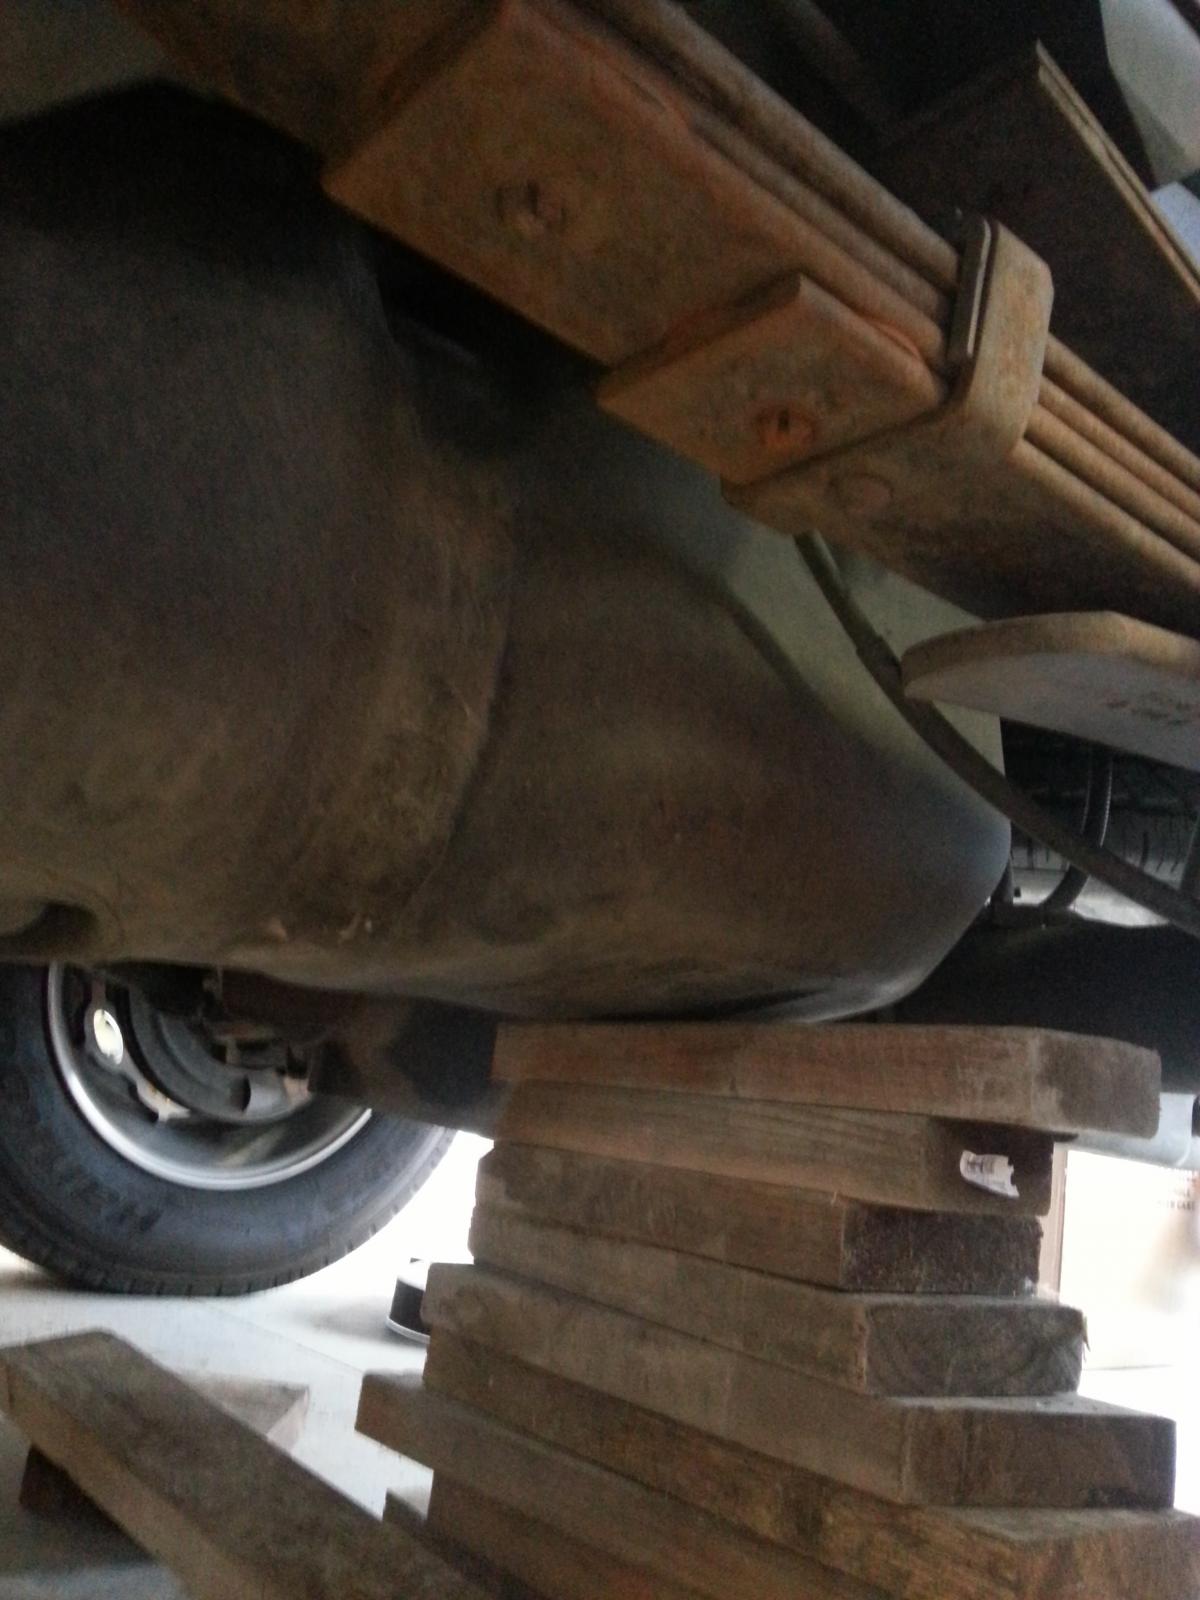
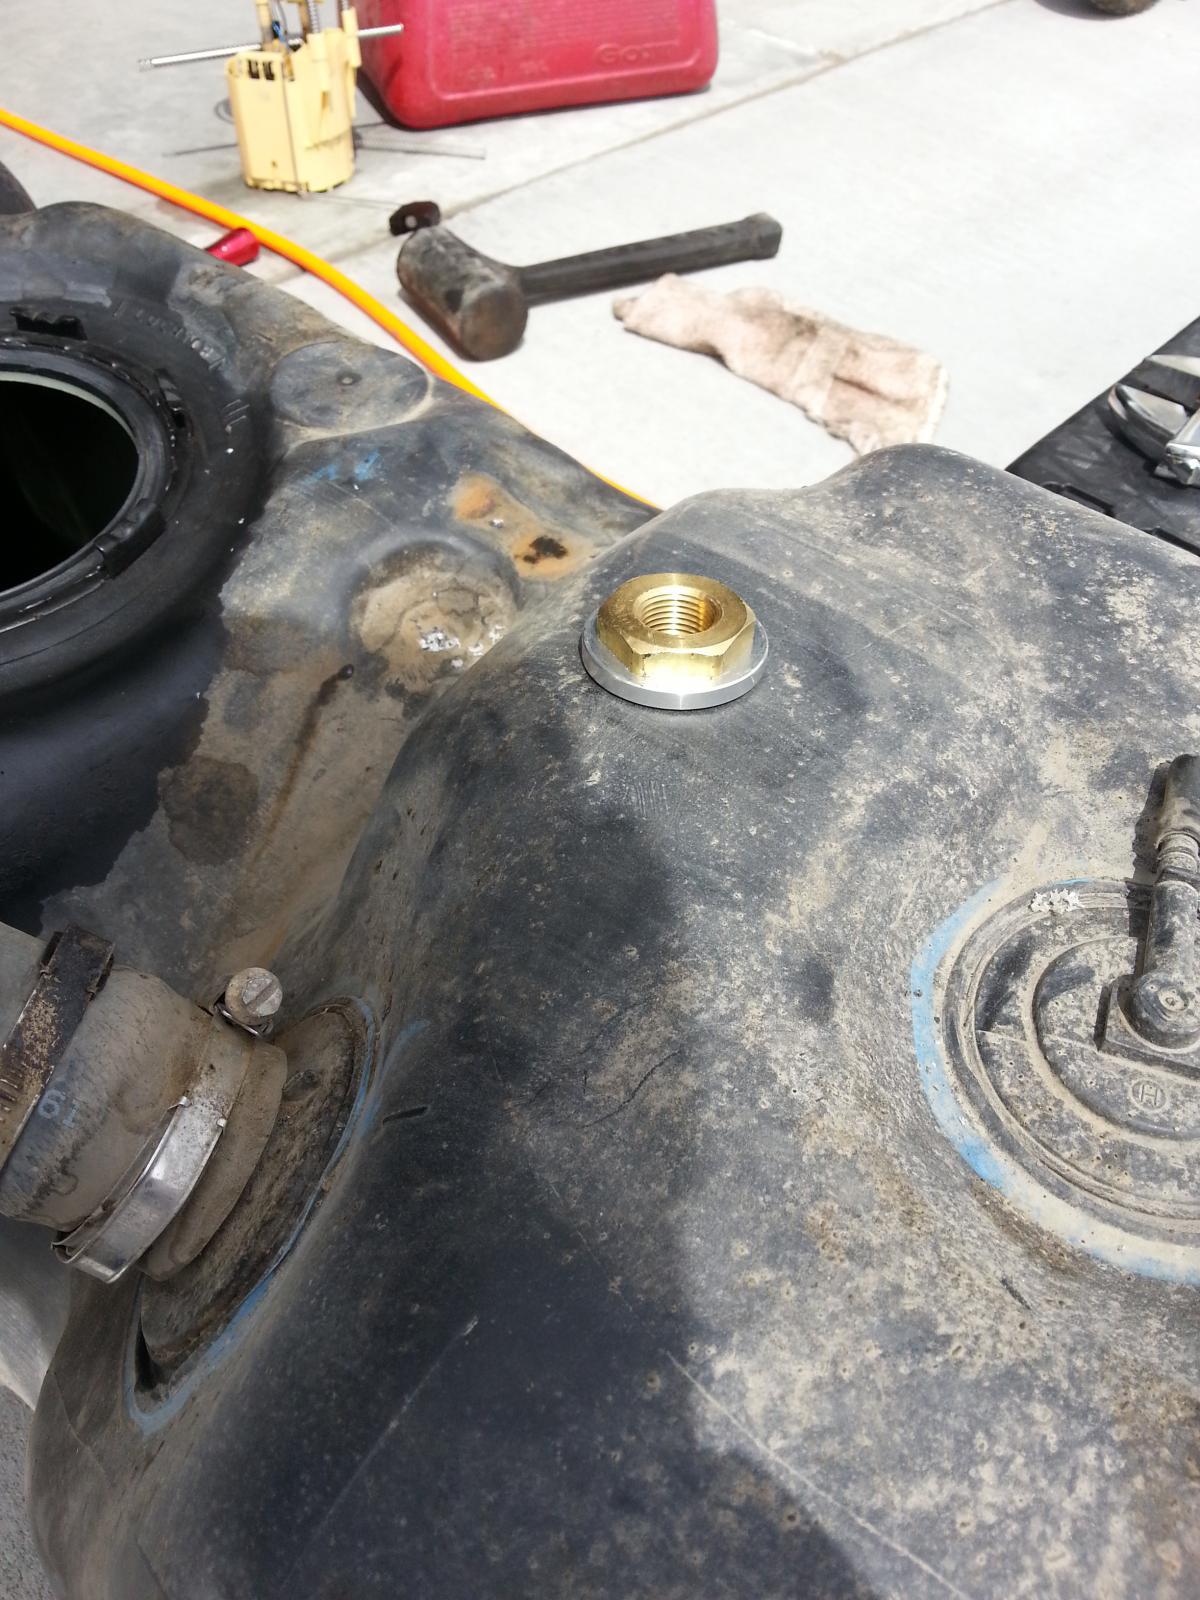
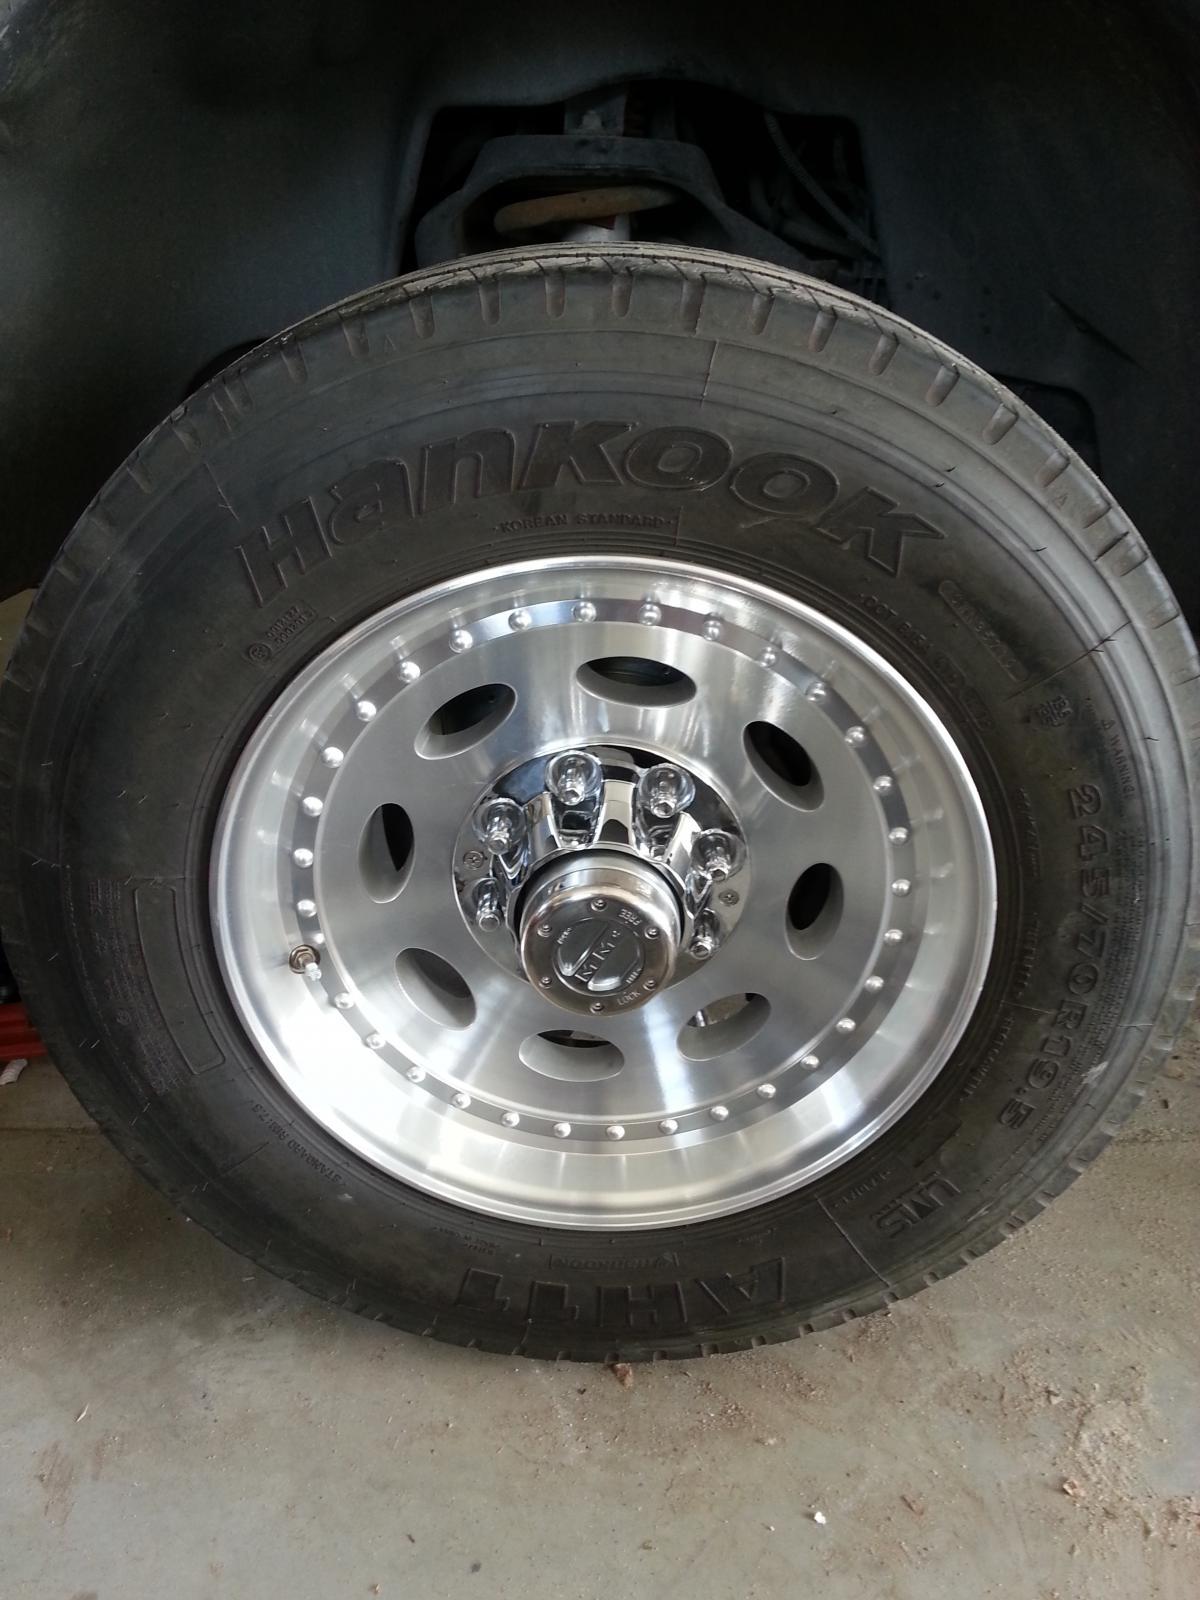
I have always noticed the fuel tank has a strong vacuum pull every time I opened the cap to refuel. Thought maybe cap was bad but then did a little research and found the cap is not vented by design. Tried to look at the tank fittings while the tank was still on the truck and couldn't really see things well enough to come to any conclusion. I was looking for mud and debris build up around what I thought might be the the tank vacuum relief valves. So I decided it was time to drop the tank and take a better look and see if I could figure out what was going on. While I had the tank down I decided to install a new tank fill vent on the highest portion of the tank so as to improve the filling experience (read as: shorten the time to fill the tank). My fuel gauge has only been reading 1/4 tank even when the tank had 400 miles on it so I suspected a bad sending unit so this item was added to my to do list also. So I put some cribbing under the tank to support it while I started to remove the straps. I have never removed the tank before so I wasn't sure how heavy or awkward it would be to lower it by myself. But once the straps were off, I just removed some of the cribbing on each side of the tank until it was lowered a few inches so I could reach up above the tank and disconnect the electrical connection as well as the in/out fuel lines. Then the tank was free and I could remove the rest of the cribbing and the tank was on the ground. I didn't have to jack the truck up at all. The tank was able to slide under and out from the truck. (I had my 19.5's on so I had a little extra height to maneuver around under the truck. The tank was much lighter than I expected. I had less than a gallon of fuel left in it and the whole thing couldn't have been more than 40 pounds or so. So I removed the in-tank pump and looked in the tank and found some interesting things. Some sort of particles setting in the tank; the inside of the tank is almost a white color, the tank has a baffle in it and you can see the rollover/tank vacuum relief valves on each end of the tank. One thing that doesn't look right to me is each of those rollover/vacuum relief valves had a cap on them. So I can't understand how they could possibly work when they were capped off. I wonder if the caps weren't installed when the tank was manufactured and shipped to the truck assembly plant but were not removed when the tank was installed and hooked up in the truck. I am now thinking this is the cause of my tank vacuum problem. In fact if you look at the tank real closely you can see where the bottom and at least one side has been pulled inward. There are no leaks so the integrity of the tank is still intact but I am planning to remove those caps and install a section of hose to each one and put a filter of some sort on each end to ensure nothing can get into the end but still remain open so a vacuum isn't pulled on the tank when fuel is being drawn down. I have included some pictures of everything. I installed a 1/2 inch bulk head fitting on the top of the tank which will serve as the tank fill vent. The original vent will be capped off. I have also taken the tank to a radiator shop that has the ability to clean out diesel fuel tanks and then when I reassemble the tank I will install a new pump.

-
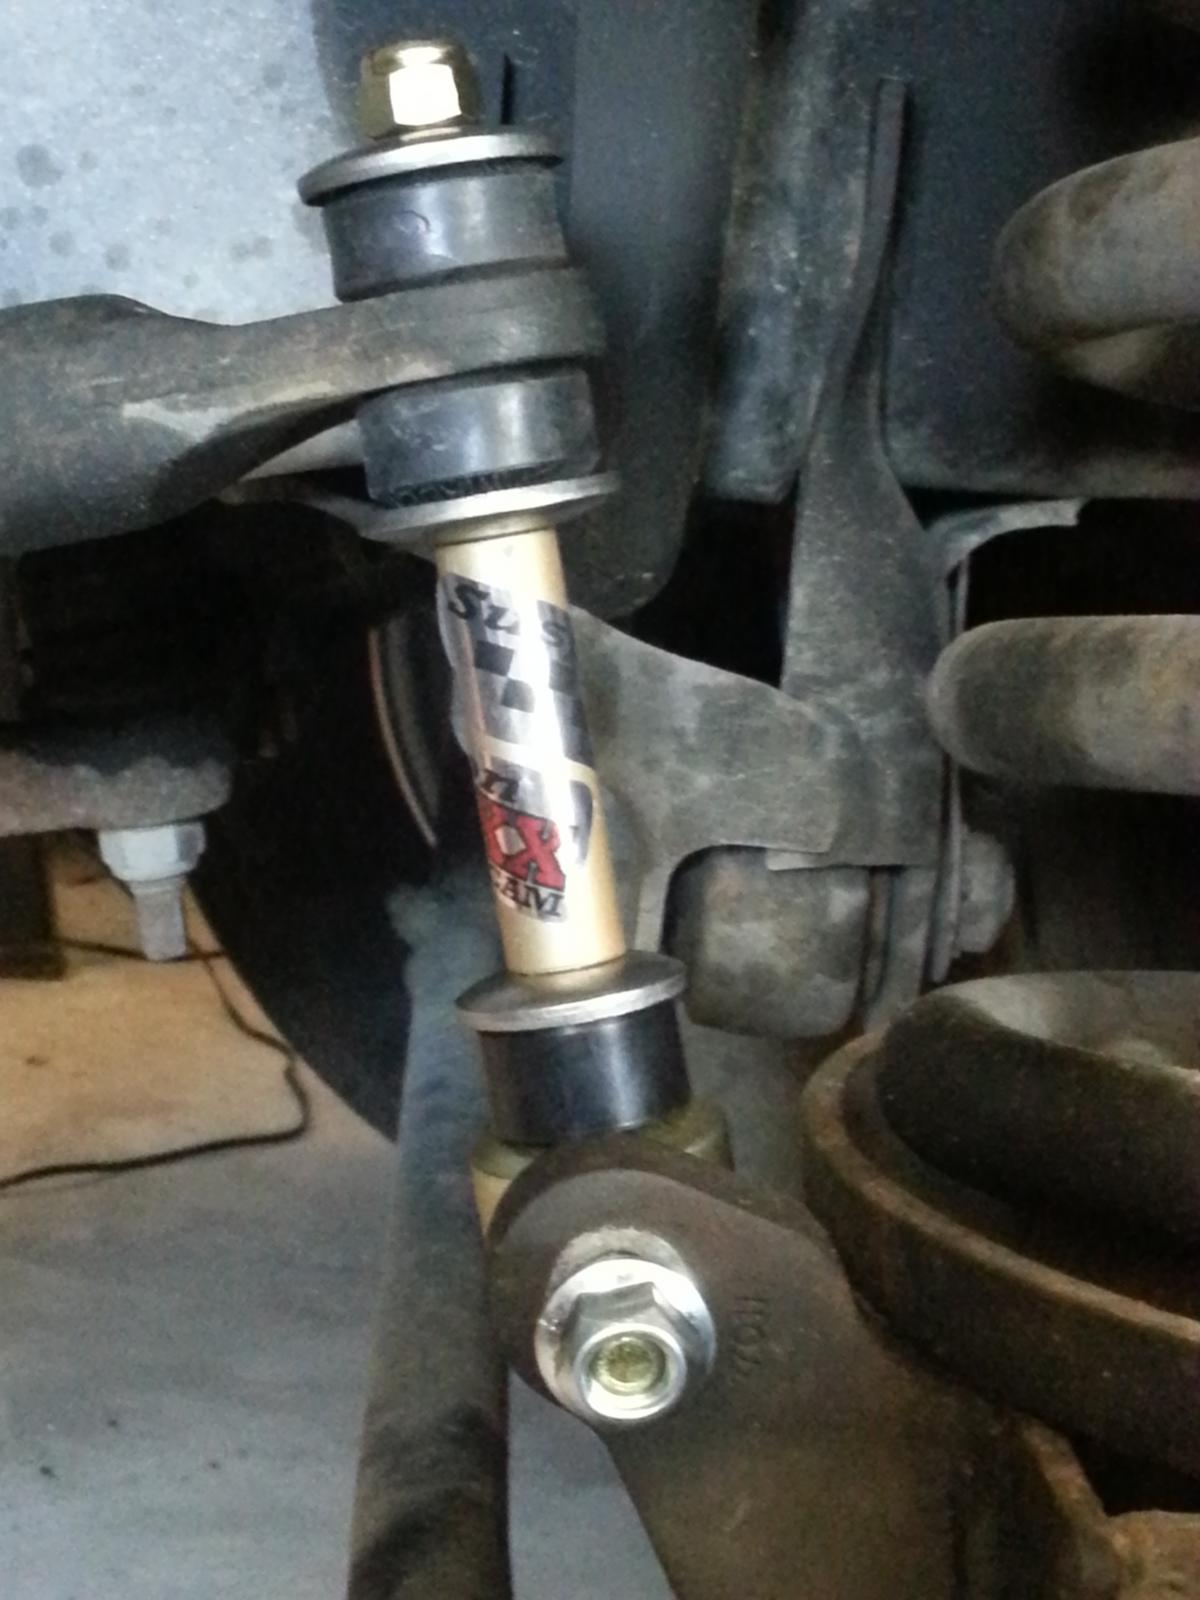
Well I got both sides done now and have also installed new sway bar links.

-
A long while back I saw a post in the Cummins forum that was about using 3rd gen brakes on a 2nd gen vehicle. I saved the link for future reference. There might be some useful info in there: http://www.cumminsforum.com/forum/98-5-02-non-powertrain/160226-my-3rd-gen-brake-swap-pics-56k-beware.html
-
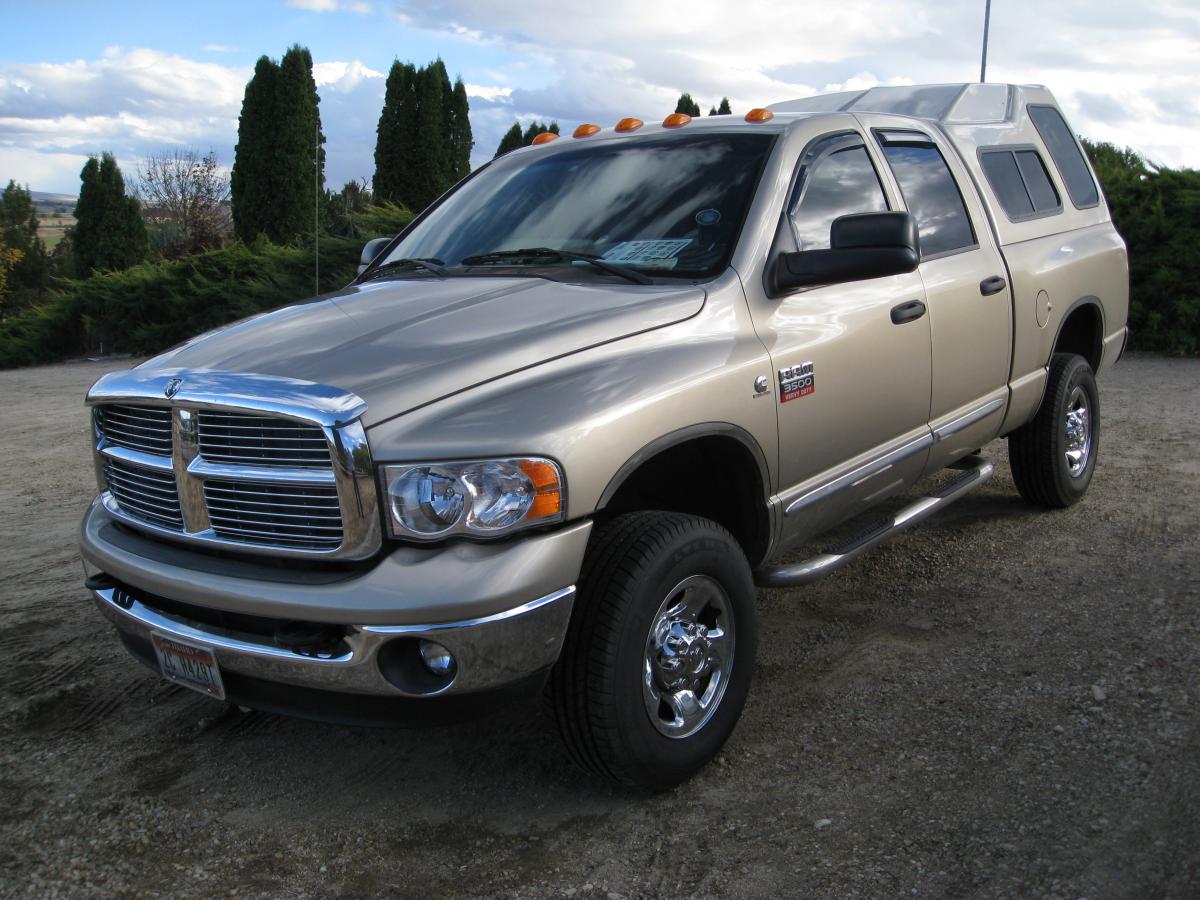
I have the Weather Tech window vents on my cars and the gen 2 rig and I have been happy with them. I use them for all the door windows (4 per) and on the gen 2 I use them over the windows on the extended cab suicide doors. Those you can't tuck into any window channel so those on installed with the double sided tape. Been on the truck for a little over 10 years now and zero problems. On the gen 3 truck I went with Putco and they have a slightly different design. They have multi-facet surface (rather than a smooth surface) which seems to make them very stiff and sturdy. Like the creases that are put in sheet metal flat surfaces to stiffen them. (see picture below) I also think the plastic is thicker than my Weather tech vents. I also like these units and would probably choose them again if I was buying new units.

-
X2 I like the features of the tow/haul mode in the '05 and I use it all the time when I have a load on. It is my opinion that using the tow/haul mode helps overall performance and economy.
-
Sorry to hear about your plight. On going and unresolvable problems are no joy in anybody's book. Hope you will find other enjoyable ventures in your life.
-
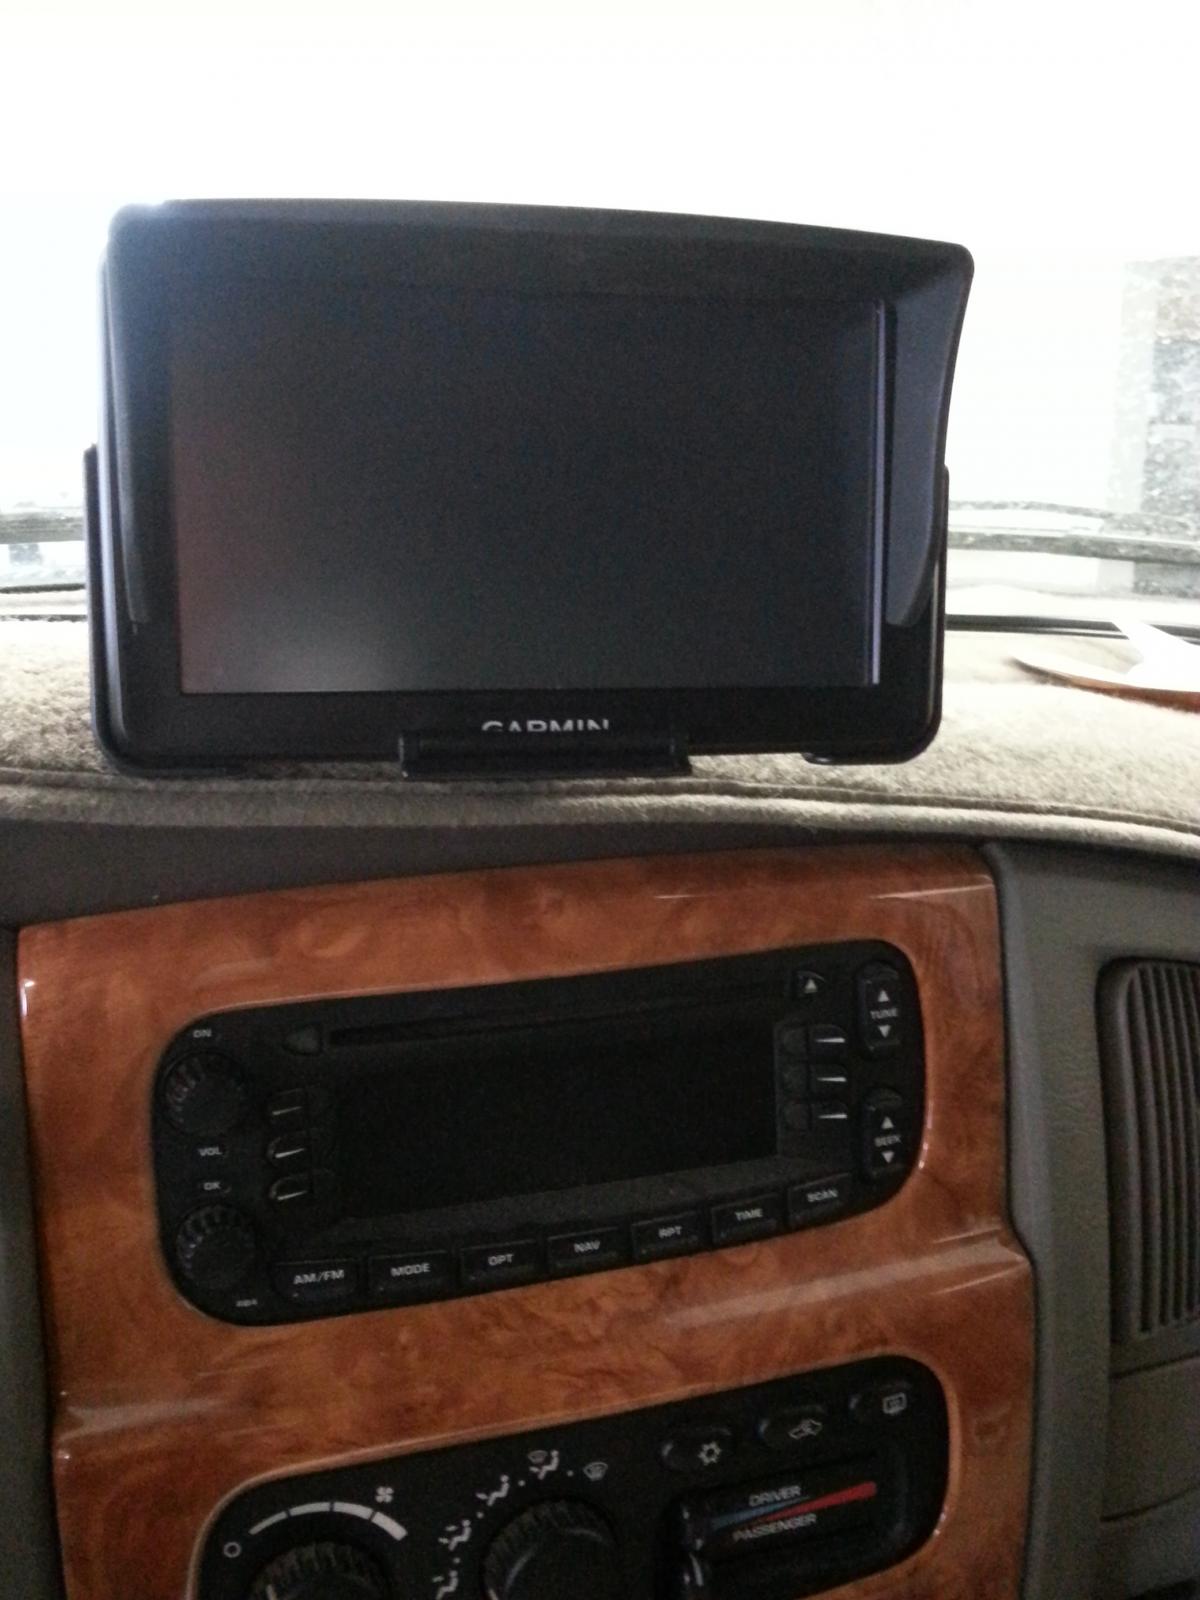
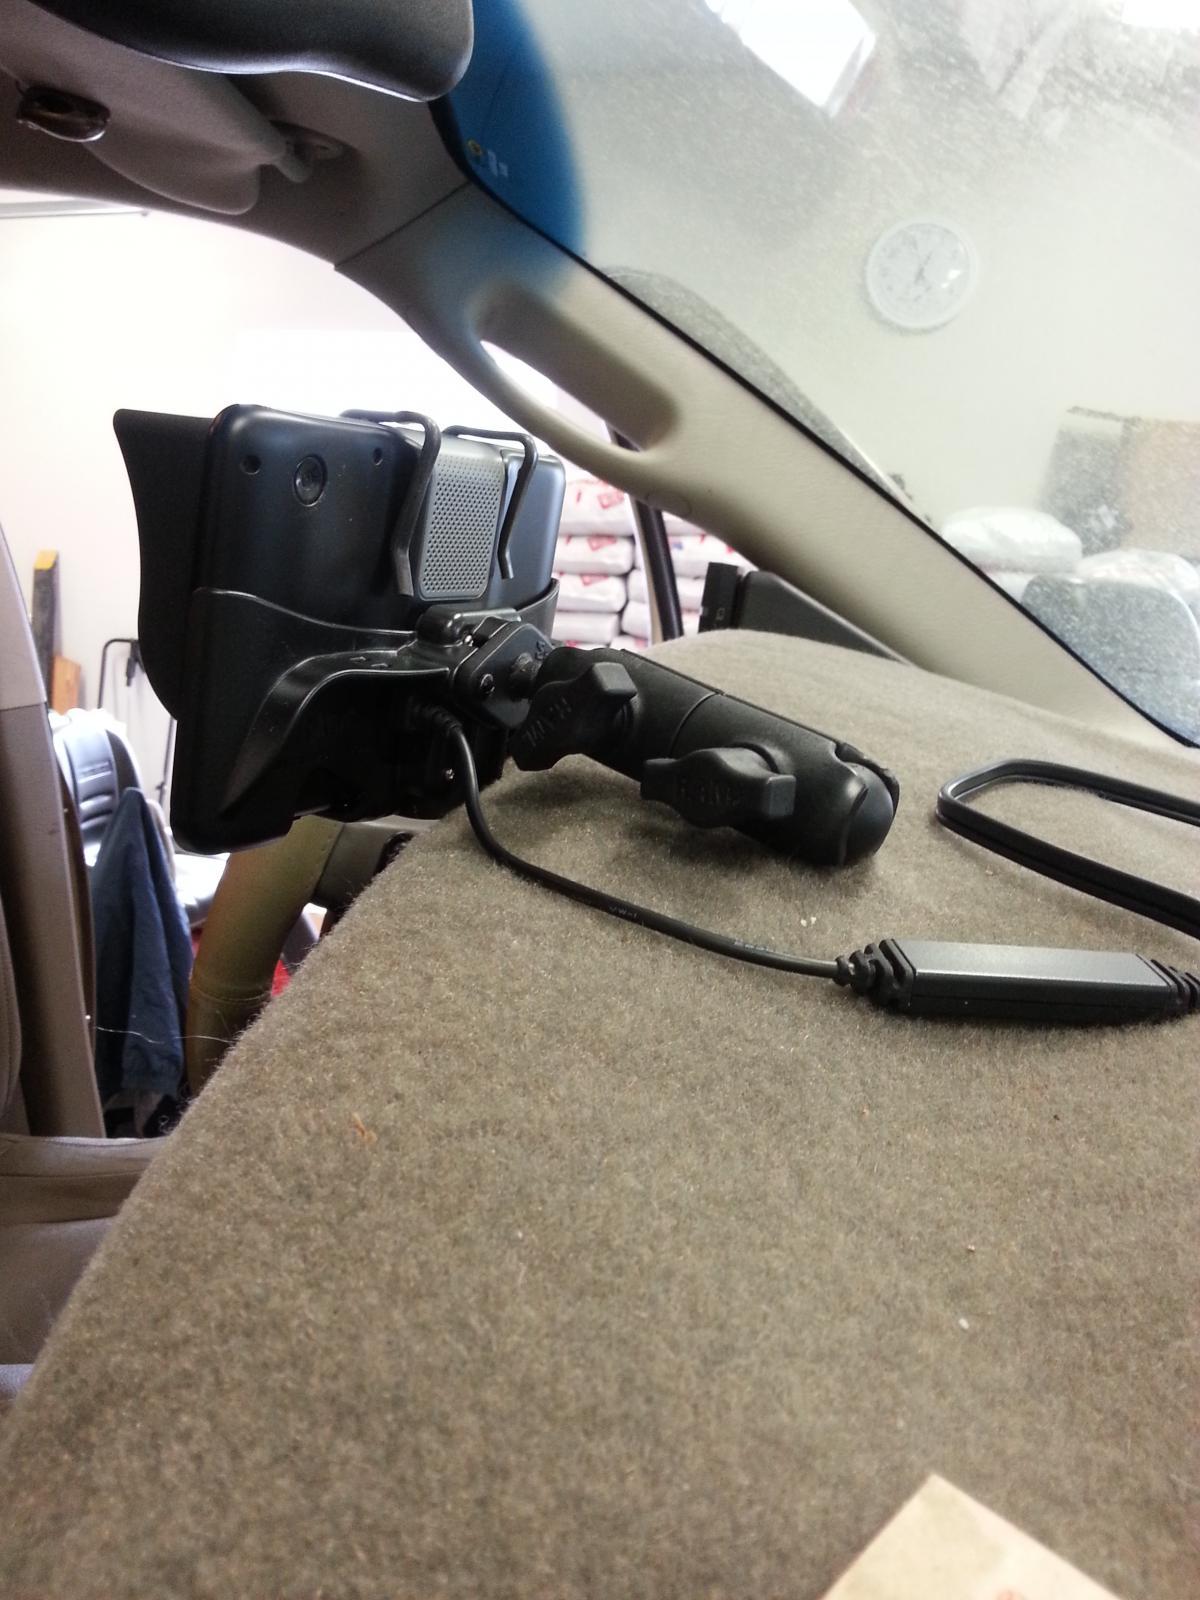
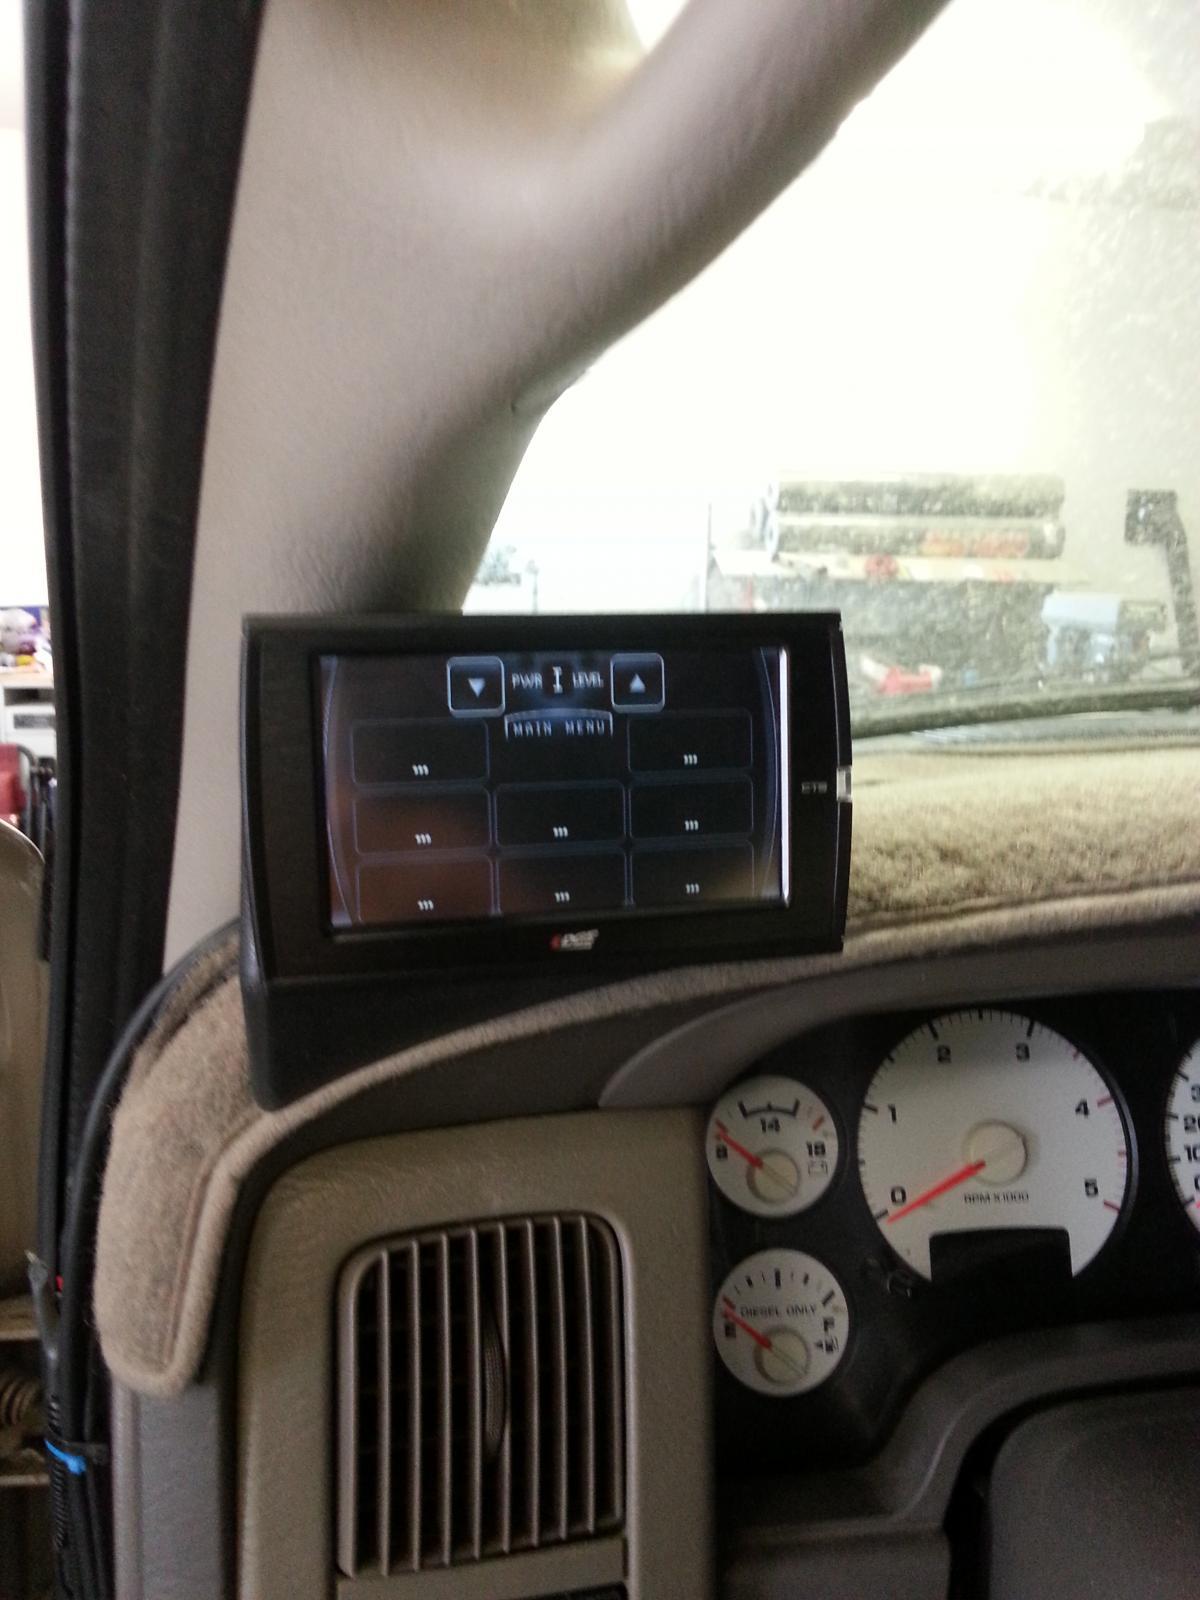
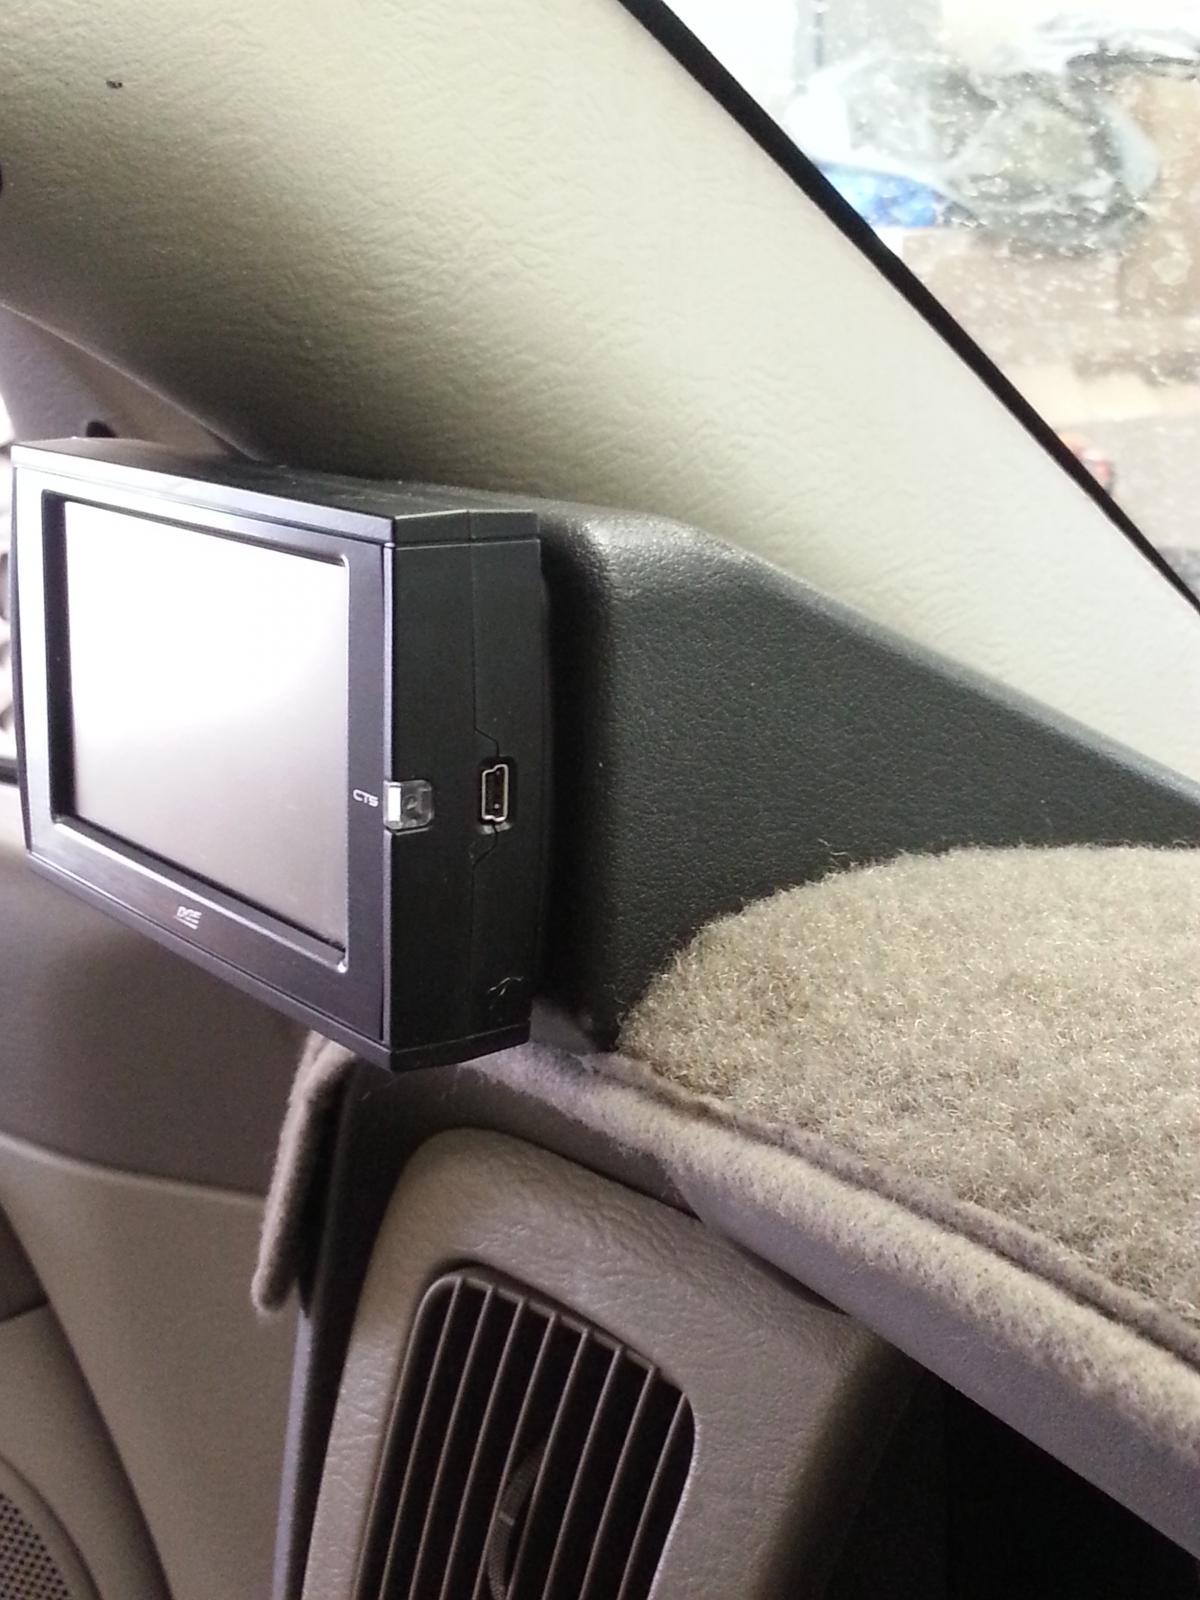
I think I have seen something in the Crutchfield catalog that fits a single din slot that is a motorized screen that comes out from the radio slot and then flips up to a vertical position. I once looked at them but decided to go a different way for my gps and camera. They were fairly spendy and map upgrades were expensive as well. I was also a little leary of the durability of a flip up screen mechanism hanging out there where it might get touched ot bumped inadvertently. I went with a large screen Garmin for a couple of reasons: map and traffic updates were free; the screen size gives me lots of detail and the screen splits to show additional details as well, it has blue tooth so I can use my phone hands free and it is setup for trucks and RVs. Which means you can put in the rig dimensions then the gps watches out for low overhangs, narrow lanes etc., and supposedly won't route you on a roadway that will get you into trouble. I mounted it on the front edge of my dash just above the radio (because I am not fond of windshield mounts; you can't put a sunscreen in the window without taking the unit down everytime and its a long reach from the drivers seat to the windshield if I need to interact with the gps. For the camera I chose to use an Edge brand camera and it interfaces with my Edge CTS Insight. Again no windshield mount and no forward dash clutter either. There are a ton of backup camera options. Some interface with a rearview mirror, some require a seperate monitor mounted upfront and some interface with an existing monitor screen.Etc. Both of these installs are in my gen 3 because that's the truck I use most of the time to do my traveling in (recreation etc).

-
Took the passenger side axle out today and bent my 3/4" drive ratchet wrench handle. That thing is no toy! Couldn't for the life of me break the axle nut loose. Had to get a piece of pipe 60" long and then I had to stand on it and bounce it loose. Didn't notice it bent the ratchet until I went to pick it up to put it away. Rust, over tight or what I am not sure, but wow for a while I thought I might have to get the acetylene torch out and do a some serious persuading.
-
Ya, I probably set myself up for a debate on the value/tradeoff of slotted/drill/smooth rotor benefits. In theory there is going to be less surface area when compared to smooth but then again there is the supposed benefit of off gas release, pad wiping (cleaning), faster wet weather performance etc., vs increased pad wear, rotor propensity for cracking between holes, etc., etc., etc. I have read many articles about the good vs the bad and believe me you can find stuff that supports either design. I even have read SAE papers/reports on rotor design and I can't say when you look at all the published material (that I saw) that I was able to rule definetively one way or the other. Much has to do with manufacturing processes, metallurgy technology, rotor slot and hole design, user application etc. For me it finally came down to just having to try it myself to see if it would work for me or not. Of course I recognize that if someone else were to try the same setup with their truck and style of driving that their mileage may vary. I have run these on my gen 2 truck and have 55k miles on the front rotors with heavy duty LT pads and you can't tell there has been much wear at all. I didn't put the cheap ones on and they were cryogenically treated as well and they weren't riddled with holes like some versions of drilled rotors I've seen. All the holes are chamfered nicely and there has been no cracking or anything negative that I have noticed (in my style of driving). I definetly felt improved braking when I needed to anchor the truck in a hurry (compared to what was originally on the truck). Nothing scientific but just good biting in hard braking. I am not a road racer so I can't really say I am hard on the brakes or that they have seen a constant extended down hill heavily loaded application but when I used them they always worked for me. Now I can't say for sure if the performance I felt was from the pads only or the rotors only or the combo but it was good enough for me to want to do it again when I needed to do brakes on my gen 3. My gen 3 is used to carry much more load than I do on the gen 2 truck but I also have an e-brake on the gen 3 so I just don't feel at all worried about braking performance in my driving conditions.
-
Ball joints needed replacement so I thought I would tackle that job myself and then at the same I would install my Spyntech Shorty free wheel hubs that have been sitting in my garage for over a year now. I also had a steering brace that I wanted to get installed. While I am at it I thought I might as well do a needed brake job and replace the u-joints on the stub shafts since I had everything apart. I think doing all this work at once actually will save me a significant amount of time over doing each job separately when everything reached the end of its life. While in the middle of the project I have made a note that I need to replace my front sway bar links as well because the bushings are coming apart and look very tired and worn. The plan is when all this work gets done then I put my 19.5s back on for the season. I have one side completed now and am working on the other side now. Can't wait to try it out after all the work is done. I'm thinking there will be a noticeable change in the driving feel! Hoping for an mpg increase also!
-
I have mine placed on the top of the manifold similar to picture 1. Picture 2 I think would be a problem if you have a divided port on the manifold. You would essentially be placing the probe on one side or the other of the divide.
-
I bought my 3rd gen used with 80K + miles so I don't 'really' know the truthful answer to your question. However, I am suspecting that when I got the truck it was still on the original injectors. The truck seemed to run fine but my complaint was that under reasonable acceleration I was getting smoke and if I did a hard acceleration then I got even more smoke. But the truck ran fine and I was getting reasonable mpgs (19-20 on trips). However, at about 120k miles I put the Smarty S06-Pod on the truck and it would really smoke even just using SW3 or SW5. So I put a set of new BMS injectors with 50hp DDP nozzles and the smoke went away (that is unless I am using the higher SW levels with torque numbers cranked in). Now the truck is much cleaner and with the S06 and new injectors my mpgs are up (21-22 on trips hand calculated).
-
I don't know anything about the 'Touch' but I assumed it connected into the obd2 connector like the Edge Insight does. If it does in fact connect to the truck via the obd2 connector there is a tranny temp signal that can be read from it.but maybe the Touch just doesn't pick it up like the Edge does, That's too bad.
-
I went 182k on my 2nd gen before it started to slip so bad that i couldn't drive the truck. So when I had the rebuild done I upgraded the vb, solenoids, clutch pack and billet tc along with a few other goodies and came away with a tranny that was far and away better than the stocker ever was. Never had any trouble with my 3rd gen but because I was going to pull more and carry more that the 2nd gen I decided I was going to proactivley upgrade the tranny before I had some trouble and I was on a trip somewhere and broke down. So at 120k I did the upgrade to the vb, clutch pack, input shaft, solenoids, billet triple tc and other goodies. I am not expecting to ever have to get into either tranny again in their lifetime.
-
That's definitely a different kind of "awesome"! I'm thinking more like "ouch", "holy cow", or pass the bottle I need a very stiff drink!
-
Is that what they call a "cap"? Reason I ask is it appears only the top part of the dash was replaced rather than the whole dash (sides, front etc). It sure looks good despite the color difference.
-
That ought to work real well!
-
X2. I'm up there pretty close to that same number!
-
I had mine die once when I was driving. I was on the freeway on a trip and I was driving at 65mph. I lost the lift pump and the engine just shut down and I had to coast over to the side of the road. I could crank but it wouldn't start so I had to be towed in. I have gauges so I suspected the lift pump but didn't know for sure. No other electrical problems occurred during this situation. I lost the cam position sensor one time and the engine would not start for me. Changed it out and everything was fine. But I still didn't loose any other electrical function that I recognized.