Jump to content
Mopar1973Man.Com LLC
  • Welcome To Mopar1973Man.Com LLC

    We are a privately owned support forum for the Dodge Ram Cummins Diesels. All information is free to read for everyone. To interact or ask questions you must have a subscription plan to enable all other features beyond reading. Please go over to the Subscription Page and pick out a plan that fits you best. At any time you wish to cancel the subscription please go back over to the Subscription Page and hit the Cancel button and your subscription will be stopped. All subscriptions are auto-renewing. 

W-T ground article simplified!


Recommended Posts

We're all anxious to hear your AC results, mine went from 0.032 to 0.018 vac with all accessories off


Edit 

I'm still planning on redoing grounds closer to ECM like @dripley was pointing out and the issues he had in that area.

 Maybe you can incorporate that mod into this article also.

Edited by Dieselfuture
  • Like 1
Link to comment
Share on other sites

  • Owner

Ok I know several members have done this mod and said it was easy. It sure is easy. It takes about 2 hours from start to finish to complete this project. You'll need the terminal lugs and the metric bolt that @W-T specifies in his article. 


First thing disconnect your batteries. I unhooked the two negative leads. 


You need to gain access to the loom going across the front of the engine. So you'll need to remove the upper alternator bracket and the the two loom holders on the front of the block. I did this during my coolant flush project so my upper hose and thermostat are removed. If you have my crankcase vent that will need to be removed as well.DSCF4411.JPG


DSCF4412.JPG


Now I started at the battery and the alternator and started unhooking the wiring from these devices bring it forward.

DSCF4414.JPG


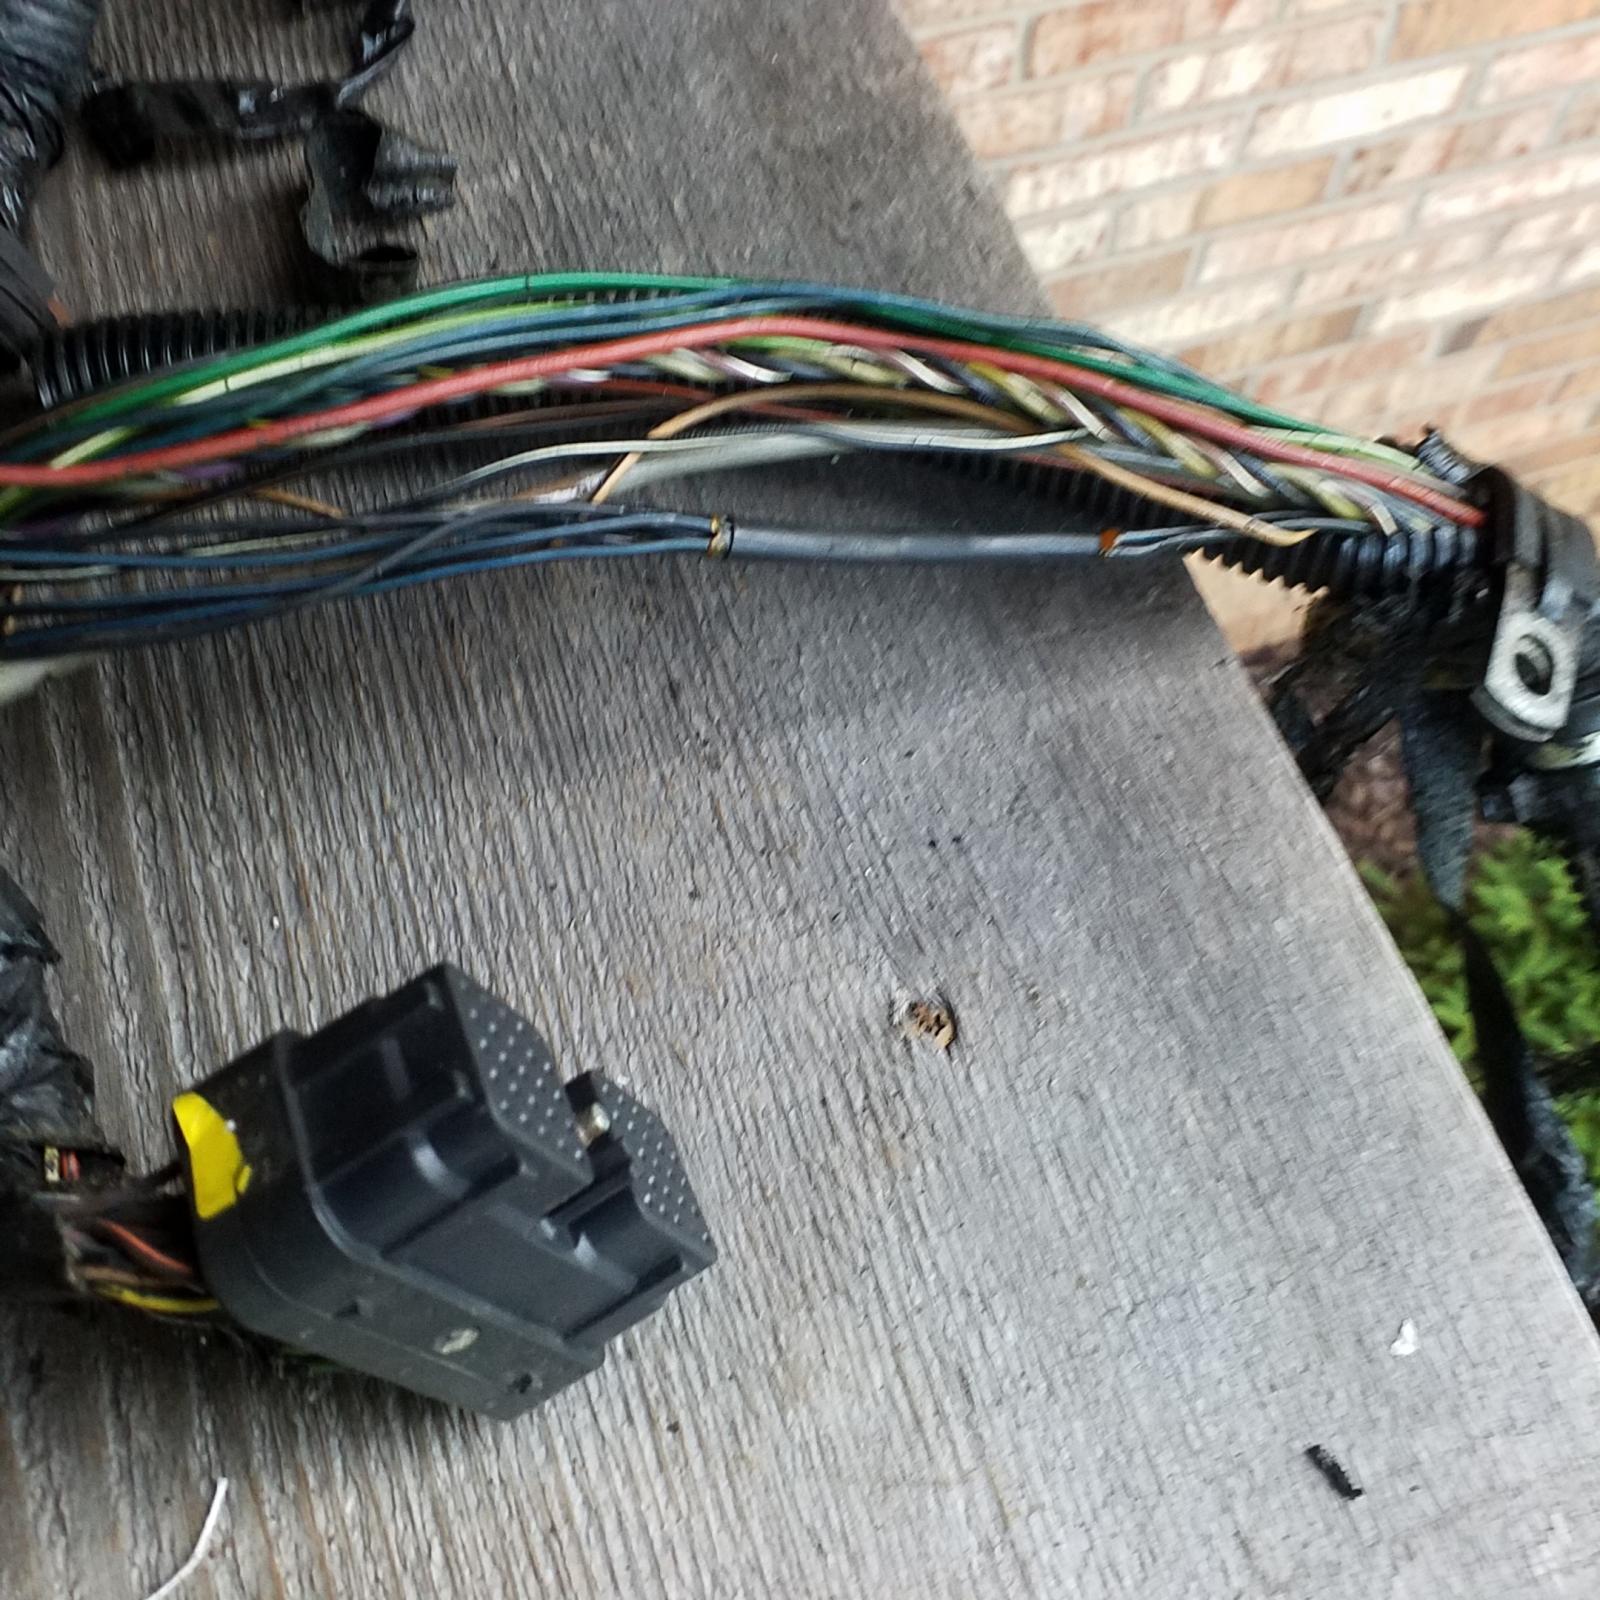
Now you start working on getting the split loom off the wiring. Start at the tape with a small exacto knife or razor blade and carefully split the tape to release the plastic split loom cover. Carefully remove it. I found out mine was brittle after all the years of engine heat. Once you remove all that slpit loom you can again split the spiral tape holding the loom together.

DSCF4415.JPG


Now you show be able to have both the ground lead and the alternator charge lead loose now. I will admit the alternator lead took a bit of work to release at the knot of tape on mine where it breaks out of the loom heading for the PDC. Just take your time with your razor blade and your get it released. You can clearly see the splice of the ground just like @W-T mentions in his article. 

DSCF4416.JPG


Once you get the alternator lead out in one piece. Then the ground lead I used a pair of wire dikes and cut the ground right at the end of the splice. Now the alternator lead I reused the wire since it was in excellent condition. I mocked up the alternator lead by hooking it back up to the alternator like it should be and gave it a nice loop of slack then cut it to meet the positive battery terminal. 


DSCF4422.JPG


On my terminal lugs, I took a hacksaw and scored the plastic collars and peeled them off for soldering. Then slipped the lug on and used a propane torch with the low flame and soldered the lugs right on to the wire. Good sold weld and this will seal the wire from future rot from battery acid and vapors.

DSCF4423.JPG


This is the completed alternator connection now. All I did was grab an old nut and stacked on the battery terminal.

DSCF4424.JPG


Now we are going to do the ground side. Now trim back the old splice and free the ends of the wires. Now strip back the wire so you can fit the wires into a lug. Again I did the same thing I took the hacksaw scored the plastic collar and peeled it off the lug and then slipped it on the wires and prepped it for soldering.  


DSCF4426.JPG


Again just slipped the lug on the wires and low flame with a propane torch I soldered the lug to the wires. 

DSCF4427.JPG


Now I cut the old plug off the splice on the passenger side ground and then trimmed the length of the wire with the plug so it would reach between the driver side battery and the gear case. Same again I peeled the plastic collar and slipped the lugs on and soldered with low flame propane torch.


DSCF4430.JPG


This gives you an idea where the wires go. Take your metric bolt and attach the ground wires to the case. Then the ground cable to the negative battery terminal on the driver side. 

DSCF4429.JPG


Beyond this is just clean up. Now you need to tape up your loom again. I'm going to replace my split loom with smaller size being the old loom was brittle and was breaking during removal. The only thing that should run across the front of the engine now should be ECT sensor which is a twisted pair. The A/C compressor, A/C high pressure switch and the alternator field lead.


Before AC noise level was 0.038 AC volts now after the mod its dropped to 0.015 AC volts. 


View full Cummins article

  • Like 3
Link to comment
Share on other sites

4 hours ago, Dieselfuture said:

We're all anxious to hear your AC results, mine went from 0.032 to 0.018 vac with all accessories off


Edit 

I'm still planning on redoing grounds closer to ECM like @dripley was pointing out and the issues he had in that area.

 Maybe you can incorporate that mod into this article also.

Here is the splice, about 8" from the ECM plug going toward the VP.20180720_192602.jpg.55050b093ef0e46f5e917a273a957fd9.jpg

There is another splice of the 5v signal to the the MAP and oil pressure sender/switch that might be my issue but I have not found it yet.

Edited by dripley
  • Like 1
  • Thanks 1
Link to comment
Share on other sites

I was having a horrible problem with my transmission down shifting, it got worse over time, I rebuilt the alternator, that helped for a while.

I finally performed this ground mod, and all the problems I was having stopped!

I did not measured the voltage ripple before and after the mod like I should have, but I do have a good indication that it really made a difference.


I did not remove any of the brackets to get to the wire harness, though it would make it easier to work on.


One question I don't see answered yet; where did you route the alternator positive wire to get it away from the wire harness?

I used new split loom for the main cable harness, and a smaller split loom for the alternator wire, and routed them next to each other, since they are going to the same location.


Brian


  • Like 1
Link to comment
Share on other sites

The charge cable throws me off being black.

On 7/20/2018 at 5:48 PM, Mopar1973Man said:


DSCF4430.JPG


This gives you an idea where the wires go. Take your metric bolt and attach the ground wires to the case. Then the ground cable to the negative battery terminal on the driver side. 


Where is this cable coming coming and being connected to?

Link to comment
Share on other sites

1 hour ago, milradioman said:

One question I don't see answered yet; where did you route the alternator positive wire to get it away from the wire harness?

It goes straight to passenger side positive terminal and nothing goes to PDC where the fuse is at. You could use that empty PDC spot for something else like lift pump or axillary power for whatever.

  • Like 2
Link to comment
Share on other sites

4 minutes ago, Dieselfuture said:

It goes straight to passenger side positive terminal and nothing goes to PDC where the fuse is at. You could use that empty PDC spot for something else like lift pump or axillary power for whatever.

Precisely. I put my AD power lead there so no one else would ever mention it being the alternator again.


31 minutes ago, gipperkid said:

The charge cable throws me off being black.

 
Where is this cable coming coming and being connected to?

One end is connected to the timing case with the other ground wires at the the VP. The other end goes to the driver side battery neg terminal. I guess @Mopar1973Manleft the connector to easily disconnect it, don't know for sure. I just used a piece of the wire, added ring terminals and bolted both ends. It will work either way.

  • Like 1
Link to comment
Share on other sites

7 minutes ago, dripley said:

It will work either way.

Yes, but the idea is to get rid of unneeded possibly weak ground connections. I didn't even go to the case of the engine I went straight to the negative of driver's side battery, but I do have extra ground wires bonding entire truck.

Link to comment
Share on other sites

3 hours ago, Dieselfuture said:

Yes, but the idea is to get rid of unneeded possibly weak ground connections. I didn't even go to the case of the engine I went straight to the negative of driver's side battery, but I do have extra ground wires bonding entire truck.

I cant see that hurting anything either. I figured with the computer grounds and the battery ground bolted on the same bolt on the gear case it would suffice. Cant go wrong with yours though.

Edited by dripley
Link to comment
Share on other sites

"You shorten the charge wire from the alternator and run it to the passenger battery. "


Well, that makes too much sense, I was hung up on keeping the alternator positive connected to the "main"/drivers side battery, as long as the battery connections are clean and tight it shouldn't make any difference which battery.


I talked to a mechanic near me about my mods, he was told the mod only involved moving the field wire from the PCM out of it's wire harness and route it another direction, like on the other side of the air filter.

Apparently it is picking up interference also, I have not looked at the wiring diagram yet to see what else is run with it.

Link to comment
Share on other sites

2 hours ago, dripley said:

I cant see that hurting anything either. I figured with the computer grounds and the battery ground bolted on the same bolt on the gear case it would suffice. Cant fo wrong your though.

Not disagreeing with using same bolt for both, good idea. I guess I already had body and engine grounded with extra cables so I went straight to battery. Ether way it will work good. Not even sure why I mentioned how I did it, didn't mean to confuse anyone.

  • Like 1
Link to comment
Share on other sites

14 minutes ago, Dieselfuture said:

Not disagreeing with using same bolt for both, good idea. I guess I already had body and engine grounded with extra cables so I went straight to battery. Ether way it will work good. Not even sure why I mentioned how I did it, didn't mean to confuse anyone.

I think what you did makes perfectly good sense. I was was just following directions. And for anyone that is confused either way will work and wiring straight to the battery does eliminate one connection. Very much the same as what is done at the passenger battery for the PCM ground.

31 minutes ago, milradioman said:

"You shorten the charge wire from the alternator and run it to the passenger battery. "


Well, that makes too much sense, I was hung up on keeping the alternator positive connected to the "main"/drivers side battery, as long as the battery connections are clean and tight it shouldn't make any difference which battery.


I talked to a mechanic near me about my mods, he was told the mod only involved moving the field wire from the PCM out of it's wire harness and route it another direction, like on the other side of the air filter.

Apparently it is picking up interference also, I have not looked at the wiring diagram yet to see what else is run with 

The stray AC voltage is the main culprit here for the problems folks are experiencing. Just changing the charge wire and shortening the grounds seems to really reduce that AC voltage. I have not done anything to the PCM ground yet other than cut out the splices near the passenger battery and connect it straight to the passanger battery negative terminal. 


Link to comment
Share on other sites

  • Staff

I've heard of a problem with the gray connector so got rid of them. Something about not tight enough connection and getting some resistance there.


Also running the charge wire to the passenger battery not only shortens length/ resistance in the charge line, but gives a better chance for both batteries to filter out the A/C noise or ripple before damaging anything else in the system. That is the way I understand it anyway.

Link to comment
Share on other sites

1 hour ago, JAG1 said:

I've heard of a problem with the gray connector so got rid of them. Something about not tight enough connection and getting some resistance there

So did I, I tried eliminating any quick connect on ground side and solder all joints and just going to battery or body or frame on whatever I come across now with ring soldered terminals. If i have to take it off its a bolt or a nut instead of a plug now. The only plugs I still use are multy plugs and they are all full of dielectric grease. And my 175amp plugs I put front/back for winch or jumper cables. If you use these plugs you have to put grease in them too so the metal plates that hold terminals in place don't rot away, for some reason they are not stainless steel. Terminals are fine but not where they clip in.

Just in case someone is using them.

Also plastic plug needs to be cleaned of mud, if it gets in a plug and freeze it cracks that plastic, yeah leave and learn.

This is what I'm speaking off 

https://m.ebay.com/itm/4-175A-Battery-Quick-Connect-Wire-Harness-Plug-Disconnect-Winch-Connector-Kit-/152600677058?txnId=1749285061005

  • Like 1
Link to comment
Share on other sites

×
×
  • Create New...