

Leaderboard
-
dripley
Retired Staff4Points11,788Posts -
Ironforger
Yearly Subscription2Points239Posts


Popular Content
Showing content with the highest reputation on 07/08/2019 in all areas
-
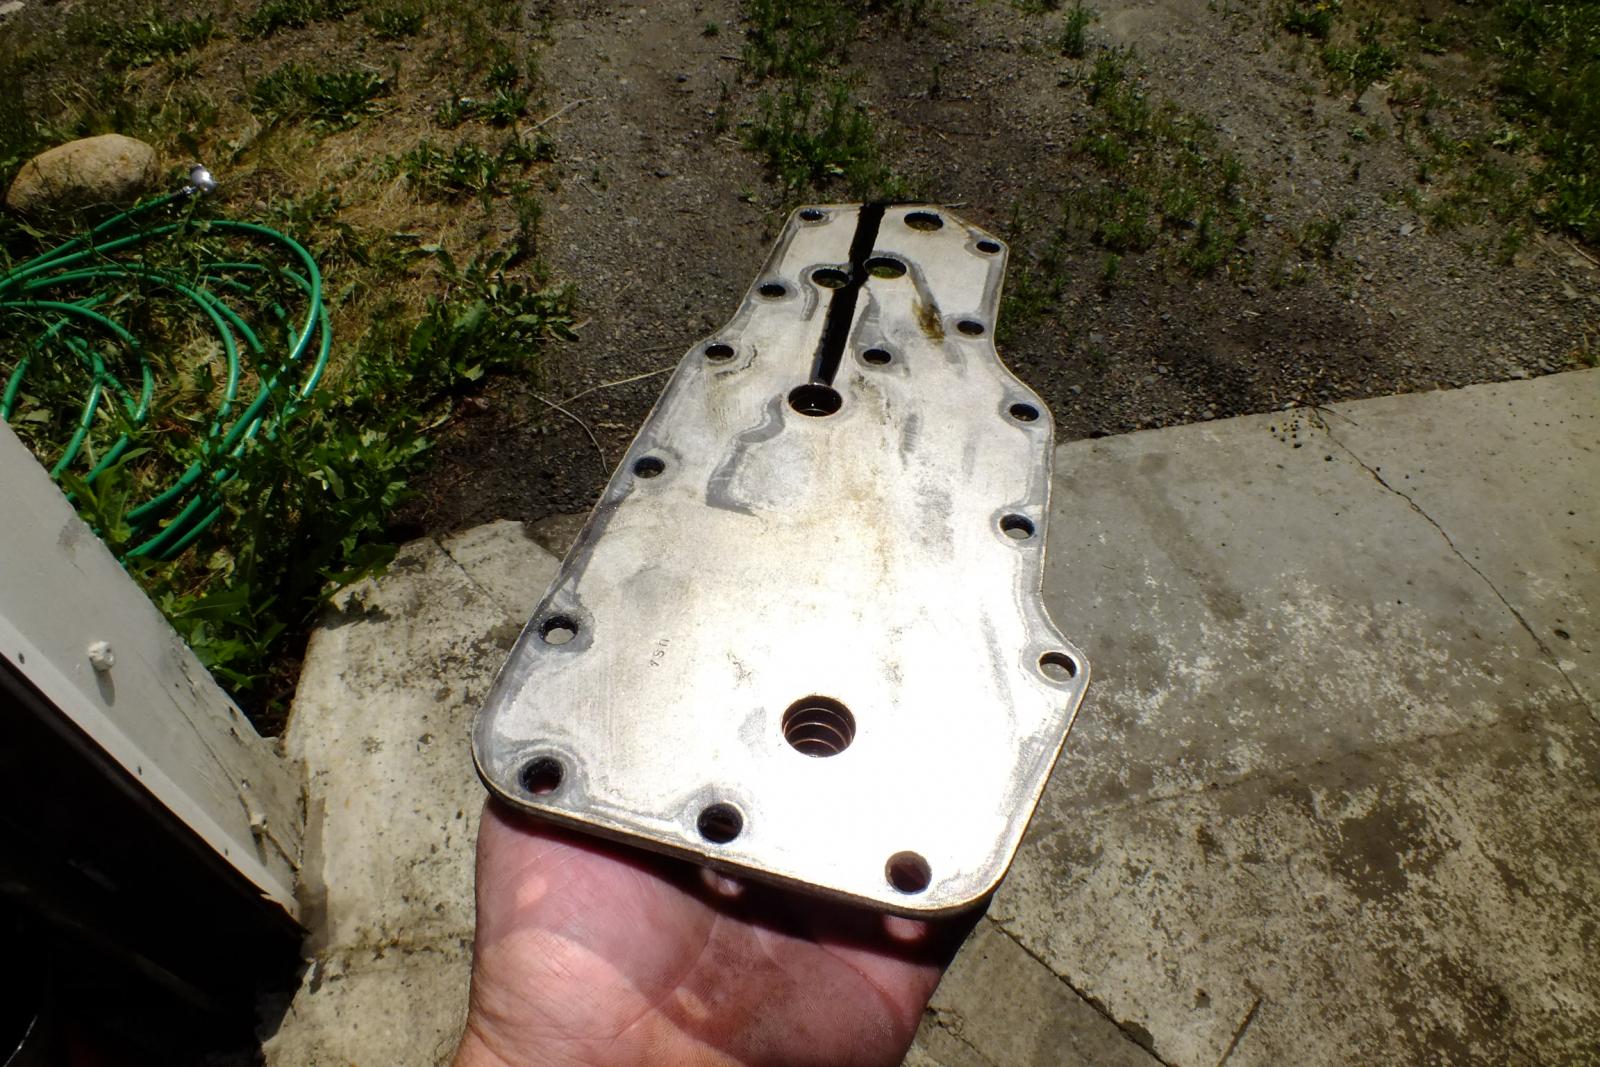
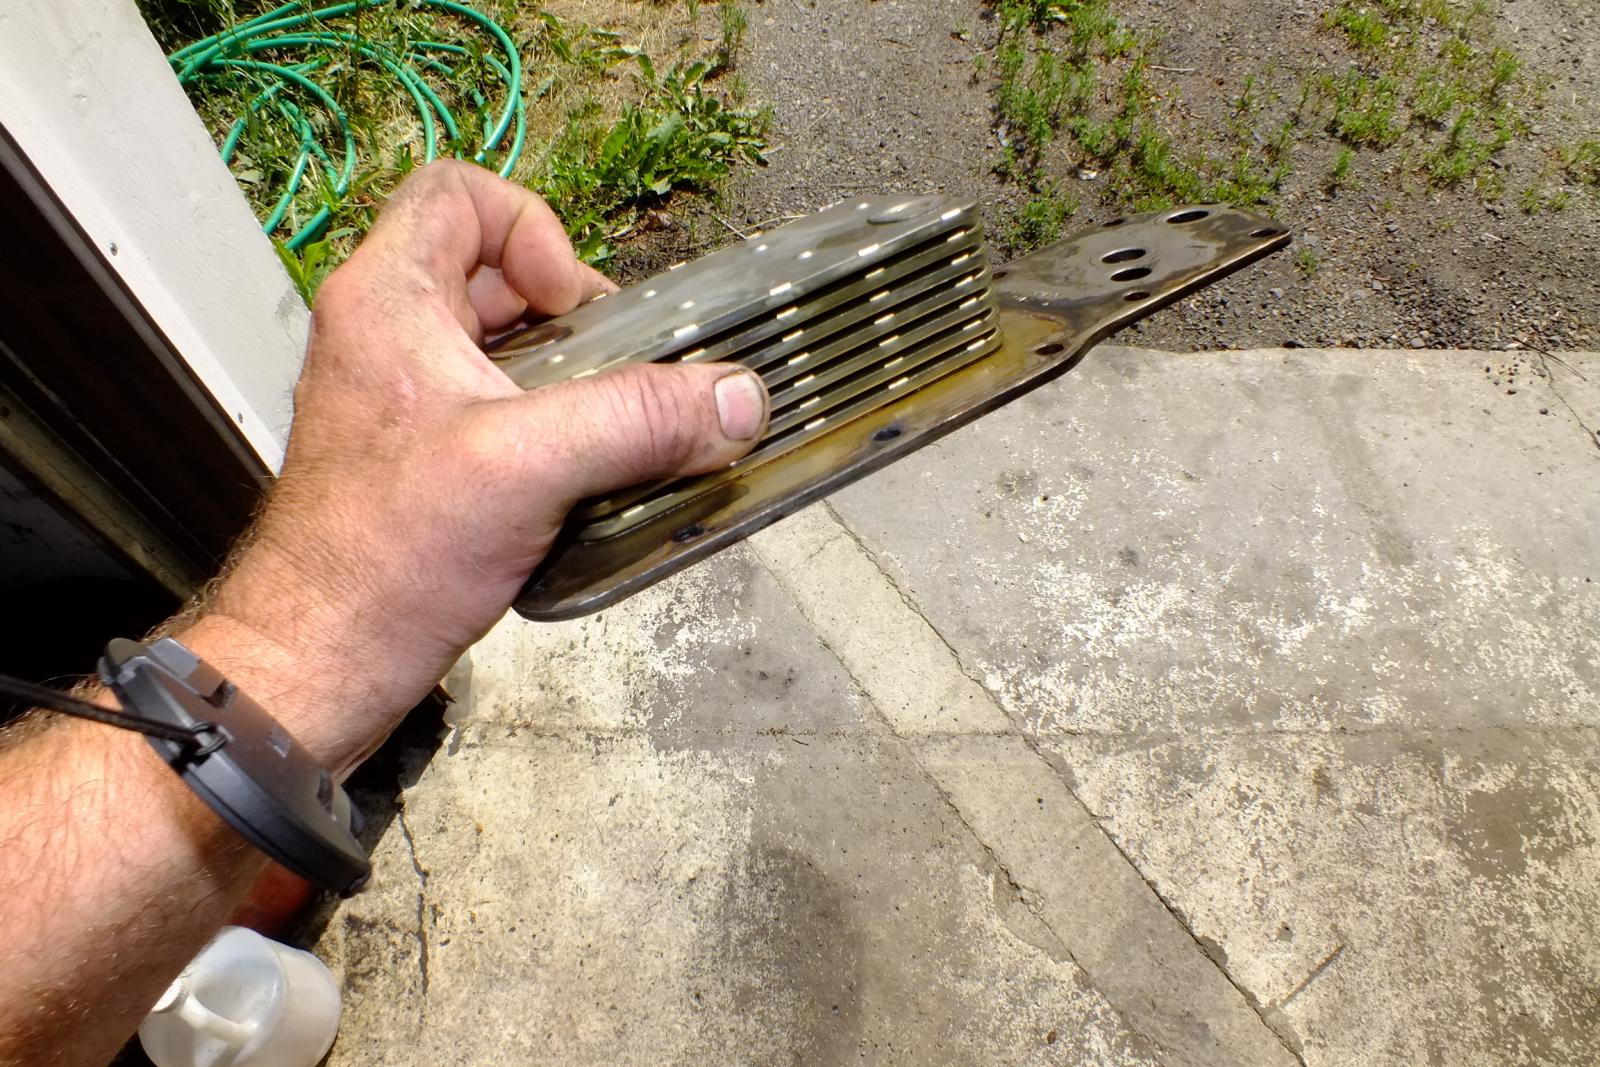
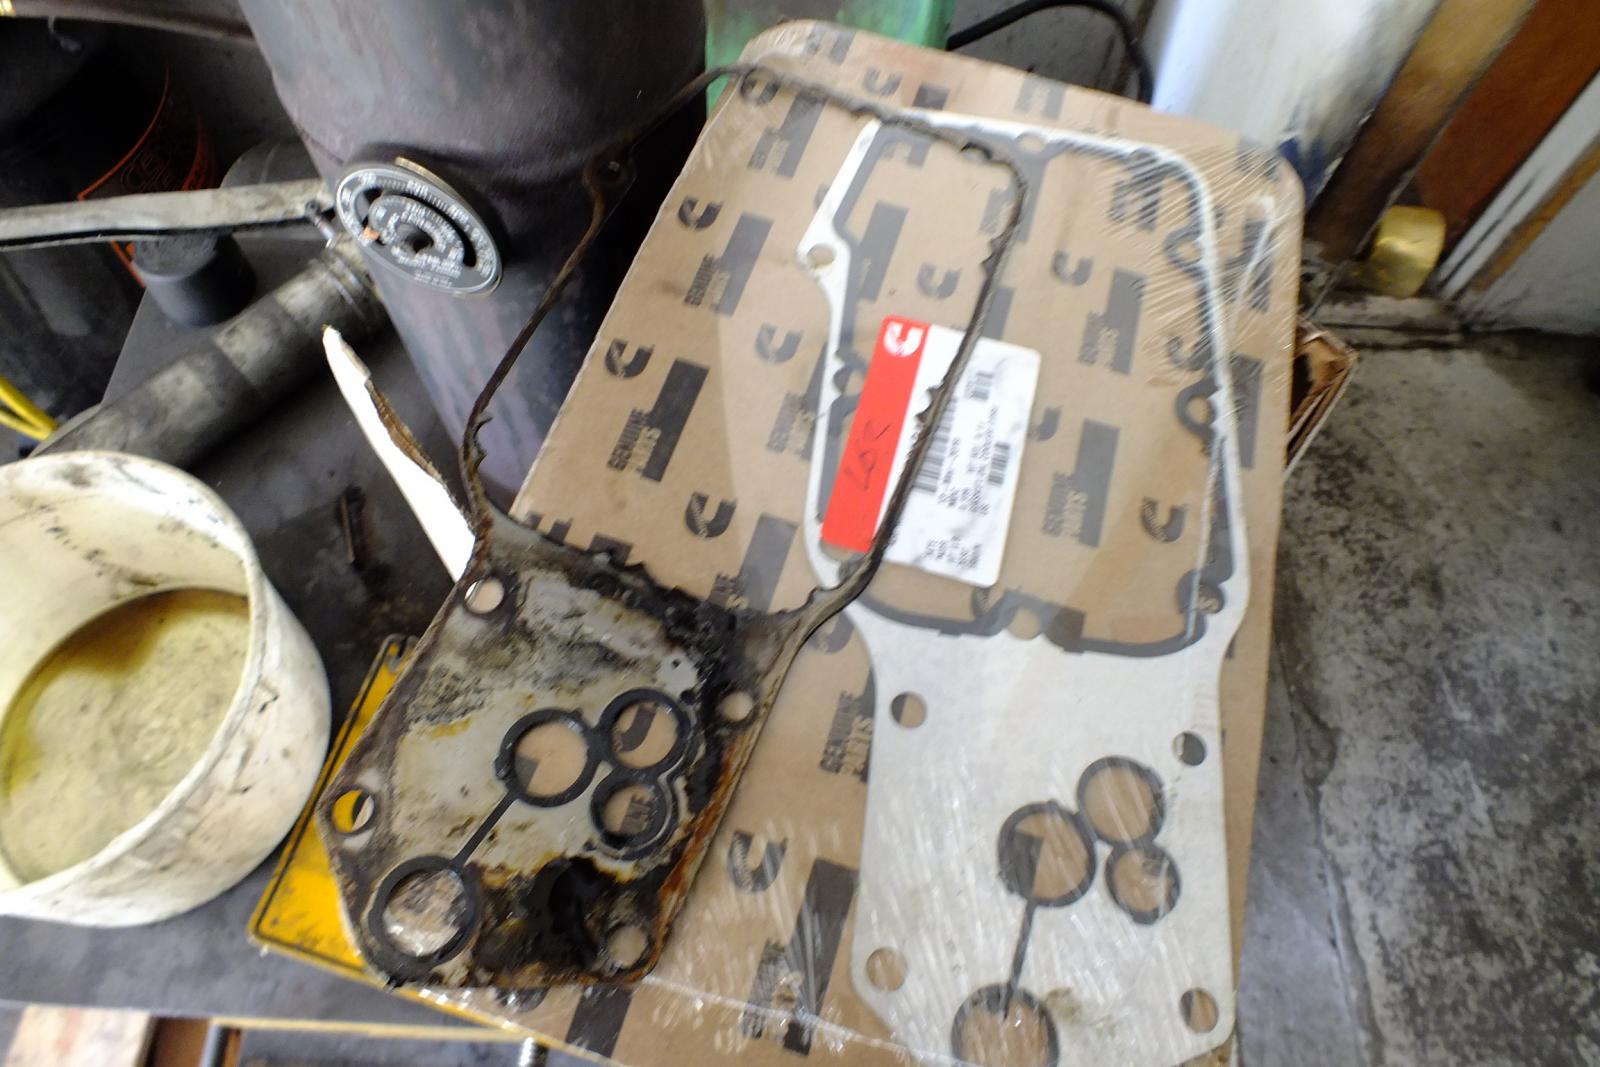
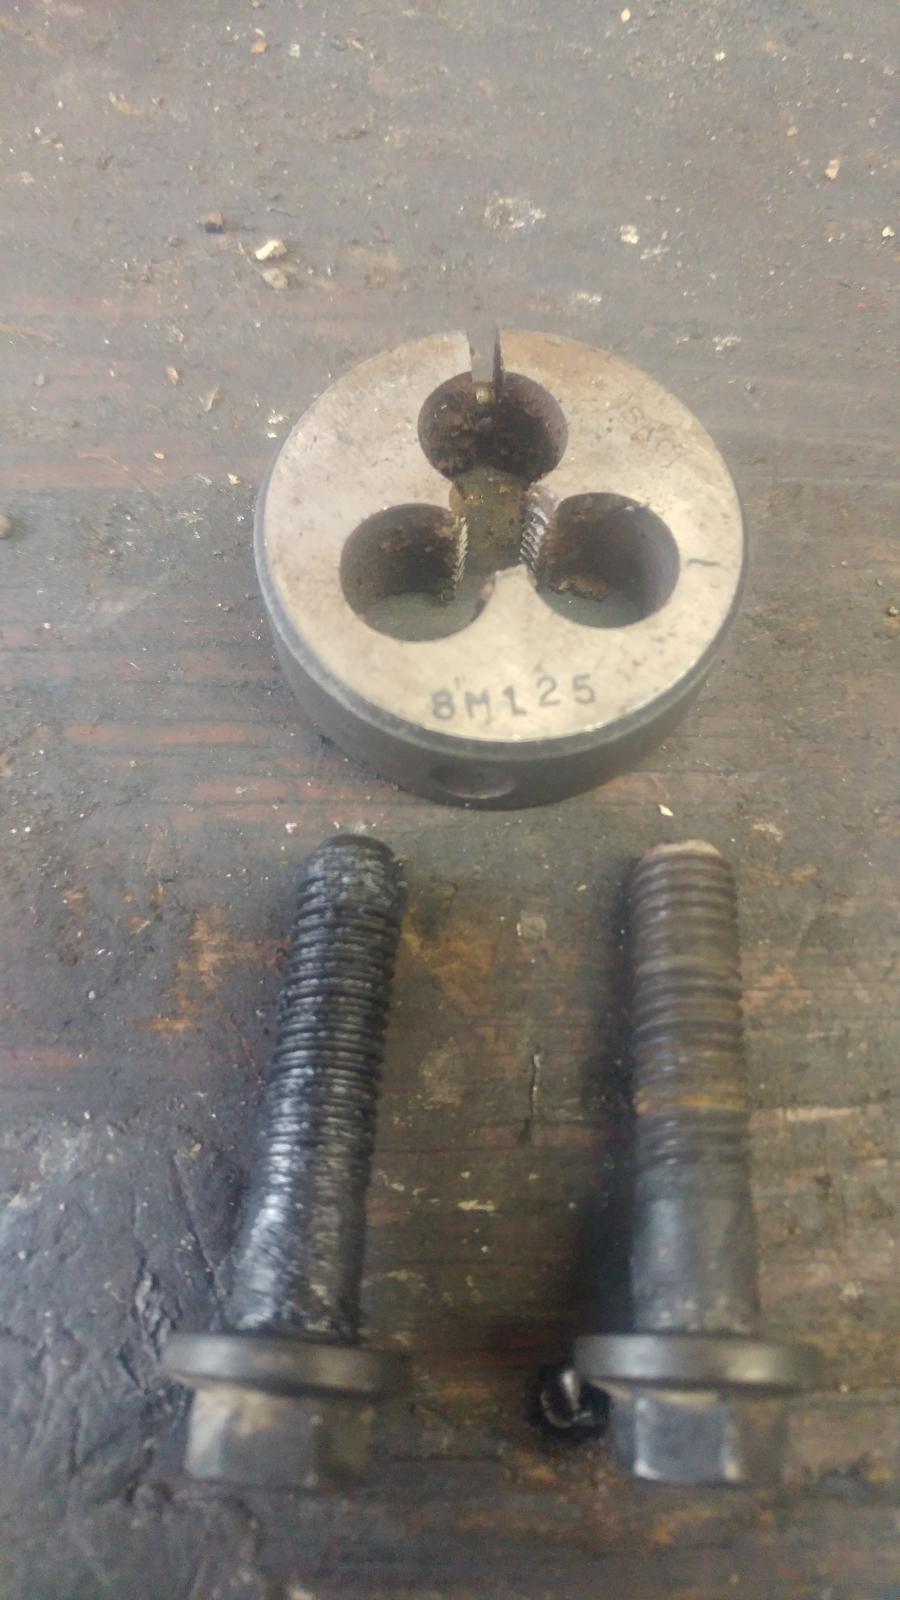
2 pointsFinally had to change a oil cooler gasket on my truck. It has been seeping for the last 5 to 6 months leaving a small bit of coolant on the floor of the garage. I will let you all know that oil cooler gasket set is a Cummins only thing. I tried NAPA, Autozone and few others and no one stocks this gasket set. As for changing it out is pretty straight forward. You need to remove the air filter and the oil filter. On the oil filter housing remove the oil hose for the turbo. Then the bolts holding the oil cooler in place are all 10mm heads. After I got it pull out I compared the new and old gasket to realize that the rubber seal lip had failed. You can see its completely missing on the old gasket. This is where my coolant leak was from. Most likely just old age. Filter side of the oil cooler. Coolant side of the oil cooler. These photos are without clean up. Just removed and photos taken. 17 years of tap water and creek water the block has 385k miles and no signs of scale build up at all. As for clean up. Sharpen my puddy knife and scraped off the old rubber seal. Be very careful that no debris get into the oil holes below. I used a bit of brake clean and cleaned up the outer housing. Oil cooler I buffed the sealing edge with a scotch brite pad in a drill. Very lightly to just smooth the seal surface again. I did an extra step and chased the threads on the bolts to clean them up going back in. They were kind of corroded from dried coolant and oil. I used a 8mm x 1.25 die. The sandwich gasket between the filter and the cooler came off super easy and peeled off clean. I will mention that it much easier to stack up all the parts and pass two bolts through and get that started. DO NOT use any sealants here! Just bolt it up. I check the Dodge FSM for torque specs and found nothing about the oil cooler for installation. I was aiming for about 15 foot pounds on these bolts. Make sure to pull the thermostat so you can refill the block with coolant. After you start the engine and let it run a bit make sure to check the oil level too. I dumped the oil filter out and ended up adding oil to be in the normal range again.

 2 points
 -
Grid Heater Bypass Simplified The method described below is a simplified way of turning the grid heaters on and off when starting the engine and reducing the electrical load on the alternator without setting a P0380/P0382 code. The bypass solenoid is a 300amp rated Ford type starter solenoid. When both grid heaters are on there is about 180amp draw and after start up the draw is reduced to 90 amps so the bypass relay has a 50% plus overload safety factor. Suggested Parts List 1 Standard Motor Parts starter solenoid SS-598 (bypass solenoid) 1 automotive on/off switch DC rated (your choice of style) 1 ATC fuse holder or fuse block (needed if not using fuse in PDC) 1 5amp fuse 13” 6AWG wire cable 5’ 18AWG wire red 5’ 18AWG wire blue 3’ 18AWG wire black 2 6AWG 5/16” copper wire ring terminal 3 22-18 AWG #10 ring terminal 2 #10X32X3/4” screw 2 #10X32 nut 4 #10 washer 4-5” of heat shrink (for the 8AWG cable terminals) 5’ ¼” plastic split wire loom 1 pack of 5-7” plastic ties 1 roll rosin core solder Putting It Together Disconnect both batteries; remove left (driver’s side) battery and battery tray. On the side of the battery tray fit the bypass solenoid and mark holes to be drilled; you may have to grind one side of the bypass solenoid mounting bracket to have it fit flush on the side of the battery tray. Drill 2 holes, 13/64”-7/32”, where marked on battery tray and mount the bypass solenoid with the #10 screws and nuts as shown below. Note: the bypass solenoid is grounded through its body so a black ground wire, with a #10 ring terminal at each end, is attached to one of the mounting screws and the other end grounded to the body. Reinstall the battery tray. Left battery tray with solenoid attached. Find a place in the cab where the switch type you chose will fit and be readily accessible. We used a rocker switch mounted in the kick panel below the steering column. For power you can tap into the fuse box on the left side of the dash. Find a terminal that has power only when the ignition key is in the on position. This is where you can add an ATC fuse holder with a 5amp fuse. Connect one end of the red wire to the fuse holder and the other end to the switch. Connect the blue wire to the other switch terminal and run it through the rubber grommet in the fire wall and with a #10 ring terminal connect it to the bypass solenoid terminal marked S; cover with ¼ “ split wire loom. Make up the 6AWG cable (an 8AWG cable will work also) with the 5/16” copper ring terminals and heat shrink. I solder my cable ends on using a small butane torch but you can use a large cable end crimper. Be sure to index the orientation of the cable ends to the cable before attaching them so the ring terminals fit squarely on to the battery and solenoid. The cables for the grid heat solenoid and battery power can now be attached to the bypass solenoid; the battery power cable to the firewall side of the bypass relay and the cables for the heater solenoid to the other side; reinstall the battery, connect all the terminals and reset the apps. Left battery tray installed with bypass solenoid. Notice position of the cables. Note: I have experienced a P1291” No temperature rise seen from intake heaters” when the temperature is below 35°F and the heaters are turned off right after starting the engine. I suggest leaving them on when first starting in cold weather for a minute or two. Note: It was first suggested to use an SS-581 starter solenoid, this solenoid does not have a protective diode in it and may cause a voltage spike that could damage sensitive electronic components. A SS-598 solenoid should be used in its place. This was installed with the help of JAG1 on his 2001 Ram 2500 diesel utility box work truck. Written by: J. Daniel Martin AKA IBMobile 7/6/2019 View full Cummins article2 points
-
2 points
-
Will do! I'll clean & polish that shaft without removing too much metal. Maybe I'll get my girlfriend to do it! She's a talented shaft shiner. The bushing is made with "Oilite" bronze. It's impregnated with oil. Ask any machinist. https://en.wikipedia.org/wiki/Oilite Absolutely suitable for this application. This is the way it was done back in the old school days. Less moving parts less chance of failure. Other factors to consider: This bearing is only used while the clutch is depressed, best to put the trans in neutral while at a stop lite or stuck in traffic etc. Food for thought: The oilite bronze bushing may eventually wear, but it will not wreck your input shaft. A failed needle bearing will definitely wreak havoc on your input shaft as shown in my pictures above. I've had many cars and trucks with oem bronze oilite piliot bushings and have never had an epic fail like this oem dodge needle bearing.2 points
-
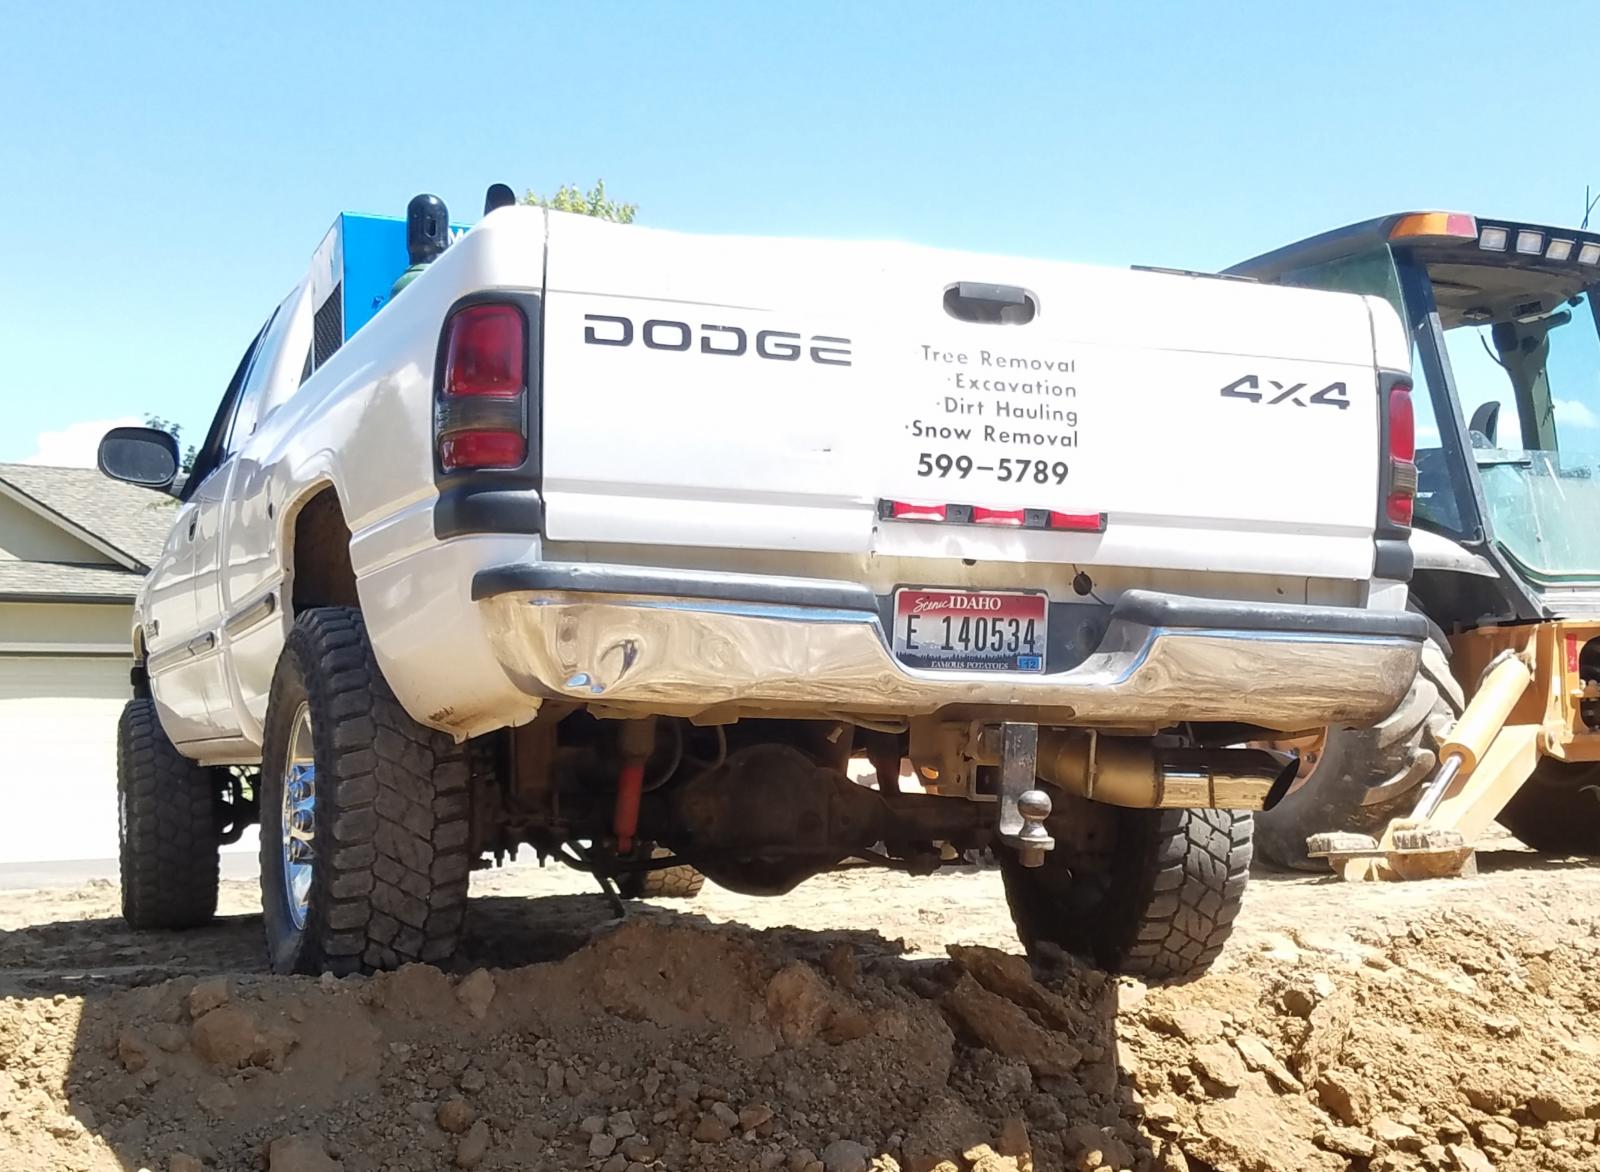
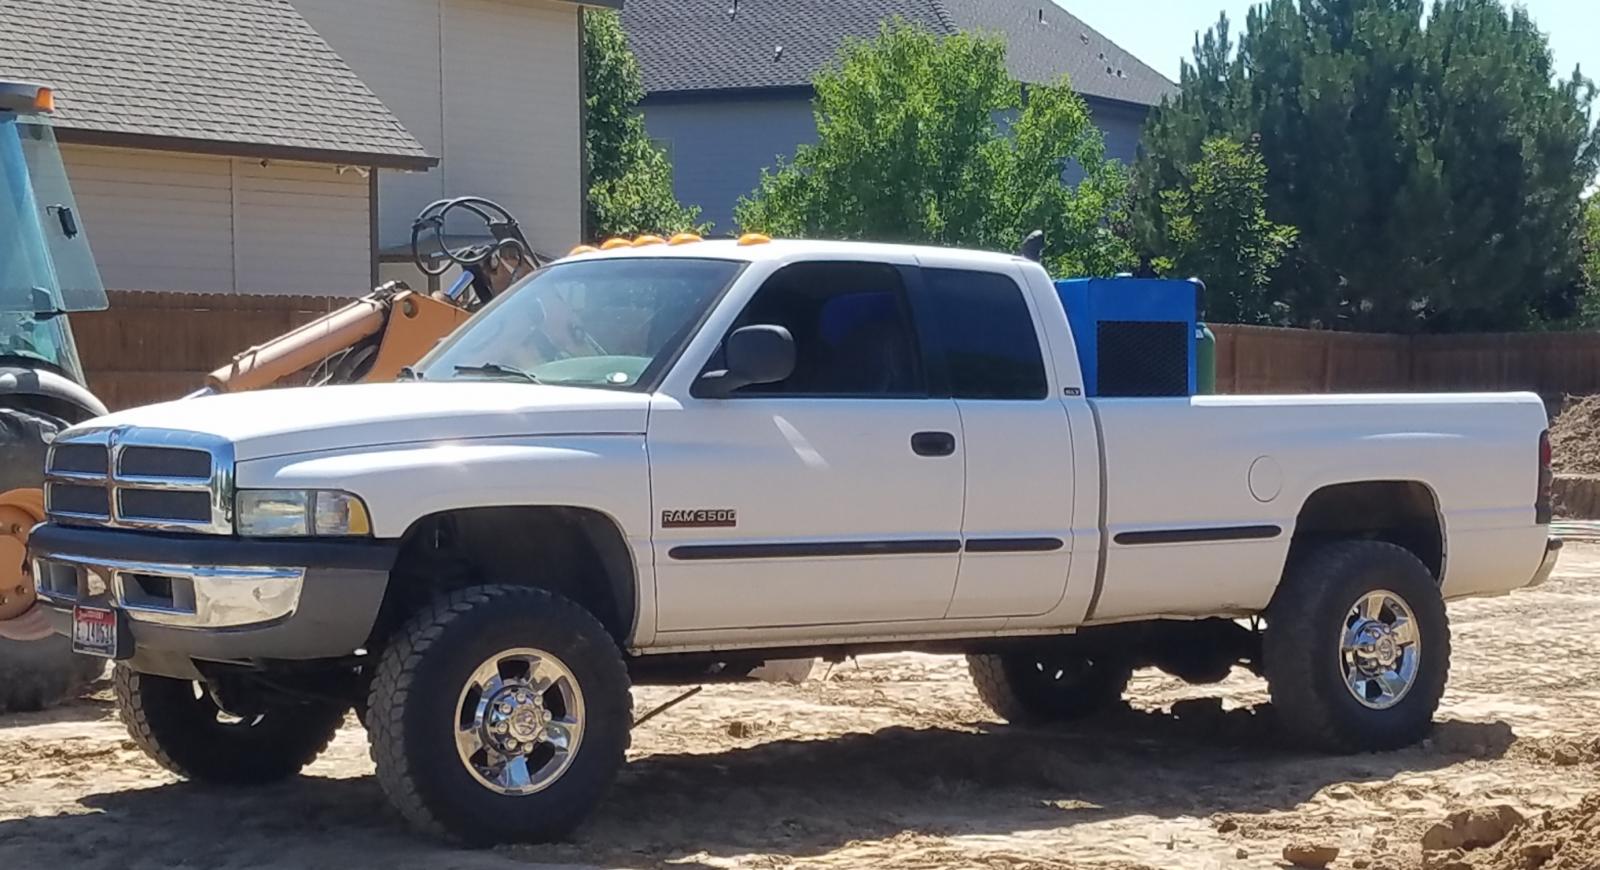
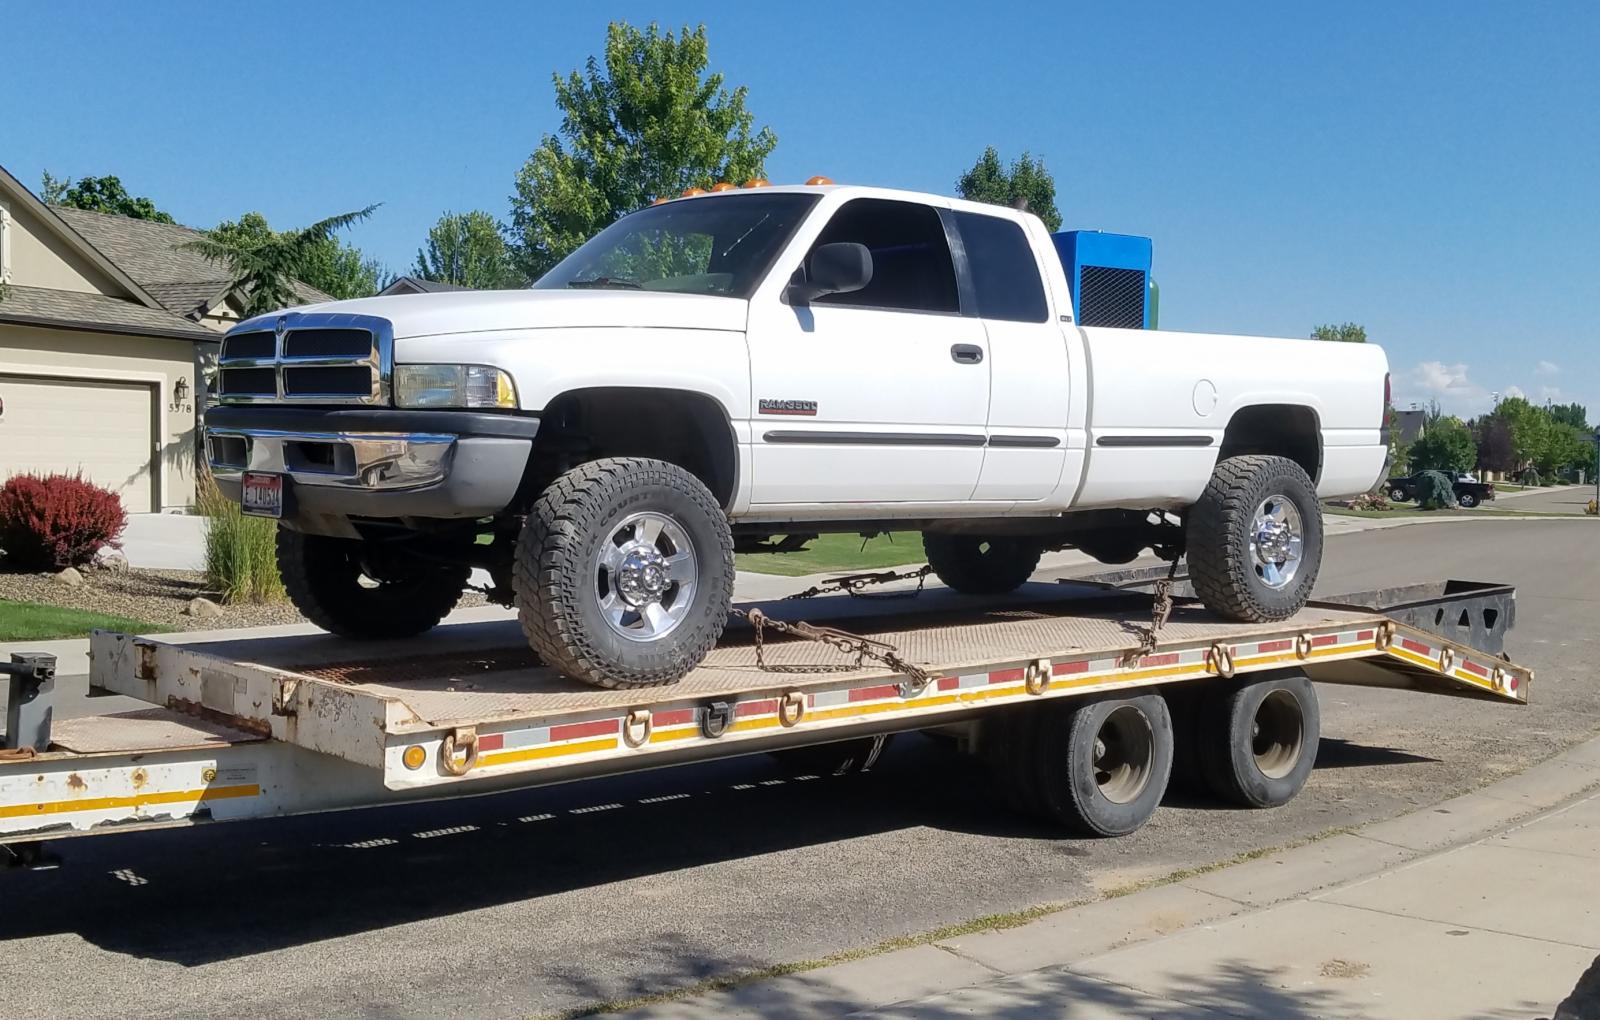
Finally have my 5" how I like it. Exhaust all scavenged off a kenworth w800 Ohhh man I'm really liking the 3rd gen wheels I have two sets. Thinking about powdercoating one set mat black or BMW silver. I might look into a set of street tires toyo used to have a m54 that was heavy duty street application. I've had great luck running m55s never tried the 54 would be cool to have a quite street tread and swap on mud terrains in October


 1 point
 -
1 pointI really like my 3.55s I wouldn't change to 4.10 even if I had lots of money to throw away. No clue on what smarty settings. If stock injectors I wouldn't think youd see much heat from any settings. How much boost does it make. If its o ly in 22-24 psi range then turn buckling the waste gate closed would probly knock your egts done 1-200deg and might even make the but dyno register more power. I wouldnt go in a gear change with out proper shims and tools to make sure the gear lash is correct. Ring and pinion sets cost way to much to screw up and have to do more than ounce. But the job is very doable for the diy seller that is willing to take the time to learn how to do it right and then do it. I wouldn't even replace 3.55 set with a new 3.55 set with out going through all the same steps same as 3.55 -4.10 swap.1 point
-
1 pointI often wonder this when I'm coming back from a trip up at the cabin. I called a guy who had his cabin for sale, $70,000 for 2.58 acres with OGM rights. **** then I go get a job hauling fracking water for $30 an hour and love like @Mopar1973Man lol. World away from Jersey hustle. Over the 4.5 years I worked at my old job working in and out of NYC and living in PA I was told by my friends I lost my Jersey accent, but at the same time my Jersey friends said I had an Irish accent, which is weird because where I was living in PA is heavily German. The gas station I worked in required is to wash windshields. But he gave us a super long window washer like for truck stops, so it was easy for us to do. We also would check oil and such when asked. Those were the days, I think I used to get about 30 numbers a summer there. Not to mention my second girlfriend haha, first out of high school I should say.1 point
-
1 pointI just places an order for gauges for a gent in Ontario. @mr.obvious. Going to be installing ISSPro EV2 gauges (Boost, Pyro, and EGT). He's also running a intank fuel pump. We both know the fuel pressure is sub-par with a intank lift pump. As for dash you can extend the life of the plastic by using Armor-All. The trick is to wash the plastics all off and the spray the Armor-All on and leave it cook in the sun. It will change from whitish to clear shine. This keeps some of the oils in the plastic for a bit longer. Mine is cracking but I'm holding it at bay for now. Eventually I'll need to do a dash top replacement like @dripley has. As for the HVAC system I've replaced the evaporator and heater core once. Blend door is still fine. Then vacuum motors still working fine. A/C works good. The heater works awesome even in subzero.1 point
-
Not worth it. 17 years later I'm on the same ECM. You would have to send that spare in and have it reflashed with your software. There is 52 different version of software per year. You would be better off doing the W-T ground wire mod. Then doing the PCM protecting fuse. Way cheaper and no need to buy a second ECM and have it flashed.1 point
-
1 pointI did mine including an LMC dash pad replacement about 7 years ago. The only Hvac hard parts I replaced was the connector from the blend door to the motor. Also the evaporator and heater core. I also replaced the foam with like replacements from the hardware store. Still working fine. I think you would have to see what you see when it's apart. If you have the in tank pump get a gauge now. It may hold a year or more or fail tomorrow.1 point
-
1 pointJust sayin back in the days when full service and self service gas station were right next to each other and when gas was .70 cents a gallon, you usually paid a few more cents per gallon to have full service if you chose to do so and have your vehicle checked out while being filled , but in today’s world of get in and get out I’m sure places like that don’t exist anymore . I would really like to see more places like true full service at least for my wife’s or daughters sake who can seem to get very laxed on vehicle maintenance especially when I can be gone for several days at a time, I would encourage them to use full service if places like that existed anymore. But to have a state dictate that you cannot pump your own fuel I think that’s wrong, I just wonder how many of them people pumping your fuel actually do anything except hold the nozzle and take your money as far as emissions, I’m just glad that’s something I don’t have to deal with, In Colorado those are dictated by what county you live in, mostly in the metro areas and suburbs.1 point
-
1 pointYup. This is true. Still at this time its just little commuter cars. Still in all all the heavy duty stuff is handled by diesel engines. When I see trains running strictly electric then I'll worry. Still even today trains are diesel over electric motors. I don't think diesel engines are going anywhere. I still think at some point electric cars will fail. Because the US electricity grid is not capable of handling that kind of load. I've got a friend that has a family member in Cally with a electric car and pays MORE to recharge his electric car because of the price of electricity down in Cally is just scary high in price. Then if you use too many kilowatts then the price jumps again and nearly doubles. This just makes it better to own fossil fuel vehicle over electric. But even in Cally it $4.xx a gallon for either fuel.1 point
-
1 pointOver here you do it yourself everywhere, might just get the very small stations out the back of beyond still filling for you but I've not seen one in years, my Mum worked at the village station where we lived for 30 yrs and a good portion of that time pumping fuel.... thing is Benzine in petrol causes a type of cancer which my mum got.... so this probably has something to do with own filling here.. better someone pumps a little than every minute of every working day.1 point
-
1 pointElectric is coming and thats just fact of life. But fossil fuel is not in any danger of dissappering any time soon. Even the the far left Democrats cant make that happen like they want to.1 point
-
1 pointThat's also a good setting. I can put it into drive and get it up to 15mph at idle in Drive. The torque that this motor puts out with the smarty is insane. Timing 3 will help with spool depending on how far into the pedal you push, because with sw5 100% fueling is at 100% pedal movement. But with the timing on 3 it's locking the timing at 60% fuel flow which is about 60% throttle. Yes and with larger injectors the lower pop pressure is a major issue. Adding more fuel to a lower pop pressure injector advances timing to much and crates more smoke and lack of spool as you can't advance the smarty timing ahead of the lower pop pressure. Unlike a quad where your can. Even Mike was advacing his quad to 25° to even compensate for the lower pop pressure on his. I can't imagine how retarded the pop is on a smarty where the timing is fixed once it locks on the timing/sw# combination.1 point
-
1 pointWhite, My WTS light seems to work properly, but I have noticed that if I am using the key to bump the lift pump but not allowing the engine to start (to bleed air or fill the filter), I will get funny reactions from the WTS light. I am certain that it is a timing issue and giving it confusing instructions. (off on, bump no start, off, on, bump no start) If I give it a few minutes when I go back it is normal. Hag1 point


This leaderboard is set to Boise/GMT-06:00