Everything posted by Mopar1973Man
-
2000 to 2002 Steering upgrade
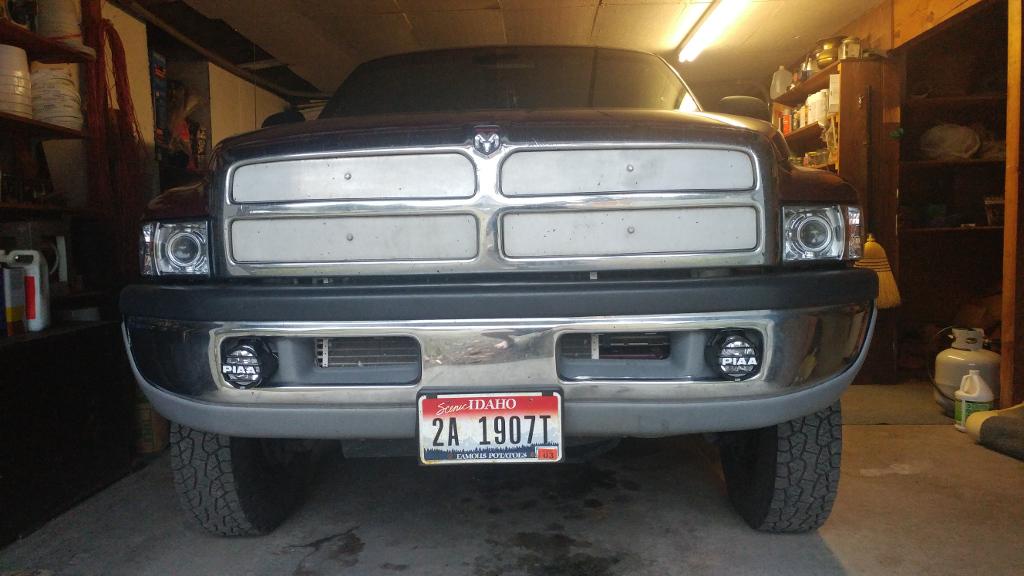
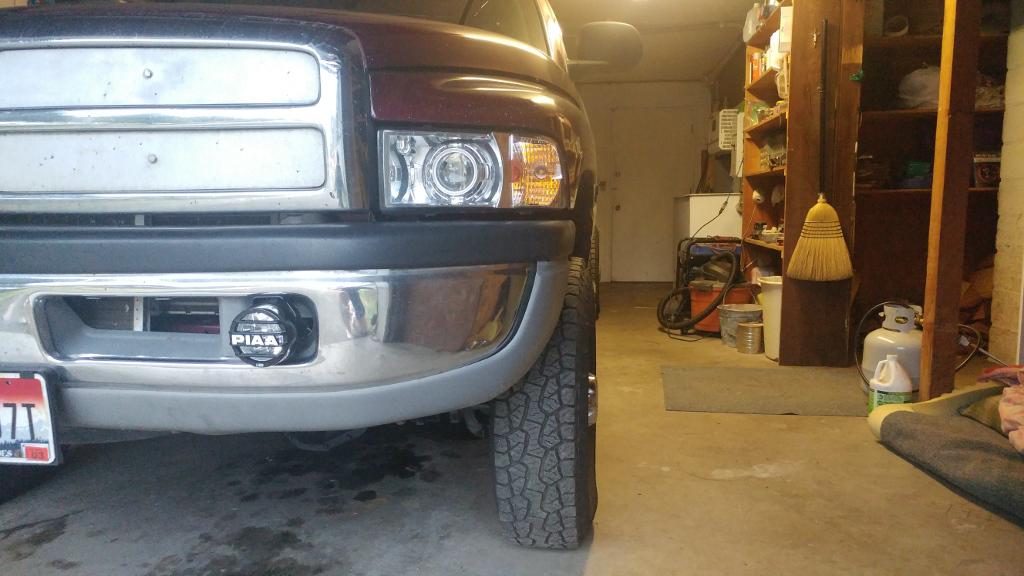
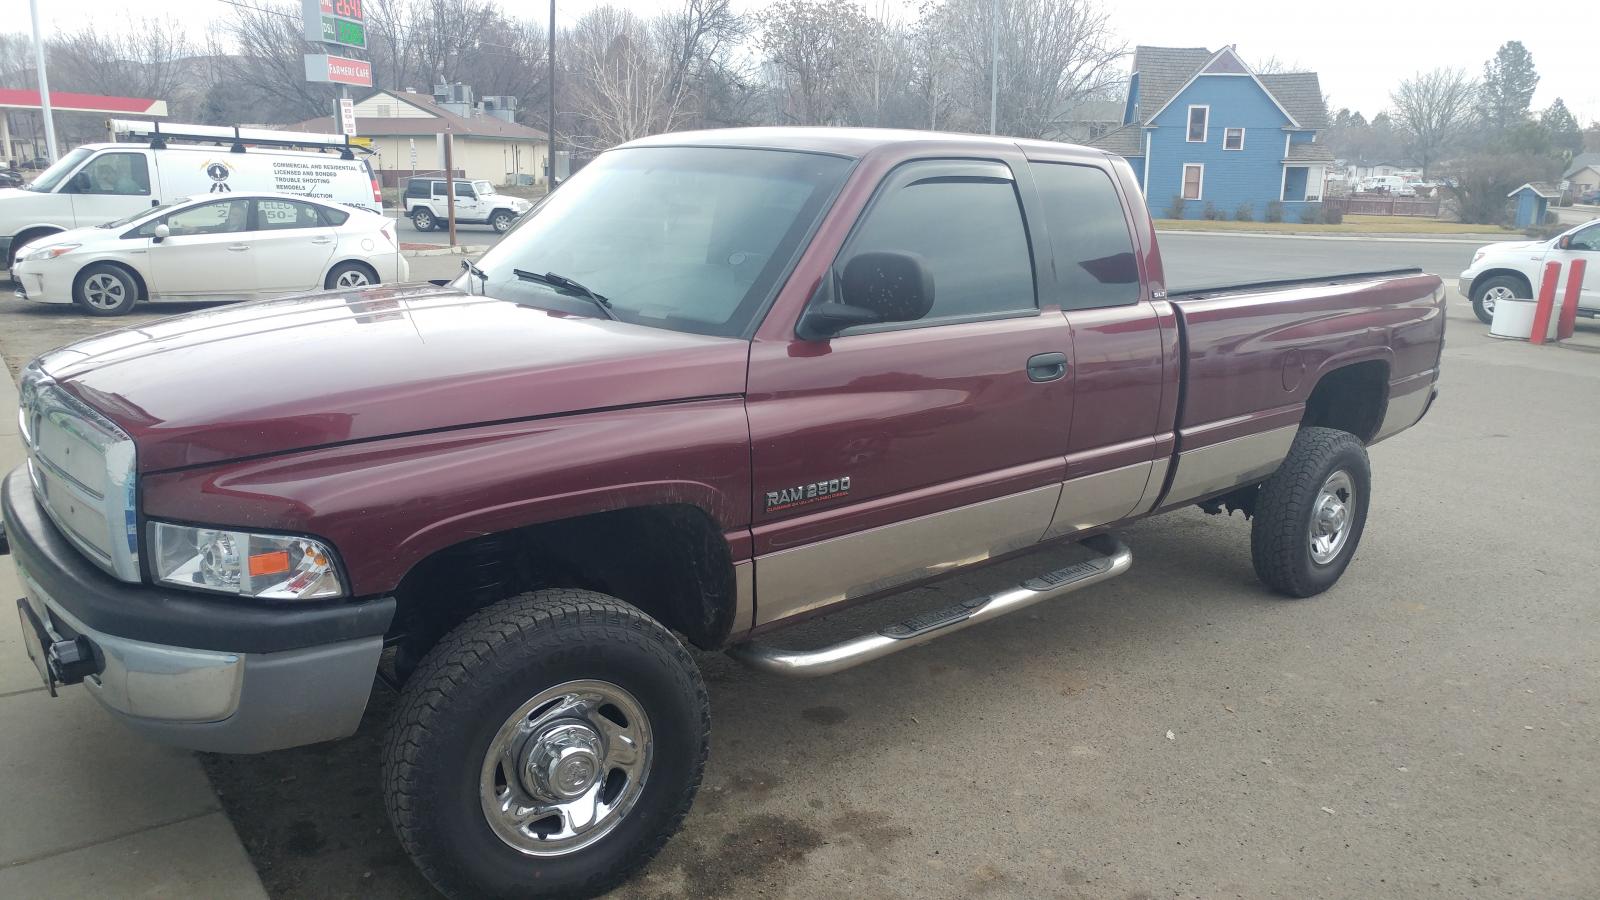
Hence what I said... The funny part I see about tires and wheel all the time is people buying wheels and tires that are much bigger than factory just for the "Cool Factor". So now what have you done? Reduced your final gear ratio Increased the rolling resistance Increased the rotational mass of the tire Reduced MPG's Increased overall cost of replacement Increased wear on brakes Shorten lifespan of front end part and steering gear. It might not have the "Cool Factor" but I've got more money in my pockets and less failure with the front axles and brakes. Very minor change to final ratio (1 Rev/mile difference) Reduced rolling resistance because of less tread face on the ground and using A/T tread and not an M/T tread. Improved ice and snow traction. Reduced the rotational mass by at least 25 pounds per tire! Increased MPG's (Record is 27.2 MPG hand math) Reduced cost of replacement this set cost me $580 bucks for the 235/85 R16 Hankook. Reduced wear on the brakes not having to stop that rotational mass spinning on the axles. (Brakes are replaced for the first time at 185k) Extended the life of all the front end parts and steering gear. (Still got factory OEM Tierods, gearing gear and power steering pump)
-
2000 to 2002 Steering upgrade
That only 50mm or 2 inches in width difference.
-
2000 to 2002 Steering upgrade
Hard to tell a 235 vs 265 being there is only 1.1 inch (30 mm) difference.
-
2000 to 2002 Steering upgrade
-
2000 to 2002 Steering upgrade
Call your local tire shop and see what they can order.
-
Fender flares for a dually
Being you live in salt country, I don't suggest fender flare. Like most of the trucks around here with oversized tire and fender flare end up with fenders rotting out from the fender flares.
-
2000 to 2002 Steering upgrade
7.86 - 7.82 = 0.04 inches 1mm = 0.039 inches Yes, 235's are 1mm taller. For the 265/75 R16 vs 235/85 R16
-
The crf450ish random question thread.
I've got an article on it. Super simple and not long to do. Just need a impact gun and ball joint press slide the bearing cap right out quick!
-
Adrenaline and RV275s
Don't have a girlfriend or a wife so I'm safe...
-
Adrenaline and RV275s
Thanks Jacob for jumping in here...
-
Adrenaline and RV275s
Heck, if you got the +75HP SAC run them. Jump on a Quadzilla you'll be set. Talk to @dieselautopower I'm sure Jacob would be cool with doing some upgrade work for you later for a good price.
-
Adrenaline and RV275s
Little secret my Daily tune doesn't require the MPG mode. I built it into my tune on the quadzilla. Then the High idle switch I rarely use because the Quadzilla I can set the warm temp to 140*F so it ramps up to 1,200 for warm up but kicks out at 140*F saving more fuel. Where the high idle runs till 170*F. The only thing the Quadzilla can't do is 3 Cylinder high idle but that would be rare to need this winter. WARNING: Make sure you don't use both at the same time I've heard that it can vapor lock the pump and force you to crank injector lines if it happens. ECM and Quadzilla don't mix good together.
-
Adrenaline and RV275s
Yes Sir. So far my high mark was 21.04 MPG if I remember right. I'm waiting for low cetane fuel to return and high intake temperatures again. Cold fuel, cold air and high cetane really make it a battle for MPG's. 100-140 IAT Temp is optimal. Aids in the ignition of the fuel with warm air. 100-120*F Fuel temp is optimal. Ignites easier and early! 40-43 Cetane is optimal. More BTU's! As soon as IAT drops below 80*F the ECM will jump up another roughly 3* of timing advancement. Cold fuel takes more time to ignite hence why cold engine timing can be as high as 21-22* degrees rolling light load.
-
2000 to 2002 Steering upgrade
Correction 265/70 R17 that is a correct size. Exactly the same to the 265/75 R16
-
2000 to 2002 Steering upgrade
What a joke is Cooper STT's and Toyo M/T those are jokes. Extremely heavy, tire poor ice/snow traction. Then to top it off roughly a 2-3 MPG lost because of rotational mass is more and rolling resistance is high from the tread pattern. Top it really good is the price typically over $1,000 for tires nope not me... Never again...
-
Adrenaline and RV275s
Be glad you own a 24V 2nd Gen... Take a look at CR Engine Injectors. Your talking at least $3,000 for a new set of injectors typically.
-
2000 to 2002 Steering upgrade
Last set I broke over 60k miles on the Hankook ATm this batch in the photo above is nearly 30k miles now. I've got to get into town in the near future and have them rebalanced starting to see the edge feathering a bit. I'm guessing about 80k most likely if I continue to do this 3 day a week trips to Ontario, OR for 250 miles per trip. http://www.hankooktire.com/us/passenger-cars/hankook-dynapro-at-m-rf10.html
-
2000 to 2002 Steering upgrade
-
50 hp Injectors
I'm just waiting on weather. Soon as I can use the 1996 Dodge for week I'll be pulling mine and sending to DAP for pop tuning.
-
2000 to 2002 Steering upgrade
I'll post new pictures of the new wheels and tires in the daylight still dark here...
-
2000 to 2002 Steering upgrade
- 2000 to 2002 Steering upgrade
Not common size. Like the shops I deal with will charge more because it special order tire and you eat the shipping on them.- 2000 to 2002 Steering upgrade
Be careful custom sizes might increase prices fast. Another reason I hung to the 235's they are really common out here and really CHEAP compared to 17's yet. Like my set I'm running now of the Hankook ATm 235/85 R16 only cost me $580 bucks for all 4 tires. Like I said Economy, performance is excellent, I've got close 30k on these tires now and still going. Drag is very minimal. MPG I'm touching 21 MPG again. Another reason for the smaller tire... Walk out in the snow. You sink with every step. Now put on snow shoes and you can walk on top of the snow. So if you want good snow/ice traction you got to go narrower. Wide tires will float on top of the snow and ice and have less traction. Again I can out drive most fat tire Fords on the highway because of loss of traction on ice.- 2000 to 2002 Steering upgrade
Depends on the wheels. Most people I've seen about 100 pounds per wheel depends on the wheels. Just go to a tire shop and pick up a racing slick and tell me how much is weighs? Racing slices even for wide rear tires are typically 20-30 pound max! It about cutting rotational mass and adding as much traction. Tire weight does matter. http://hpwizard.com/rotational-inertia.html- 2000 to 2002 Steering upgrade
265 / 75 R16 10.4331 Inches / 75% of 10.4331 = 7.82 inches R16 10.4" / 7.82" R16 (american measurement) 235 / 85 R16 9.25 / 85% of 9.25 = 7.86 inches R16 9.25" / 7.86" R16 So now you can see the first number is mm in width of tread face. The second number is the percent of the tread face in sidewall height. So now I broke it down to show metric tire sizes into American inches. Still in all the 265's weigh in at about 85 to 90 pounds where the 235's weigh in at 62 to 65 pounds. Way less rotational mass. Faster acceleration with lighter tires and wheels. More fun to beating fat tire Fords with my pizza cutters on Cummins. 1mm is equal to 0.039 inches. As you can see the 235's are 1mm taller. - 2000 to 2002 Steering upgrade


