


Towrigdually
Unpaid Member
-
Joined
-
Last visited
Everything posted by Towrigdually
-
Used permatex black silicone when I did my nv5600, and other transmissions I’ve dealt with. Just put it in and snug it up, it’ll give it time to harden then come back and torque it down. Haven’t had any issues doing it that way.
-
I thought it was just me when I bought my truck and had to replace part of the dash harness, all the wires melted together on the steering column and by the brake pedal so that was a joy. But I second the sound/heat insulation! Quiets down the cab a fair amount and makes in vehicle calls a lot easier.
-
I haven’t used the restore, but I’d check the valve seals. Might be letting oil by.
-
Yea it kinda sucks having to use those style sockets to get some axle nuts off instead of just being able to use a big socket from a normal set. but now that ya have it, should be straight forward on replacing the seal. if you’ve never done of a hub like this. I’d take the nut off, take the washer and bearing out, put the nut back on a few threads, and then pull the hub off. It’ll leave the hub seal and inner bearing on the spindle and easier to get the seal out this way also.
-
2 9/16” for the nut I remember right. Haven’t used my socket since I bought a conversion kit from torque king this way I didn’t have to use the factory nylon nut or that piece that holds it. but you need to remove the piece before you take the nut off, it’s supposed to keep it in and stop it from backing off.
-
Not hard, mostly time consuming. And facing the fear of cracking your dash if it’s original and crack free. I usually pinch off the hoses with visegrips to save as much coolant as possible.
-
The kit comes with 1/2” push loc hose so your covered. People do run the feed to the factory fuel filter just for another filter in the system, and to keep the WIF light on the dash. going that route I would order a big line kit because they are ment for the space between the filter and VP, no sense in having 1/2” line going all the way up then just step it down. But the fass kit does come ready to install all the way to the VP if you don’t want to use the filter.
-
That Hopkins connector is solid, I have it on my 1500, I should went with the one that had a flat 4 plug on the side also so I didn’t need to carry an adapter, but that’s just me. If your able to salvage your factory wiring and female wire end, this could be an option for you since it’ll be plug n play. Hopkins 42145 Plug-In Simple Multitow 7:4 OE Replacement Harness https://www.amazon.com/dp/B000CMHVF8/ref=cm_sw_r_cp_api_i_A8CNEbKG1E1A6 as for the tune, the XZT is good I like it, simple and easy. I have the high idle mode on it also so that’s nice in the summer when I leave the dog in the truck. Also great in the winter for warmup. you can get the tunes and how to adjust what version you’d like on it here on the website. Just take alil time on the computer.
-
For the mess of wires I think the easiest route would be to go to the junkyard and cut off the wiring from just behind the fuel tank and back, then splice onto your truck and not worry. if that’s not an option, the. I’d start by taking every single piece of wiring off that truck that doesn’t look factory. Then find what you need for running/tail light. Take what’s left and if they are needed for a 7 plug then keep it not cut away. as for the relay and fuse problem. I’m running the same in mine as written on the pdc cover and never had an issue. So the FSM could be wrong but who knows.
-
You can get them from amazon, or the local junk yard off any 2nd gen dodge truck. I have 2-3 sitting on the shelf because of junkyards. Genuine Chrysler 56038366AB 7-Way Trailer Connector https://www.amazon.com/dp/B00GBW09G6/ref=cm_sw_r_cp_api_i_WlmMEb9F7W59W I’ve found it searching “2001 Dodge Ram 3500 7 pin trailer plug” which I’m sure would work for your truck year and model if ya changed it
-
Thank you! I will most likely tap into the glove box, makes sense to to keep it close. guess I shoulda looked into the 3500 manual and not where I was looking. Next time I know!
-
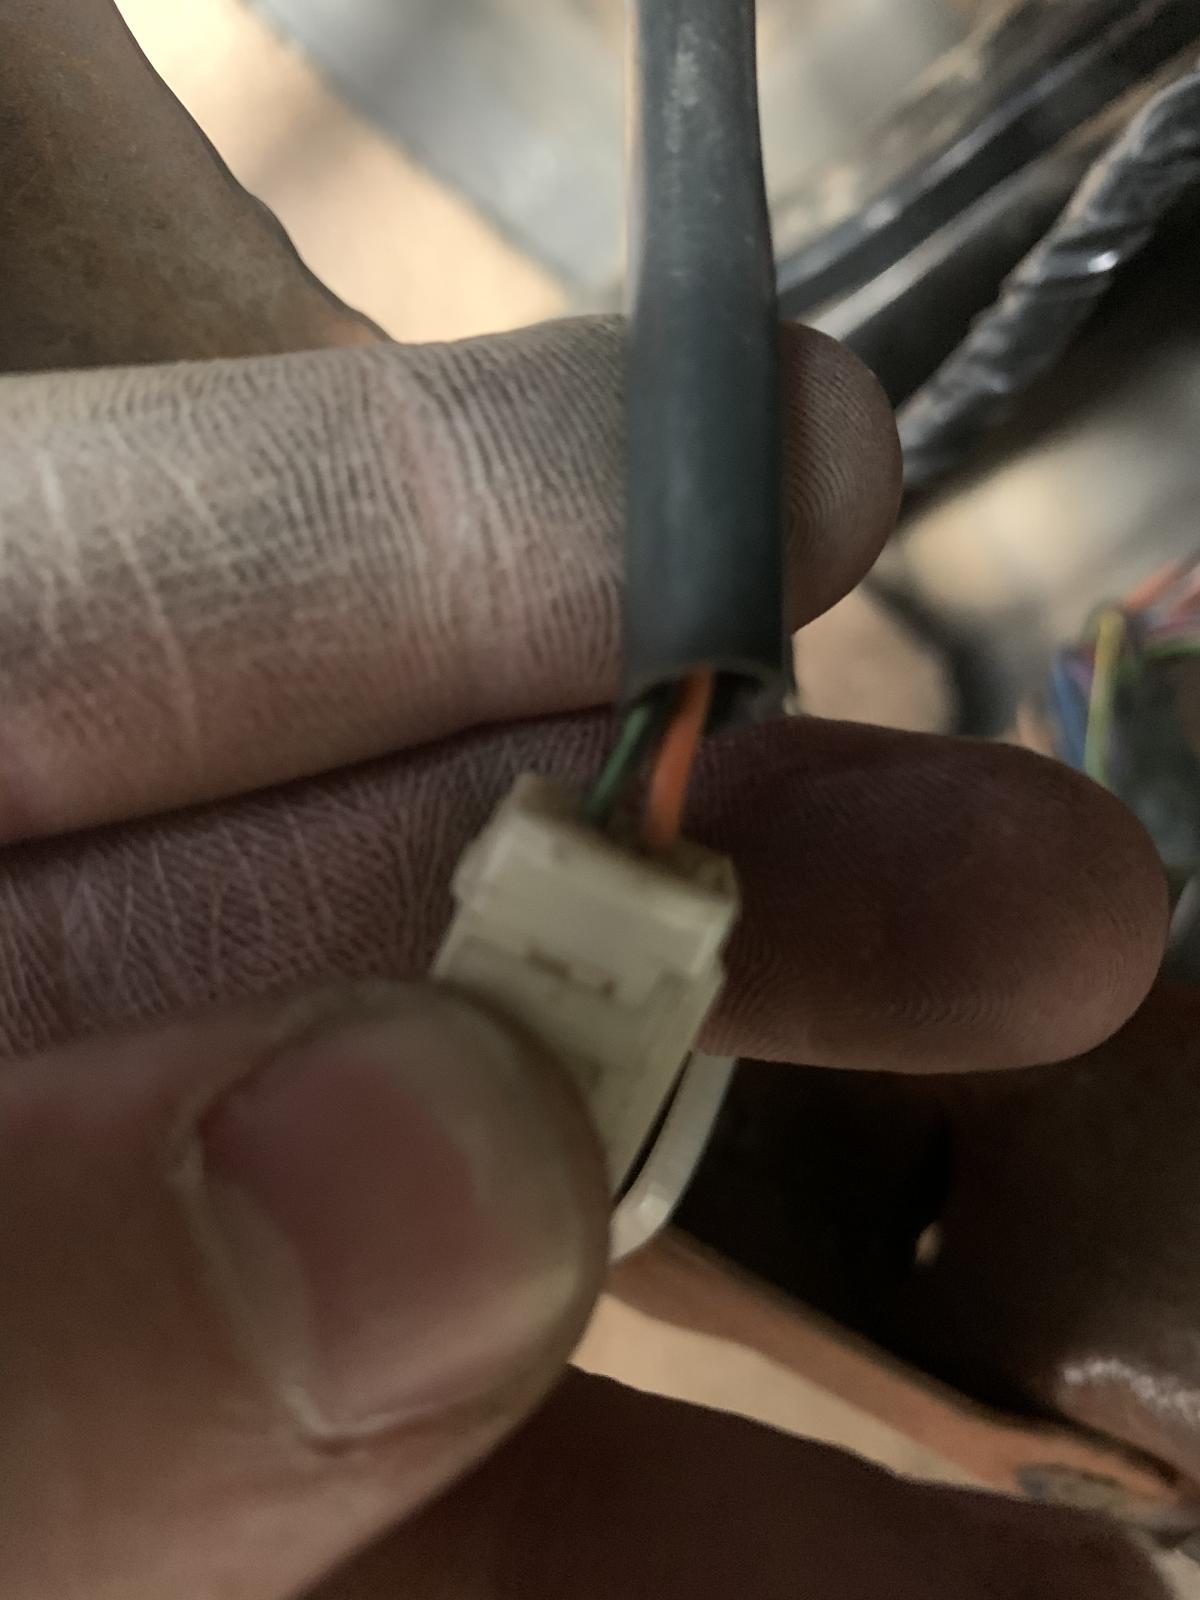
Found a tan visor from a 1500 that was in good shape finally instead of the mirror sagging. it has a light with a dimmer switch to adjust the brightness. I’ve looked in the 1500 wiring diagrams but I can seem to find where the wires should splice into for power. Wires are black and orange. I’m assuming black is ground and orange is power. does anyone else have a mirror like this is there truck or ever seen one of these?
-
Awesome sounds like I’ll be good then. been finding small things to do while everything is running right, and finally made it to this part of the list.
-
i see that my truck already has the connectors in the doors for power mirrors and the control switch on the drivers door. do I need to do anything other than get a mirror control switch and a set of power mirrors to do this? Would it be the same for heated also? Pulled back the ac/heat controller and the wires are plugged into a empty spot on the controller. Is there a need to put in a fuse in one of the empty spots on the fuse block inside the cab or is it all powered already. thanks
-
Sstubes.com would be my go to, I’ve use them on my 95 1500 and a few other vehicles without complaint. Since these are pre-bent lines, some do take finesse to fit properly, but not much. the main line that runs the frame usually comes in an oval about 4’ long, just smooth it out by hand and by the time it’s put on the frame you can’t tell it was ever shipped in a box.
-
eBay special here, 6 yrs later still going strong
-
I’ve looked in the FSM and a few wiring diagrams in the places I’d thought it would be but I can’t find anything about this connector. its been there for years like this since I bought the truck, the interior lights work, so does the horn and gauges. its in the loom of wires that runs on the steering column if that helps, unless you just know what it is you evil genius you.
-
For awhile I had the harbor fright special that read abs also, could clear and read codes but that’s about it. Then went to the snappy “brick” as it’s fondly called, worked great. Still have it. have a newer used snappy solus now and very happy with it, very nice to have a live graph when finding issues in vehicles.
-
Off topic, but please tell me more about that center console. That could be nice to have.
-
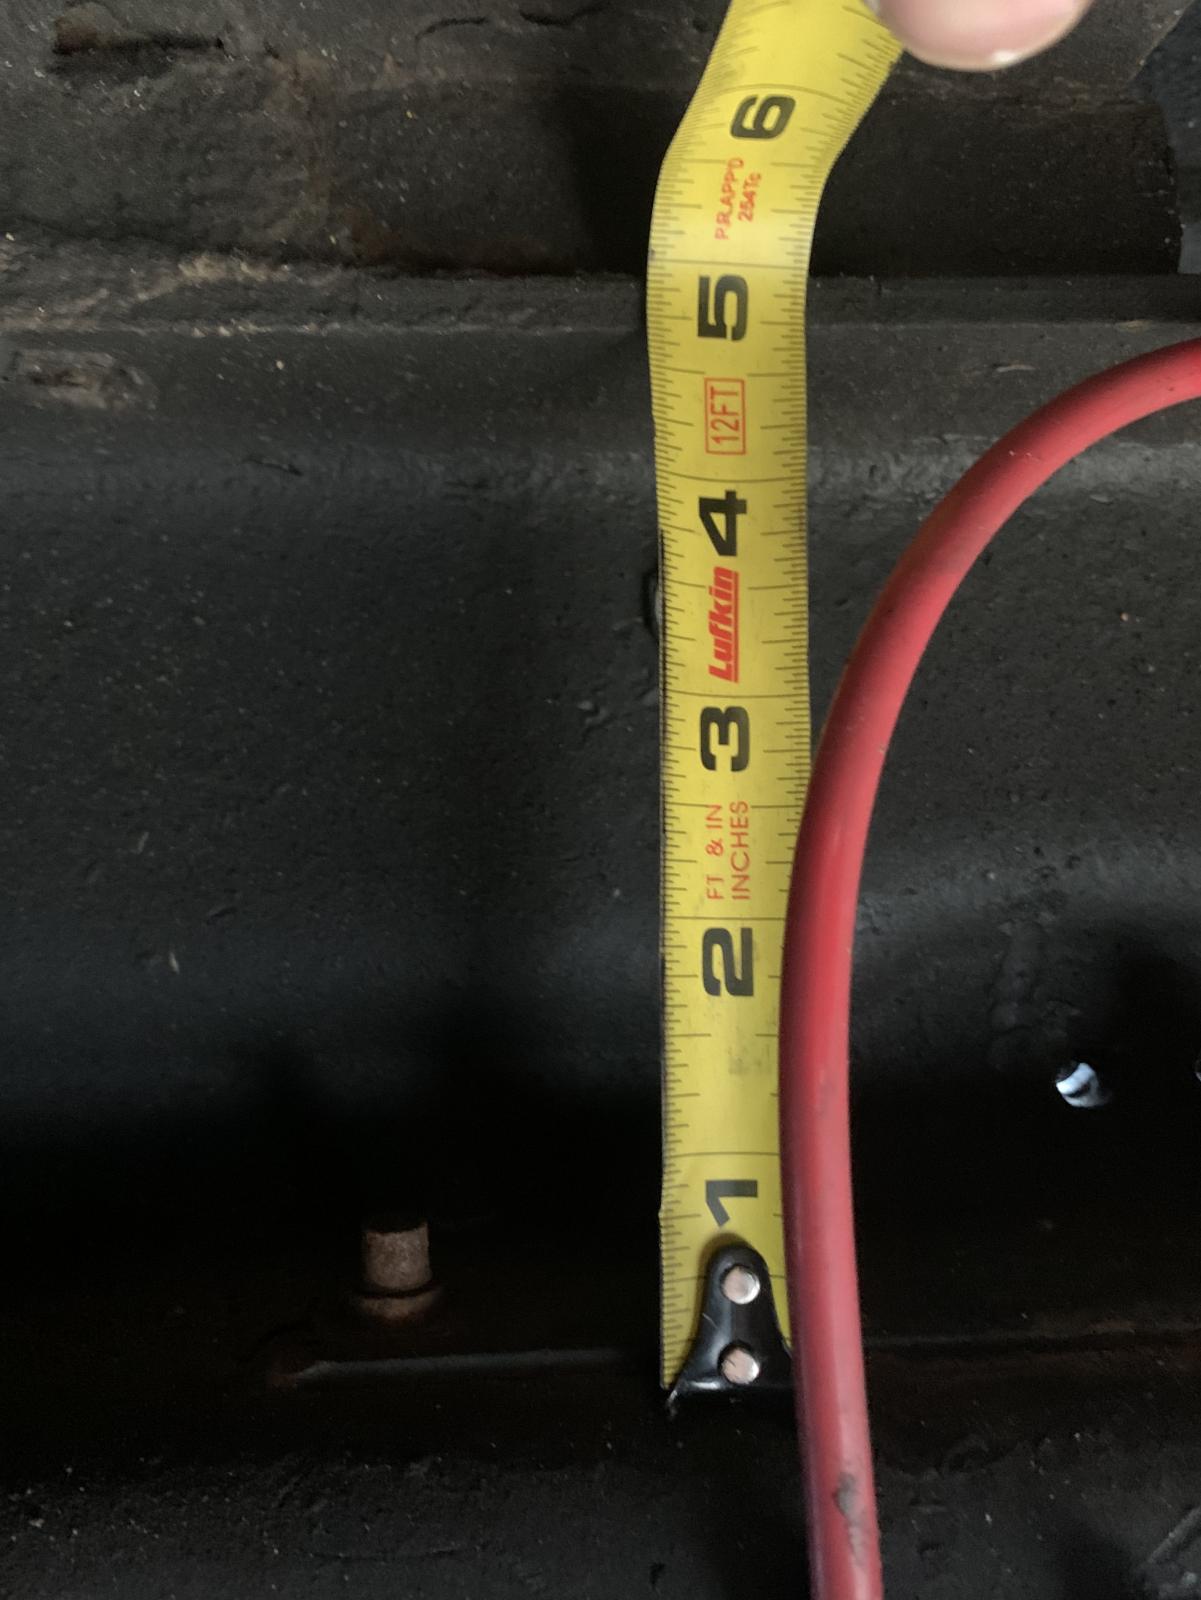
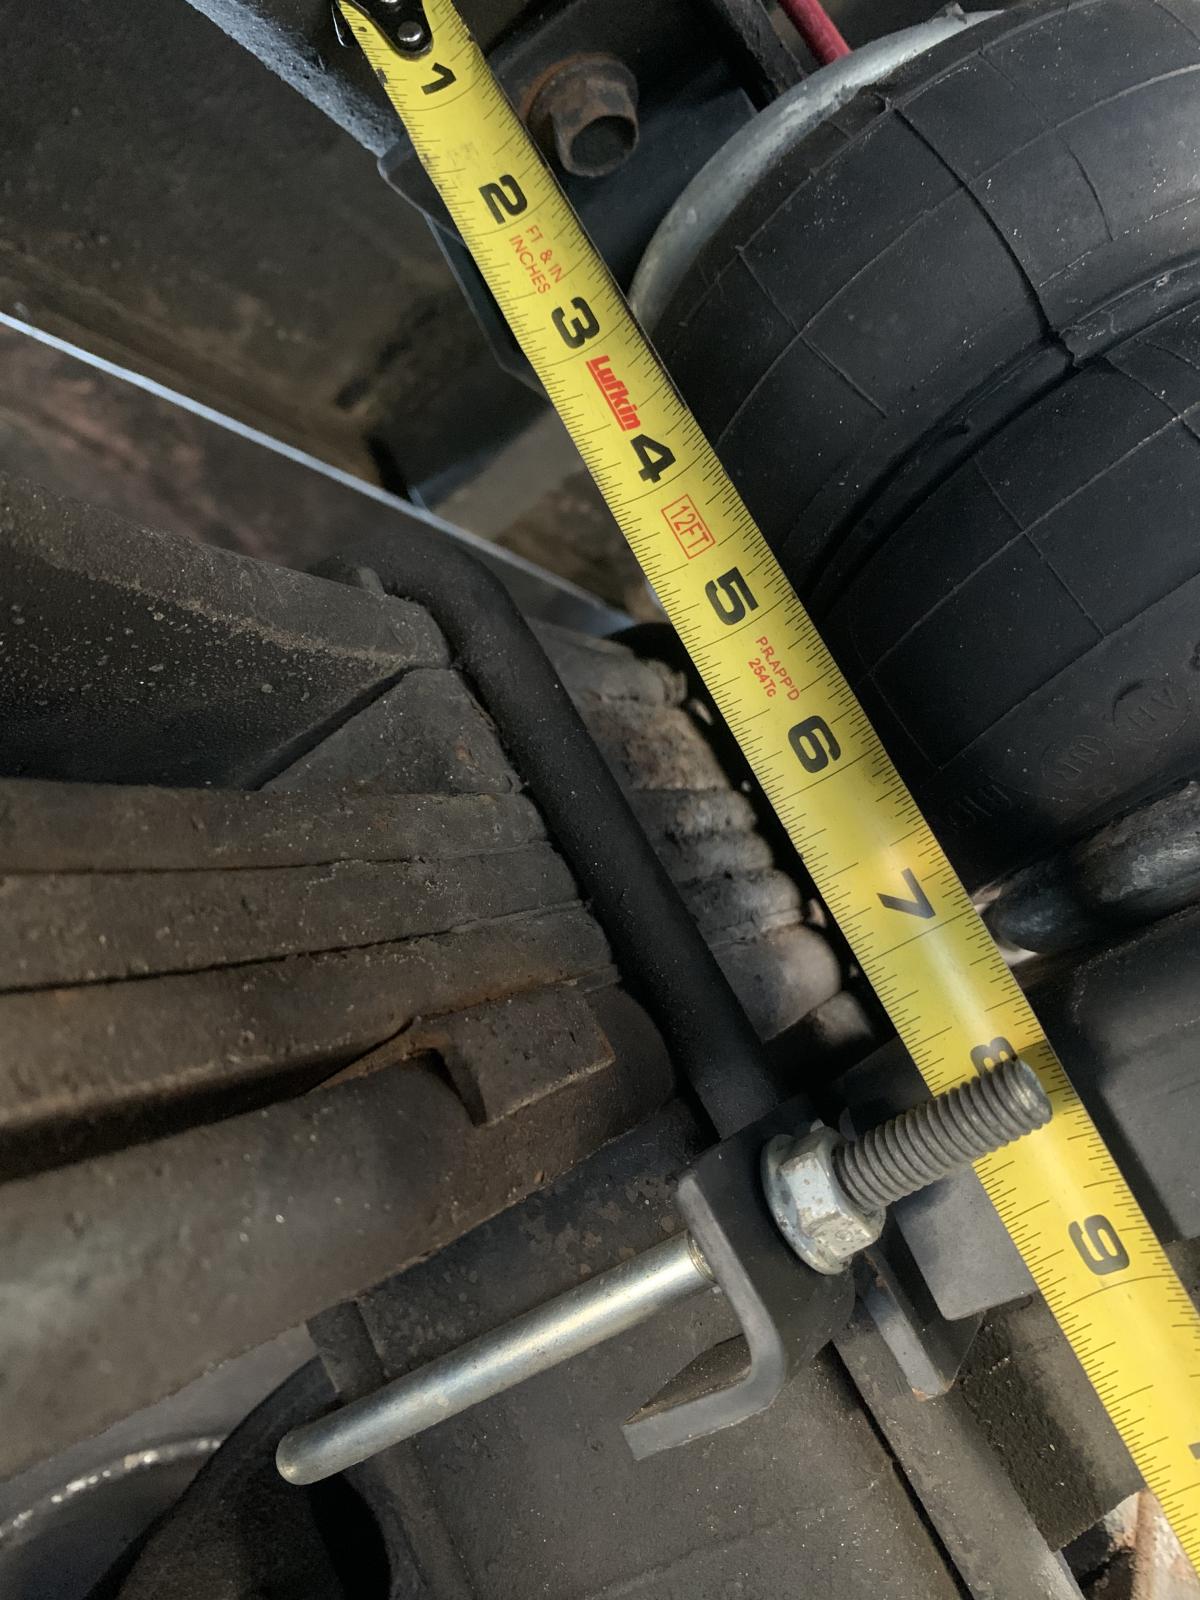
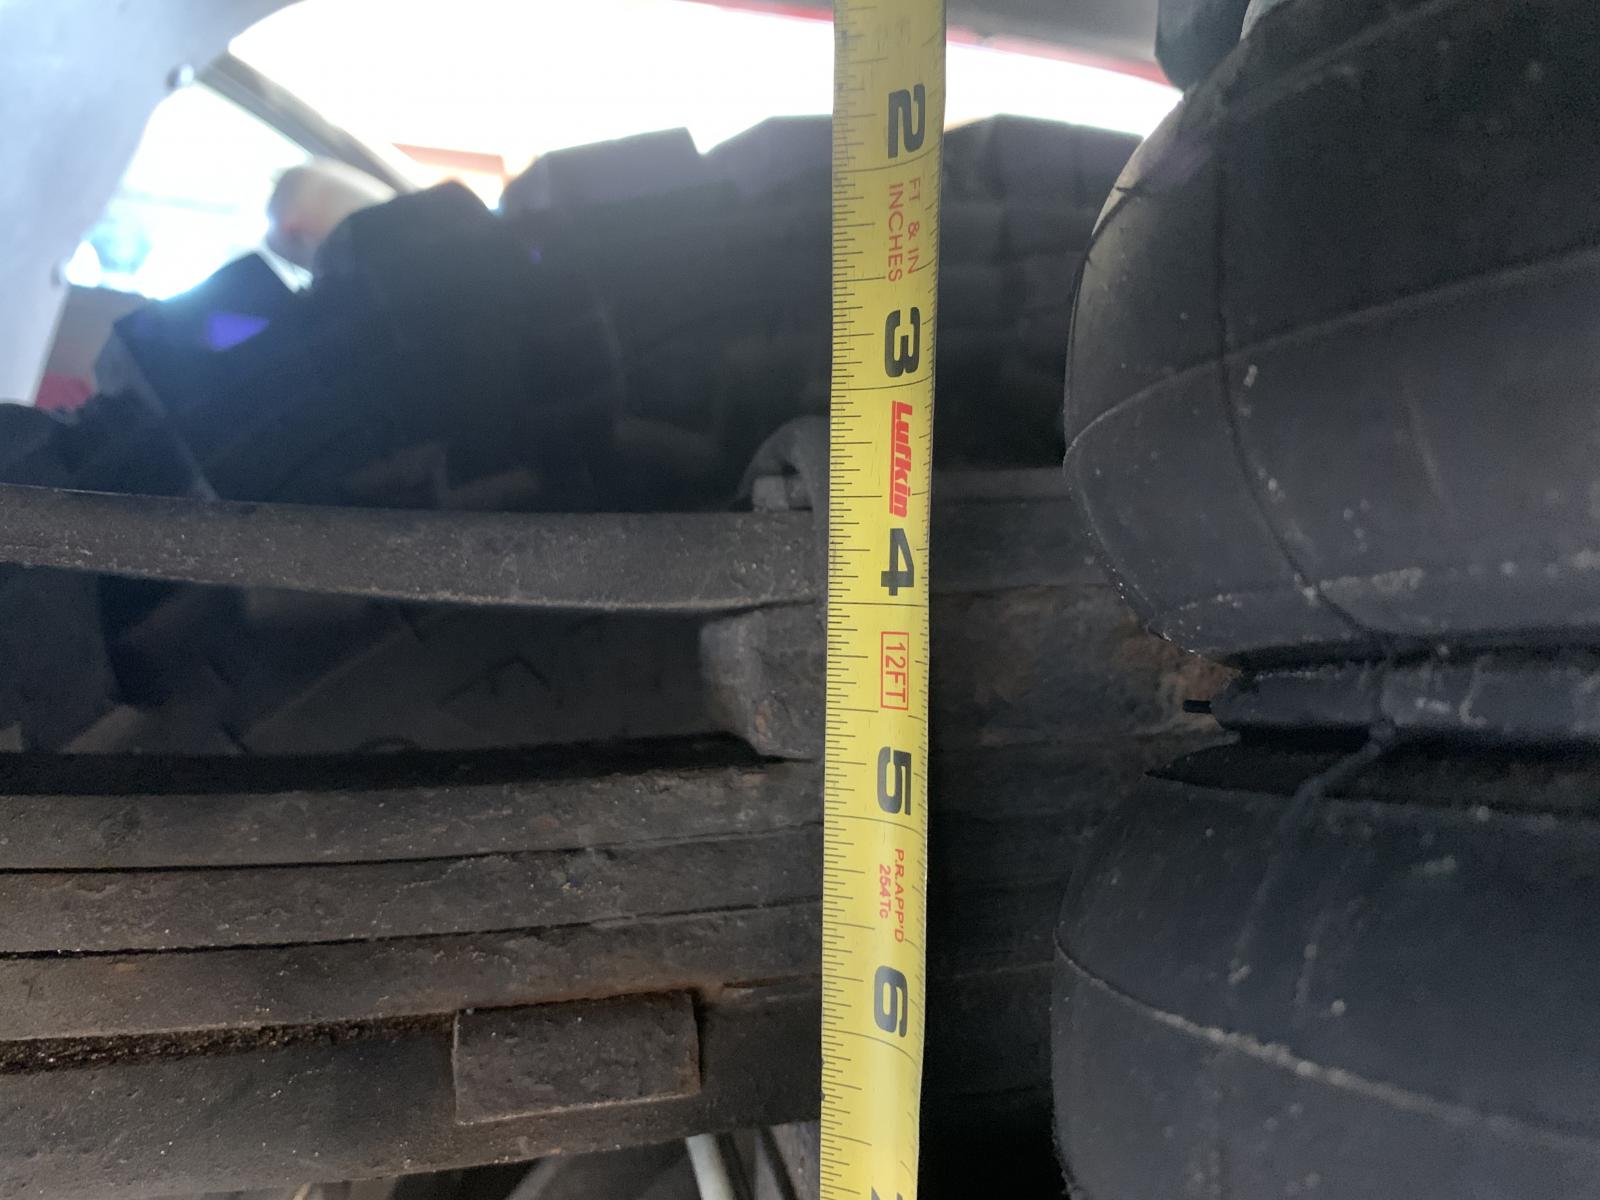
From inside framerail side to side is 36 1/2” right above the rear axle.
-
As far as I know the frames weren’t different, mounting locations may have been but not sure. I found a C&C truck near me for sale and measured it out to compare to my truck and it was the same. But compared to a 2500 it could be different. I found a lot of frame info also on Dodgeram.info about the frame stuff. http://dodgeram.info/2001/dimensions.html i will have to take pictures in the morning, I’ll upload them then. Got out late due to machine problems.
-
As far as I know the frames shouldn’t be different, I can go out after work tonight and take pictures of my frame and measurements if ya want to double check everything.
-
After a month long road trip there is a few things wrong the oddest is the heating and cooling selection. the truck is limited to either full hot, or full cold and with cold it’s AC only, not just drawing in outside air. it’s the same regardless of fan speed, it’s also gotten “stuck” on one or the other but if you leave it selected to the other long enough, or shut the truck off and turn it back on it’ll go to what is selected. any ideas? All vents work, fan speeds no issues. I also have a heater treater installed but that was put in years ago.
-
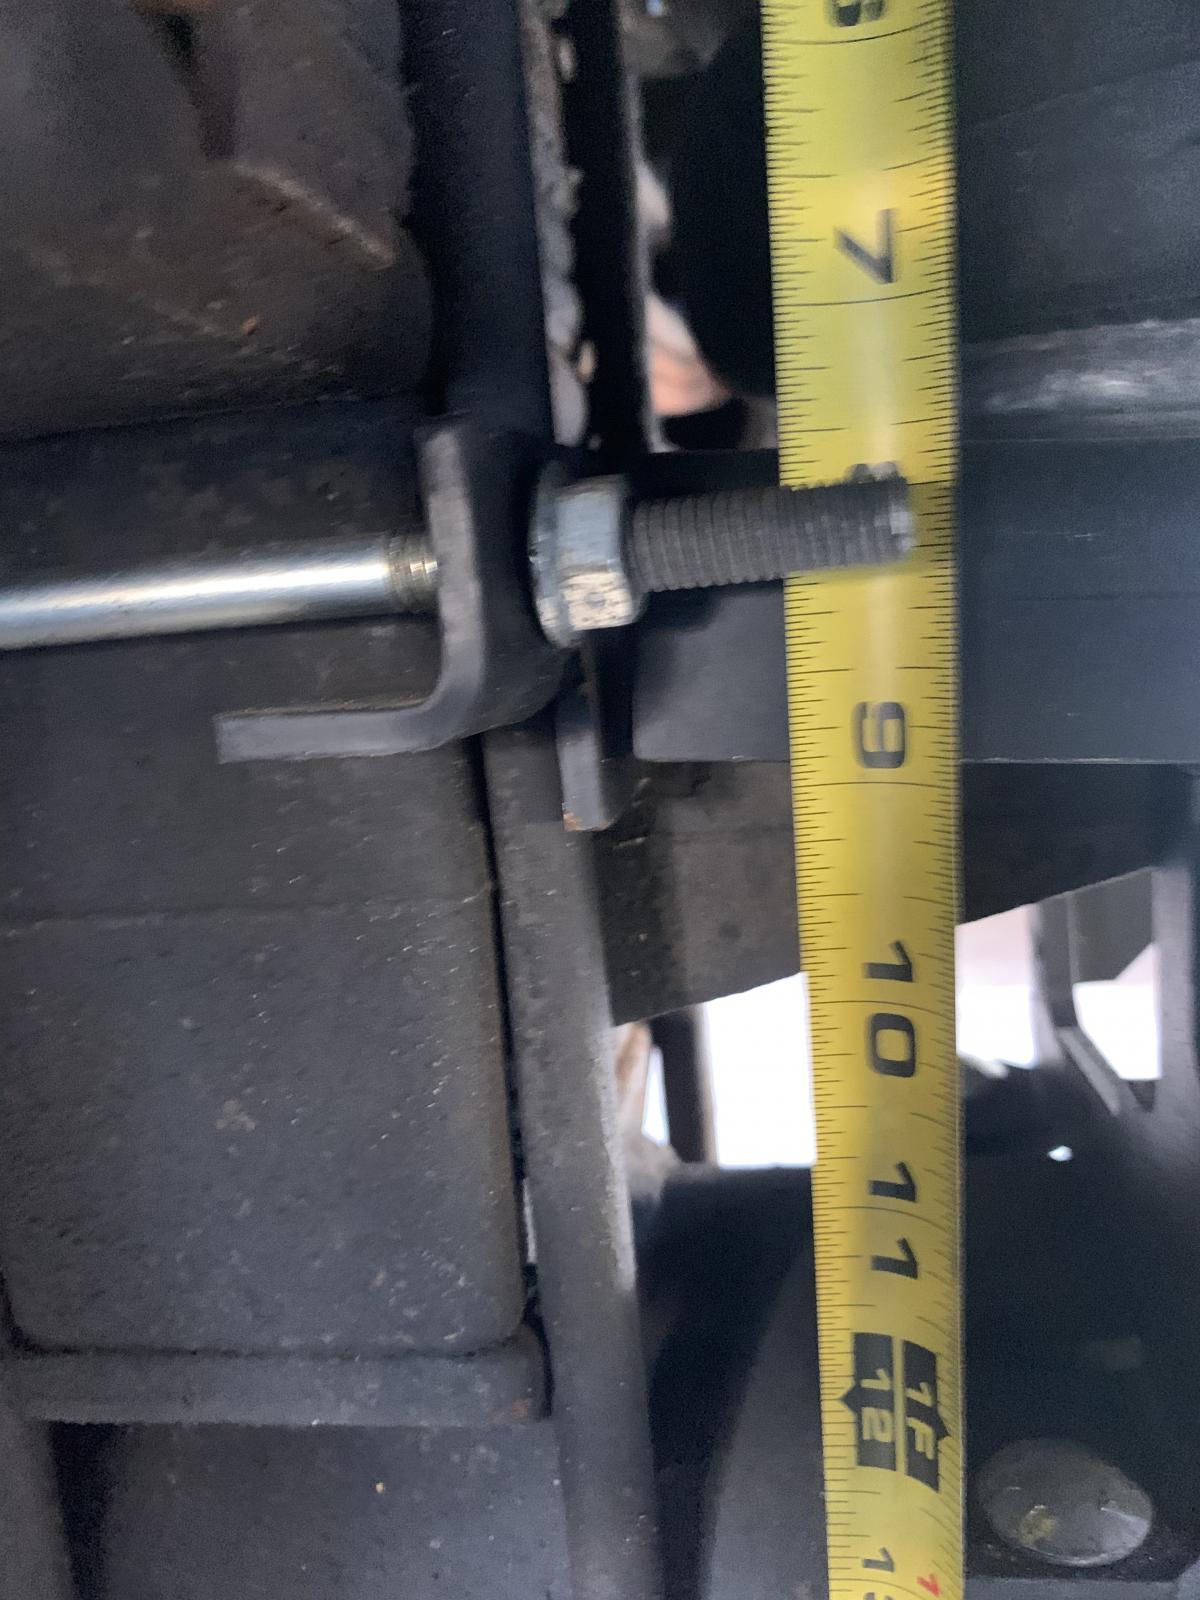
It basically was a direct bolt up. I did mine on the ground just to have the truck weight on it, could be done on a hoist just jack up the rear axle some. Done a few that way. I had to get a longer 1/4-20 bolt to mount the brake line bracket on the frame cause the mount is over the hole. also for the mounts, I had to elongate the one of the top airbag mounting bolt holes in order to clear the lip on the frame, you could easily just cut or grind that part of the frame but I didn’t. took about 2 hrs from start to once I just the just of how the kit went together. as for plumbing them independently, that’s up to you. I choose to so I could adjust the bags separately depending on the load in the bed or the trailer if it’s uneven. But I’ve also seen it argued that having them together is better in case of a air leak they leak or blow out together so you not riding unevenly down the road.
-
have it on mine, just did a cold northern road trip over the past month. whenever I’d stop for fuel every 300-400 miles or so, I’d touch the filters and to drain, they were warm. So I’d say it’ll warm the filter after awhile if given enough time. I have had a friend that took the relay out of his and wired it to run for over 2hrs due to his filters freezing last year in ND. So I guess you could use it I run it above the fuel-water filter, but also using fleetgaurd filters and was running nothing but pilot/loves/flying j/petro/ta diesel at the time. (35’ gooseneck)

