


WiscoRedkneck
Unpaid Member
-
Joined
-
Last visited
Everything posted by WiscoRedkneck
-
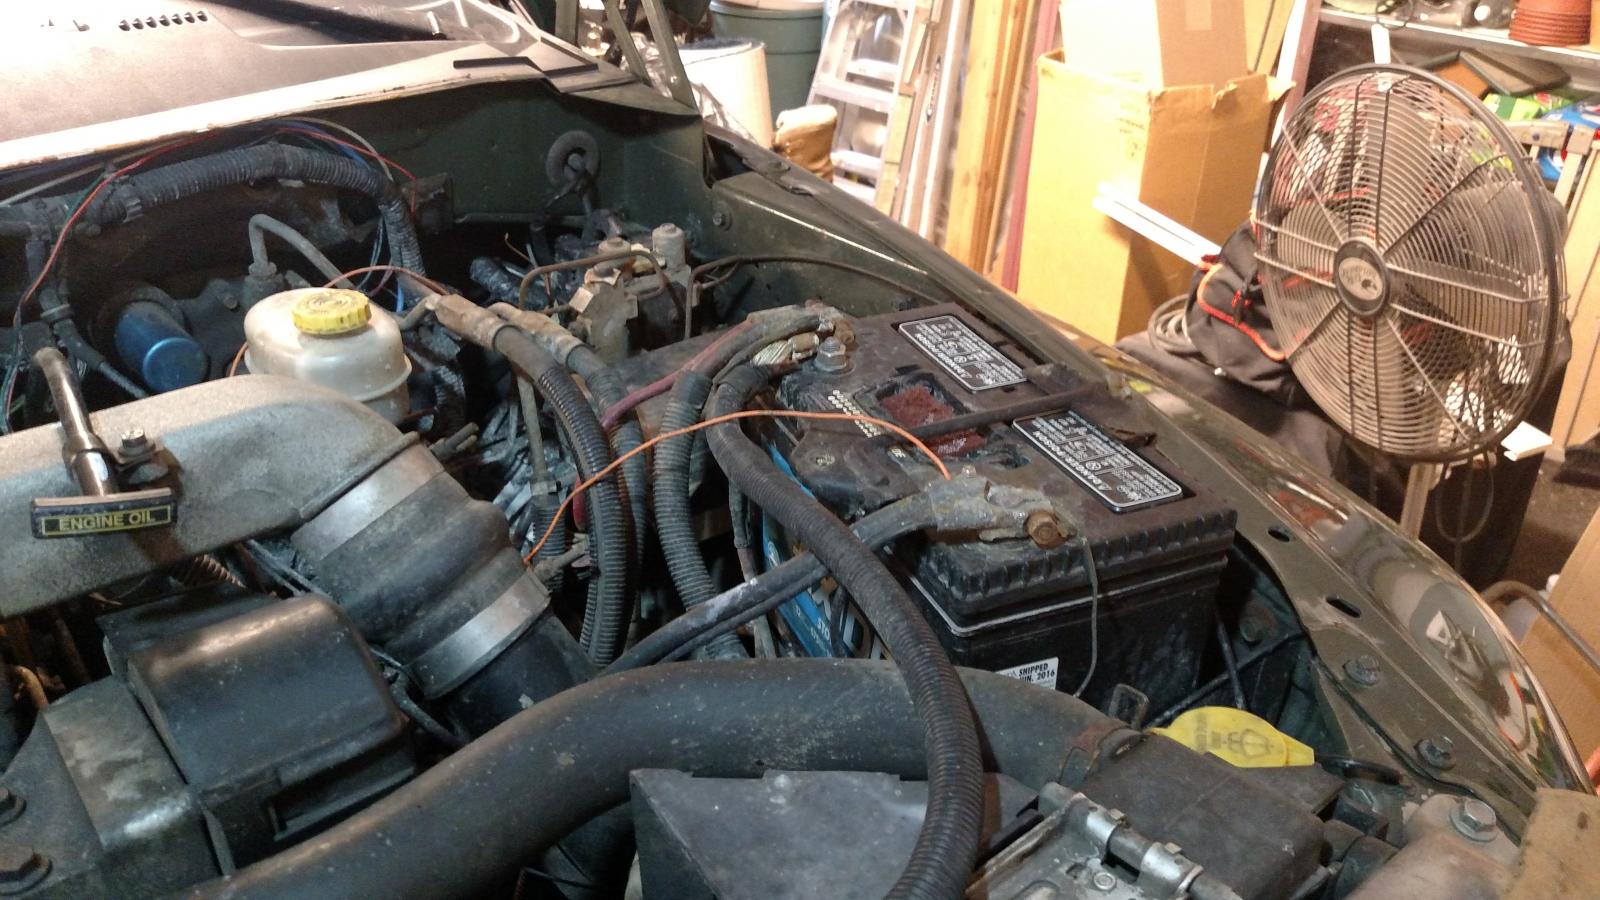
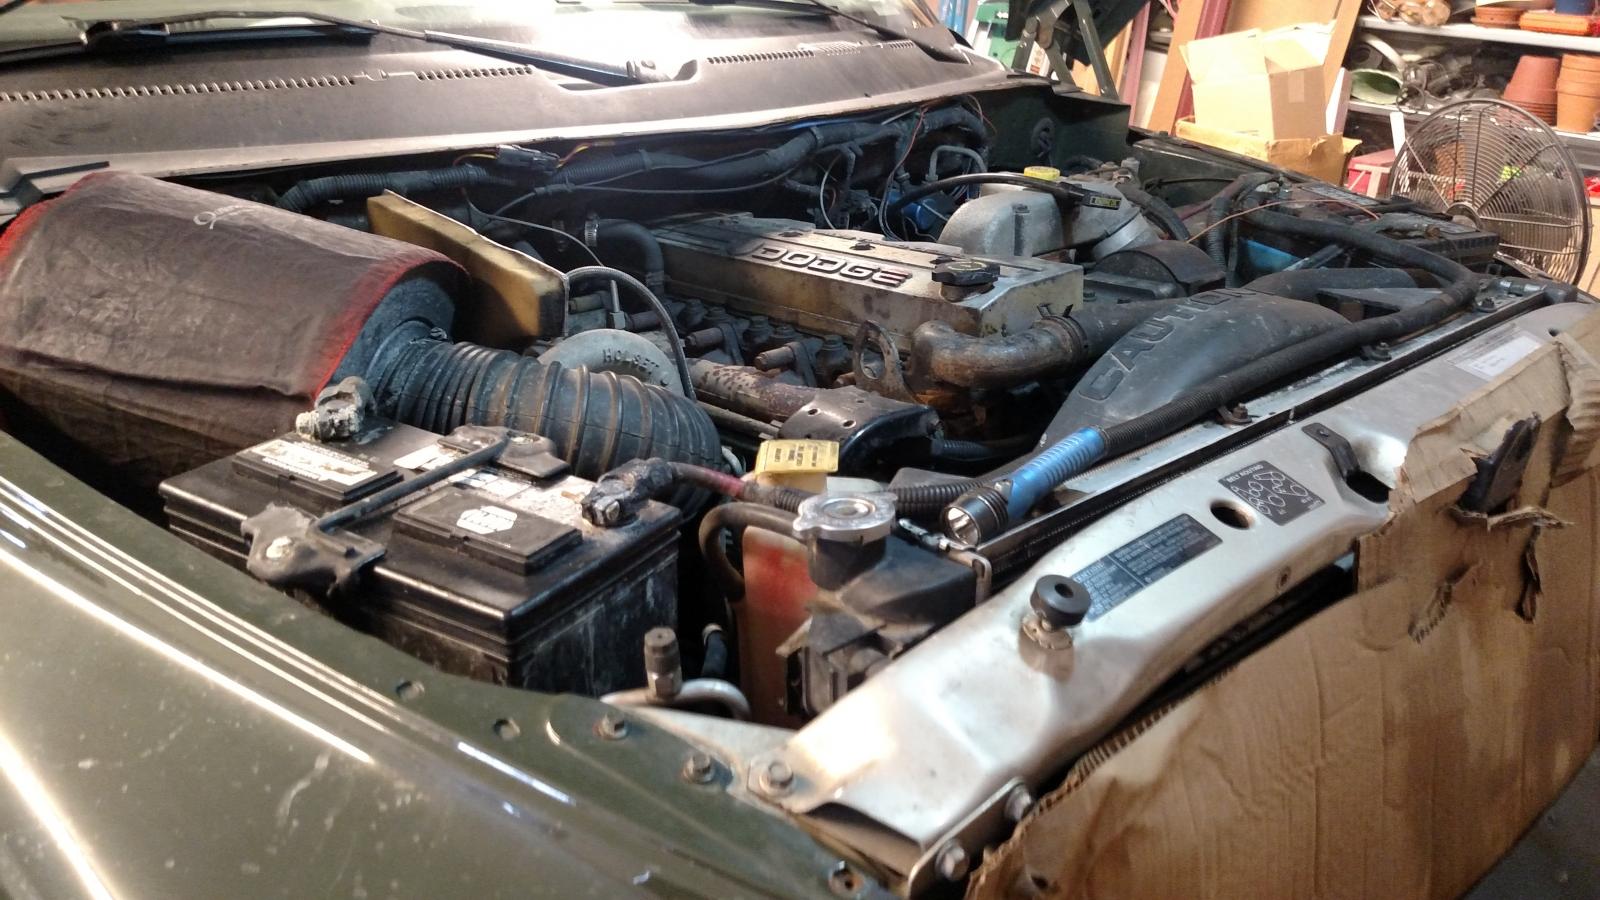
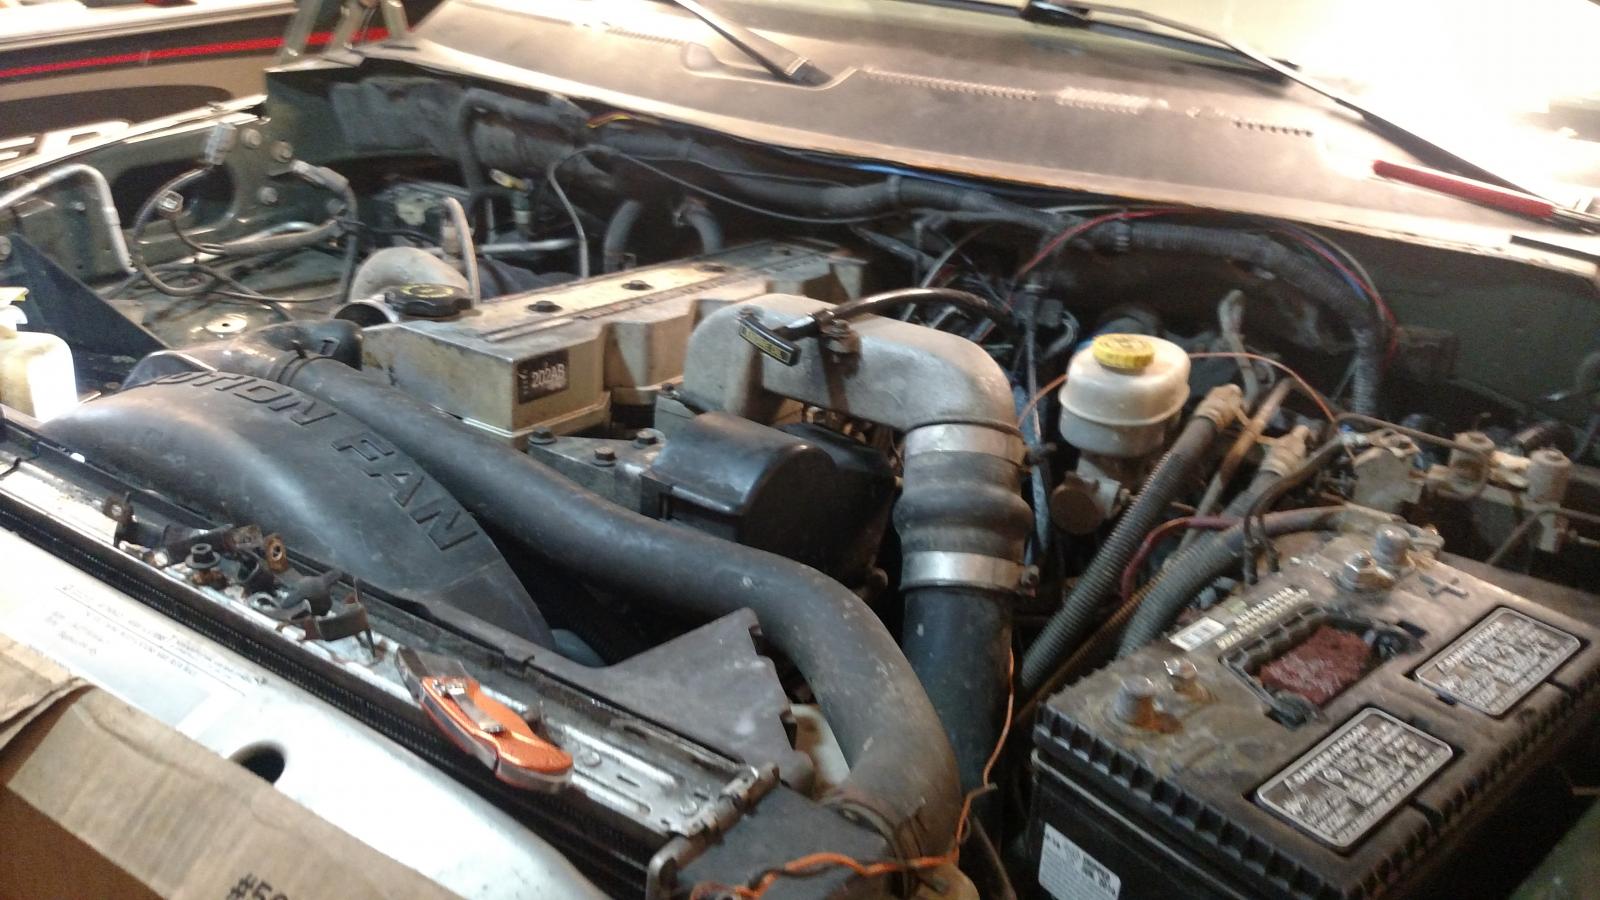
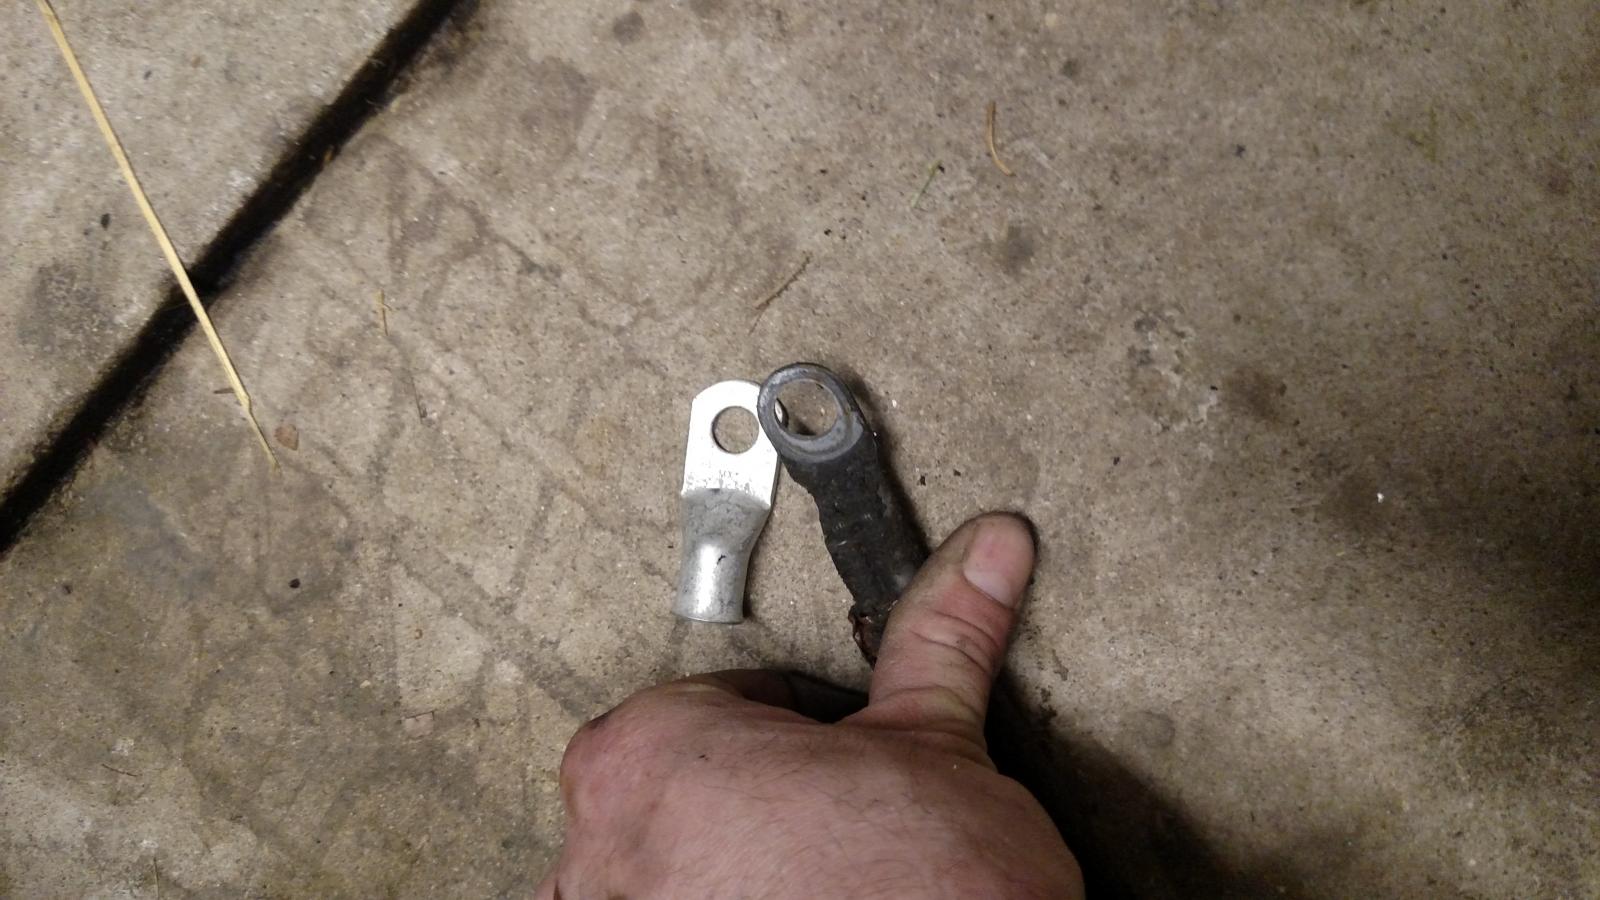
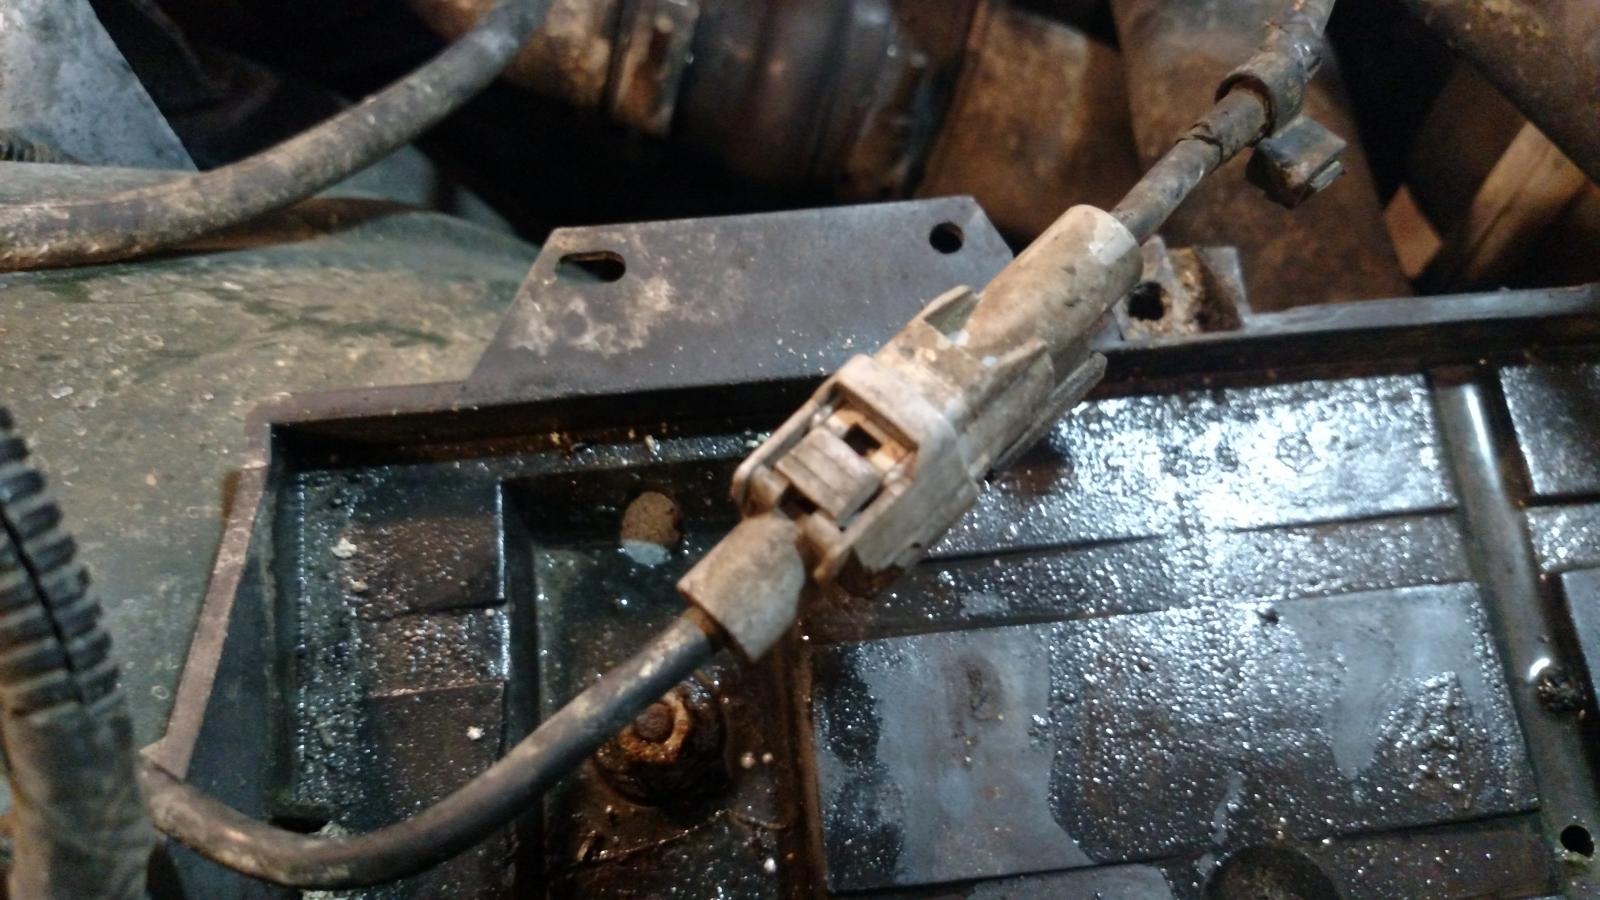
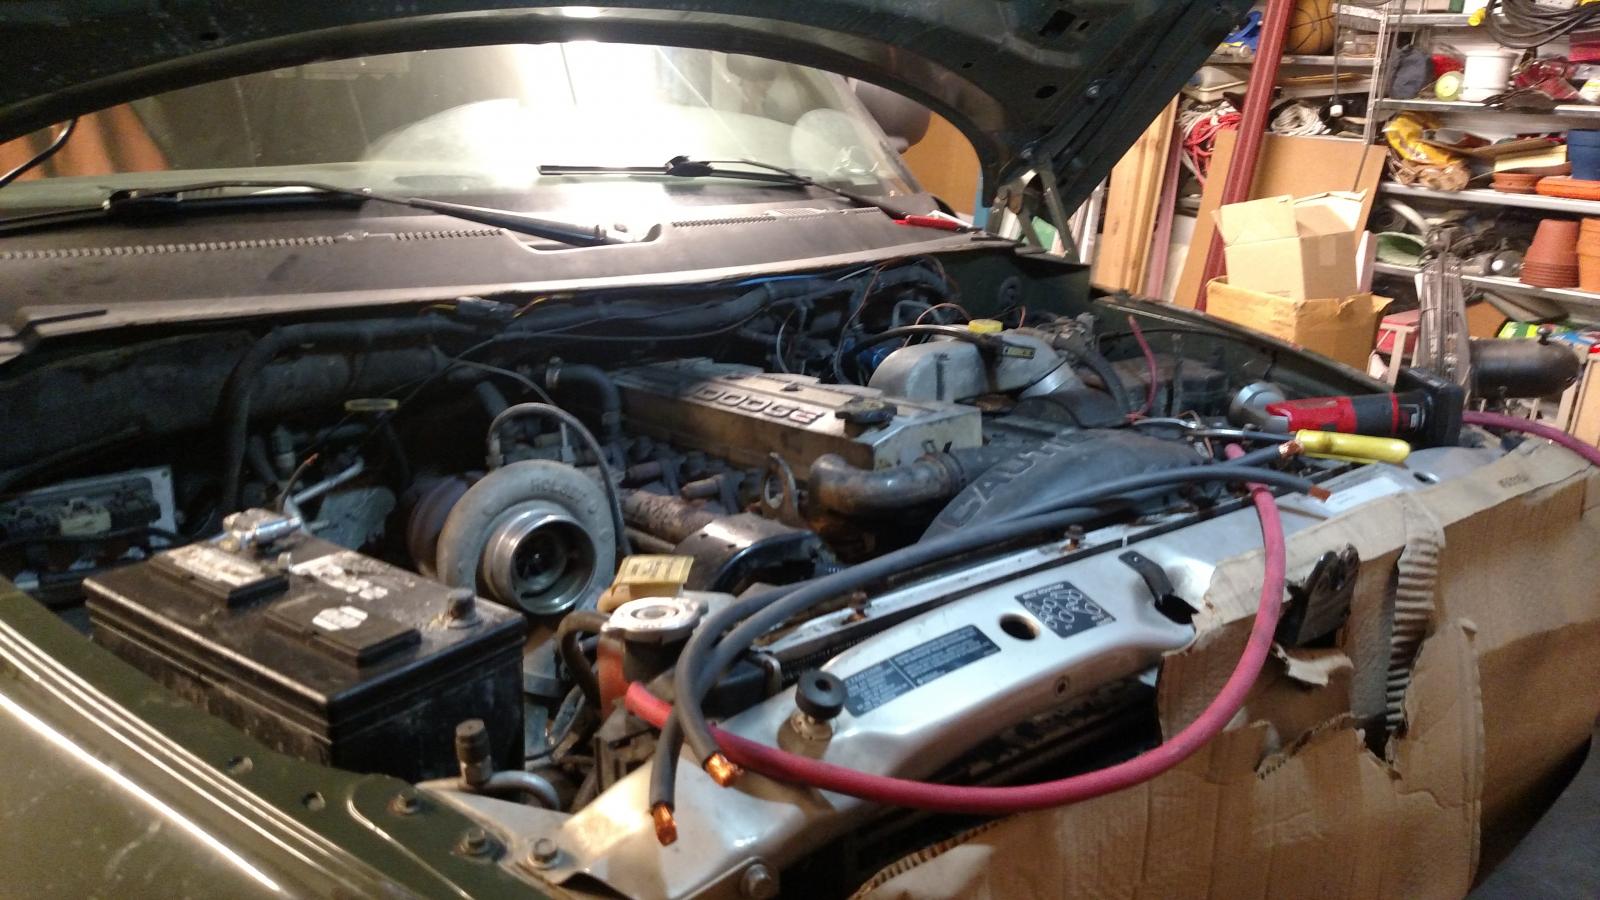
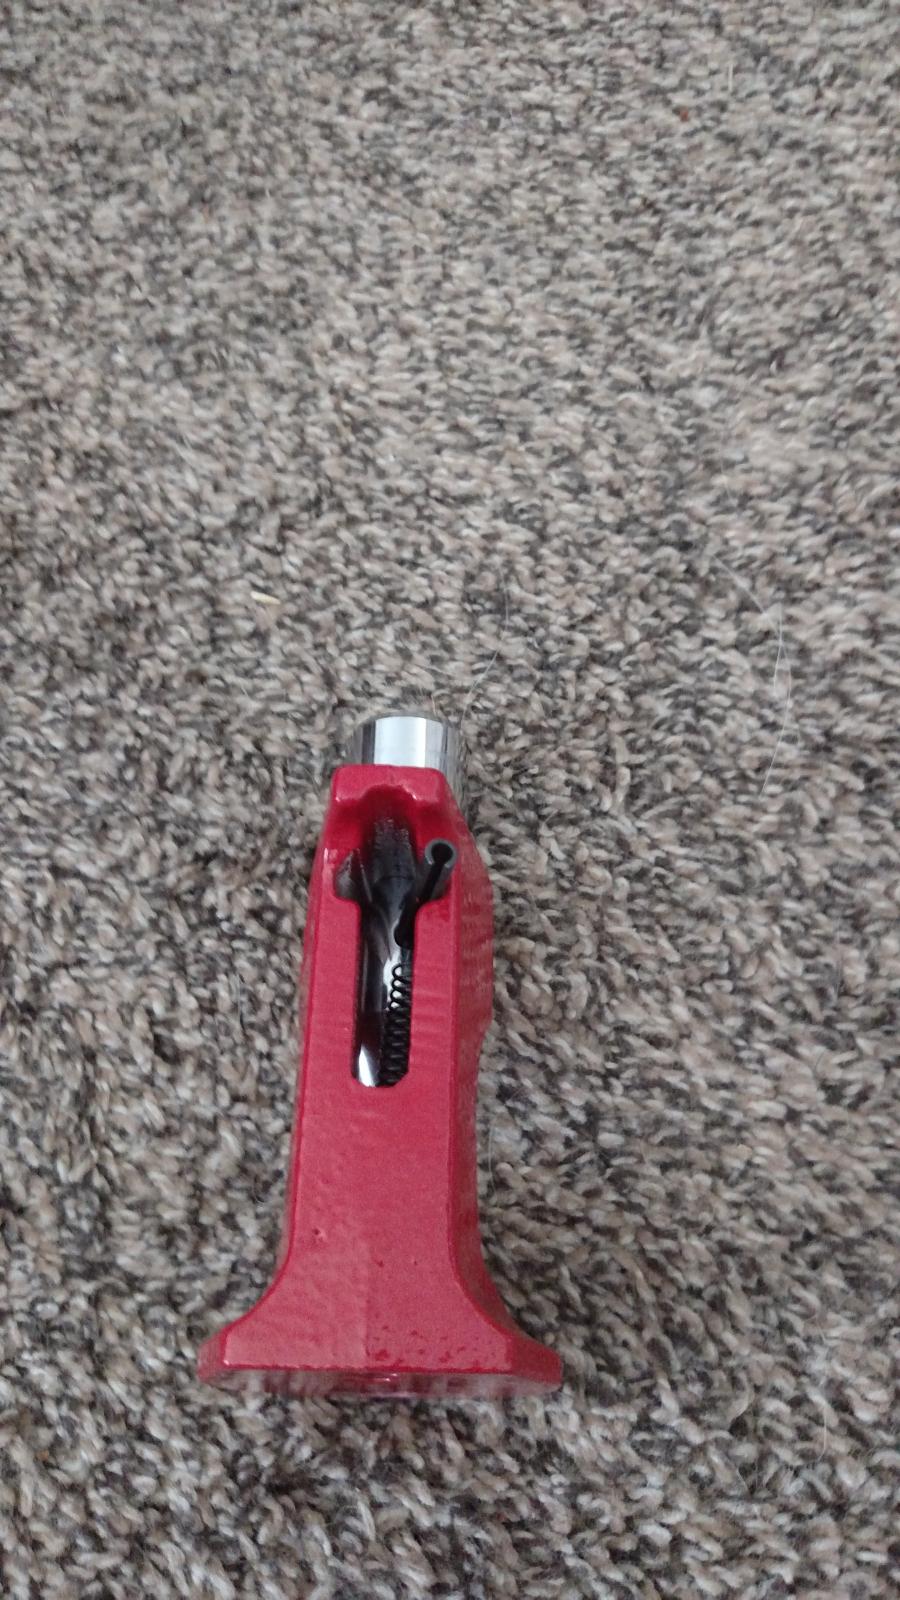
The drill press vise separated from the press deck when enlarging the lugs I got hit by the spinning vise I didn't break any bones just cut pretty good and bruised sucks it's the dominant hand.... Okay so the first two pictures are what I had to start with the other pictures show removal of the crossover wire and the driver side ground. the ground is the drivers side engine ground it goes down to engine block I believe it's an 18mm bolt that is into the block right behind your slobber tube just below the power steering pump. The picture below shows the lugs the new ones I got are 2/0 3/8s lugs as you can see the engine grounds and starter lugs have to be 2/0 1/2 on the engine and starter side of the cables I just drilled three out of which one ended in disaster.... Since we're on the topic the Larry B kit I got was designed as a top end kit if you're cutting off your existing cable lines and putting on new cables ends to the batteries it works great but if you're replacing the cables in their entirety you need a lot more lugs about 12 if I recall correctly and all total including enlarged chassis to battery ground and extra charge line and ground I used 40' of 2/0 Nations alternator gave me a fancy wire chart I will post for reference to identify what gauge wire I should use for the system... The next picture shows the location of the passenger side ground both batteries at this point have been removed the air intake tube, air cleaner and heat shield has also been removed to grant easier access I traced the main ground on passenger side back to the engine it's located just behind the oil filter housing slightly below it and just in front of the engine mount I was able to touch it from up top but found it easier to remove from underneath. This battery side also has a body ground, the PCM ground(I think) and I believe it's the grid heater ground that's the last picture of the gray plug, those plugs are very difficult to get apart and should be inspected for corrosion and even though they have a weather pack on them I still put a little Dielectric grease in there just for good measure. Luckily for me when I separated them and then cut off the existing terminal end to splice on my new one the wire was still in good shape and it was not going to need to be replaced, if it's too badly corroded and you have to replace it you'll have to contact a Dodge dealer and acquire a new plug end or find something online. The alternator has also been removed from the truck at this point I pretty much had everything out of the truck I was ready to start cleaning and rebuilding. I laid out all the existing battery cables on the floor then cut all my new ones to length once I was done with that I then trim the ends to expose the copper to prepare them for crimping and soldering. I need to take some more pictures of final product this picture here is the last picture I took before I injured my hand, at this point both batteries are sitting in the truck the alternator is in loosely for mock up and we're dry fitting all of the cables currently the truck does not have the right wire loom on the crossover cable it's too small once my hand feels a little better I have to change that so when you see that the pictures no comments please lol I'll make you guys chuckle I've been using voice to text to bring this write up to you and editing with my left hand when needed.... Still -6 degrees outside right now so maybe around noon I'll go out and take some pictures for you guys.
-
Alright so it's been a while since I posted last I was able to get it done about 4 days ago but haven't been able to post anything due to injuring my hand during the repair. I will have more to follow including pictures and so on right now as it sits Larry B's cable repair kit was far less complete that I was hoping and needed a lot of pieces to complete the project also I'm not exactly happy with the quality of terminals they didn't seem to take solder very well. The alternator on the other hand is a complete different story I could not be any happier during first startup you'll still will notice the headlights dim but once the truck runs for a minute it adjusts itself and you will notice a slight dimming if all of the lights are on in the cab including interior lights and your running fan on high power otherwise the headlights almost never dim like before. For the alternator you do have to add one ground and charge line, also my grounds for the engine were upgraded as well. I'm putting a list of extras I had to buy to complete the project so you will know what is involved, as well as some locations tricks and things I found of what not to do.... all total 2 new batteries, new alternator, all new battery cables and new body chassis grounds under the hood were replaced. I had to run to the store once to get the rest of the parts that took 3 hours without that the job can be easily completed in half a day I spent about 6 and a half hours at it but had extra wiring and modifications I made.
-
Finally I got all the parts in including the new alternator just waiting for temperatures closer to 0 and not double digits below. Or I could just take the lumber rack off and get it into the garage otherwise it's too tall... Finally we should see double digit positive temperatures tommorow and Monday
-
Good thought on the pulley size didn't even consider that, I was leaning towards Nations so at this point I'm just going to order from them and see what I get. I kinda thought this would not fix the dimming headlight issue but we can still hope right
-
I'm about to order my new alternator and I'm looking at a couple of high output units and was curious what you guys think/have experience with. Also I am trying to eliminate the dimming headlight issue which is why I'm looking at higher output alternators and most seem to be completely new units, curious if you guys think that will fail to help headlight issues. Here are the two I'm looking at https://www.xtremediesel.com/Mean-Green-1339-High-Output-Alternator.aspx I'm leaning more towards the second one https://www.nationsstarteralternator.com/180-Amp-HP-High-Output-Alternator-for-2000-Dodge-p/13874-180-hp.htm It seems a like they actually know what they changed with actual test results versus just saying it's output and nothing about what you have done to improve it.
-
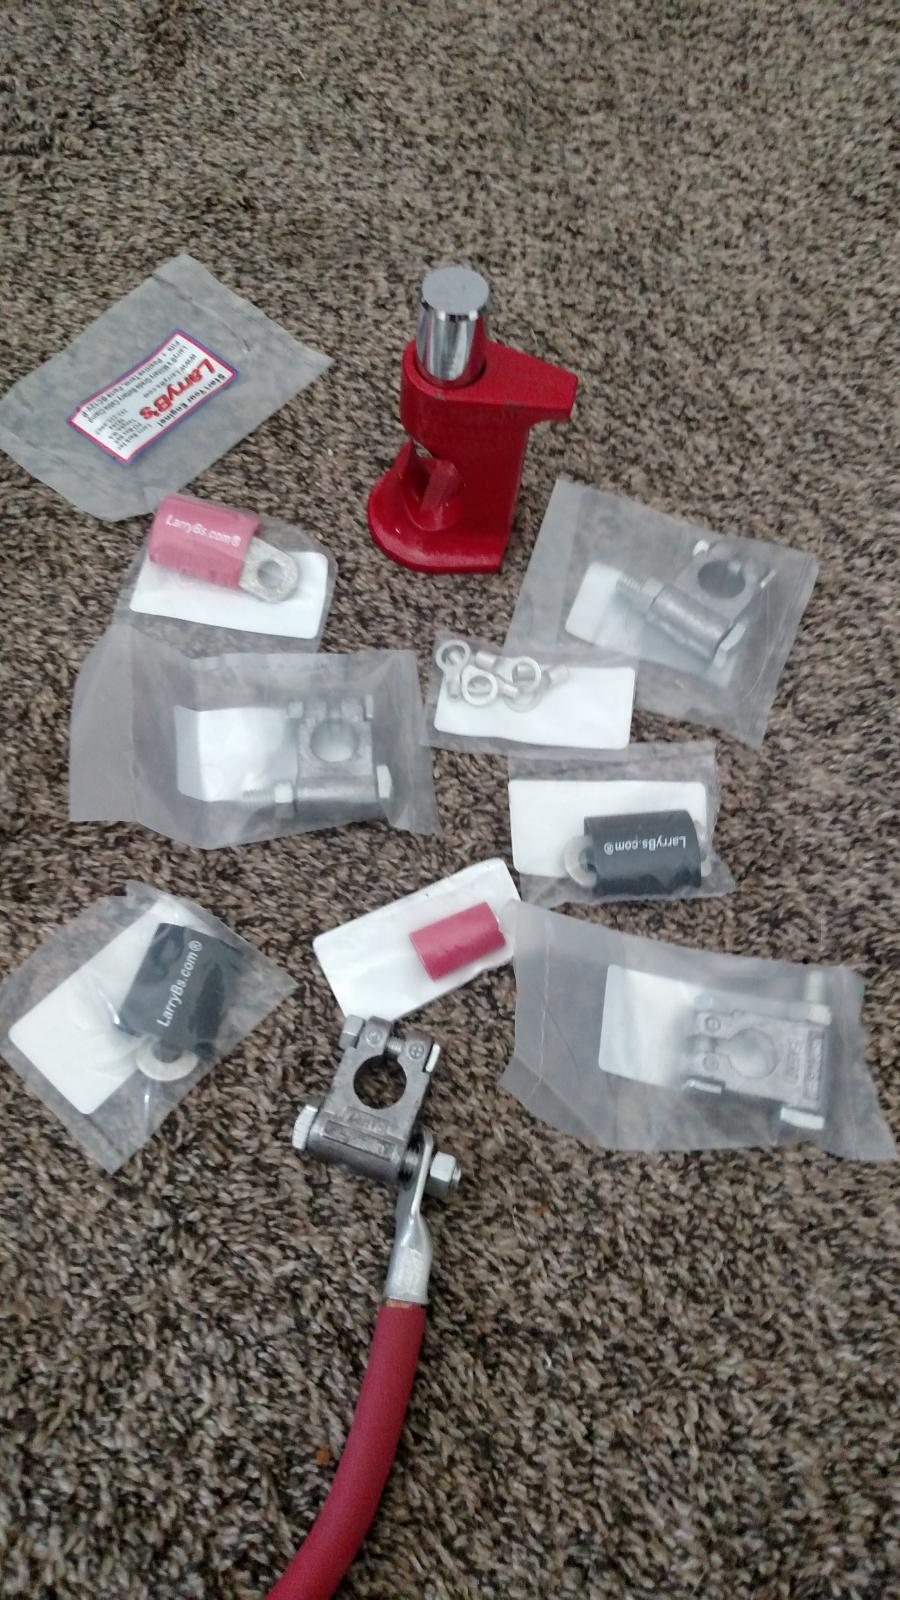
Looking at what I have here from Larry and what I have seen at Napa they look and feel the same but the nut that pulls it tight is different otherwise if you set them next to each other you can't see a difference. The bolts also fit tight. The nuts I will probably change, after doing some research it seems like Larry was selling some junk for awhile and now it's gotten better but I will only know for sure when I get this thing put together. The only thing that's confusing me right now is the negative cable crimps are a little small
-
A good friend of mine use those exact cables and loves them unfortunately I just couldn't spend $300 for cables that I can make myself. Not to mention I wanted to have the option to add on other positive wires and grounds, which is why I switched to military style post connectors. I have power ports for a mobile winch in the front and back of the truck. Along with a couple high band emergency radios so right now I have a style of battery that allows me to have a stud with a post next to it and some of the wires are attached to a stud while the rest are attached to a post it's ugly and messy as all get out and I hate it. On another note it sucks in a good bad sorta way when you have an electrical engineer help you fix your truck cuz now that we went through the truck we found out the battery cables are really bad the batteries are floating from each other (as in not stabilizing volt wise)the alternator is bad and the starting battery is weak. I have ordered the rest of my cable and should have it sometime after the new year until into the spare truck we go.... This could be interesting it hasn't been on the road in 3 months
-
That seems odd how is your crank speed are you sure your batteries are good? Your grid heaters might be cycling for 10 seconds but they might not be heating adequately that's another thing you can check as well. We often visit Canada and in the winter time we carry a propane torch with us and if it's too cold and we can't use a block heater we will end up heating up the intake horn on the engine with a propane torch, not too much though just enough..... Otherwise if it's one of the above I'm sorry to say but you got injector problems.
-
I plan to make all the cables and add ends then all at once solder and heat shrink the terminal ends. Apparently the piece of shrink tube on the cable slid out of the pic if you look closely you'll notice one of the notches in the insulation where we flow the solder in to the terminal end. My old man is an electrical engineer and is telling me how to make the connections proper I can't blame him he's only been working on heavy drives for paper and metal mills since before I was born. He's also the one that told me I needed to replace my cables after he borrowed the truck to haul a trailer. Long story short when checking the oil he gazed upon cracked insulation and corrosion on the cables I got a lecture rather than a thanks and I believe the words he used were "that makes my blood boil seeing that neglect just because it starts without hesitation doesn't mean it's not a problem"..... I just received the rest of the battery cables opened the box and found out they don't have the SAE stamp no temp rating stamp or voltage rating... I will be removing the link for that cable if I can. I will find some windynation brand cable on Amazon to replace this stuff.
-
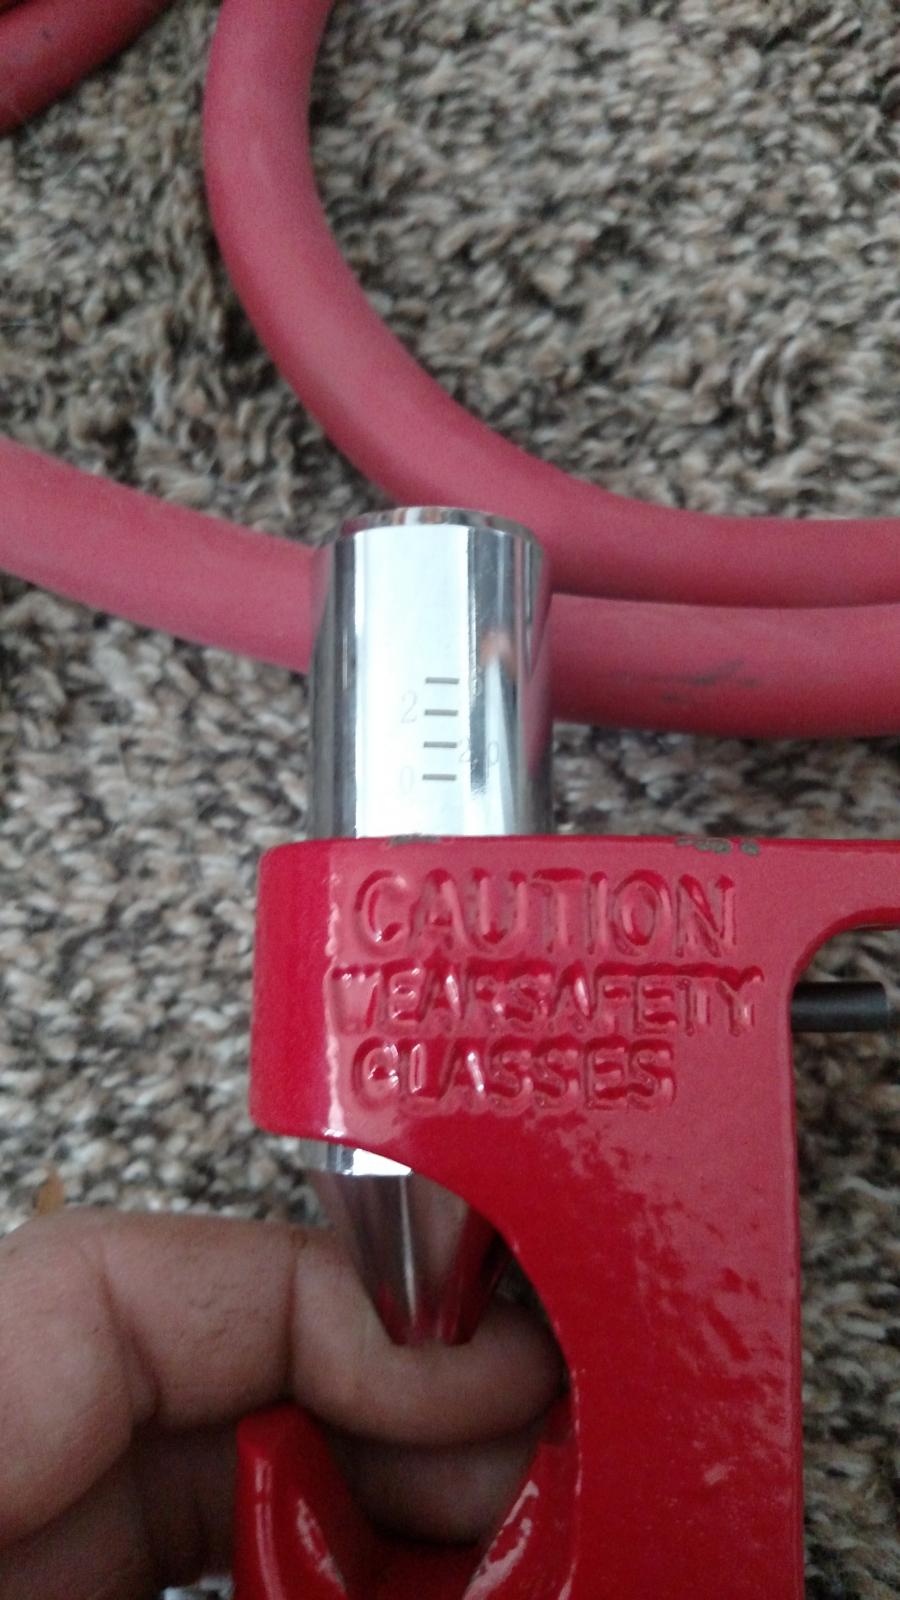
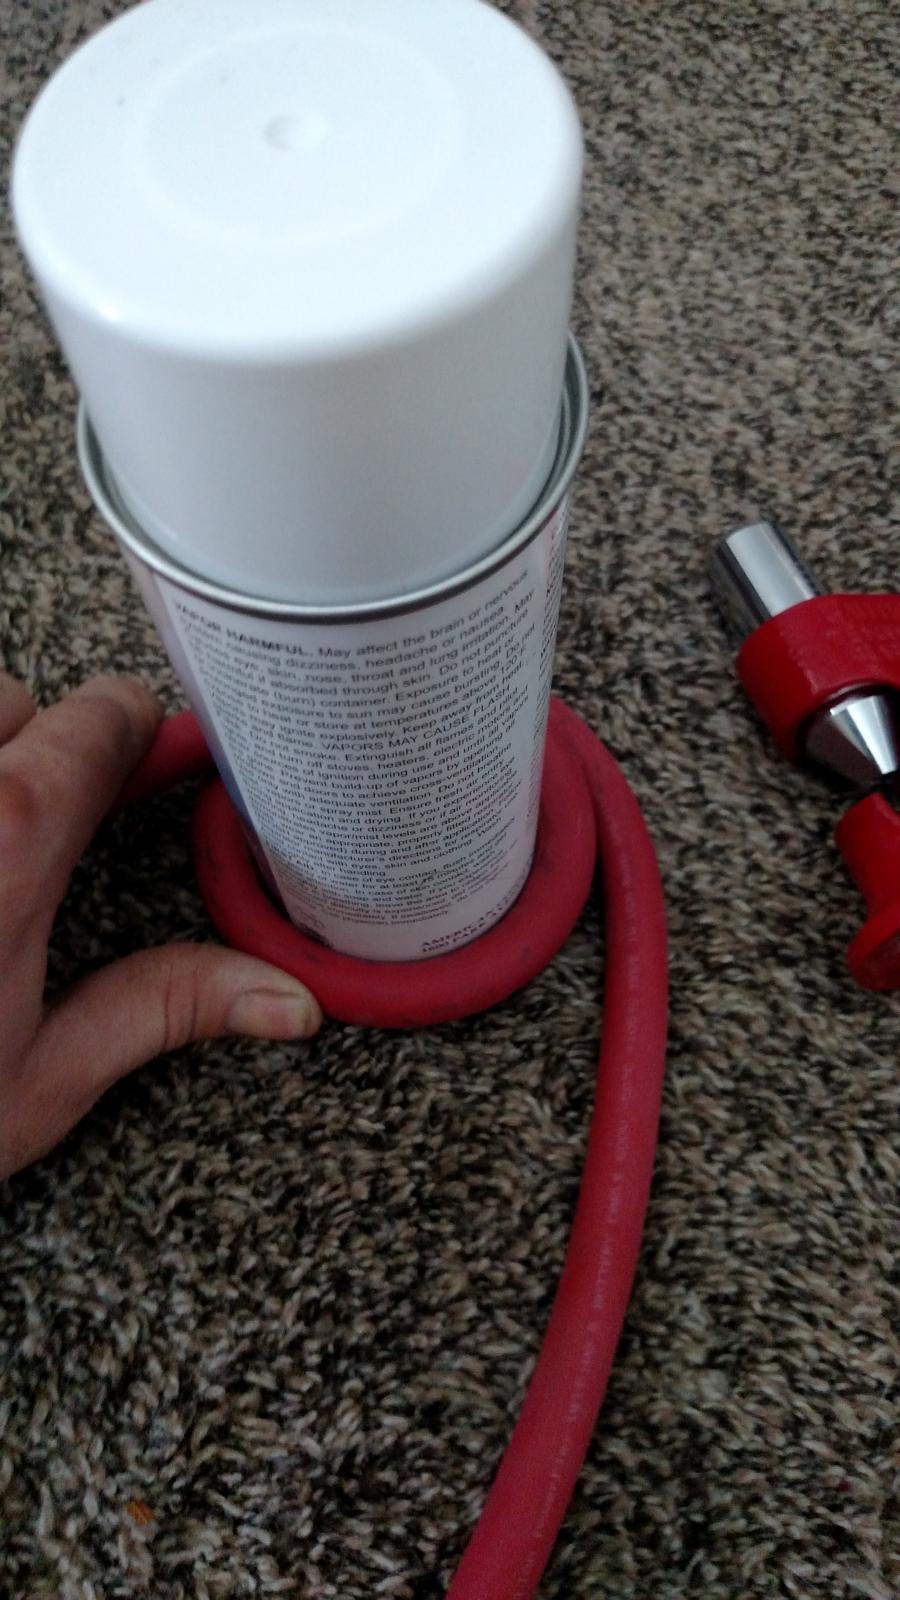
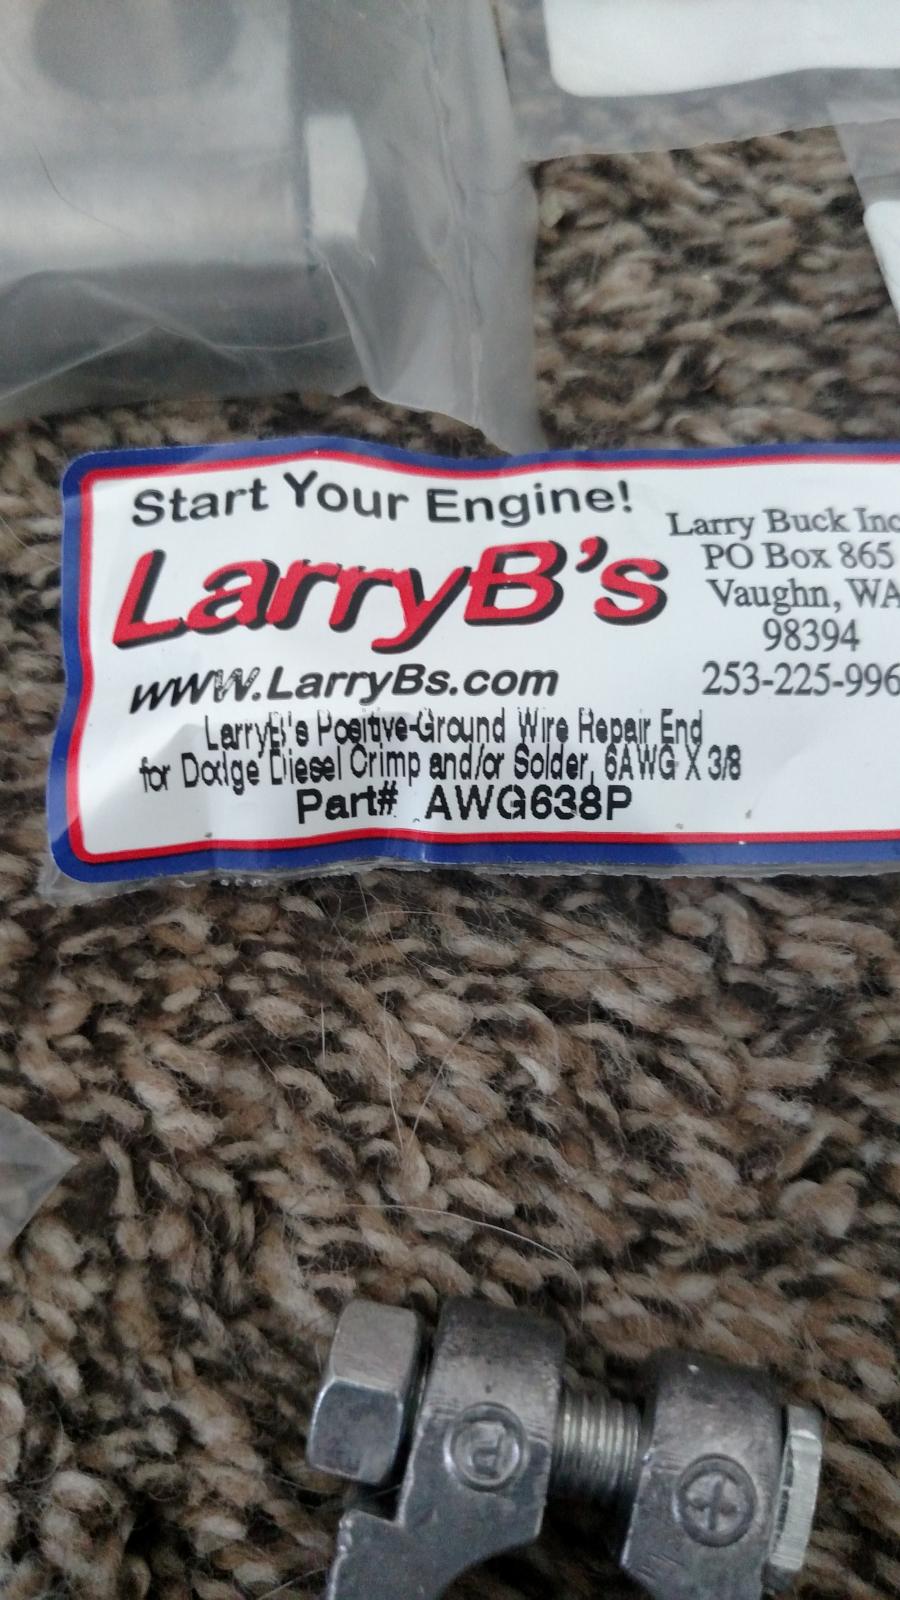
After 340k miles about it is time for some new battery cables the old one are cracked, yellowing and corroded. After hunting around I found the best bang for the buck was buying parts and pieces from multiple suppliers and create my own cables. Now I'm waiting for the last of the one ought cable to get here to get two feet in but as it sits I have just under 160 dollars spent and this is what I got. A cable repair kit with crimping tool http://www.fostertruck.com/larryb-s-battery-cable-repair-kit-for-dodge-cummins-1994-2009.html 10' of 2 ought red motor lead cable with SAE stamped 25' of 1 ought motor lead cable black SAE stamped 25' of 1 ought motor lead cable red SAE stamped I got the 1 ought in a 50' bundle pack from Amazon same as the 2 ought. You will need a foot or two of four gauge which I had laying around. https://www.amazon.com/dp/B01MZBF0R0/ref=cm_sw_r_cp_apa_3FOqAbF9A9P1F I think that should get you to where I got my stuff I used prime only to get it in a timely manner but you may find it cheaper elsewhere yet but for flexibility cost and so on I could not be happier. Made one crimp with the new tool an like how well it is designed it has a scale to prevent over crimping. Here are some pictures of what I got so far more to come once the rest of the cable arrives. The wire is very flexible can wrap a spray paint can with it and the ends are nice heavy weight pieces

-
After following advice of many on this forum and getting my truck back to where it needed to be maintenance wise I almost never use the grid heaters until 25 or less even then if I'm in a rush I forgot to fire them and just crank the engine right away granted my truck often will then remind me of the temperature with a cough sputter and a middle finger then I have to cycle the grids and it fires right off and if the truck is plugged in I don't need to fire the grids even at -15f
-
If you're grid heaters are removed and you go below 20 degrees and you are modified you will need the block heater
-
If I'm at home I plug it in all the time below 15 degrees I have a timer plugged into my wall that starts warming the truck 2 hours before I get up. Plugging in is by know means needed on a well maintained rig. Benefits are faster warm up easier starts fuel savings and I'm sure I'm missing a bunch of other little things onething that I take as a major benefit is if the truck doesn't fire first time fuel reduces oil film on cylinder walls therefore possibly causing damage
-
Good to know, I kinda figured there would be some form of downfall
-
-8F starts but not like summer time.... no block heater and my lift pump is on a relay and runs full PSI once key is on no fluctuation in fuel pressure, bad ECM output. That being said I have to cycle grids twice she fires first time every time but dies after 2 seconds cycle grids hit it again and it fires off and stays running. Now I'm pretty sure it over advances timing as it sits there loping for a minute or two but not sure. Due to all the other electric crap I have in my truck I actually don't run two cranking batteries the driver's side battery is a starter and the passenger side is a deep cycle. It cranks over a little slower than with two starters (at least it seams)but also seams to not be bothered if the radios are left on for a few hours. I had starting problems last year in cold weather I found good batteries and cables plus good fuel is all you need to run to -30f or more... One trick I've adopted in winter is every time I fill up my truck I take a sample of that fuel and put it into a glass jar and sit it on my porch next tank I get I switch out the bottle this tells me what type of fuel I got in the truck and if the fuel station screwed up. Must be clear glass cuz then you can see if water separates out as well.
-
@Sycostang67 have you tried a different device? Working with BT systems day in and day out I have found some things just don't like working together. I've run into hardware with BT that will talk to Apple but not Android and even certain hardware that this happened on said it was compatible with both. I have also found that some devices don't have consistent connections or seem to be weaker/ more temperamental than others.... Just a thought hope it helps
-
Looks great man, your bumper has got me thinking again about building my spare tire carrier bumper it's an idea that's been getting tossed around for years just seams to die about the time I try to figure out the hinge and latch setup that will work reliably with a 35 inch tire. Oh on the paint and details thing don't fret it, you built so you will always know where all the imperfections are, especially the ones you are self critical of... 20 bucks says most won't find problems until you point them out. I hate my new paint and call it a 20 footer but most say I need to be proud of what I did myself with little to no experience with body work. Same to you man
-
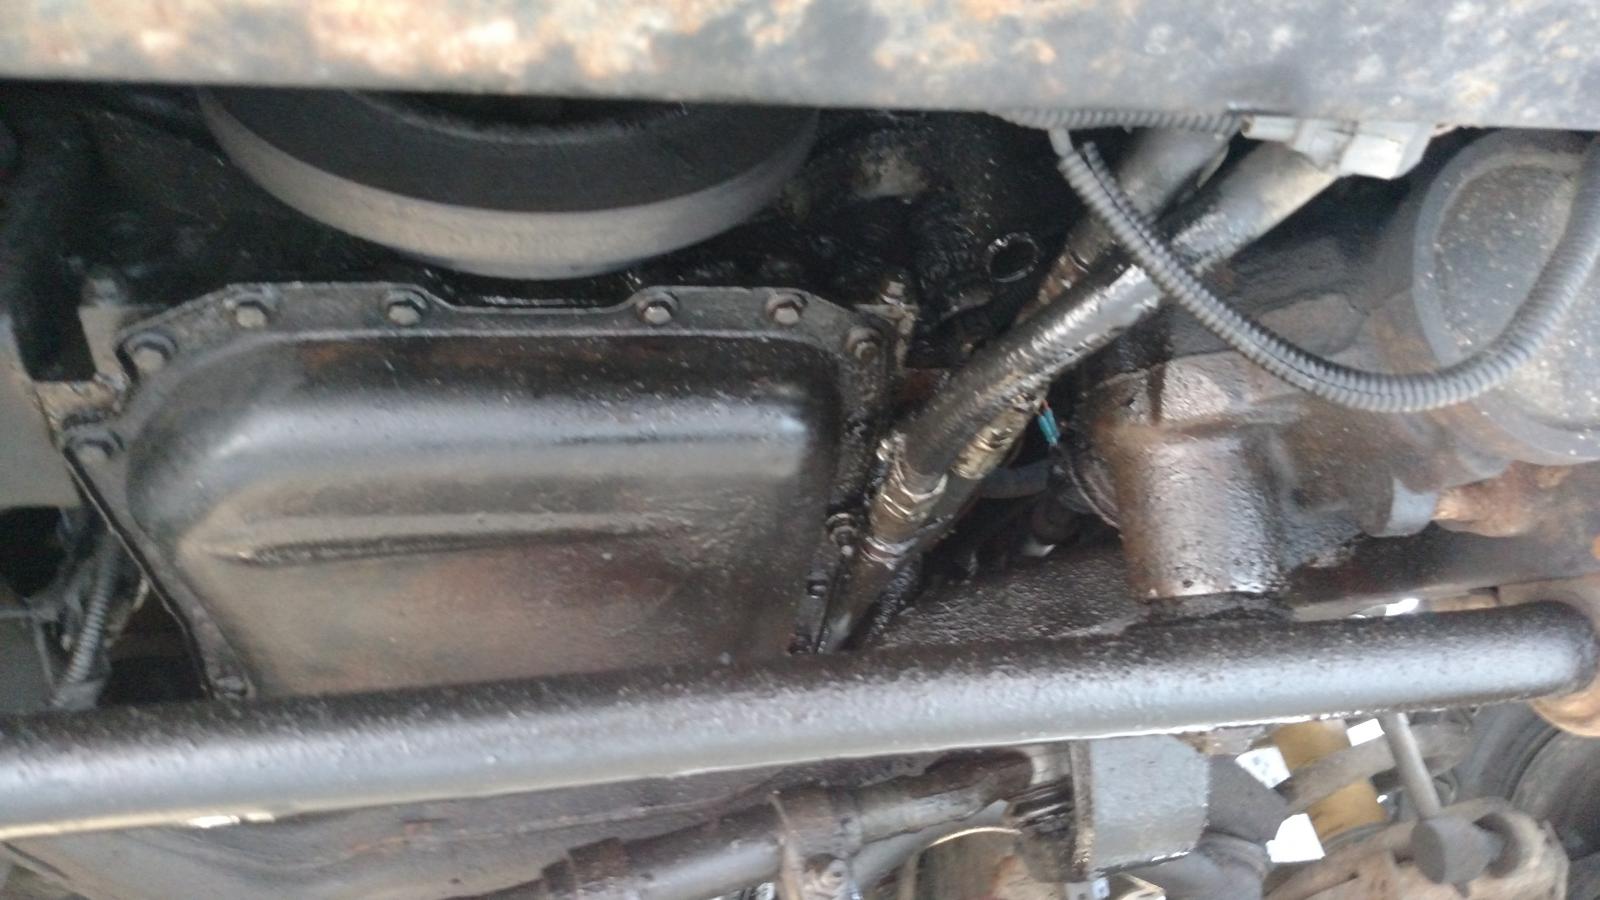
Thanks for the thoughts I don't know if it's the crank seal for sure as the damper seams dryer then what is above it if that makes any sense... I will get in there and see if I can make a better determination. If it helps at all it appears the leak is coming from half way up the engine next to the slobber tube, it's also hard to tell since the block is almost completely wet with oil Unfortunately anything that can't be done in a few hours will have to go to a good friend to fix I just don't have the time. My company is growing and I can't get employees fast enough it's a good problem but sucks because you can't make time for things you want or need to do.
-
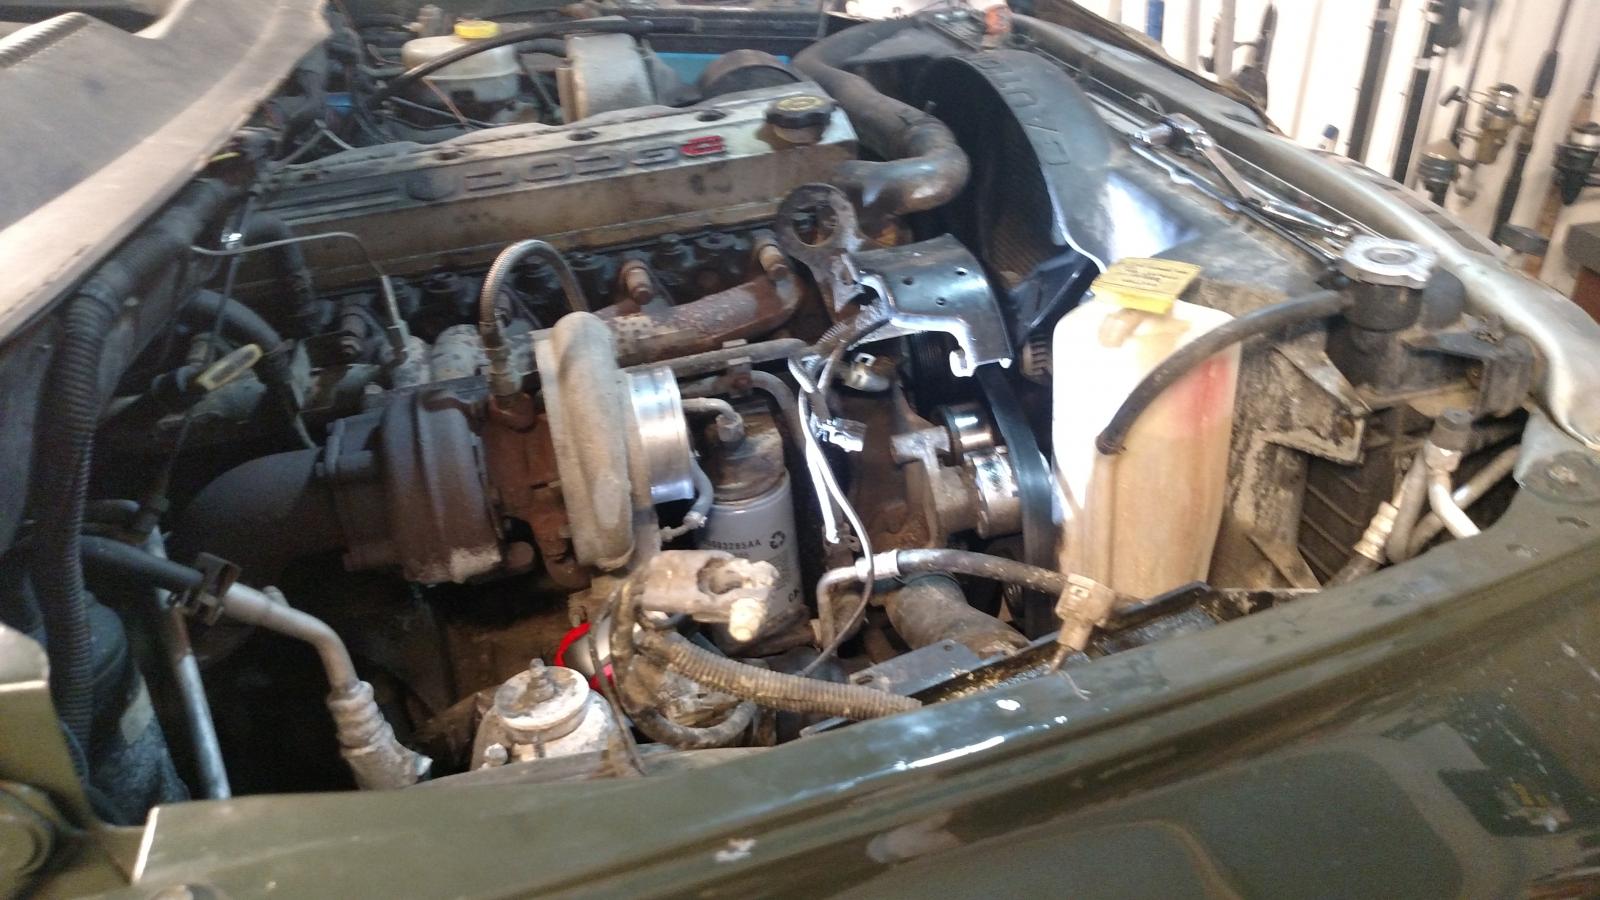
I have a leak in the front of the engine it's right by the slobber tube but has gone from sitting a week and leaving one drop no bigger than a penny to leaving that overnight. It appears to increase while running the engine, sometimes... pictures explain more it's got enough oil everywhere that I will have to clean it up somehow to even figure out what is leaking... When I replaced the body I cleaned as much as I could around the slobber tube but 340,00ish miles causes quite a caked on mess that needs to be cleaned. Questions are what would be leaking in there front crank seal or cam seal? If I have to replace either how hard is it I'm extremely busy so if it's fairly intensive I may have a shop do it or... Also recommendations for cleaning the gunk off the front of the engine. I have been using gunk degreaser and a scrub brush but that still gums up The larger puddle of oil is from sitting two days then I left it running/warming up for a half hour, I haven't had another puddle of that size yet. Small drops are overnight and a ten minute warm up


-
Back on point between my friend who owns a farm has two second gen Cummins and one third gen if you include my second gen in the mix we have over 1.5 million miles on the second generation trucks. The 12 valve he has is a sled puller now and has over 700k on it, he has well over 20k of wanted upgrades but in it's early life 0-700k while hauling farm trailers and so on it remained stock and had the suspension rebuilt twice other than that it was strictly wear items he replaced KDP repair and a welded 5th gear nut... Don't ask Going off what Mike said the same guy also has a 24 valve, he pushed the power envelope right away big turbo, injectors, stacked programmers, fuel system and a nv5600 with a stock clutch. Clutch went first then the list goes on at about 300k and 4 lift pumps later he went mechanical lift pump and twin turbos, his kid drives that truck now and last I checked it was over 600k. I know for a fact he's already had both the turbos rebuilt again and new injectors and injection pump in the last year and a half. No joke that 2001 being bought new including purchase price of truck has already hit 90k in money invested. But when they make you 40-over a 100k a year in money and you need a big truck to work can you really argue about a money maker nickel and dimming you that my two cents.
-
I always wondered about that is that due to a larger pump on stock lines and pickup?
-
I have run two stroke in my truck since I bought it at 110,000. Original owner put a rebuilt transmission in the truck and a new lift pump. Right now I run a programmer if I'm towing otherwise I run stock, I have a FRRP Airdog and make sure my F.P. is never over 22 or less than 10, I have gauges. I don't know how much longer I have but injectors and I.P. are still going strong at 340k, I run 1 oz per gallon. That being said I have new injectors but haven't put them in yet, my poor girl needs a lot of TLC but I've been to busy to give her the love.... Oh and the truck gets worked hard the trailers are either an enclosed 10', 22' construction trailer or the 18k tilt deck with a mini excavator.
-
Okay I'll look into the tail shaft speed sensor. What would you recommend for testing battery cables just ohm test them or? Do you know what I should be seeing for resistance?
-
When you have corrosion and cracked insulation on the ends of battery cables at what point do you replace them? I'm also assuming I'll have to make my own new cables is that correct? @Mopar1973Man the transmission shop that installed the transmission in this truck told me if the APPS wasn't working right that could be causing hunting that's why I started there, sorry. I'll be looking into the cables and my alternator is going to get more of a through diagnosis my old man is going to put it on one of his oscilloscope's and measure true noise on Saturday. I have a speed sensor in my differential that indicates vehicle speed and rear A.B.S do I also have one in the transmission? Thanks
-
@Mopar1973Man back of alternator to negative on passenger side battery, Snap On auto ranging meter, set to manual if left on auto it's all over the place when min and Max ranging I get .01-.02. My next steps were the one listed on Timbos website check terminal connections and all other related. I thought APPS was causing issue due to it's failure to read true W.O.T. Thanks

