

- Replies 229
- Views 81k
- Created
- Last Reply
Top Posters In This Topic
-
Mopar1973Man 42 posts
-
dripley 31 posts
-
JAG1 30 posts
-
Dieselfuture 14 posts


Most Popular Posts
-
ASE Certified Master Auto Technician Board Of Directors 1,372 1,569 posts San Marcos, CA Donor Report post
-
You cant beat that for the most part. My youngest son is 43 and still manage to drag him in sometimes. We usually have pretty good time. Last time he said he did not do any thing. But when your laying
-
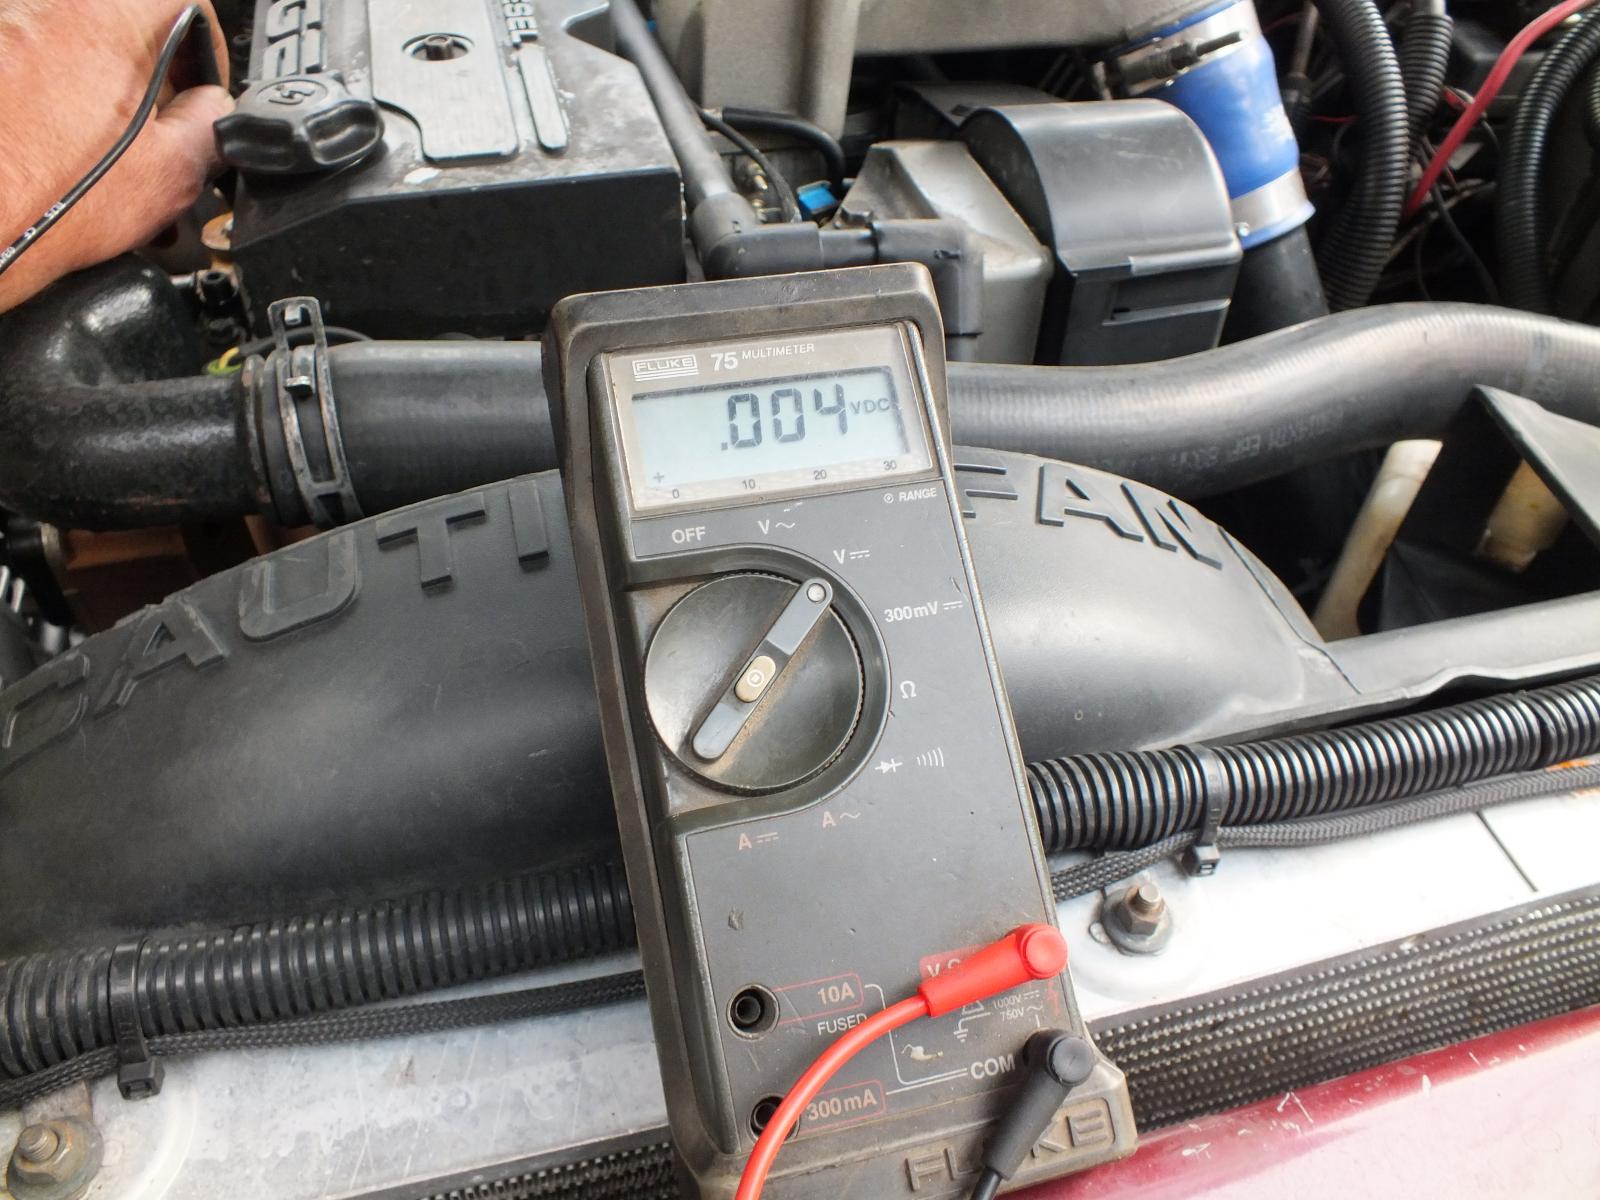
I have been manually operating my grid heaters with a momentary switch that switches both on at the same time since December of 2001, and for 307,000 miles. If there were to be any negative side effe


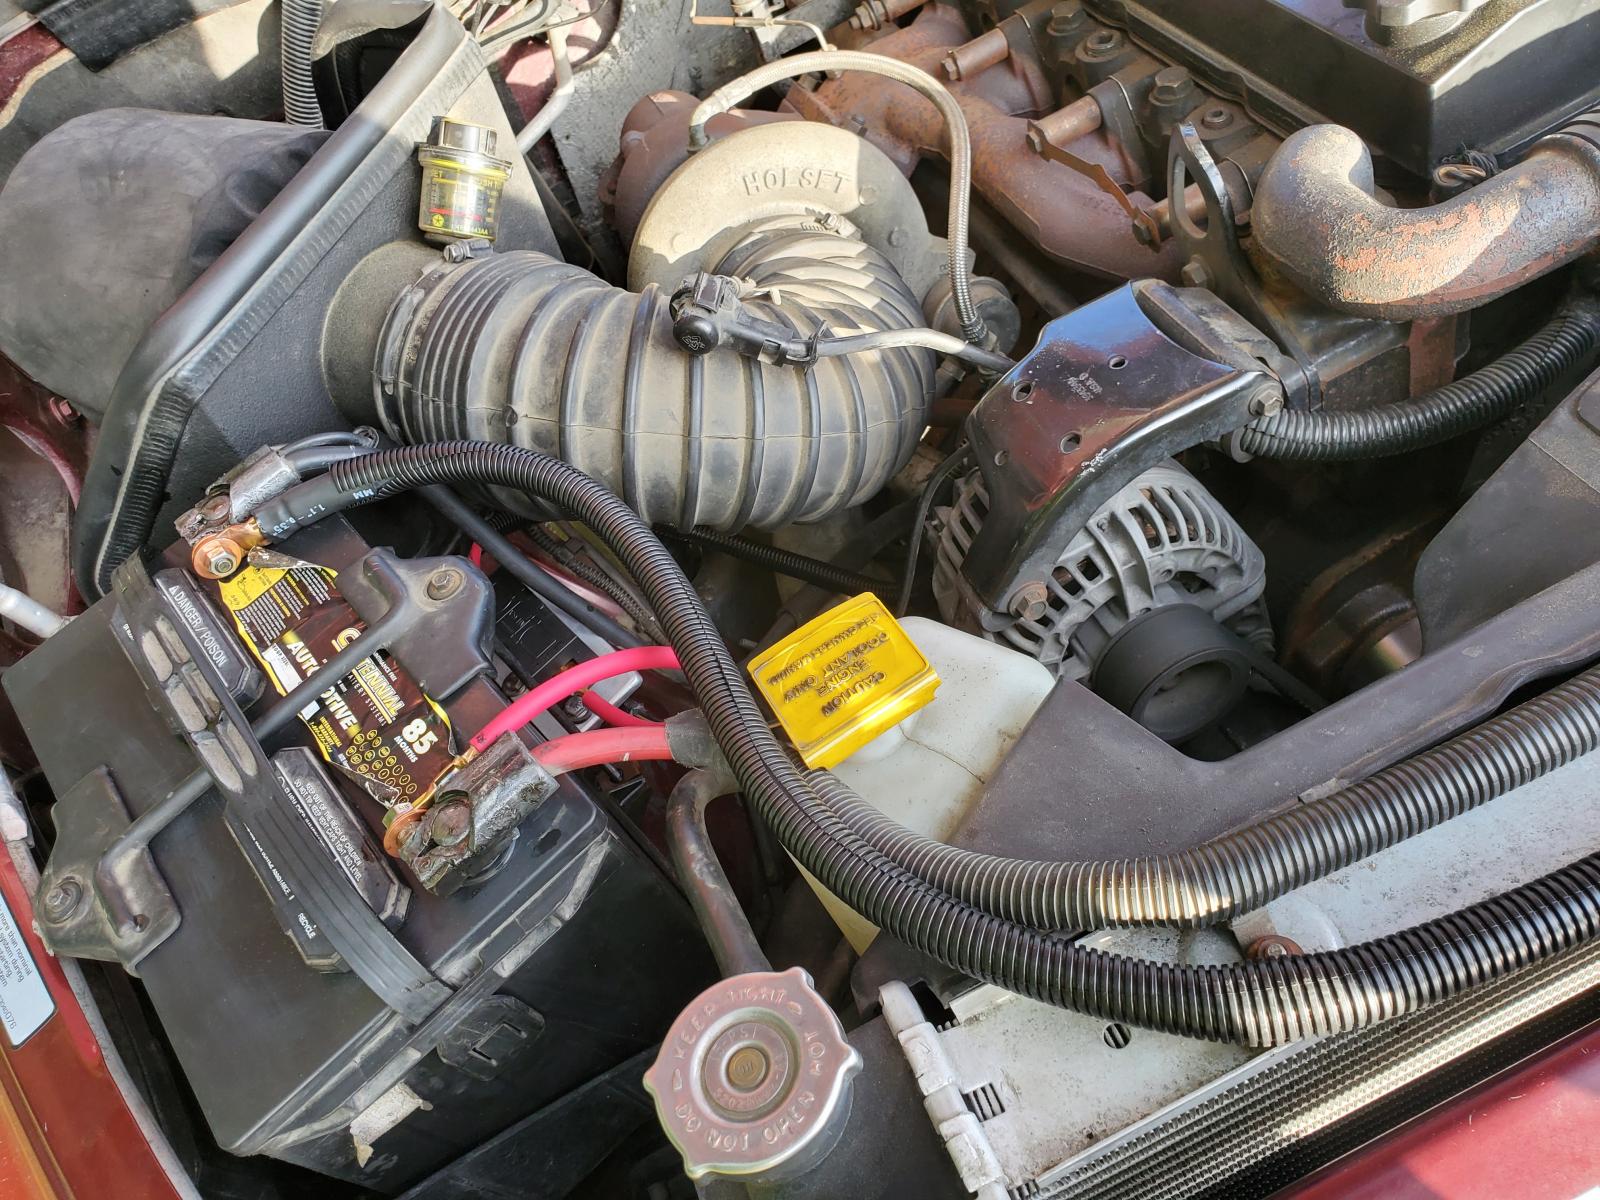
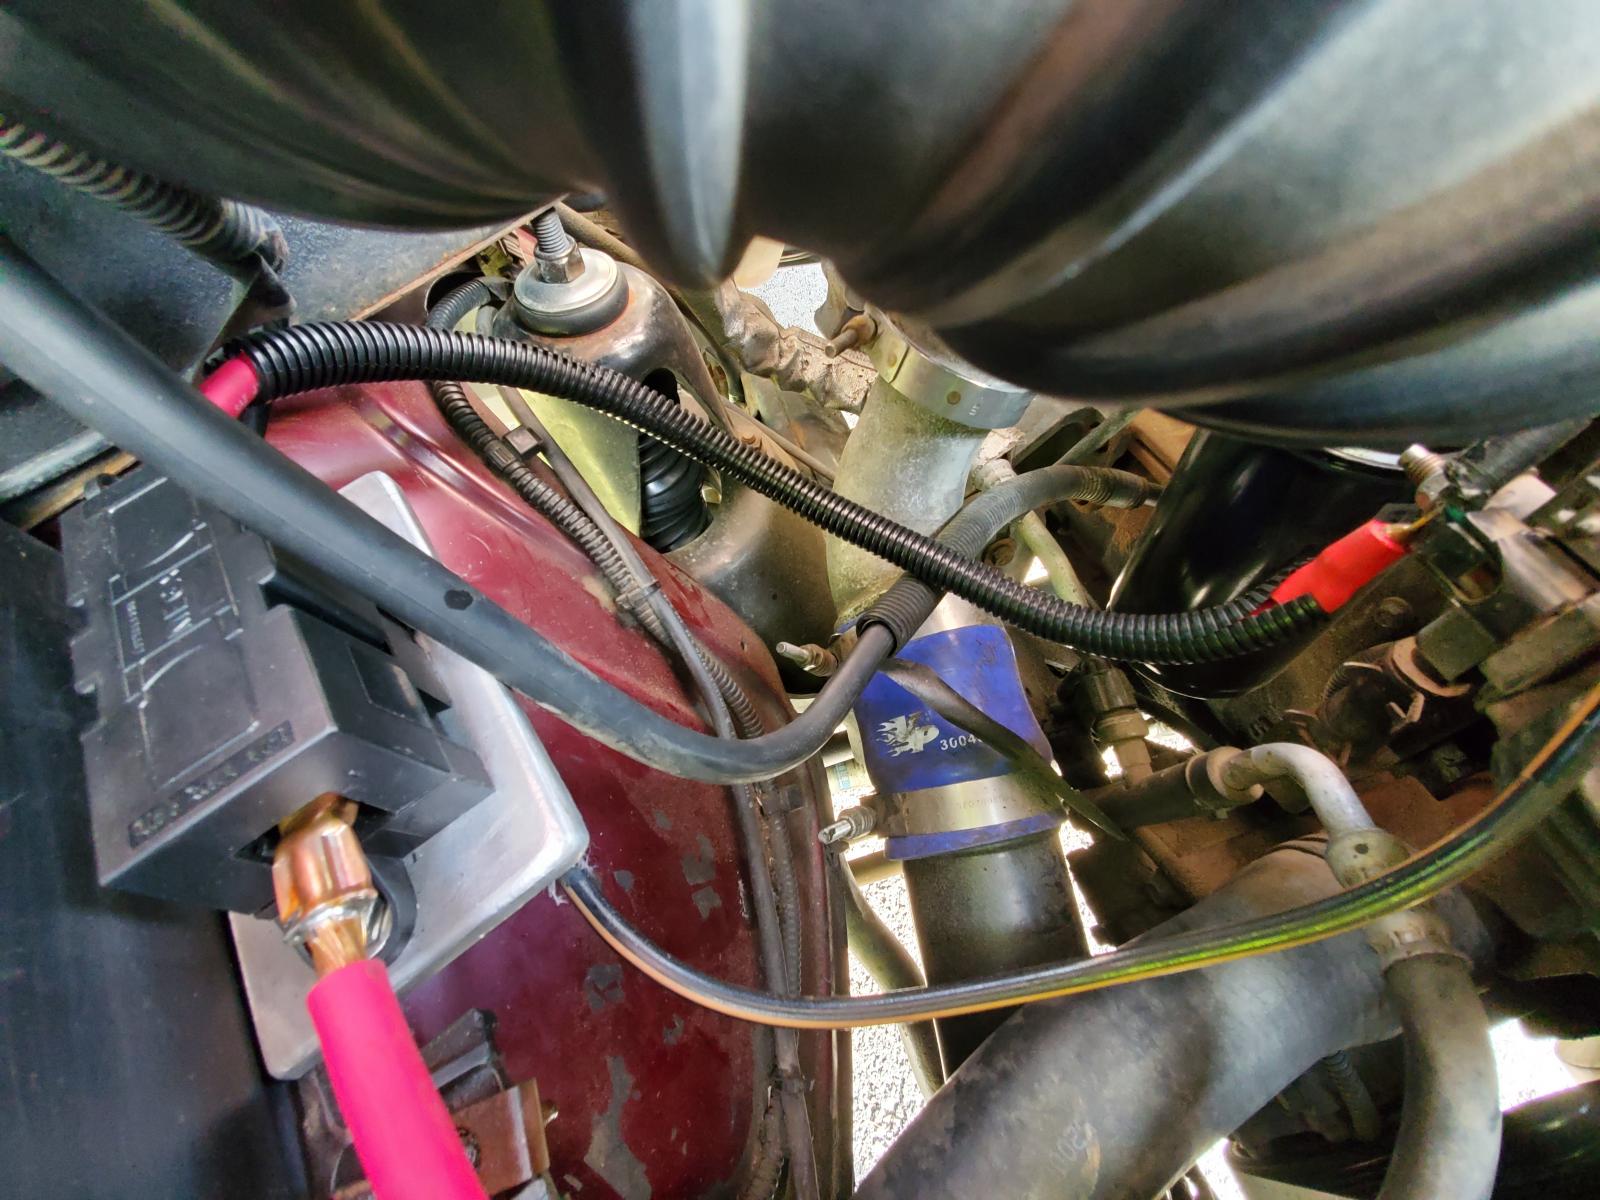
Does my one have a list of supplies needed to do this. I couldn’t find an actual materials list in the articles about this mod. Thanks.