


Mopar1973Man
Owner
-
Joined
-
Last visited
Everything posted by Mopar1973Man
-
Problem. To do the bearing preload adjustment you have to remove the gearbox from the truck. If you going to remove the gearbox to adjust it you might as well do the rebuild. You can do the sector adjustment (over center adjustment) on the truck which is typically where most play is.
-
Just got paged out to a house fire which actually was a RV. When I arrived at the scene the owner managed to put the fire out himself on the RV. So from that point it was a matter of inspecting the RV for any remaining smoldering material. What I learned about this... Make sure you inspect around your furnace for anything that might burn like dust and lint build up. Look and see if there is any electrical near the furnace ducts or anything might get hot. Like this particular RV was a toy hauler and had the furnace stuffed between basement storage and the entry door. Most of the electrical is ran near the furnace area. Always use the proper sized fuse for all your 12V accessories. Check the vents on the outside for debris in the burner vents. Mud daber nest could possibly create a fire problem. Always check your exhaust vent for sign of sooting which is a burner issue.
-
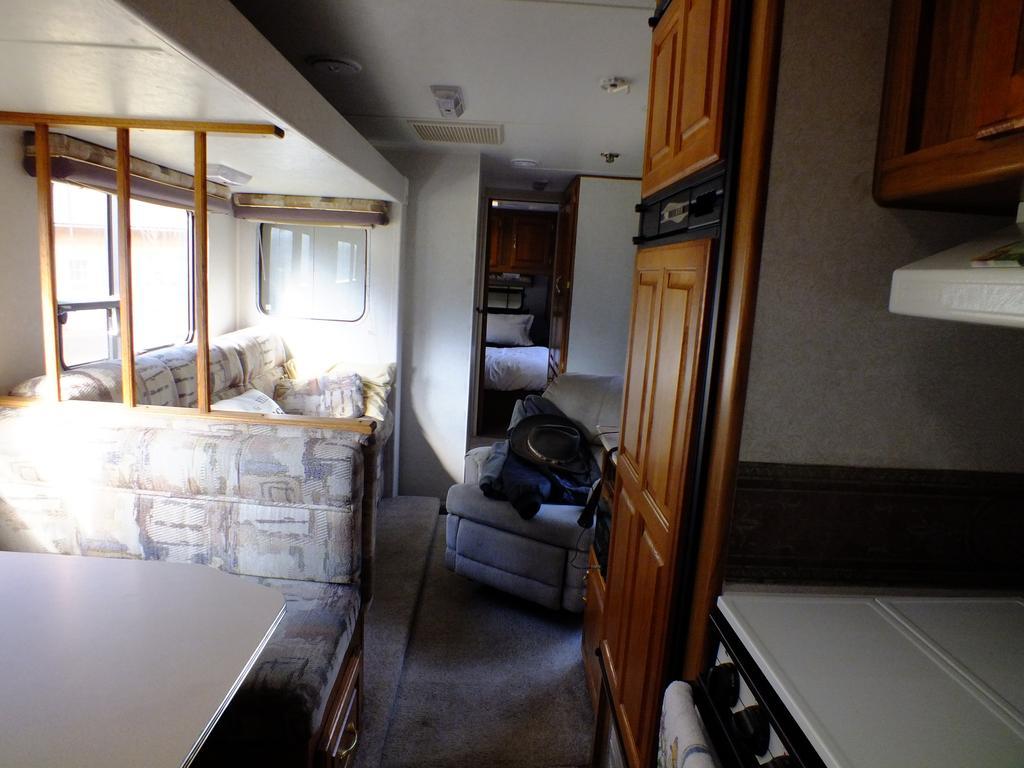
The biggest and most important thing. Buy an RV that fits your family. Make sure the beds are big enough for everyone. Like the jack knife sofa in my RV is nice to sit on to watch TV but its too small of a bed for me to sleep on. The queen size bed is fine for me but the other two beds are too small. MoparMom loves that jack knife sofa just right for her. Make sure the bathroom has enough room to use. I've seen some small bathrooms in RV's. I've seen some are really tight and difficult to even get a good shower without banging elbows. Living area or common area make sure there is enough seating for the family. What good is it to have enough beds but not enough seating for the family in the common area. Kitchen, make sure to find a kitchen with some counter space. Like my last RV there was no counter space and you had to do all food prep at the dining table.
-
I carry two square 5-gallon water containers for spare drinking water. So no matter what I can tow the RV into a city and fill with city water. The thing is for use we've been living off of well-water for over 25 years now and city water makes us very sick. So as long as we got drinking water in the 5-gallon containers we can fill in a city source or RV park. Few times we've camped in Emmett, ID RV park to do our shopping then load up again with water and go boondocking for few more days. Typically I fill the two 5 gallon water containers at home before I leave.
-
Mine is the same way ABS wise as soon as the module is unplugged the normal hydraulic brakes return. So the problem is there is no way for a end user to verify the data being sent to the ABS module and what it's attempting to do. My problem is I've replace 4 sets of ABS sensors now with no change. I've rebuilt the ABS module and no change. I've swapped a module from a 2000 Dodge truck still no change. But it does a weird pull and jerking of the front brakes. The only thing left is the possiblty that the tone ring is slipping or spinning free in the hub. I've not checked for that yet.
-
Like my neighbor to the north of me has chickens... Not as many as they once did. I watch a fox pack off several chickens in just a couple of days. My neighbors are not very bright leaving the chicken roaming the yard while they are gone. I do live in the wilderness so things like fox, racoons, skunks, hawks, etc will find a free meal if you don't protect them.
-
Sorry, I don't carry vise grip or other tools under my seat. Just a half gallon of drinking water. Most of my tools stay at home in the tool box.
-
-
Because of where we live typically food items are never left in the RV because extreme temperature cycles. Now as for clothing, gear and other stuff. All the bedding is in the RV. Typically all we need to do is pack our clothes, bathroom stuff and electroincs (laptop, tablet, cameras). Food typically we travel to a larger town and buy food at lower price. As for cookware and plates and such. If you boondocking make sure to consider paper plates and plastic silverware more so. Water is very precious when not hooked up. Now after a year goes by of using the Rv take note of things not used. Remove them from the RV there is no sense in hauling items that don't get used. There are some things that are required for emergencies like tools, first aid and so forth so don't over board on clearing out unused stuff. Also make it a point to scale your RV once a year full loaded. This includes a full tank of water and all cargo. Then you know if your over weight or out of balance.
-
Over the year I've seen a few that had issues between the tap point and the needle valve. Mostly the poor grade of hose used. Remember as the key is turned off the lift pump does too. So... turning your key off is faster that you can pop the hood release and run out and spin it closed. As for leaks in the cab if you use good quality 1/8" air brake line you won't have a single problem. It the very same stuff big trucks use for pressure gauges as well.
-
Like with my slide in the walk way is narrow but you can still sit down and eat lunch during the day or turn around and use the rest room.
-
I'm still having issues with the front sensors. I know for sure the sensors are good and the ABS module is good. I'm going to go after the unit bearings next. LOL. I lost my block heater cord a few winters back and start bone cold at -25*F (-31*C). Just cycle the grid heater twice and start it up.
-
Very nice RV. One thing I will ask you to check. Make sure you can still use the RV will all the slides in. Really bad when you need to use the restroom and got to push slide out to reach it. Maybe you want to use the kitchen grab a quick bite from the fridge.
-
I would of mounted the needle valve right at the tap point. Now when that hose failed your going to be stuck with ZERO way to shut down the fuel.
-
PCM controlled voltage regulator started in 1993. Last year of the 1st Gen... PCM going to need to be repaired.
-
Batteries need to be load tested.
-
I've also had the same conversation with the owner of Pureflow. If I go to replace my 10 year old Airdog 150 I would most likely spend the money with Eric @ Vulcan Performance for a second AirDog 150.
-
Filter oil? Typically what is used for K&N and washable filters is a spray on oil that typically turned very tacky in few mintues.
-
The argument between 5th wheel and travel trailer is choice. Like myself, I like to be able to toss the ATV in the bed of the truck on camping trips so 5th wheel is not an option. But some will say yet just buy a toy hauler. Again, the floor plans are not friendly to some people. So its comes down to personal choice. Performance wise towing a properly setup travel trailer will pull just as good as a 5th wheel. There are subtle differences but overall I can get to the spot that a 5th wheel can.
-
Shouldn't hurt a thing. I would go with it.
-
Couple of hours tops on a Saginaw box. As for Redhead there is no rebuild kits that I know of. So I don't know what to say there... Opps... Vacuum pump my bad. That is about 2 hours tops as well.
-
Should of... Most shops don't. I would check the fluid level allow a drop to hang and look at the color a very light amber color is good. Dark brown is bad. Any red color is bad. ATF should not be used.
-
Most likely the fluid in the power steering needs to be flushed out. That's why its groans. As for the vacuum pump you can rebuild it for about $13 bucks cheap and easy.
-
Now that's what RVing is all about...
-
If you working with someone you trust you can get a 2nd person to slowly turn the steering wheel while your feeling steering components for popping motion. Again its got to be someone you trust and be careful with where you place you hand in moving parts. Must have good communication and do everything slowly.

