2000Ram2500
Monthly Subscription
-
Joined
-
Last visited
Everything posted by 2000Ram2500
-
Maybe I'm the only one interpretting this in this way but this isnt an actual noise you can hear its electronic noise. Just making sure we're all on the same page and if you already knew that then forget i said anything
-
To my knowledge I dont think DRLs (daytime running lights) were a US option.. I can see if I cant do some searching and find any information on the dealer site on DRLs if you want. (edit- found the info) Directly from chrysler- The Daytime Running Lights (Headlamps) System is installed on vehicles manufactured for sale in Canada only. A separate module, mounted on the cowl, controls the DRL. Says its a module (DRLM Daytime Running Lamp Module) thats mounted to the cowl but the removal/installation section says to removes the screws holding it to the left front inner fender panel..? It should have a 10 way connector with 9 wires in it. Anyone have any luck using Quick Start alternators? https://alternatorparts.com/dodge-chrysler-plymouth-high-output-alternators.html He seems to have a pretty good array of vehicles and he even sells diodes and whatnot. I was debating calling them for a higher output alternator. But most likely I am going to order a diode off of here in the next day or two.
-
So Ive been doing great up until this morning. It hasnt thrown the code yet but its definitely acting up again so its only a matter of time before the code comes back. I have not done an actual AC interference test on it yet as I am lacking the proper tool. Should I just go ahead and throw a diode at it and cross my fingers? Is there anything else I should check out?
-
I just did this a couple weeks ago and I too was wondering what to do with the pdc end of the wire. I actually disconnected it all originally but because of my super custom battery wiring I ran out of room on my drivers side battery stud and had to re-purpose a side post adapter (I have optimas with a top and side post). So I used my side post adapter to attach my new ground to the drivers side battery and then ran my grid heaters to one side of the 140A fuse and connected the other side to the battery as it was before coming from the alternator. Hasn't blown yet and I know those heaters draw quite a bit of power. I guess we'll really see when it starts to get colder here in a month or so. I also experienced a huge improvement in overall driveability. Shifting is alot smoother. From a stop the shift from 1st to 2nd is extremely smooth and comes on alot sooner. I used to have to feather the throttle around 25 mph to get it to come out of first but now its already changing by 20mph. Overall i feel like it just drives alot better after this mod. I have my edge monitoring the APPS percentage and it holds steady (I was just trying to fix up a P1689). I do still need to get a reading on my alternator AC but for now its doing great. Gotta say thanks to @W-T for sharing this and @Mopar1973Man for getting better pictures and simplifying it I should also point out that at least my local Napa carries a couple styles of premade lengths of 4ga battery cable. You can get it with a standard battery terminal one one end and eyelet on the other or 2 eyelets. I used a side to top post adapter with a 20 or 24" piece of battery cable for the alternator. I would suggest not going that route as i had to go to great lengths to get the eyelet to fit inside the alternator connector and a better route would definitely be the way that mopar man did it. But for the ground on the drivers side these napa cables work perfectly.
-
What about fluid level? Or the pump itself? I'm thinking if it winds up not being the torque converter or fluid temp.
-
According to factory for the P0216 it says to check a few things. It says if you also have a P0336, P1287 or P1690 to diagnose those first. It then says to check freeze frame data which Im pretty sure you need the special DRB scanner for. It says to check the gear alignment as far as the injection pump gear make sure its aligned properly. I cant imagine it would be off unless your doing hard timing or it was installed wrong. It says to make sure fuel filter isn't clogged by measuring the difference in fuel pressure between both sides of the filter. Finally it says to check for a fuel inlet restriction at the lift pump before suggesting a new VP or fixing any issues with the fuel supply. Congrats on owning a Fummins. I had a customer come into the dealer I used to work at asking for Cummins badges for his 97 F250. Got a kick out of that. It was definitely a nice truck.
-
The noise filter I have has what I'm assuming is a resistor/diode under some heat shrink its probably about 3/4 inch around. I disconnected mine after reading that it can bandaid problems until they become serious. I also had a lockup switch but thats what my transmission buddy said was the cause for my torque converter seizing. I think it may have something to do with the fact i had to tow my buddy's fully loaded broken down powerstroke over a mountain with a bone stock trans... anyways thats another story. I ditched the lockup switch too its too much with a billet triple disc. According to the factory service for a P0622 it says to check for a wire rubbing on the air box or against the manifold by the dipstick tube. Vehicle Issue P0622 : 0B : GENERATOR FIELD NOT SWITCHING PROPERLY; Mil on : K125 circuit wire possibly rubbing againest the air box bolt, cause a short to ground.;Follow all appropriate diagnostics for the fault that is present. Prior to replacing parts, please review the explanation below in the recommendation field. System or Component Customer Concern (No DTCs);Instrument Panel / Cluster,Warning / Indicator Lights,Malfunction Indicator Light / MIL / Check Engine Light;Yes - Intermittent,Yes - Continuously Recommendation T125 DB circuit wire possibly rubbing against the air box bolt or the manifold near the dip stick tube causing damage to the PCM Modification Date 12/07/04 8:31 AM As for the P1765 i get a whole diagnostic flow chart- Sorry about how jumbled this probably is... I tried to mark it out by line so it makes more sense. -Symptom: -P1765-TRANS 12 VOLT SUPPLY RELAY CTRL CIRCUIT -When Monitored and Set Condition: -P1765-TRANS 12 VOLT SUPPLY RELAY CTRL CIRCUIT -When Monitored: Continuously with the key on. -Set Condition: This code will set if the voltage detected on the Transmission Relay -Control circuit at the PCM is different than the expected voltage for 3 seconds. -POSSIBLE CAUSES TRANSMISSION CONTROL RELAY INTERMITTENT TRANS 12 VOLT SUPPLY RELAY GENERATOR SOURCE CIRCUIT OPEN GENERATOR SOURCE CIRCUIT SHORTED TO GROUND TRANSMISSION RELAY CONTROL CIRCUIT OPEN TRANSMISSION RELAY CONTROL CIRCUIT SHORTED TO GROUND PCM - TRANS RELAY -TEST ACTION APPLICABILITY -1 Turn the ignition on. With the DRB III, read the PCM DTCs. Is the Good Trip Counter for P-1765 displayed and equal to 0? All Yes ® Go To 2 No ® Go To 9 -2 Turn the ignition on. With the DRBIIIt, actuate the Transmission Control Relay. Is the Transmission Control Relay clicking? All Yes ® Go To 9 No ® Go To 3 -3 Turn the ignition off. Remove the Transmission Control Relay from the PDC. Check connectors - Clean/repair as necessary. Install a substitute relay in place of the Transmission Control Relay. Turn the ignition on. With the DRBIII, erase trouble codes. Start the engine. With the DRBIII, read PCM DTCs. Does the DRBIII display the P1765 DTC? All Yes ® Go To 4 No ® Replace the Transmission Control Relay. Perform TRANSMISSION VERIFICATION TEST VER - 1. 471 TRANSMISSION TEST ACTION APPLICABILITY -4 Turn the ignition off. Remove the Transmission Control Relay from the PDC. Check connectors - Clean/repair as necessary. Turn the ignition on. Using a 12-volt test light connected to ground, check the Generator Source circuit in the Transmission Control Relay connector. Does the test light illuminate brightly? All Yes ® Go To 5 No ® Repair the generator source circuit for an open. Perform TRANSMISSION VERIFICATION TEST VER - 1. -5 Turn the ignition off. Remove the Transmission Control Relay from the PDC. Disconnect the PCM harness connectors. Check connectors - Clean/repair as necessary. Measure the resistance between ground and the Generator Source circuit in the Transmission Control Relay connector. Is the resistance above 100k ohms? All Yes ® Go To 6 No ® Repair the generator source circuit for a short to ground. Perform TRANSMISSION VERIFICATION TEST VER - 1. -6 Turn the ignition off. Remove the Transmission Control Relay from the PDC. Disconnect the PCM C2 harness connector. Check connectors - Clean/repair as necessary. Measure the resistance of the Transmission Control Relay Control circuit between the Transmission Control Relay connector and the PCM C2 harness connector. Is the resistance below 5.0 ohms? All Yes ® Go To 7 No ® Repair the transmission control relay control circuit for an open. Perform TRANSMISSION VERIFICATION TEST VER - 1. -7 Turn the ignition off. Remove the Transmission Control Relay from the PDC. Disconnect the PCM C2 harness connector. Check connectors - Clean/repair as necessary. Measure the resistance between ground and the Transmission Control Relay Control circuit in the Transmission Control Relay connector. Is the resistance above 100k ohms? All Yes ® Go To 8 No ® Repair the transmission control relay control circuit for a short to ground. Perform TRANSMISSION VERIFICATION TEST VER - 1. -8 If there are no possible causes remaining, view repair. All Repair Replace and program the Powertrain Control Module in accordance with the Service Information. Perform TRANSMISSION VERIFICATION TEST VER - 1. 472 TRANSMISSION P1765-TRANS 12 VOLT SUPPLY RELAY CTRL CIRCUIT — Continued TEST ACTION APPLICABILITY -9 At this time, the conditions required to set the DTC are not present. Note: Use the Freeze Frame Data to help duplicate the conditions that set the DTC. Pay particular attention to the DTC set conditions, such as, VSS, MAP, ECT, and Load. Note: Visually inspect the related wiring harness. Look for any chafed, pierced, pinched, or partially broken wires. Note: Visually inspect the related wiring harness connectors. Look for broken, bent, pushed out, or corroded terminals. Note: Refer to any technical service bulletins that may apply. Were any problems found? All Yes ® Repair as necessary. Perform TRANSMISSION VERIFICATION TEST VER - 1. No ® Test Complete
-
The engine overpowering the brakes is a tell-tale sign of a seized torque converter.. I cant imagine why it would have suddenly done that after a body swap though.. As far as the shifting issue i would take a look at the mechanical part of the linkage under the drivers side of the body. I think its got a metal structure/rod thats held in with 3 14mm bolts where the cable turns the linkage and its cotter pinned to the trans and its all weird and unconventional. Any check engine light? It seems like theres an issue with linkage or wiring. Did you miss any plugs on the trans? If i remember right theres one up high thats a pain to get out and the harness is like draped over the top of the trans and up the fire wall.
-
Its probably because the silencer ring is still in that turbo. Kidding but I've yet to see one of those oil coolers fail personally. I have sold plenty of those gaskets though. In fact I have a pair of those gaskets waiting for me to get the motivation to change them.. Mines leaking oil all over the place. No drips and coolant/oil are fine with mine but the sludgy oily mess says otherwise. As far as checking/testing the factory says to apply 70 psi to it after cleaning the sealing surfaces. I'll copy and paste it here. This is literally the only thing in there about the oil cooler. "CLEANING AND INSPECTION Clean the sealing surfaces. Apply 483 kPa (70 psi) air pressure to the element to check for leaks. If the element leaks, replace the element."
-
lkqonline.com if we all haven't heard of them yet. I use them pretty regularly for my work. Used engines/transmissions are there biggest sellers but you can find interior parts and a bunch of stuff. Seats. Body panels.
-
I've got the factory ones too. Its nice it comes complete and assembled all you gotta do is unbolt your stock one and let it fall out then bolt this one in. I did it in my driveway and measured out my alignment before and after and got it perfect somehow. Tires don't wear funny at all and its been about a year and a half. The only thing that didnt line up right was the steering stabilizer. They arent cheap but I get my discount so that helps.
-
That means Moog gets there stuff from the same factory as the rest of them.. Thats a bummer.. Doesnt necessarily mean that its a bad product but I wouldnt say its gonna be near as good as it was. A guy I work with here took a tour of an oil filter production factory when he used to run some aftermarket parts stores and said he wasnt allowed to take pictures because inside they had pallets of Frams, STP,s etc all ready to ship out of the same factory. He followed that up by saying they use different specs for the actual filters themselves. But how different could they actually be you know?
-
I dont know anything about the snap ring problem I havent seen it personally. But the t-case should only spin the rear driveshaft in 2wd and you should be able to spin the front one freely depending on how your front axle is setup but it should have the disconnect in it on the right side.
-
I actually have had a master cylinder fail on me while doing a full brake job. Granted that was on a 95 F150.. I still dont know what happened we changed all the brakes. New rotors new pads new shoes and drums on the rear. Calipers and wheel cylinders we left alone the were fine. Get the tires back on and the truck on the ground and nothing. Pedal went to the floor. Possibly because we just used a pair of channel locks and squeezed the calipers down. Didnt relieve it as mentioned by @Haggar so that must've done it. Master cylinder was gone.Bench bled a new one put it all back together and it worked beautifully for the last 6 years i had the truck.
-
Im assuming it was working fine before the ECM went out I would imagine just get another one just like you had. Im making an educated guess here but I would think if you were to change the ECM to something the truck never had and not the PCM at the same time there would be some compatibility issues. The next problem is that to my knowledge all PCMs are VIN programmed so it may not even be possible to get a new manual PCM to work with an automatic VIN. Ive personally used autoecmstore.com for replacements in the shop and although i havent had anything like this come up at a dealership they may be able to provide some insight. I will admit that I have a very limited knowledge of PCM/ECM programming but I will be learning alot more when i get my buggy going Im using a Megasquirt3 to tune a Honda V6 that Im running in a Baja Bug.
-
I had a similar noise but it was at highway speeds and the only reason i heard it in the first place was because i was driving next to the k rail with my windows down. it turned out that the rear most u joint was wasted. i think it had some dust in there from the roller bearings.. i would be leaning towards transfer case myself. they are chain driven. ive never seen one go bad in these trucks but ive heard the noise when a chain driven tcase does go bad and its awful. idk how you would go about pinpointing the noise unless you got the truck up off the ground so that you can put it in drive and be underneath it and see and listen to everything operate
-
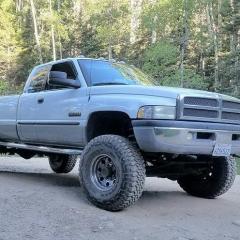
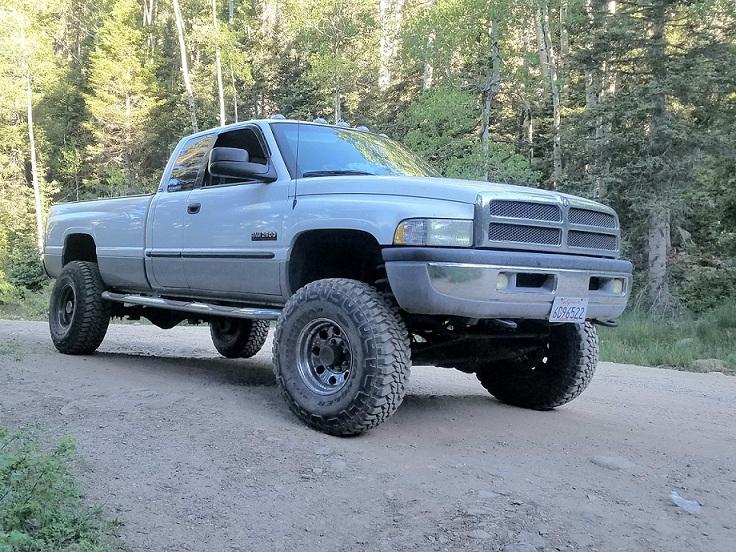
Mine is a 2000 2500 that came factory with 1500 mirrors and no cab lights but it did come with a tow package and it had the holes under the roof. Its not that hard to pull the headliner down in the front if you wanted to make sure beforehand. I wish i would have known about it ahead of time myself but i guess you live and learn. Just for the sake of making things easier at the factory i would imagine that they would all have the same substructure with different stuff attached to it if that makes any sense to you... Like for example some manufacturers will have a single way of wiring the truck or things will come prewired even though it didnt have it from the factory. I cant say for sure about the plugs though because i used the 2010+ kit and it had a ground wire and a power wire that your supposed to route into the fuse box but i spliced mine into the running light wire at the drivers front running light. Hasnt blown the fuse yet so it must be a tiny amount of power being drawn.
-
I would hate for someone to make my mistakes. The least i can do is let people know i guess. Having the template is priceless it is so nice to have. Saves a ton of time measuring and marking all you gotta do is line it up tape it down and drill. That first hole is the worst but 15 holes in your roof later and you'll get over it haha
-
I sure would love to get everything apart and polish it up and paint it. My valve cover is all peeling the coating they put on the aluminum is yellowy gold now. Its a lack of funds for all the gaskets and fluids as well as an extreme lack of time. That looks awesome. Too much red for my taste but i like it
-
I would recommend getting a kit that comes with a template. Since I worked at a dealer at the time I decided to install my cab lights I went with the 2010+ style lights and the factory kit. Came with really good instructions too. Use masking tape to get the template lined up with the markings it has and drill your holes. Also make sure your using short drill bits or that the headliner is pulled far enough away from the roof. I learned the hard way by punching a small hole in my headliner. Luckily its behind the passenger visor so I never see it and thankfully it was with the small drill bit.. also I would recommend checking under the headliner for a second piece of sheet metal that has pre stamped holes in it for the harness and trying to line those up. It was a real pita to get the outside plugs in because it was off by like an inch from the factory holes.
-
Yes what he said check it. Mystery switch AKA torque converter lockup switch? (If it is the TC lockup switch it should be tapped into an orange wire on the big harness at the top of the firewall and if i remember right you have to have a jumper wire in place of the relay in the PDC) I tried that it was cool for a while and then my TC seized up and roasted the rest of the transmission trying to get it home... Lesson learned For what its worth heres my short story on this issue. About a year ago I was dealing with the dreaded TC lockup which was more annoying than anything especially with a billet triple disc. Bought BD's noise isolator. Was fine until about 3 weeks ago got a P1689 code. After alot of looking around swapped APPS with a known good one. Checked VP plug. Checked ECM plug. Felt all the wiring for rat damage. Put back together and a week later same issue. Did W-T's wiring mod and unplugged the noise isolator at the same time and (knock on wood its only been a since Sunday) but i havent had an issue yet. It runs noticeably smoother. Shifts smoother. Throttle is smoother. Have yet to have it act up (again knock on wood)
-
Are tone rings ever an issue on these trucks? Somehow the one on my old Ford had a single missing tooth and it put my speedometer on crack. 55 mph for a few seconds then it would go crazy for a few seconds then back to normal. Or on my old BMW the connector was completely messed up but everything else was fine but someone put the connector in its proper place so it appeared fine. That one the speedometer was so erratic I completely gave up on using it until i finally just used some female spade connectors to rig up my own "plug".
-
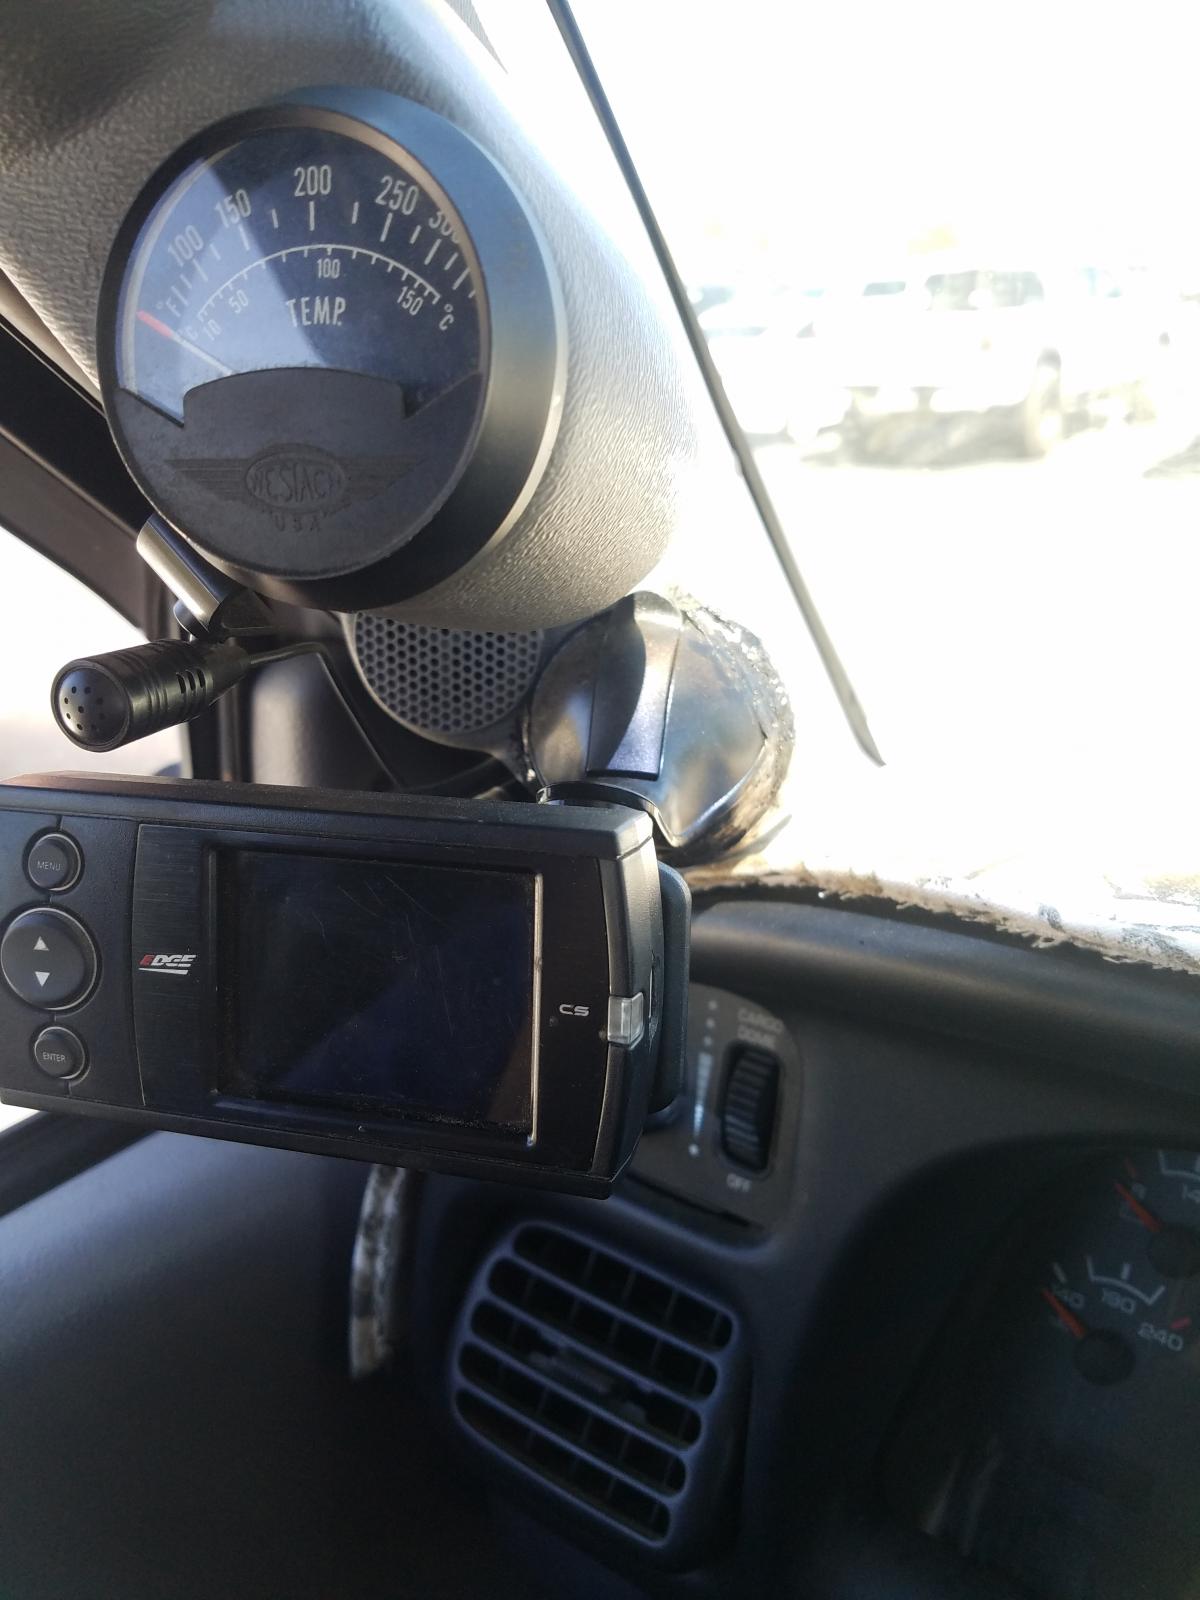
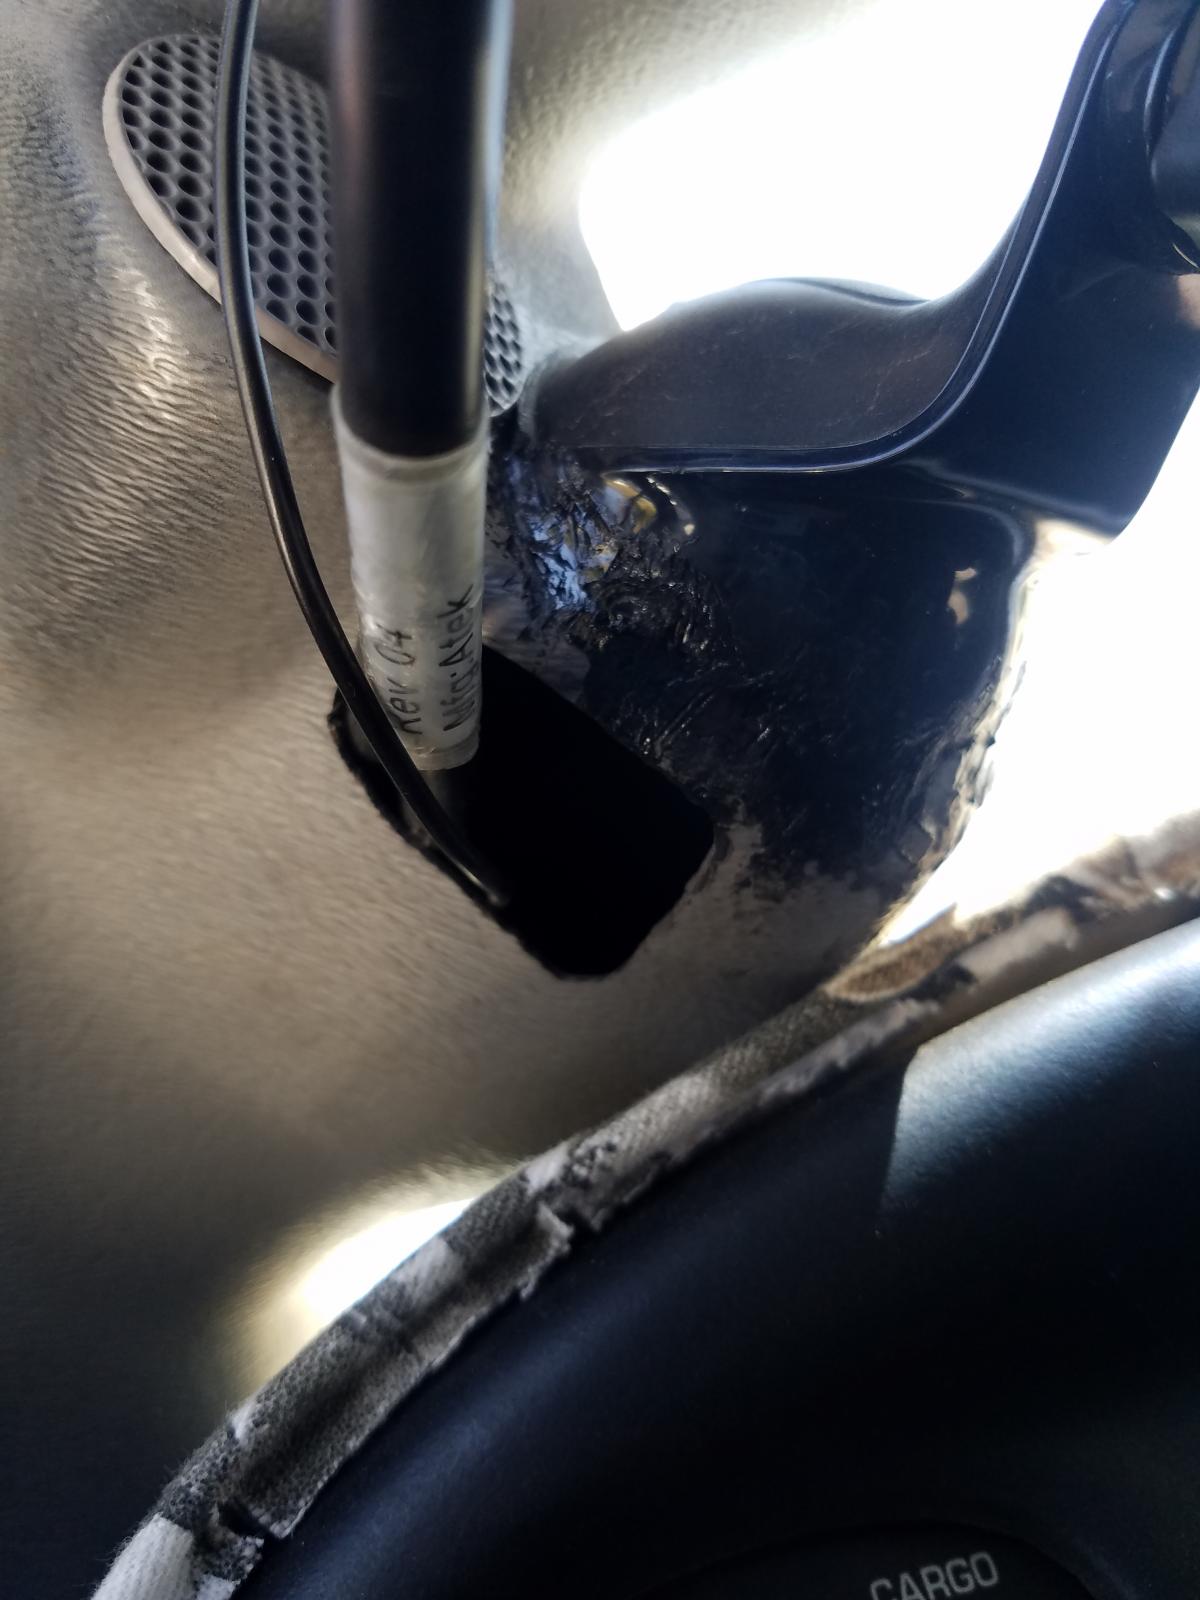
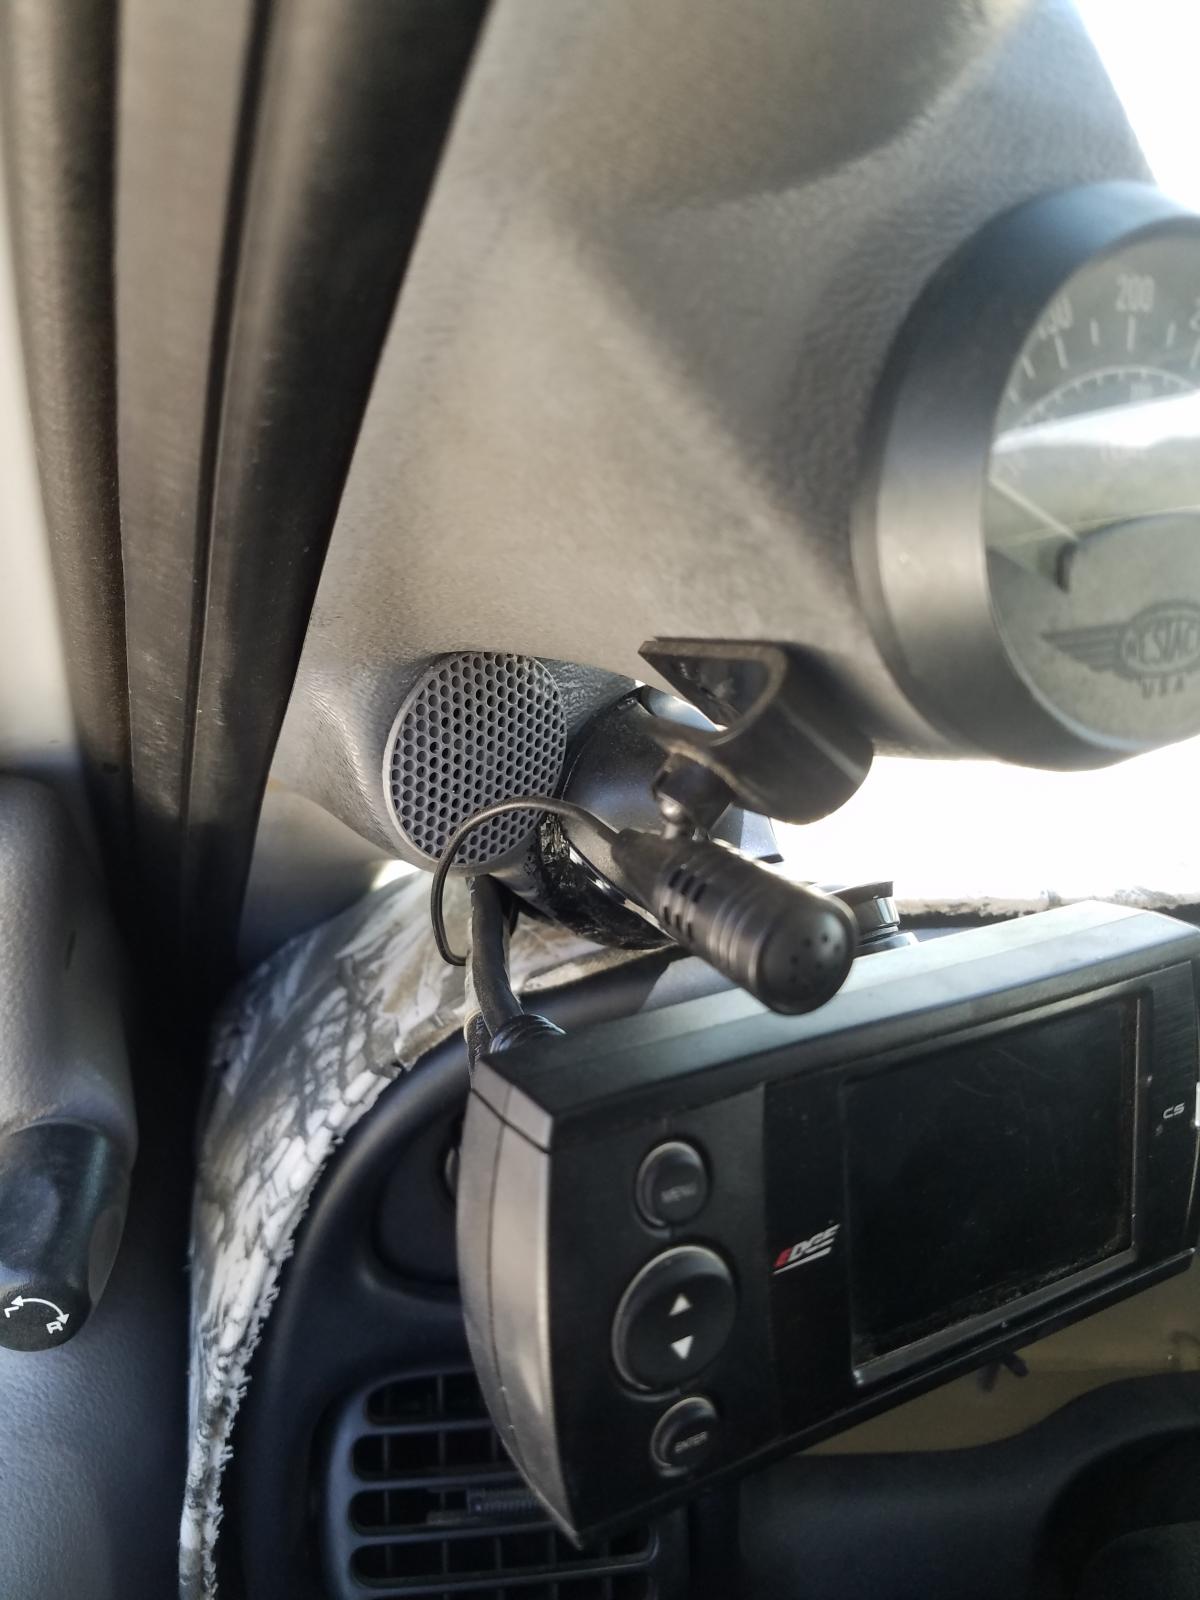
I'll take a picture of my A pillar on my lunch. The truck had a 2 "pod" A pillar setup when I bought it but none of the gauges worked. I had this suction cup/magnetic phone holder (scosche brand), 2 open slots, a Roto-Zip if anyone has seen one of those before they are awesome for cutting holes in plastic stuff such as an A pillar. I had a stereo with a mic but never mounted the mic. I borrowed the fiance's wood burning kit and used it to melt the phone holder to my A pillar and stuck the magnetic plate it came with to the back of my Edge. Used the rotozip to cut a hole for the mic and edge cables. I think it turned out sweet. I still need to sand it down and paint it to match but I like it. Only thing I might do would be consider putting the mount in the upper of thr 2 holes.
-
That must be the Cummins number for it maybe? Mopar number is 5140342AA. For the record there all the same. All of them. But its a kit with a mounting gasket and 3 o-rings and instructions if you need them. Its a super common leak.
-
I dont take hardly anything personally anymore thats what spending the last 6 yrs in a dealer where everyones got jokes will do to you. Every dealer is different and honestly the worst shop experiences I've ever had are from my own place of work. I had an old BMW with an aluminum pan and they ran the oil drain plug in with a damn impact gun. Needless to say it stripped the pan out and then they wanted me to find a new pan... I told them they'd better get that oil pan rethread kit out and fix it up since they're the ones that broke it not me. I've waited literally 3 days to get my oil changed before. They think just because i work there it means i dont need anything done in a timely manner. And then I'll get my truck back and its covered in oily hand prints all over my door fenders hood. Like i was saying though every dealer is different. The first dealer i worked at we did literally no aftermarket parts whatsoever. They turned down alot of business even when the customer supplied there own parts it was iffy. This dealer is the opposite. We do alot of aftermarket accessories. Aftermarket parts for older cars when its cheaper or the factory parts discontinued. Its really hit and miss. And even if you find a dealer thats decent and will work with factory and aftermarket and actually listen to what your asking the next time you go in you might get stuck with some guy that just wants to jerk you around.