Mopar1973Man
Owner
-
Joined
-
Last visited
Everything posted by Mopar1973Man
-
I could go on and on myself of all the problem I see with just my local government... But the whole problem comes back to 2 simple words that explain the whole problem... GREED and MONEY.
-
Hmmm... I've always thought about the airbag idea but don't do enough hauling to worry about doing airbags... I'm real curious though of the air bag setup...
-
It is...
-
Like here not to long from now I'll be firing up a block heater at night... Like this morning low is 50*F and by mid October I know it will be close to 32*F at night... My winter fronts will be installed by then too... Strange to still snow in the Seven Devils Mountain range at this time of the season...
-
Wow there is a classic car... Nice mod with the updated fuel injected engine. I hope you keep the pulsing turn signal tail lights (if that was the year?) That was killer to see on the road... I thought of one day doing a mod like that to my old 1973 Dodge Charger sitting in the yard... Something a bit more up to date and ditch the old carburated fuel system...
-
What??? I've only gone out twice and got 4 cords of wood... Try again W&F...
-
Ummm... Sorry... I can't help you I haven't seen a car alarm in YEARS! Where I live in Idaho no one locks there doors... The truck is normally parked on the city streets with the windows rolled down and the key in the ignition... The local kids here can spot a tourist a mile away by listen for the horn chirp... Then have fun setting off car alarms...
-
Well yesterday I hauled out and escaped the house for a short time... Even left the Cummins at home and took the 96 Dodge and the ATV and went for a ride.
-
Actually it is possible but most times out of ten the heater continues to operated even while shorted to the coolant but you know that because you feel a tingle when you touch the engine.
-
Yeap... That is the only way to disable the truck... But like Koyote said above its typically hooked up to shutdown the ECM or simiular...
-
Here is a small beach down on the Salmon River... But I need a few better pics...:banghead:
-
-
I got buried in dry sand out here in Idaho... Never got crazy enough to try wet sand.
-
Good Gawd... What the hell what was he thinking...
-
Myself if the truck is at home I'll plug in when its parked in the garage. I use the heat in the shop to keep it from freezing so the heat not wasted being parked outside.
-
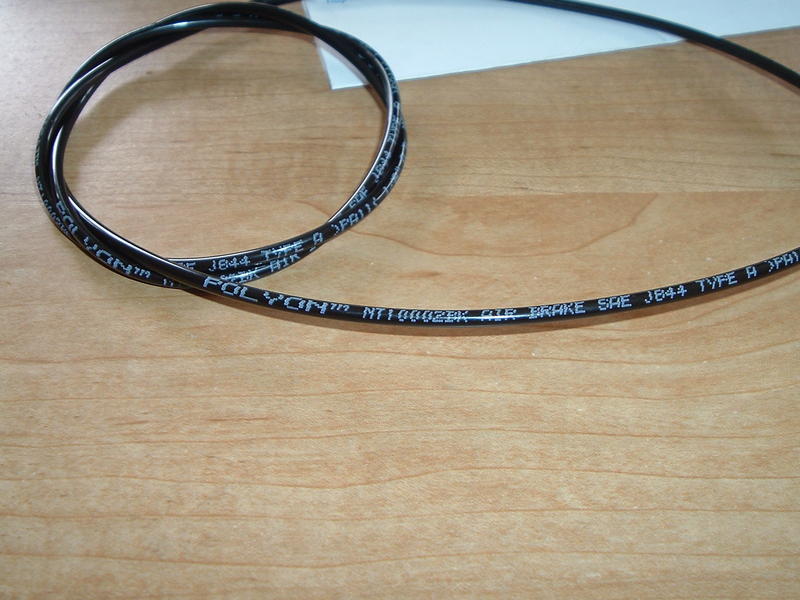
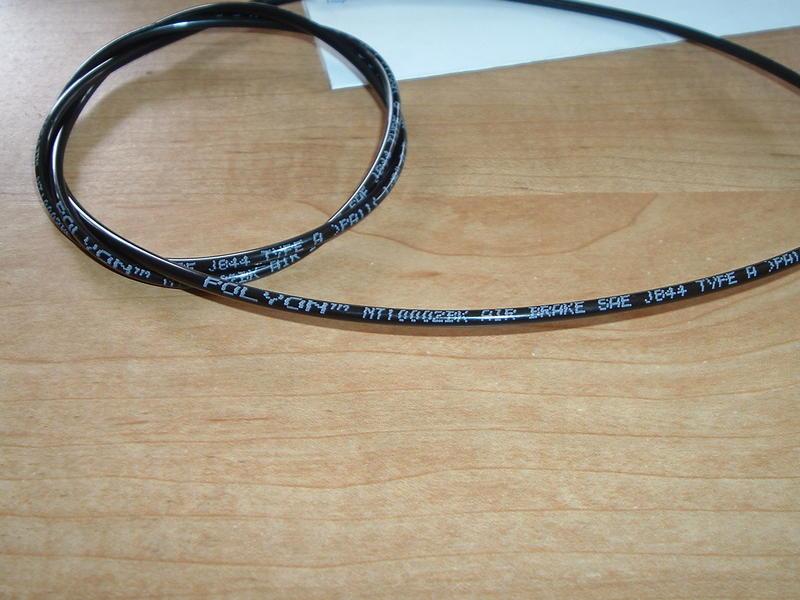
Get a chunk of 1/8 Air Line (Polyon) from NAPA for cheap... It rated to 200 PSI typically extremely flexible... I bought 10 feet and 2 ferules for $6 bucks...
-
You don't want to look at my truck then.. Mechanical gauge direct connect to the fuel line... No isolator... But I do use a needle valve and its barely cracked open so if it did leak it would only drip... So far nearly 7 years no problems... But I did find a awesome secret... Use 1/8 air line from NAPA (Polyon) its really cheap but its oil and fuel capable. It extremely flexible and won't break. It rated for like 200 PSI so I doubt a mere 15-20 PSI fuel system will break it...
-
Awww... Ok! I was curious to what your doing...
-
Good one ISX... That is a awesome Vid on how that works!
-
Sure that what its all about... Sharing information and trying to figure out the problems... Even myself I got to admit I'm not always the bright canyon in the box but I give it a honest try and if I fail or get it wrong well I learn from the experience... So like everyone here they share there experience with everyone... As you also notice there is very little talk or chatter about racing, dyno, tractor pulls, etc... I'm here to try and help the "Common Joe" or "Common Jane" that needs there truck for work and paly...
-
What the heck are you trying to do?
-
Yeah but you know if the cheater box is used then the problem is gone... So if the VP44 and ECM are new then that leaves the wiring in between that is faulty...
-
Hmmm... I would double check the connector on the ECM and see if there is moisture in the socket or the pin are corroded... From what I'm seeing in the error codes I think there is some truth to it but I think its a loose or poor connection...
-
Really simple... first lets read the TSB... http://mopar.mopar1973man.com/cummins/2ndgen24v/high-idle/tsb18-019-01.htm So I got smart and figure out how to control the high idle by using toggle switches and a few resistors to fool the ECM into believing the engine is colder than it actual is causing the high idle or the 3 cylinder high idle to start. But there is the rest of the article... http://mopar.mopar1973man.com/cummins/2ndgen24v/high-idle/high-idle.htm
-
I hate to say it but found another flaw... I've been studying the connections and there is a crossing of the IAT sensor with the ECM leads... On your 3 cylinder relay you pulling your signal from the IAT instead of the ECM... So it would but IAT + the resistor 56K ohm...