Everything posted by Mopar1973Man
-
Radiator cleaning...
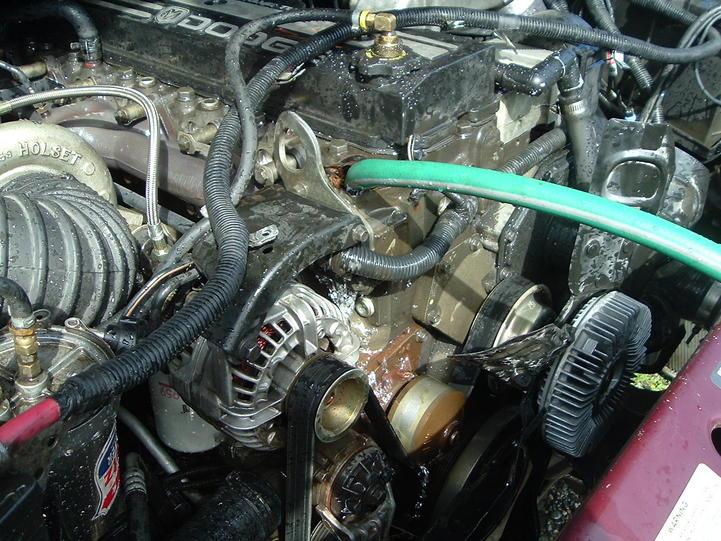
Standard old garden hose sprayer... (70 PSI) Now if I turn the pelton generator off I could of had 118 PSI... (Idaho power washer) Good old cheap NAPA Green anti-freeze at about $6 bucks a gallon... As you can see there is absolutely no need for expensive coolants, additives, etc to keeping a cooling system clean and working. It all about doing the coolant change and flushing the system regularly. After 9 years and 173K miles and have a radiator that clean internally using CREEK water and cheap NAPA antifreeze... Yea that water comes from here...
-
Radiator cleaning...
I do that also but with the intercooler and the A/C condenser and the fron bumper there is places you really can't clean too well...
-
Radiator cleaning...
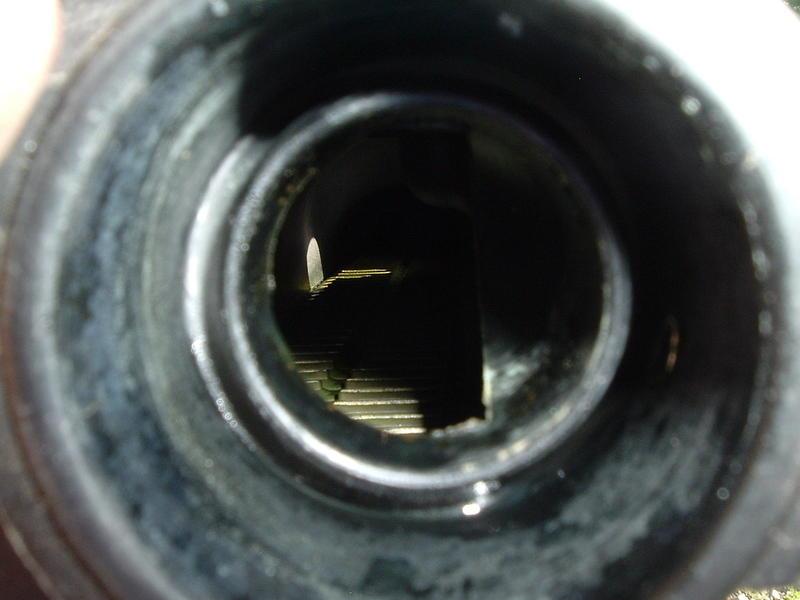
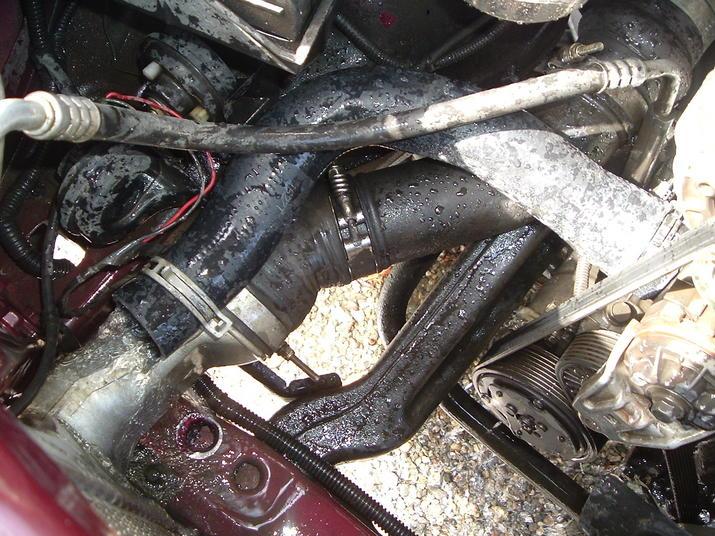
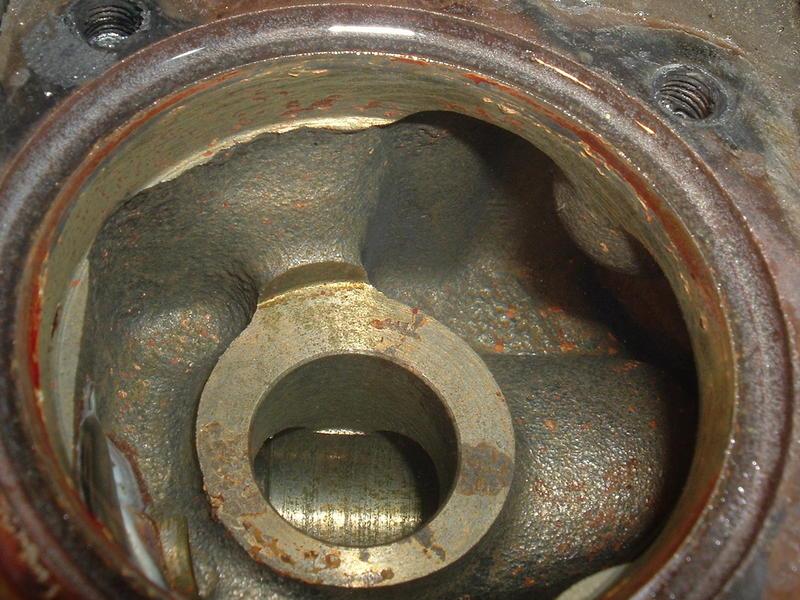
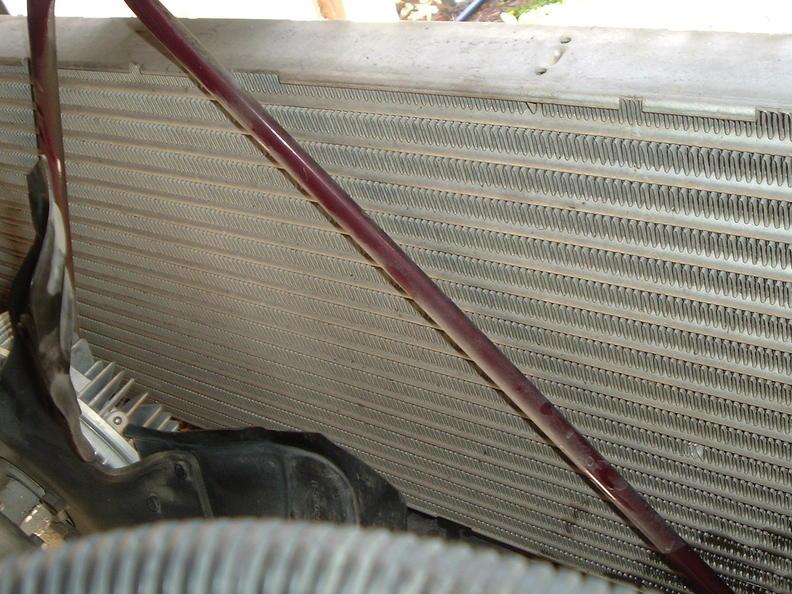
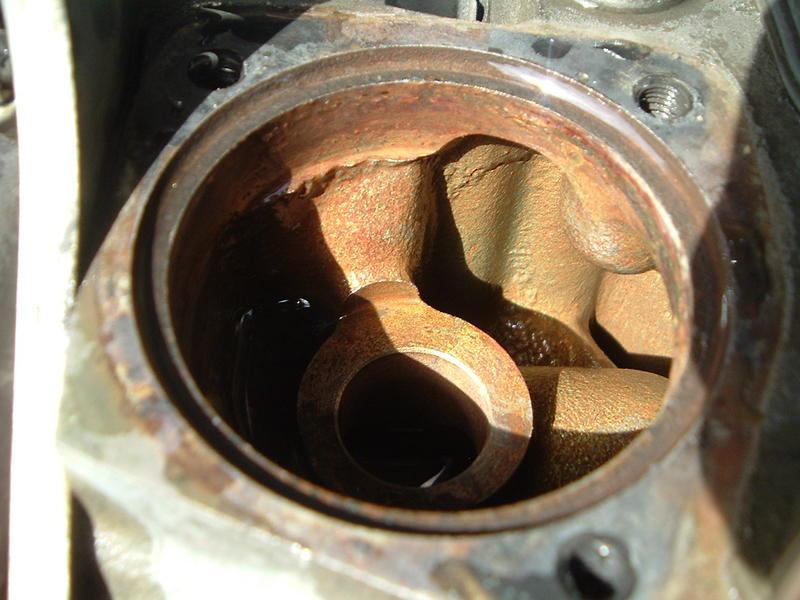
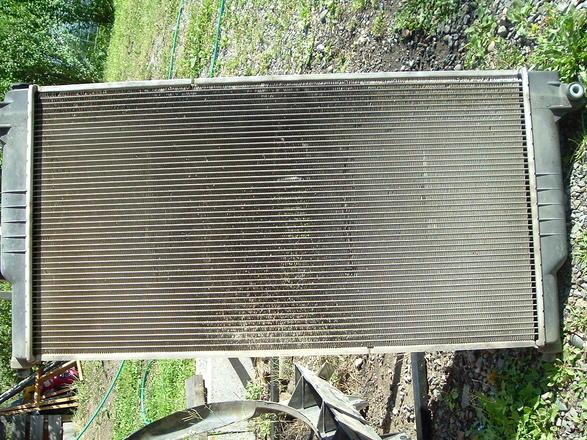
Well gang... I figure I better get the coolant change before winter. So I desided to pull the radiator and inspect it and was surprised to find the face plugged with mud and dirt... Not greasy grime like stock crankcase vents but just mud on the lower part... So I gave everything a good cleaning... Close up... The radiator... Flushing the block... Appearance of the block currently at 173K The intercooler face. Appearance of the block at 100K... Inside the radiator... Flushing...
-
My turn for a blown VP44?
Typical flow restrictions will show up as a huge fall in fuel pressure from idle to WOT... If system is in good shape there should be only like 2-3 PSI drop from idle to WOT..
-
Got a Urea Burner yesterday
Sorry... I had to mention it because the local forestry office (USFS) just got a few urea burners too... When I was hanging around local Chevron station one of the guys brought me a bottle of Urea and ask what that was... I Look it over sure enough its in a gallon jug price wrote on the bottle at $11.25 a gallon!!! I ask the owner about this and he can't get it any cheaper currently... As for Urea and sources locally I've only seen the one place... As for knowledge on it your right... I seen several article about it roughly the same price as diesel per gallon... But not here in Riggins, ID
-
Got a Urea Burner yesterday
Be aware of the urea that is out on the market in some place liek here in Riggins, ID its really expensive like $12 bucks a gallon...
-
12V IAT Readings
So its a 24V thing... I did a coolant flush today and found lower part of both the radiator and intercooler were packed with mud. so after getting it all said and done I'm now down to +35*F offset now... Now bad to lose 5 degrees of manifold temp.
-
My turn for a blown VP44?
Fuel gauge sender failing? Mine failed at a 1/2 tank and the only clue that gave me for it was the fuel pressure going up and down like a yoyo.
-
12V IAT Readings
3rd Gen is in the same place... So that explains both...12V and CR engines why they have lower IAT temps....
-
Ultra Gauge
Only 10% of todays vehicle have a fuel pressure sender... The only things that Ultra Gauge can report is what is already presently hooked up to the ECM/PCM of the truck there is no way to add a fuel pressure sender to the ECM.
-
12V IAT Readings
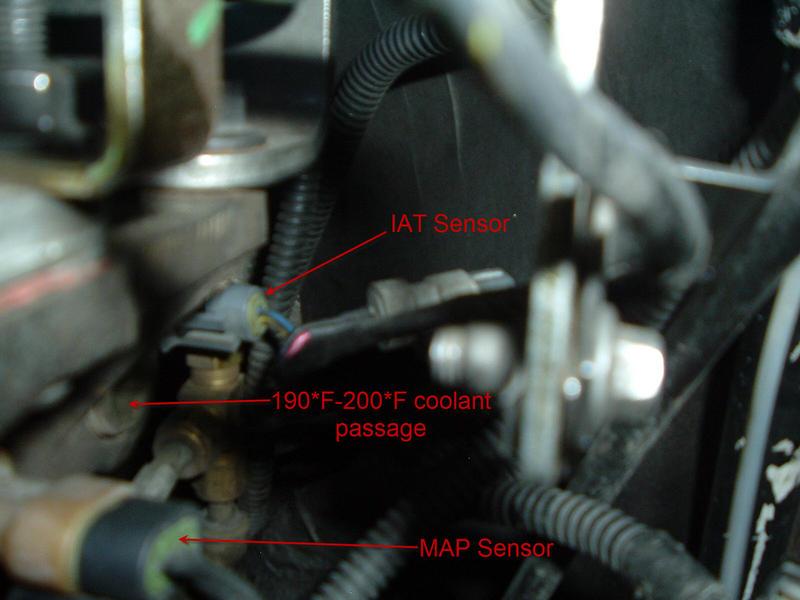
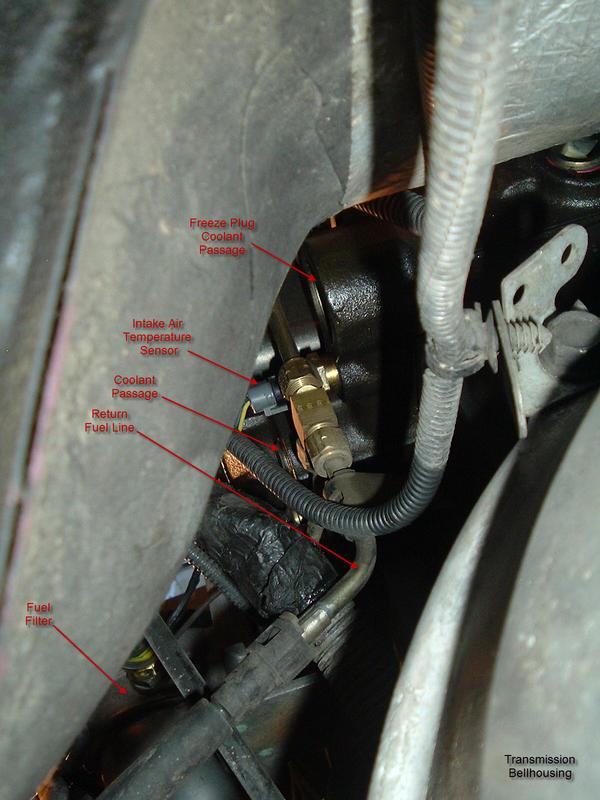
Now that possible... But from what little I can see from the bottom or cramming my head in from the drivers side it looked to be a standard coolant freeze plug and being there is a coolant passage just forward of the IAT I gather that would be too... I'll do some more digging on this...
-
Ultra Gauge
Yes you can send data to the ECM or PCM and get a response from the computer. Take a look at some of the other gauges... http://www.scangauge.com/support/pdfs/XGAUGE.pdf Coding manual... http://www.scangauge.com/support/pdfs/XGaugeCoding.pdf Then I just got the Chrysler Mode 6 pages for all the gasser vehicles from 96 to 09... Sad part is I'm still short the Cummins stuff yet...
-
Sooo, I stuck the camera on the trans crossmember..
I might have to give that a whirl... Dang you ISX you always give me a new challenge... Actually a request for mounting in up front some how and look at the front suspension on a 4WD...
-
12V IAT Readings
Yea the 1/2" pipe plug just forward of the IAT I pulled that first time for my boost gauge and got a green bath... Then learned the 3/4" pipe plug is the boost port which is forward of the MAP sensor.
-
12V IAT Readings
No it kind of hard to see cool temp reading when the IAT sensor is surronded by coolant passages... As for my air filter the filter minder isn't moving... Yes I tested it and it still works...
-
12V IAT Readings
I know this a is a 12V thread but I would like to share my findings too...
-
cummins california spec
Like all the previous Cummins models... 12V and 24V engines both were detuned with a bit retarded timing... Then some models had cat's, some models had EGR valves, then like read over some older threads I guess the cam is ground in such a way to hold a bit of exhaust gases.
-
electrical turn signals and brake lights
I do too.. But this pic was a snag and paste from another site...
-
cummins california spec
According to my book they are all the same... 5.9L (360") 6-Cyl. Turbo Diesel 24-Valve & High Output EFI AIH, TWC, CB, MIL, AIH-TS, CB-VC AIH Air Intake Heaters TWC Three-Way Catalytic Converter CB Crankcase Breather MIL Malfunction Indicator Light AIH-TS AIH Temperature Sensor CB-VC CB Vapor Canister I do know for the 2002 there is over 44 different ECM produced for my truck so its really possible the software is the biggest issue!
-
The Fly !
Right on! I'm going to stay on the ground though... I don't mind watching but I'm affraid of heights!
-
electrical turn signals and brake lights
If it separated brake and turns lights then you need a combine box for that... I had the same problem with my Honda Goldwing and trailer wiring... http://www.ontheball.com/taillight_convert.htm
-
12V Codes
Just to show ya... I'm using my Mom's 1996 as a test subject...
-
12V Codes
Ummm... That isn't valid... That appears to be J1850 (Network type) and VPW (Communication type) Little more info... http://www.elmelectronics.com/DSheets/ELM322DS.pdf You might try the key trick and count the flashes on the check engine light. All codes are double digit. So a typical end of list is a 55 code.. 5 flashes - short pause - 5 flashes - long pause... (Demo of what it looks like) As for power issues... Check the fuses... While your checking the fuses make sure you using a test light or DVM because I've seen fuses the haven't blown but have cracked. So cold it might work fine but after some load then it quits...
-
Air dog problems?
Mopar1973Man replied to little white yj 622's topic in 2nd Generation Dodge Reliability / PerformanceNothing new... Everytime I lauch hard from a dead stop at 3/8 or less I see the same thing... Needle valve isn't the cause... It might be the fact with the heat and slooshing of the fuel it might build a bit of pressure in the tank swelling the tank slightly. Then increasing the gap on the draw straw... Just a guess...
-
Ultra Gauge
Suppose to work with all OBDII vehicles... But being Dodge Cummins with twin computers make it rather tough on the SGII I'm sure there is the same limitations with Ultra Gauge... But 2 things I don't see UltaGuage having... 1. Being able to send data to the OBDII port 2. Being able to program your own gauge from the Mode 6 list.


