Everything posted by Mopar1973Man
-
2006 Dodge Ram - Installing injectors
-
2002 Dodge Ram 2500 - Things to do.
Very true when I was running with high boost and possibly dropped throttle too sudden and overwhelmed the injectors with compression gases.
-
need help! ECM??
Look in the articles for the voltage drop test in the general articles under electrical. You need to see if you have any bad cables between batteries and the alternator. Make sure where the alternator bolts to the block you have clean grounds. Look for electrical loads that are drawing hard on the system. You could pull a fuse and probe both contacts with a DVM on amps DC and you can total up all the circuits. Optimally you want it as low as possible.
-
2006 Dodge Ram - Installing injectors
We as in @Jthor and myself wanted TH0R for a plate but it was taken. This truck is going to be our shop truck. I'm going to put tool boxes down the bed sides. Load it up and get to work. Takes time, money, and lots of effort to get it together. I've already been talking to local shops and working trades. So if they don't want to deal with diesels hook me up. I'll in return send my gasser work.
-
Nv4500 getting harder to get into gear
Typically the seals could be reused if needed just inspect it closely for damage or rust on the metal tip.
-
Salt Lake City, Utah - Crime!
Bad part is @Wet Vette insurance does cover any items stolen from the car. I get to replace my camera on my own.
-
2002 Dodge Ram 2500 - Things to do.
Mine was caused when I pasted a friends house I pulled over a 1/4 mile past flipped around looked up and there was a semi bearing down I jump into the fuel. I knew I could out run him. When I got to the driveway just before the engine died. After repriming the injection system it started. Drove it home. Then went to Council, ID. When I got home I checked the oil level I was down 3 quarts (about a quart below add). Then noticed the oil weeping out of the front of the head down along the gear case. It still starts and runs but you can see oil pushing out the front of the head slightly. As for my tune yes its got high timing in the 3k band at 29.5 degrees. My wire tap is set for minimum at 1200us. Still in all I'm going to say the drive pressure most likely pushed the head up a bit and now weeping oil.
-
99 auto immediately after refreshed injectors stalls when placed in D or R
I don't rely on the tach on the cluster to report accurate RPM data. The needle is nothing more than a stepper motor. It will flick up and down depending on value. Should use a live data tool and get actual nAnother you can try is double check valve lash on the head. I've seen a few times wherumbers. Listening to the video of start up the batteries are weak and possibly a brush out on the starter starter is slow. Should spin much faster. Then the check gauge light and the voltage was low in the first video. Address this too, this is where the bad alternator diodes come from is the heavy load on the system and the batteries are weak.
-
Gen 3 track bar conversion
The only reason why I said what I did its really common out here that lift kits and tires are typically done together. Most assume just a 1 or 2 inch leveling kits is harmless and won't mess with the axle alignment which sadly is not true. Once you do any leveling ot lift kit in the front the thrust angle (track bar length is wrong) and then the lower control arm adjustment for caster cant get enough because of the axle pushed down caster is typically washed out why the huge amount of complaints about steering issues and wondering.
-
2006 Dodge Ram - Installing injectors
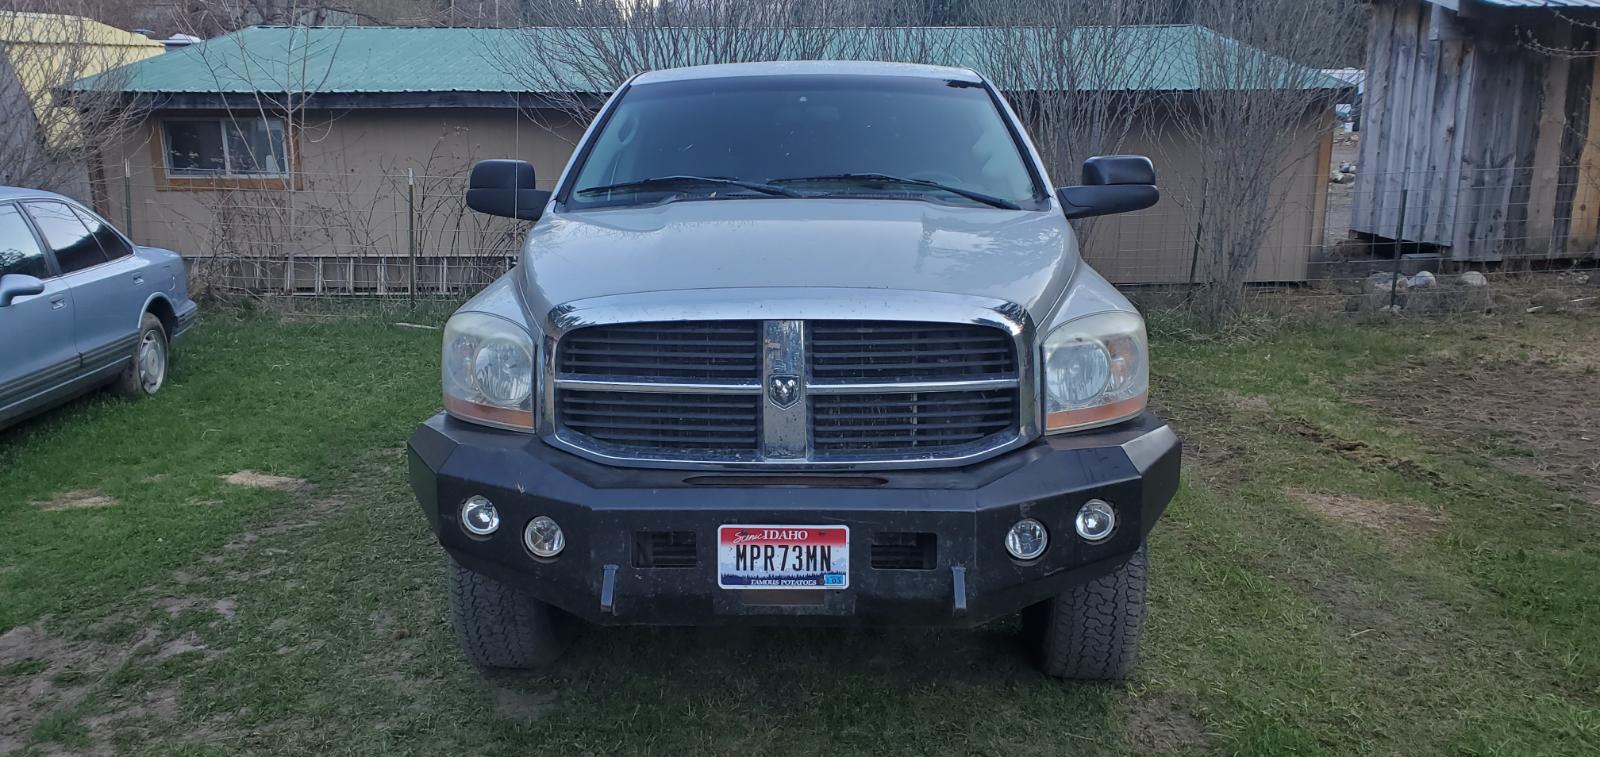
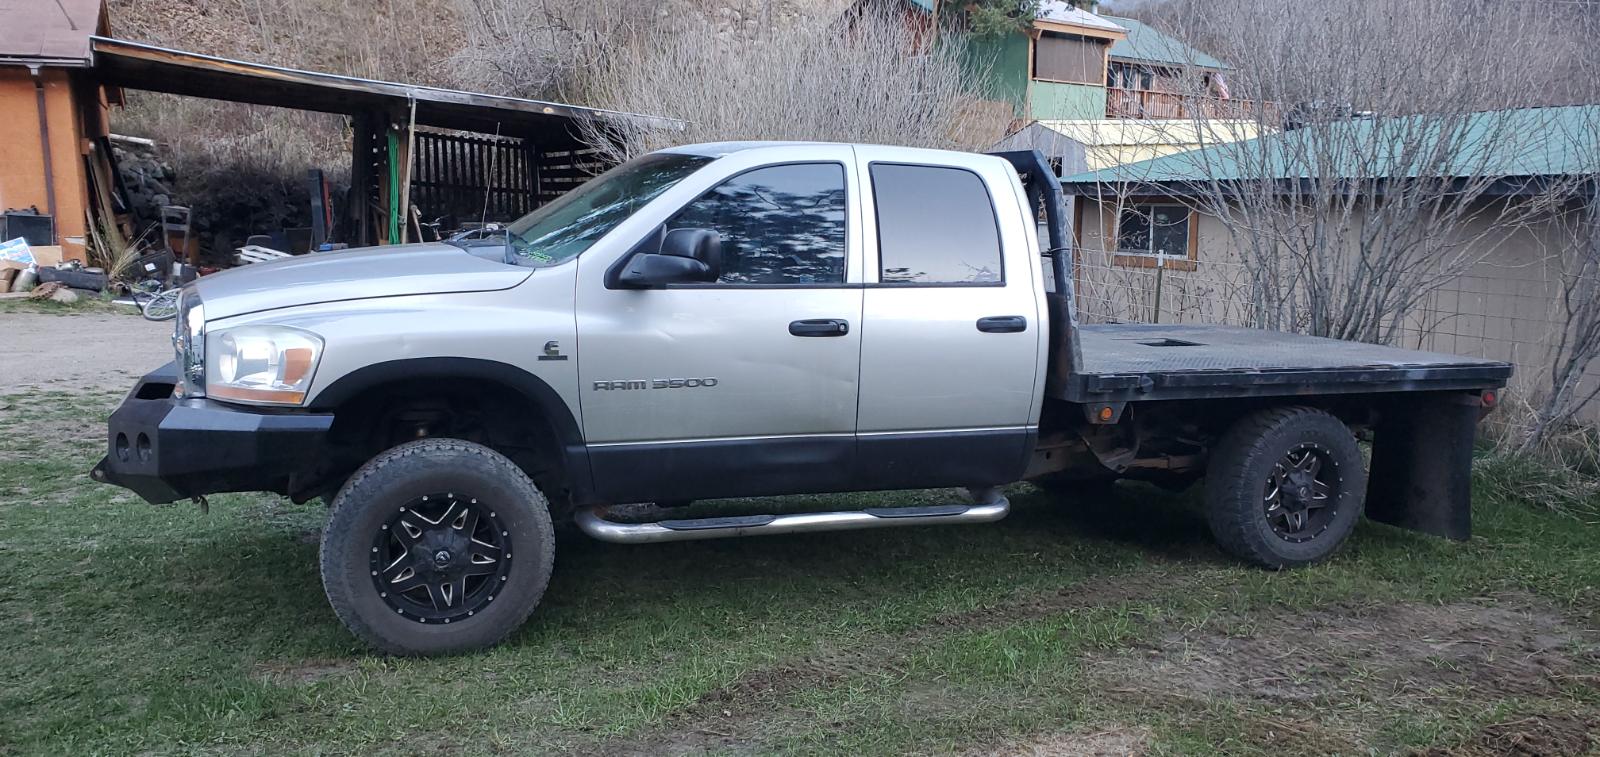
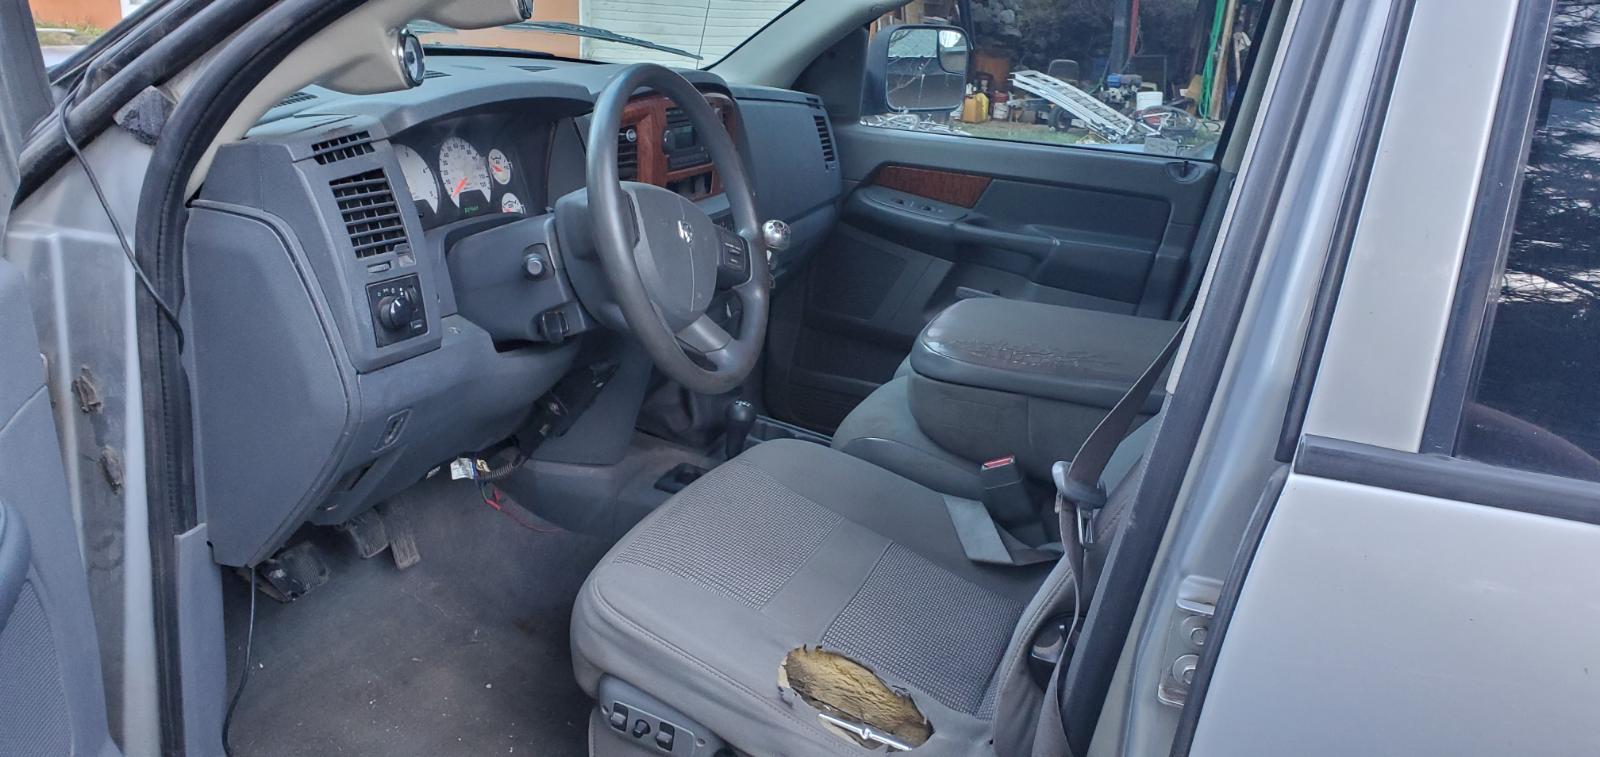
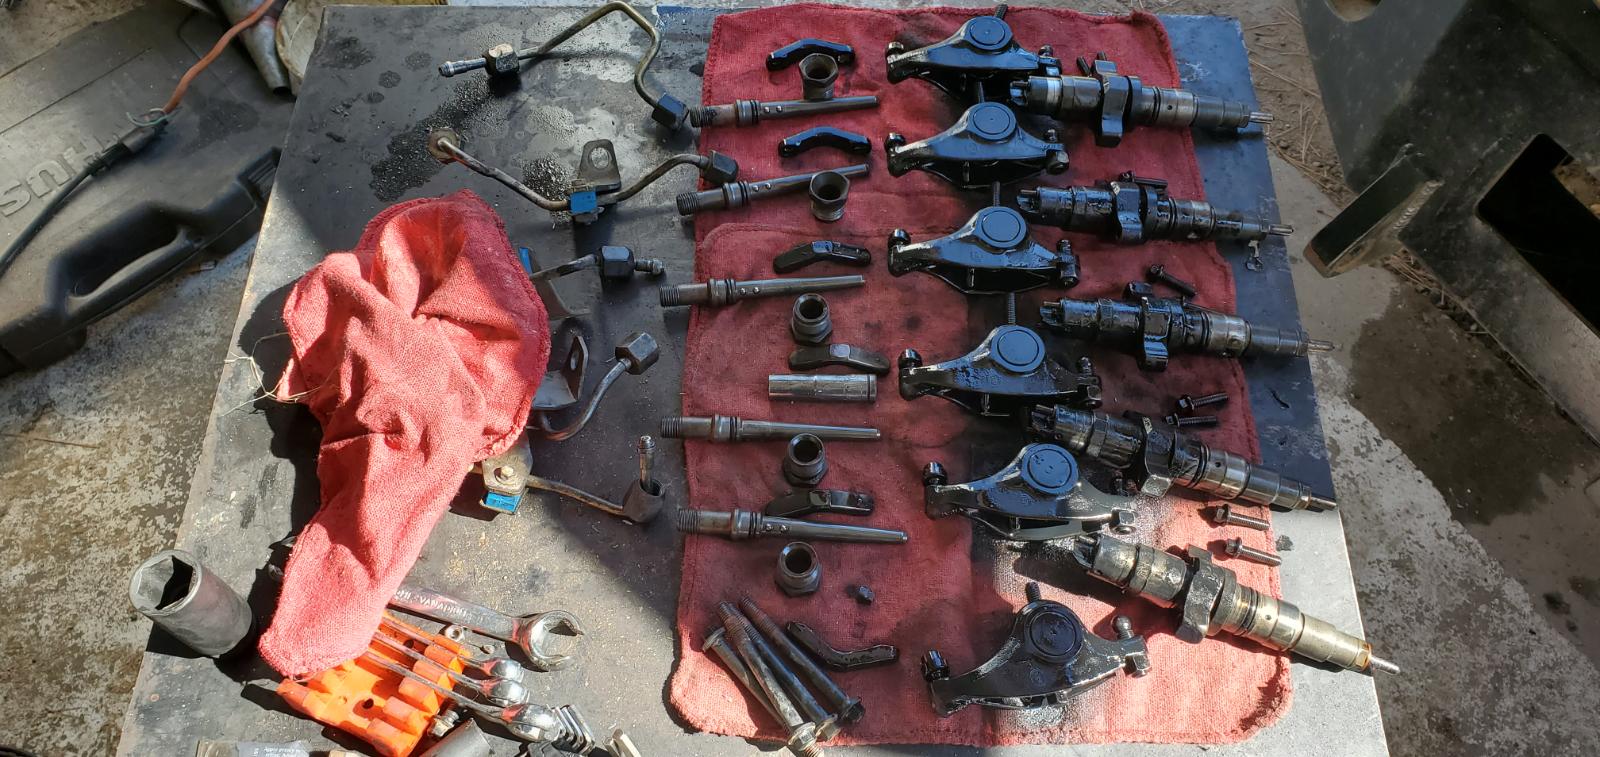
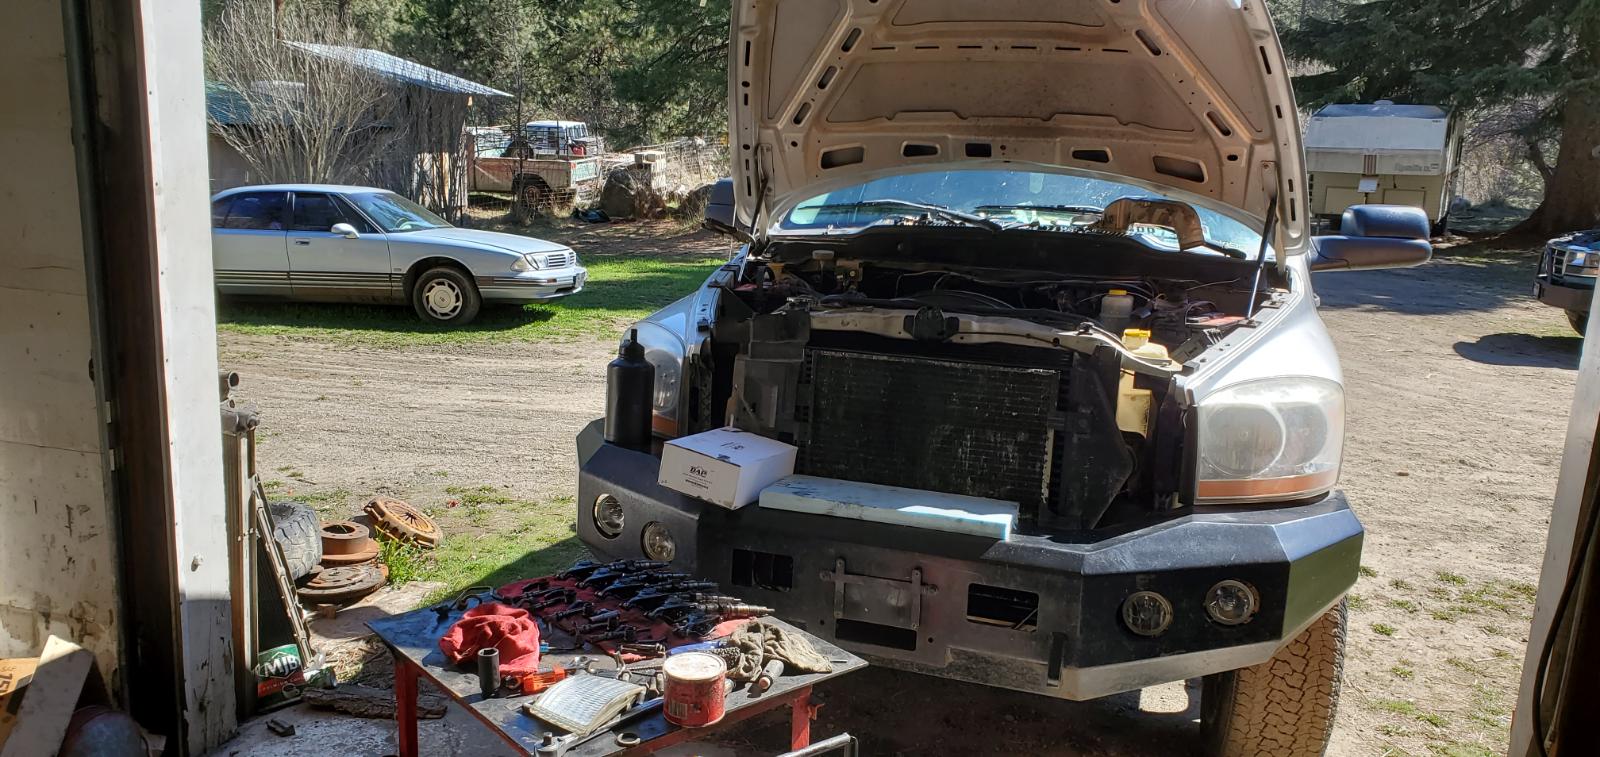
Well... I finally got back from DAP with the injectors and started the next day stuffing the +50 HP injectors in to the 2006 Dodge which has been named "Thor". I will say after getting all the work done and being able to drive it for the first time in nearly 3 YEARS. Yup the previous owner left it out in a field for over 2 years with a wiped out throw-out bearing. Now with the injectors and new clutch it runs pretty good. I still got a wastegate solenoid to get or fix. The best for last... I did custom license plates on the truck... MPR73MN
-
2002 Dodge Ram 2500 - Things to do.
Two man job. Just the pure weight of it and aligning on the dowel pins is rather tough. The only thing will take time is getting all the studs out and back in.
-
2002 Dodge Ram 2500 - Things to do.
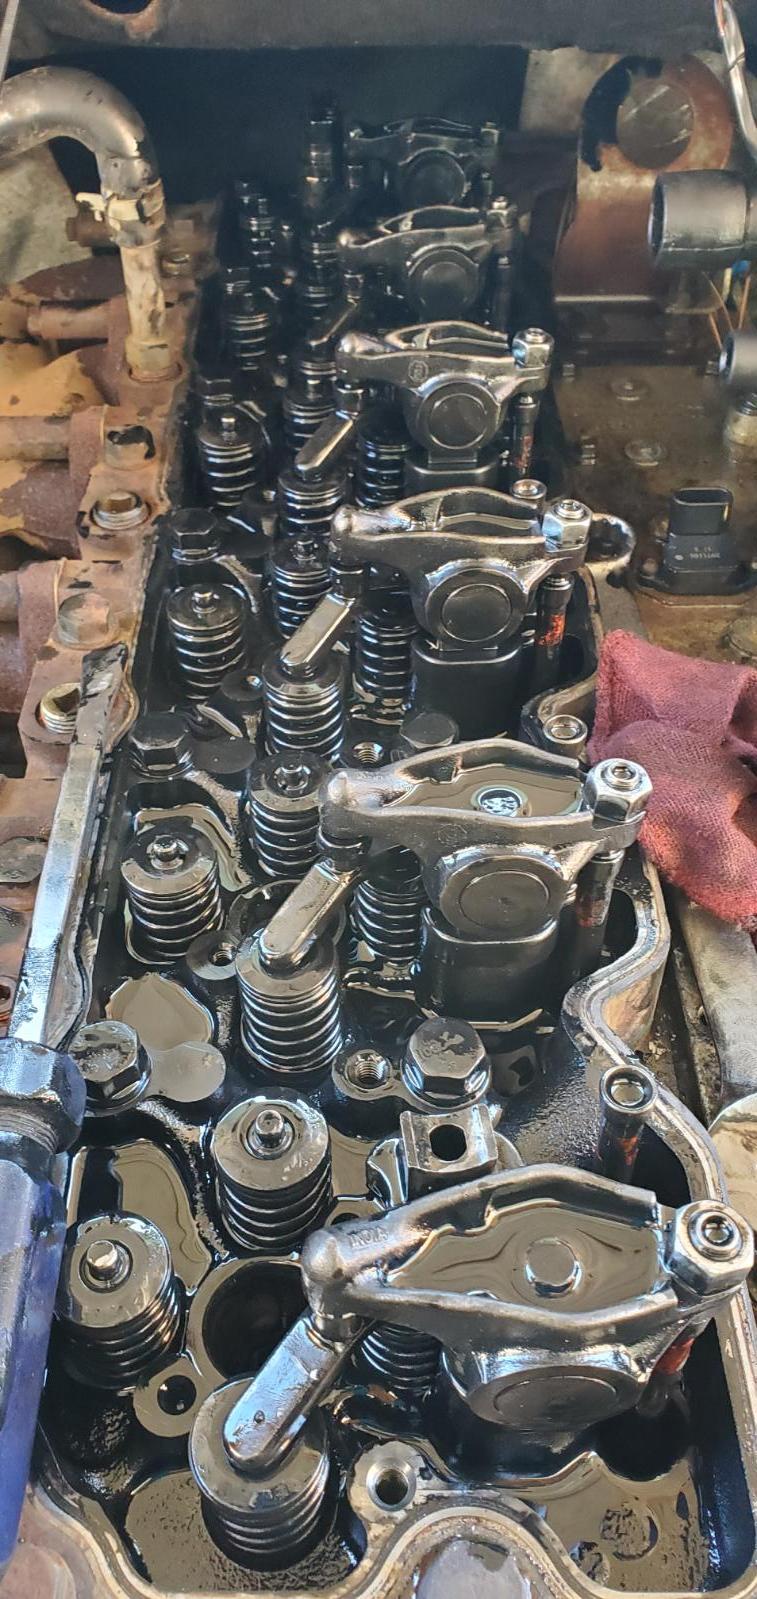
Might be high on the drive pressure. I know few mention this well it finally gave up. No biggie being ive done a few its not hard. Just a heavy SOB head to pull careful and place.
-
Mopar1973Man Meeting Diesel Auto Power
Both are Michael... @JAG1 Michael G. Then @Mopar1973Man Michael N. No goof but had to a bit of fun...
-
Mopar1973Man Meeting Diesel Auto Power
@dieselautopower
-
2002 Dodge Ram 2500 - Things to do.
Ok... My truck went to down after a hard run here locally. Trying to turn around on the highway and out run a semi-truck. Finally blown the head gasket. Not bad but it weeping oil out the front. Still starts and runs. Yes I know most like the smallish turbo (drive pressure) is my problem and need to upgrade. Right now with all that is going on my 2002 is going to remain down for some time and let me fix it right. I know I got to pull the head and get it inspected for sure then reinstall. I'll leave wire tap off till later when upgrade turbo can be had. Already had a nice chat with @dieselautopowerabout it. Like I'm just about got the 2006 Dodge up and running and will be installing the new +50 HP injectors in that today and changing the oil. I'll be back in function today for business. Next thing I need to find a full lock set for my truck the driver side door lock is so wore out even my factory orignal key (spare unused) will not open the door. I want to find a door lock set for both doors and the ignition lock as well as a set. After having @Wet Vette car broken into I'm going to be looking for a good alarm for my truck and kill switch to prevent it being stolen. Also gotta look for one for Eileen's car too. Want to pull the interior apart and power power the carpet out and reinstall. Looks awesome when its done because it looks like brand new again. I've bought new seat covers 3 months ago and never install them. Including new steering wheel cover. I want to fix all the weird quirky things in my truck that have been over looked. So I'll keep this post going on the stuff I'll be doing.
-
Mopar1973Man Meeting Diesel Auto Power
Yes sir... We are back home safe and sound by 9pm last night and unpack just enough to get to bed. Already up bright and early just mere 29*F degrees here Brrrr... Just like I left Salt Lake in a snow storm. Go back to Twin Falls and it got warm like 65*F yesterday actually had the A/C on. Yeah you got the spelling right... @Wet Vette is Eileen. My first job today is to install those injectors.
-
02 ram 3500 nv5600 pilot bushing
I've used both clutches supplied by DAP... Valair Dual disc (early version) in my 2002 Dodge. Now I've bought the Valiar Dual Disc Quiet towing clutch which is also awesome design and better than my 2002 clutch. Then before that I've bought the South Bend Con OFE through DAP. All came with seal ball bearings for the pilot shaft. Even the clutch I did in @Jthor 1995 7.3L Ford Powerstoke came with the old school needle bearing from NAPA. Previous flywheel the dual mass spring broke and the pilot bearing was fine just drying out on lube. The clutch still had some life yet but since the flywheel upgrade to a 13 inch so did the pressure plate and friction disc. All new there and butter smooth! Oh just a heads up 95 Ford F-350 manual transmission should have ATF in it. Surprise some got smart like me and ditched the ATF and put in quality GL-4 lube!
-
Gen 3 track bar conversion
This is where like oversized tires and leveling kits fall into... When any leveling kit it used it will steal the caster out as the axle is forced downward more. Typically a adjustable lower control arm is wanted. Then like track bars if there is a leveling kit installed then the thrust angle is typically wrong as it pulls the axle toward the passenger side. This is where you need a adjustable track bar. As long as you remain stock height and stock tire sizes then all stock parts can be used.
-
Salt Lake City, Utah - Crime!
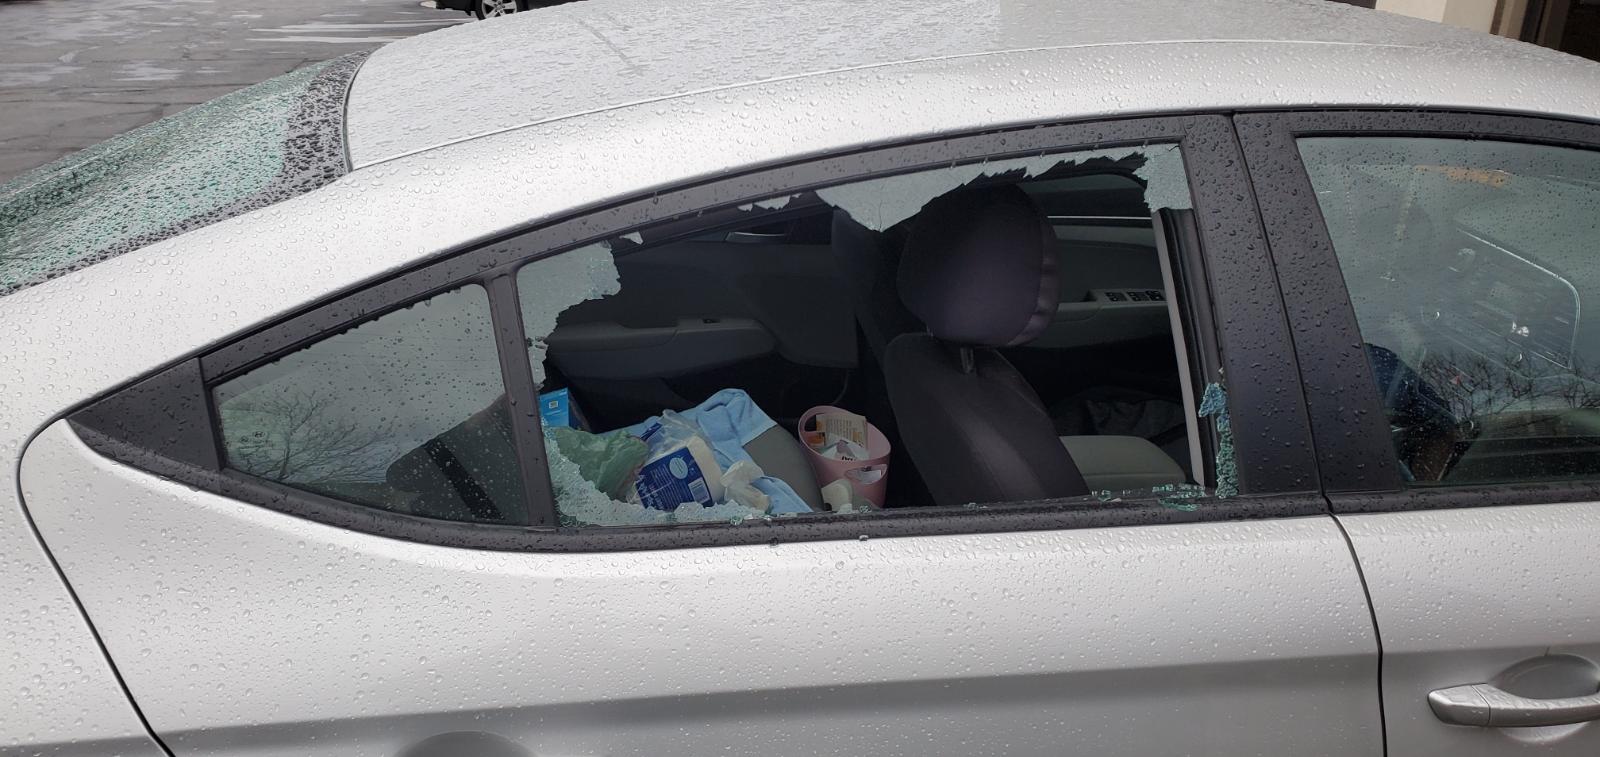
While I was there in Salt Lake City Utah @Wet Vettehad here car broken into and stole my camera. First off my fault for leaving in the car. The broke out the passenger rear glass and reached in and took the camera. The hotel we were at caught it all on camera and got a clean view of the persons face. Police report filed and taken care of. Working together with Eileen we manage to get the hotel to cover the broke window with tape. Then cleaned up most of the glass in the car and in the parking lot. Got a hold of the insurance company and got them to send us to the SafeLite Glass shop less than 2 minute walk away. By 11am we had the car fixed and head to DAP to go pick up my injectors. I'm sure glad I didn't have those injectors in the car too. It's not the broke glass or the fact my camera is gone the biggest thing is some one violated our space without permission. The camera can be replaced, so can the glass. Oh for all you that have vehicles with car alarms you may or may not know the alarms will not go off if you brake the glass and reach in. As in Eileens Hyundai the alarm was armed and never went off. No glass break sensor. So as long as the thief didn't open the door it stays quiet. After learning this we will always leave the cab of the vehicle EMPTY before going shopping or staying at motel anymore. The Hotel said it took less than 30 seconds he broke the glass and hauled with my camera. Again I know its my fault for being stupid and leaving in the car. Good fact is Eileen's insurance will NOT cover for the camera replacement.
-
99 auto immediately after refreshed injectors stalls when placed in D or R
Absolutely true. Do the W-T ground wire mod and do the PCM protection fuse and most of your problems will go away. Skip all the noise filter mods, tin foil the charge lead, etc. Yank all that stuff off and just do the W-T ground mod once done that problem is over for a lifetime.
-
Fixing my daily tune
Best to give you a flat level area after the defuel zone. On the fuel map figure out you common cruise pressure including climbing grades and highway travel. Old vs new with a cruise zone. 0-87 - 85 1-88 - 89 2-89 - 93 3-90 - 97 4-91 - 100 5-92 - 100 6-93 - 100 7-95 - 100 8-97 - 100 9-99 - 100 10-101 - 100 11-102 - 100 12-103 - 104 13-104 - 108 14-105 - 112 15-106 - 116 16-107 - 120 18-108 - 124 20-110 - 128 22-112 - 132 24-114 - 136 26-116 - 140 28-118 - 144 30-120 - 148 Now set the wire tap to start at 12 PSI and then it will ramp up with the CanBus and there is no smoke because the turbo is already spooled 12 PSI before dumping the boosted CANBus and the wiretap so it will get up and ...
-
Mopar1973Man Meeting Diesel Auto Power
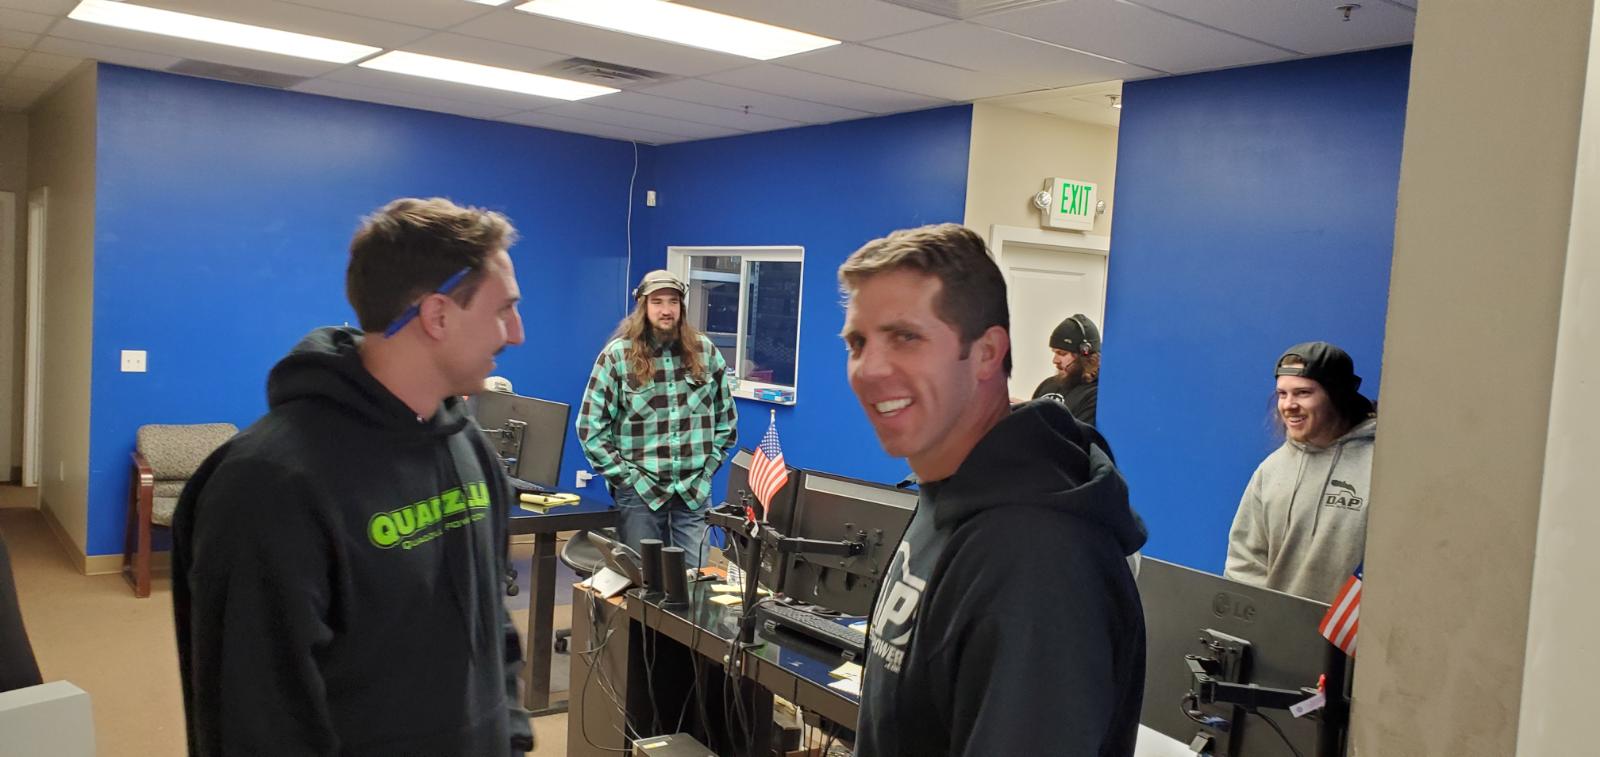
@dieselautopower @Quadzilla Power @Jthor I finally made the first step of meeting vendors for the first time. Happen that @Wet Vettewanted to catch up with her older daughter. Being I was only 30 miles from Layton UT I had to go meet Jacob Kidd in person. It only a 8 hour drive over to DAP from my home. Most would say this didn't happen unless there is photos right? Big shocker for most of you... Starting from the left, myself Mopar1973Man, Yup no more pony tail on me... Then Marco From Quadzilla and then to the right is Jacob Kidd. Just behind Jacob is Micthell all you can see him ducking and hiding. Other face to the far right I've already forgot the name. (shame on me) I still hard time keeping name and face right... Then under my arm is my new set of +50 HP injectors of my 2006 Dodge. @Wet Vette was trying get photos of the rest of the crew... Some were trying to hid from camera view but she managed to get them. But you looking at the call center area for DAP. I did get to go into the shop which I couldn't take any photos back there. I will say @dieselautopowerhas a awesome injector shop and crew back there. Jacob was showing me around how CR injectors are tested and scored. Some of the internal parts with in a injector. For a fair size shop they do handle all injectors in house for our Cummins trucks. Highly impressive injector shop. Then wondered out back to look in the warehouse. He's got other work stations out there for cleaning up cores and getting them inspected and ready for building again. Then wonder through rows of pallet racks full of new parts, some racks where full of cores (injectors and turbos). I'm really surprise even Jacob consider waste management for chemicals and cardboard. Most of his cardboard is ran through a shredder to turn it into a packing material for shipping again. Cleaning and testing fluids wise he's managed to keep waste to low levels too. Oh, yeah that friendly voice most of hear as we call DAP. Lexi (forgive me if the spelling is wrong) she right there to greet you as you come in the door. Really nice after all these years of calling and her asking what I needed then tell her its "Mopar1973Man" calling again. The crew here is super awesome all very dedicated to getting the job done and staying focused. All I can say is Diesel Auto Power is here to provide all the needed parts for our Cummins trucks... Even the Fords and Chevys too. Being I just bought @Jthor injectors through DAP for his 1995 Ford 7.3L diesel +50 HP injectors. Then just before leaving the exhaust brake came for a customer for a Duramax I've got to install. Give them a call they are here to help you... DIESEL AUTO POWER (801) 927-4600 QUADZILLA POWER (801) 872-5472
-
Fixing my daily tune
Lower pop pressure more ADVANCED the timing. Hence why I went to 320 bar making it slightly RETARDED which now you can stack more timing. Starting at 13 and going up by plus 5... 13, 17, 22, 27... Start there. The 13 degrees will give awesome spool up being you popped low you could start at 12 and work up.
-
Nv4500 getting harder to get into gear
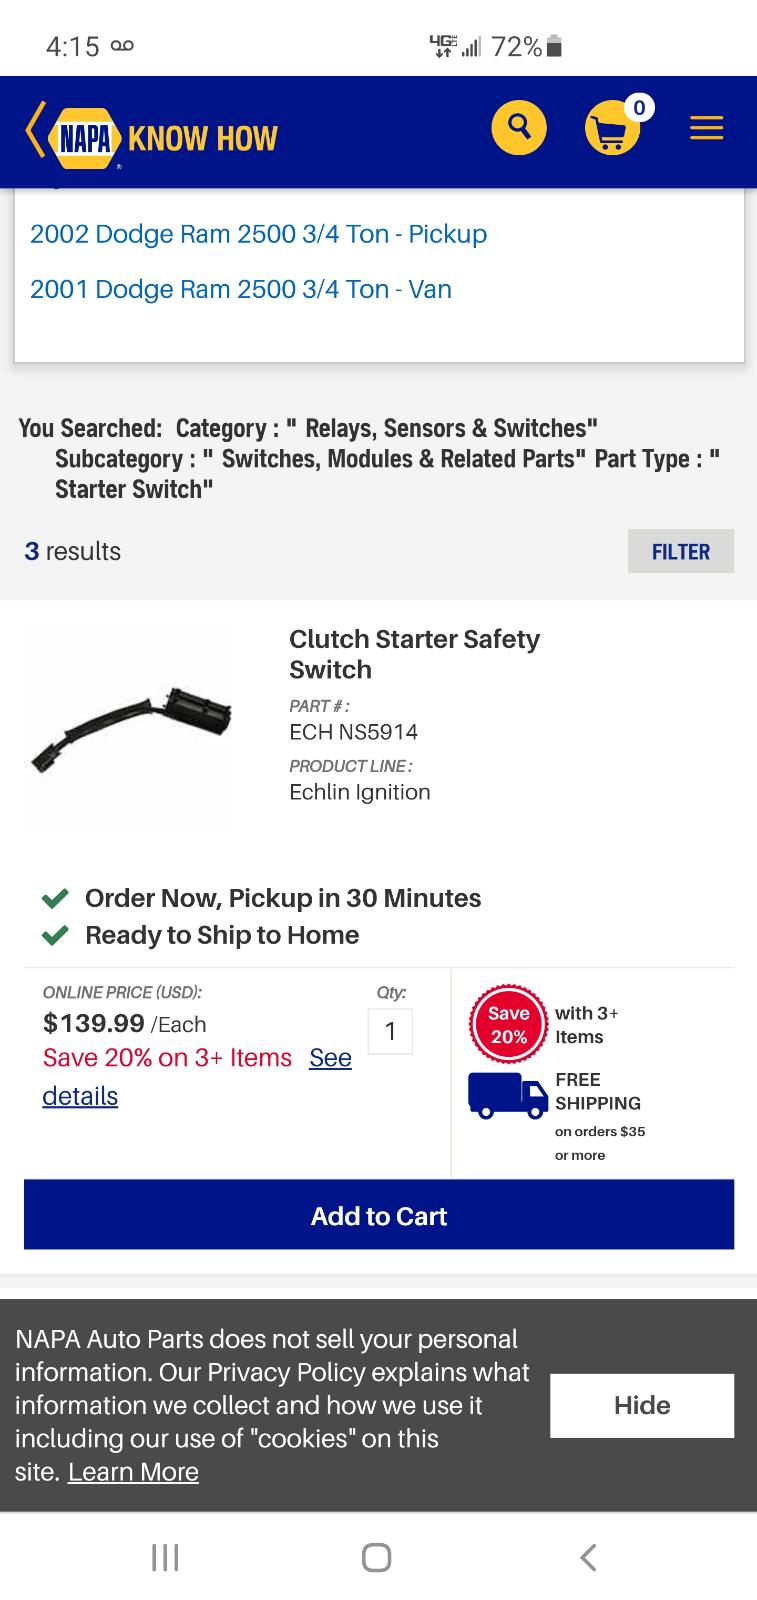
Pull it out and inspect. Mine I caught before the contact finally quit. Yup got a RockAuto switch after looking up a NAPA price. I was getting random hit miss starts.
-
Nv4500 getting harder to get into gear


