


Mopar1973Man
Owner
-
Joined
-
Last visited
Everything posted by Mopar1973Man
-
Unless it blows the entire top off ICP sensor like it done to my fire chief.
-
No. It's really is a bonus. 2 Cycle Oil is a cetane reducer and causes the fuel to burn slightly slower. Not with the sudden explosion but more like a slow constant push.
-
You need to pull one fuse at a time and measure the amperage draw one circuit at a time. When you find the circuit with the heavy load you can now isolate the problem. Make sure to remove any accessory connections to the battery directly.
-
Personally, I love working on 7.3L Ford's but hate the 6.0L that was a stupid design. Ugh!
-
Mopar1973Man replied to Tittle Diesel Performance's topic in 2nd Generation Dodge Reliability / PerformanceThat's the beauty of Quadzilla you are not limited to the screen size. It can be as big or small as you want to have. Edge Juice and Smarty Touch are both limited to there own screen design that's it. Personally, I love the idea of going headless... This way there is no tuner display. Then most people think the truck is totally stock. I've got the a-pillar gauges but that all. Small tires and no tuner on the dash. Thieves just would rather pass my truck up. Not worth it. Under the plain wrapper is a beast but no one will ever know it.
-
Take the truck to the north pole it will stay cool enough while you pushing Nos, propane, and shot of water/meth...
-
Mopar1973Man replied to Tittle Diesel Performance's topic in 2nd Generation Dodge Reliability / PerformanceYeah any bluetooth device with a screen. Tablet or cellphone. You can even use a Android stereo like some other people have.
-
Most likely the mirror motors are locked up or shorted. Or yeah it could be the switch is fubar too.
-
Mopar1973Man replied to Tittle Diesel Performance's topic in 2nd Generation Dodge Reliability / PerformanceProblem is Edge Juice, Edge Comp and Edge EZ are built around stock injectors the biggest you can go without huge smoke is a +50HP injector. I Ran Edge Comp for years and tried stock injectors, RV275 and +50HP whih the +50HP injectors where getting rather smokey and there wasn't a setting that would handle that smoke. Now if you drop the Edge product and switched over to Quadzilla you can set your lead in fuel at BELOW stock fuel levels which will remove that smoke. I'm running +75 HP injectors now and smoke free.
-
Propane will burn... Nice shot of propane will keep the lag down.
-
You getting the newest version. 4th generation. Mine is back from 2006. No. Still here in the states. I got my new head no questions asked.
-
Put it on a toggle switch. Toggle to charge the tank then toggle it off to run normally. Still can have air. Crazy idea I know.
-
Like I look at my ground in the driver side kick panel and left it alone. Good ground. Closed it right back up.
-
Ummm where is your cargo? Empty truck don't pay. Hmmm...
-
Joint connector 5 require for dash removal just to access that connector which is buried above the steering shaft bracket. C203 is right down at the master connector going back through the firewall.
-
Join the club...
-
I bet you could mount a air tank and tap into the boost pressure and use that for air horns. Yeah you need a check valve.
-
Time to change the air in your tires from Summer air to Winter air for optimal performance.
-
Now I've got to wait till the next time this happens. Weird part is that I've only check connectors and wiggled wires now I'm back to working again.
-
I just added a full 1° degree across my spectrum. Cruise timing for my rig is optimal at about 21°. I've tried backing down to 18° for cruise timing and dropped to 18 MPG. I know this is the wrong direction. What I've done is got away from the +3° spread between bands and went to +4° spread between bands and start out at 14° ado plus 4° up. I know my max is 27° after that I get bucking. The +4° spread works out awesome giving me a nice retard on the low end of the RPM's and then pulling up the power rather quickly so quick the tires get overwhelmed. This is good now I'm going to build around this. This means I've got a breakaway point for torque and can eat a differential kind of like someone I know. Now it time to go hunt for big tire 4th gens... Time to whip on the pup's..
-
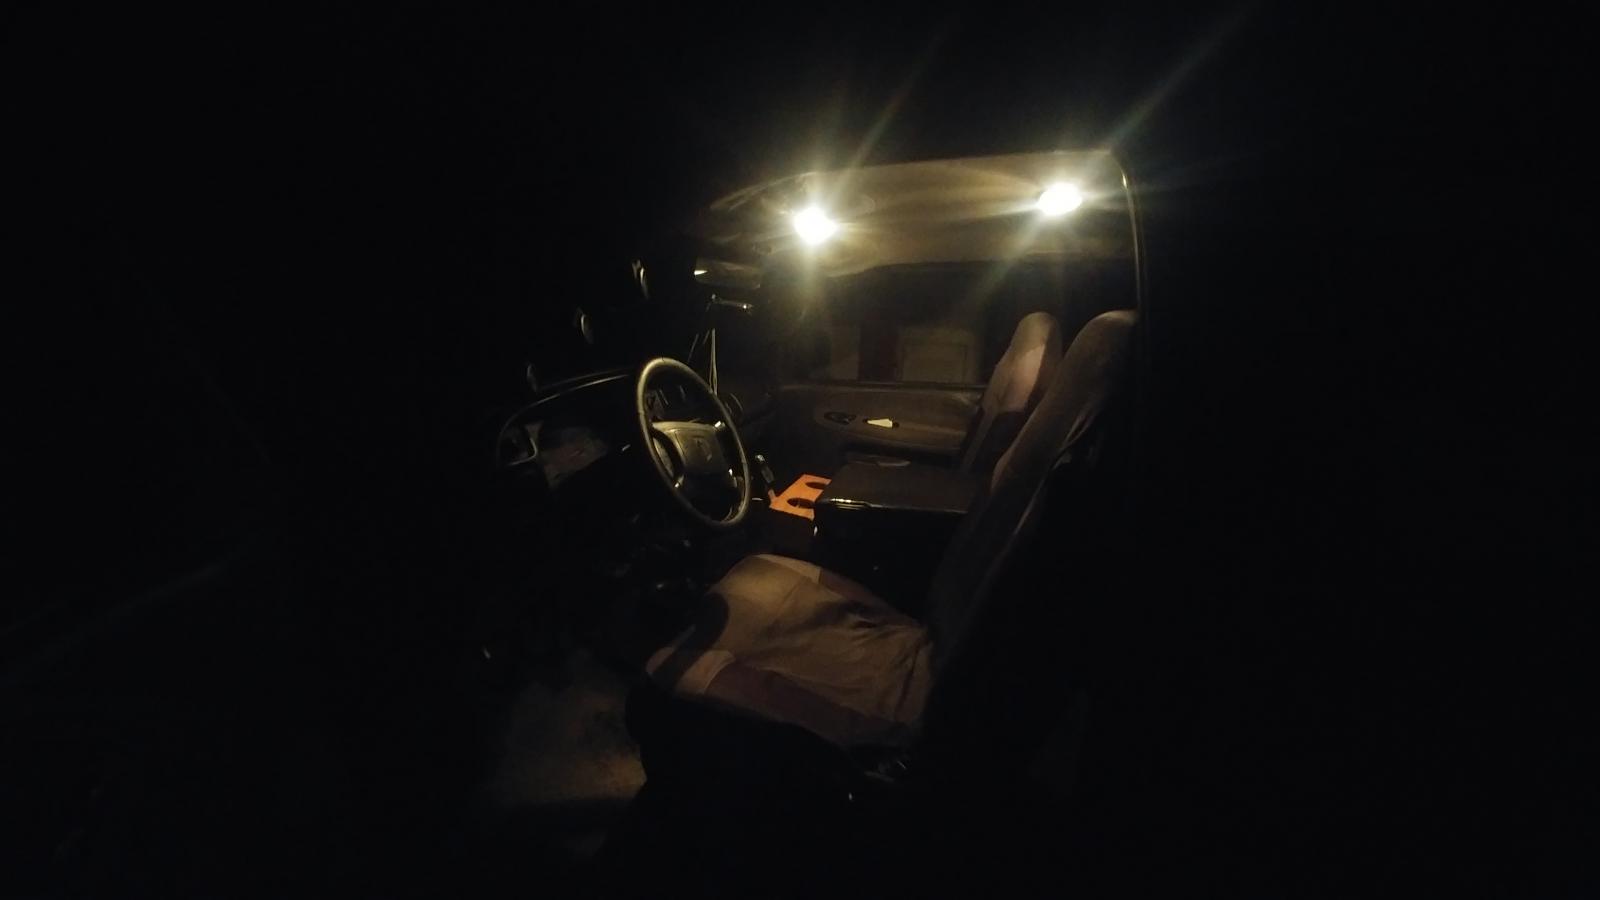
This is what my mornings are like just trying to pack up and get going. I've got to do the dark thing for 6 months now. This is the old school bulbs and we'll see what the new LED's look like.
-
The two exactly I'm looking for is the ground for the power mirror movement (not heat). Then I'm looking for the ground for the dome light. Could you post a picture of what you got? @Haggar Please?!
-
80 PSI that's a lot of boost pressure. Wow! Since I've done the head gasket on mine and the ARP studs I've been re-tuning and capable of spinning that HX35/40 up to 45 PSI as a small single. The funny part, that only with 1,200us of wiretap. Then the other problem is the 245's don't like it much being they tend to lose grip with the asphalt.
-
I've never done any of my grounds. The only ground that got attention was the W-T ground that's it. I've never clean any of mine. I do not want to scrub the paint off and have the metal start rusting which is worse than just leaving a "good ground" just being surface dirty.
-
Even when I've got to travel where I go there is no option for plugging the truck in but I've never had any problems with getting started on cold winter days. I might keep the truck in the garage but once I leave anyone guess on how long it will be parked and how cold it might get. This is why I don't depend on the block heater at all. If you do then your just going be like the Ford Powerstroke that have trouble starting at the first sign of cold.

