
Mopar1973Man
Owner
-
Joined
-
Last visited
Everything posted by Mopar1973Man
-
I do quite a bit of idling. Like all this last winter and this summer keeping from freezing to death or frying in the truck as I wait for MoparMom to complete her dialysis treatments. No I don't use the waiting room to hard to nap in sitting position when I can lay the seat back and nap in comfort of the truck. Not mention getting work done on the laptop or cellphone worn out background noise of people coming and going. A lot of people don't think about idle time or oil filter going into bypass mode hence why people get into trouble extending oil change intervals and not doing testing.
-
Here are some more photos off my big camera so far... IBMobile's wonderful 5th wheel RV. MoparMom (left) and IBMobile (rght) IBMobile Wife (Left), JAG1 (Center), MoparMom (Right)... Diesel (Down in front)...
-
Need to ditch all that noise filter junk return the electrical back to stock. Wiring map is here on the site. Should be fairly straight forward. Be aware there might be voltage regulator for the transmission and a resistor mod present. I know this makes it tough but half of all electrical issues are from poor modifications.
-
Check control arm bushings (4WD) a-arm bushings (2WD), ball joints, possibly track bar, brake caliper frame bolts... That should cover most common stuff.
-
At least a 8 hour drive to the coast... Hopefully my old SCUBA tank has enough air. Ill toss you out there to chase those little shrimp around....
-
Send it back for warranty. They will re-run the pump on the Bosch 815 test stand. That is the only way.
-
Still can't find any famous idaho potatoes here. Lots of onions and corn.
-
Should of came to the event... Could of worked on fixing my Quadzilla misfire.
-
JAG1 and IBMobile (and his wife) made it to the event. Had a wonderful time having dinner with them.


-
Ive got photos of the group having dinner at @IBMobile RV last night. Great night. With @JAG1, and @MoparMom. Ill post them later. Gotta get ready for the eclipse.
-
What you need to remember is not only driving miles how about idling hours? Remember also the oil filter will go into bypass. Just because oil can so it the filter might not.
-
Every 6 months...

-
Standard 7,500 miles is fine for 60 mile trips.
-
Dont see any potatoes here...


-
Most likely. No way will rocks in the bottom are going to do much good.
-
Fluid changes... Fluid changes... This why i dont buy the hype of synthetics and use cheap Super Tech fluids i can change often and keep every fresh fluid wise.
-
I asked my rebuiler about the torque value and thats why you need the tools for torquing the 5th gear nut. I would double check my number but im pretty sure thats what he told me.
-
Inline filter will do nothing for the suldge issue your still going to have to flush the system every 30k miles. That is majority of the issue tbe fluid breaks down and suldges up just like engine oil. No filter will fix that issue. Still running on monthly inspections and changing fluids when they discolor or mileage exceeded.
-
Not that I know of... Mine never leaked yet.
-
As long as the vehicle is making full engine temperature (190*F) for most of the travel then you're fine. But now if the engine isn't making full temperature every trip them shorter oil change will be required.
-
I wouldn't use it either... Like all my gasoline engine I run the fuel system dry and let it die out. Diesel as long as the vehicle is out of the weather you can leave it loaded with fuel with no issues. If being stored in the weather with extreme cold and heat I would be more after changing all fluids out including the fuel being that the tank breathes and it will draw in moisture. Just like the axles, transfer case, and transmission will.
-
No. None of the older vehicles are set up for E85 fuels not to mention you need to run special engine oil while using E85 or engine damage might occur. Just like using greater than B20 diesel requires different oil change intervals.
-
Take a hand full of gravel and toss it in the tank and shake it around. This should help remove some of the junk on the tank. The fuel is fine use it. I've got a 55 gallon drum full of fuel and it's like 7 years old I'll still use it.
-
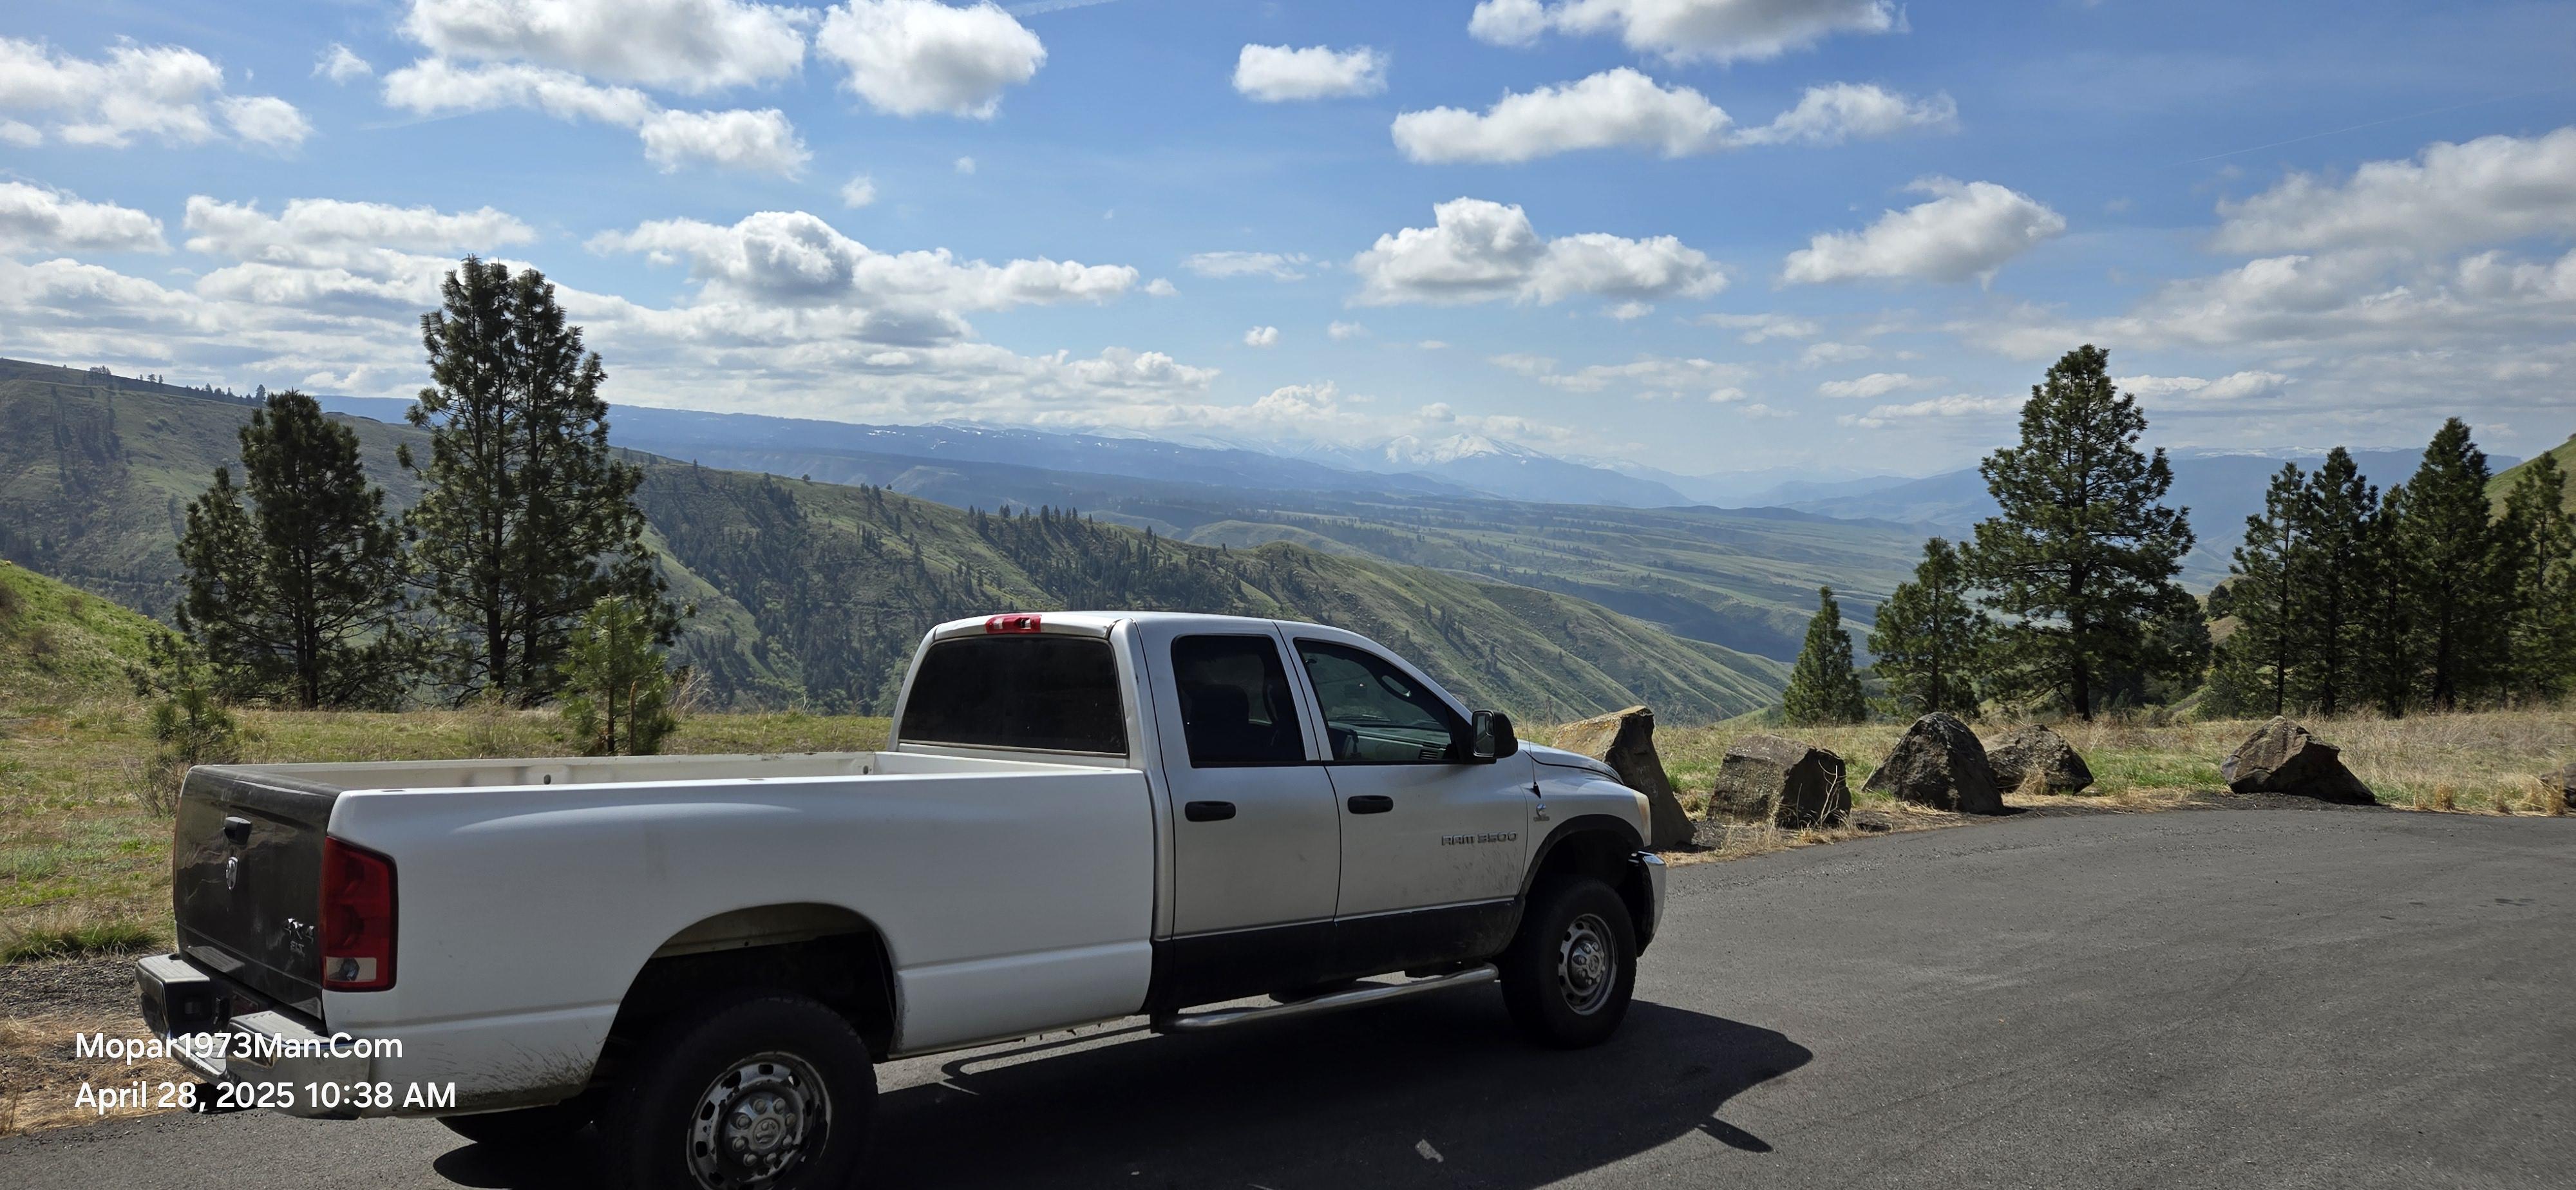
Unknown... Just looking for a picture and it happen to come for the ride...
-
CYLINDER COMPRESSION/LEAKAGE TESTS CYLINDER COMPRESSION PRESSURE The results of a cylinder compression pressure test can be utilized to diagnose several engine malfunctions. Ensure batteries are completely charged and the engine starter motor is in good operating condition. Otherwise, the indicated compression pressures may not be valid for diagnostic purposes. 1. Disconnect the fuel inlet line to the fuel filter housing. Plug the fuel line from the fuel tank. NOTE: Failure to plug fuel line will result in fuel leak. 2. Remove fuel transfer pump relay from PDC. 3. Start the engine and idle until the engine stalls (runs out of fuel). 4. Remove the cylinder head cover. (Refer to 9 - ENGINE/CYLINDER HEAD/CYLINDER HEAD COVER(S) - REMOVAL) 5. Remove the cylinder head cover carrier gasket. (Refer to 9 - ENGINE/CYLINDER HEAD/CYLINDER HEAD COVER(S) - REMOVAL} 6. Remove the high pressure fuel line between the cylinder head and fuel rail for the cylinder to be tested. Use tool 9864 to cap this fuel rail on the cylinder being tested. 7. Remove the fuel connector tube nut and fuel connector tube. 8. Remove the exhaust rocker lever. 9. Use Tool 9010 to remove the injector and copper sealing washer. 10. Install the exhaust rocker lever and torque to 36 N·m (27 ft. Ibs.). 11. Cover the remaining rocker levers with clean shop towels to prevent any oil splatter under the hood. 12. Place a rag over the compression test tool fitting. Crank the engine for 2-3 seconds to purge any fuel that may have drained into the cylinder when the injector was removed. 13. Connect the compression test gauge. 14. Crank the engine for 5 seconds and record the pressure reading. Repeat this step three times and calculate the average of the three readings. NOTE: The minimum cylinder pressure is 350 psi. Cylinder pressure should be within 20% from cylinder to cylinder. 15. Combustion pressure leakage can be checked if cylinder pressure is below the specification. Perform the leakage test procedure on each cylinder according to the tester manufacturer instructions. 16. Upon completion of the test check and erase any engine related fault codes. CYLINDER COMBUSTION PRESSURE LEAKAGE The combustion pressure leakage test provides an accurate means for determining engine condition. Combustion pressure leakage testing will detect: • Exhaust and intake valve leaks (improper seating). • Leaks between adjacent cylinders or into water jacket. • Any causes for combustion/compression pressure loss 1. Start and operate the engine until it attains normal operating temperature. 2. Disconnect injector harness connectors. 3. Disconnect CCV tube and breather drain tube from valve cover. 4.Remove the cylinder head cover. (Refer to 9 - ENGINE/CYLINDER HEAD/CYLINDER HEAD COVER(S) - REMOVAL) 5.Disconnect harness from injectors. 6.Remove the cylinder head cover carrier gasket. (Refer to 9 - ENGINE/CYLINDER HEAD/CYLINDER HEAD COVER(S) - REMOVAL) 7. Bring the cylinder to be tested to TDC. 8. Remove the high pressure fuel line between the cylinder head and the fuel rail for the cylinder to be tested. 9. Install capping Tool 9864 onto the rail. 10. Remove the high pressure connector nut and high pressure connector with Tool 9015. 11. Remove the exhaust and intake rocker lever. 12. Use Tool # 9010 to remove the injector and copper sealing washer. 13. Install compression test Tool # 9007 into the' injector bore. 14. Connect the leakage tester and perform the leakage test procedure on each cylinder according to the tester manufacturer's instructions. 15. Upon completion of the test check and erase any engine related fault codes.