Tractorman
Yearly Subscription
-
Joined
-
Last visited
Everything posted by Tractorman
-
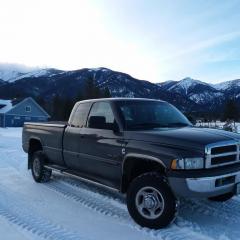
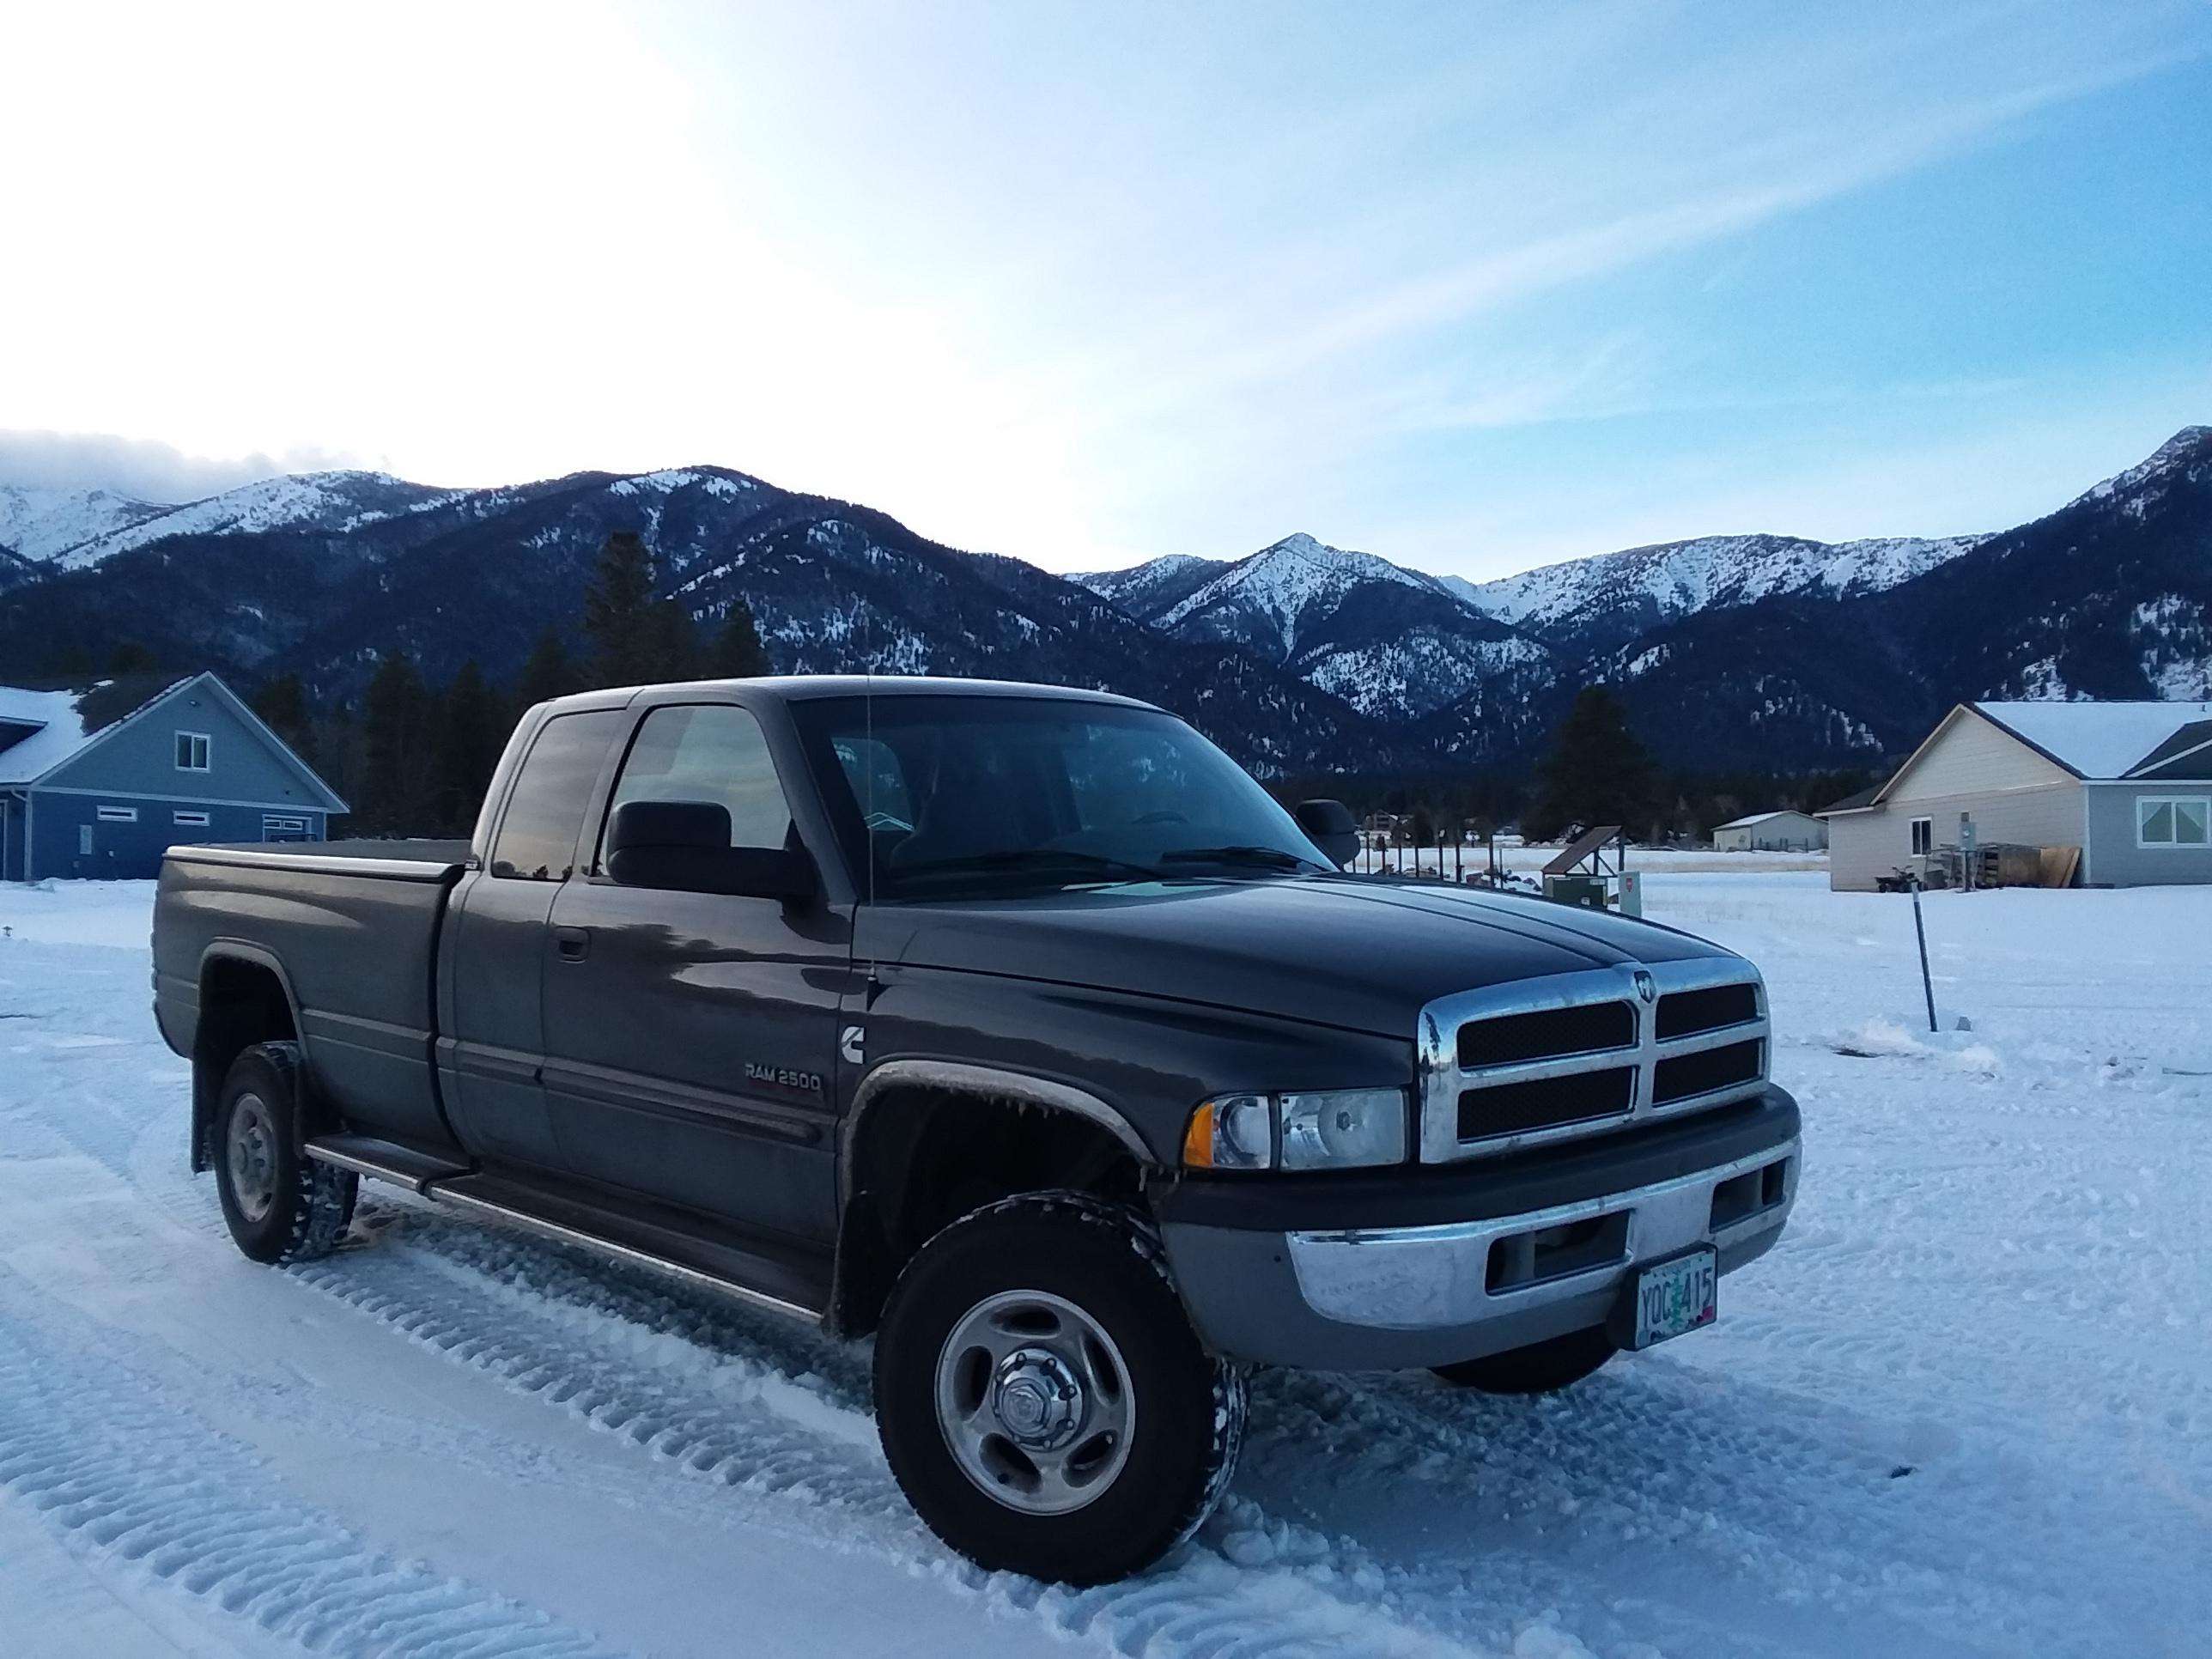
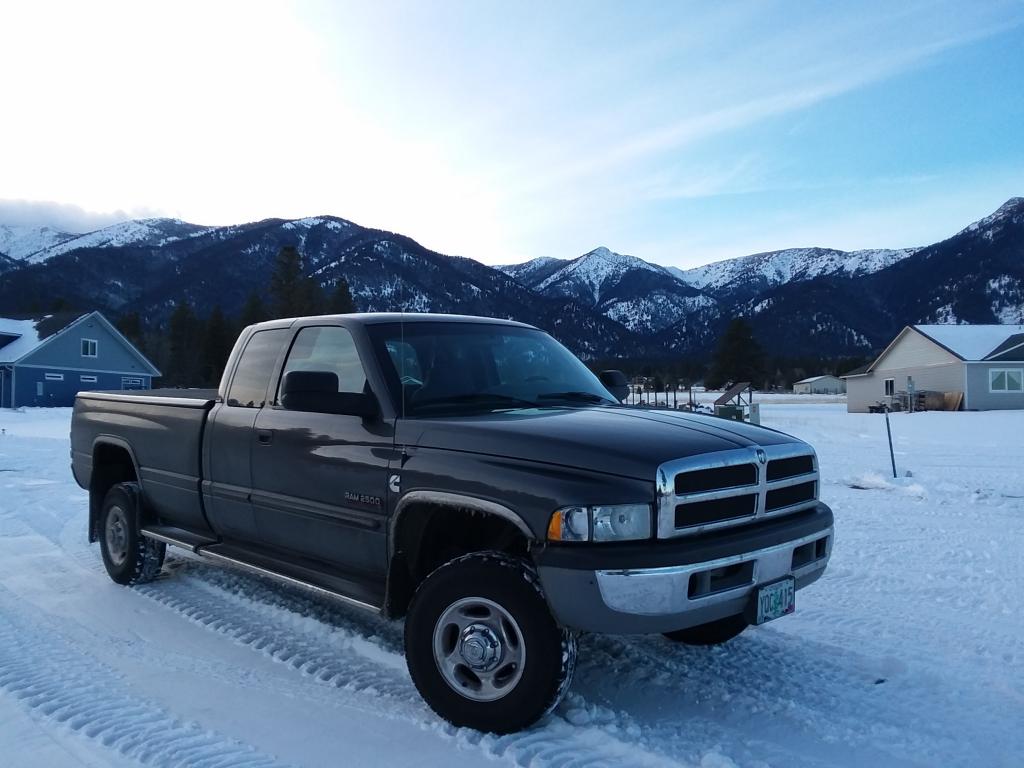
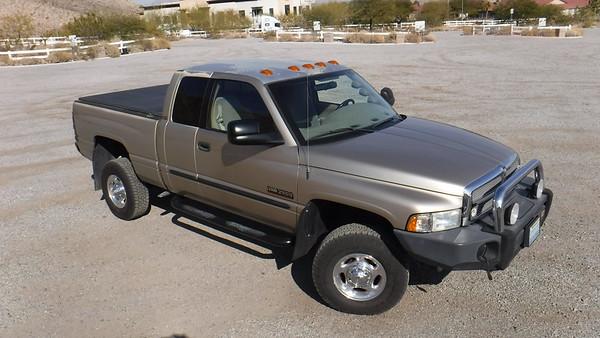
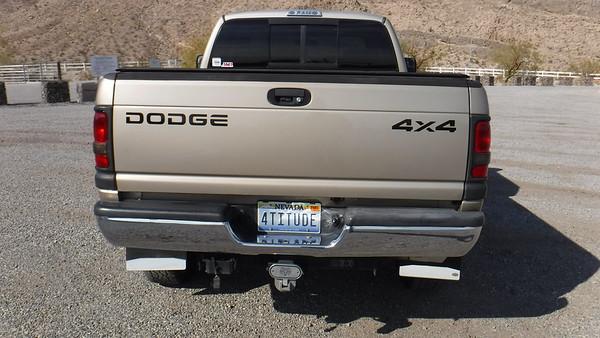
Here's the description in case you didn't open the document. The guy lives in Las Vegas. - John $17,500 as delivered 2002 Dodge Ram 2500 HO purchaced new 12/15/2001 Quad Cab 139" wheel base VIN# 3B7KF23C92M224456 High Output motor (ETH) NV 5600 manual transmission (DEE) factory towing package - class IV receiver hitch exterior - almond light metalic pearlcoat, interior - camel/tan cloth condition 137350 miles as of Nov/03/2018 Complete mileage, service, alteration records, factory service manual no rust, no dents, paint is sun worn engine and drivetrain Southbend ConOFe Clutch BD Short Shifter Bob V's Deluxe 2-Wheel Low Kit Exhaust Brake (Jacobs) - switch on shifter 4" Magnaflow Exhaust F1 Mach 1.6 85HP injectors (stock HO injectors included) Fuel Preporator - Air Dog ISSPRO pillar-mounts gauges - fuel pressure, boost, exhaust temp Amsoil oil bypass kit new Blue Chip Diesel VP44 - premium pump x17 (5/5/2018) silicon air and water hoses new (reman) ECU (8/17/2018) new clutch hydraulics (master/slave cylinders, reservior, and lines) (11/3/2018) relocated crank case breather steering and handling Tires - (5) Goodyear Wrangler Trail Runner LT265/75R16E (3/10/2017) lower ball joints replaced (04/12/2017) replaced headliner and visors in 2016 Borgeson steering box Borgeson steering shaft Rock Solid Steering Bushing replaced tie rods and drag link with T-style heavy duty and steering dampner G3 trackbar kt (DSS) DSS (Darin's Steering Stabilizer) Maxx Link heavy duty swaybar links front & rear Bilstein Shocks accessories 50-gal in-bed TransferFlow Fuel tank w/TRAXII controller ARB Sahara Bull Bar IPF lights with "high-beam" floor switch and indicator light on pillar Viair Air compressor and tank with in-cab gauge and pressure switch Air horns (22 & 24-inch) - switch on shifter Mag-Hytec rear diff cover Jordan Brake Controller Painless Wiring Kits #70207 (2) (all electrical accessories are fused & relayed) Smittybuilt Wheel-to-Wheel step bars (with spare step pads) drivers side bed step, front and rear bumper steps Noise Reduction - triple sprayed cab and hood Alpha-Liner bed lining Swing-away storage box in bed tailgate pop-a-lock Truxedo tonneau cover Mud Flaps 2 under-seat locking boxes Dashmat dash cover (since new) extras MAD's Smarty ECM is currently stock and the MADs unit should not be VIN-locked 5th-wheel tail gate, Handy, steel, black (not installed) BHAF Heat Shield (not installed) BHAF - Fleetguard AH19037 (not installed)
-
This one was just posted in the TDR a few days ago. It was very tempting to purchase. The guy wants $17,500 - one owner, 137,350 miles as of Nov/03/2018 - John 11-17-2018 2002 Dodge Cummins.docx
-
Good job selecting the circuits to test. You were very detail oriented in performing the above tests; however, the test results have no value. You need to know how much current each circuit is drawing. This is the test that you want to perform. Many of the circuits that you tested have parasitic draws which are normal due to some electronic components needing to have power to them at all times for memory. These circuits should stabilize and go into sleep mode a few minutes after the truck is shut down. The maximum current at that point for all combined circuits should be very low - 35 milliamps (.035 amps) for my truck according to FSM. Most likely you will have something drawing at least 500 milliamps or more in one of the circuits. You will need a test light and multi-meter. Your multi-meter should have a 10 amp setting for doing a current draw test. You will want to disable anything on your truck that could draw excessive or unwanted amperage - for example be sure to disable the driver's door switch so you won't activate the interior light circuit when you open the door. * Remove all the fuses that you did in your first test. * Disconnect ground cables from both batteries. * Temporarily secure one end of the test light to the negative battery post and the other end to the ground cable. You can use either battery location. The test light should not illuminate or if it does, it should be very dim. If it is bright, keep pulling fuses or eliminate the source of the electrical load until the light goes out or gets very dim. * Set your multi-meter to the proper setting and connect the multi-meter in the same manner as test light, but with the positive lead on the negative battery cable. Remove one end of test light to force any current to flow through the multi-meter. Observe the multi-meter display. It should read zero or very near zero milliamps. * Reconnect test light and disconnect the multi-meter. Insert one of the removed fuses. Observe that the test light remains unlit or very dim. Repeat above test with multi-meter. Continue testing until all remaining fuses are installed. Record the findings in milliamps of each individual test and add them all up. The total should be less than 35 milliamps. In reality if the total is less than 50 milliamps there should not be a problem. 50 milliamps is only 1/20th of an amp. Be sure the test light is always connected and the multi-meter is disconnected as described when you install a fuse. This will avoid a surge of current (such as charging a capacitor) to pass through the multi-meter. You will have to be careful with the multi-meter during testing as it is very easy to blow the internal 10 amp fuse. I wish you luck, - John
-
Interesting. I am running stock injectors (for 303,000 miles), no two stroke oil (but 5% bio-diesel mandated in Oregon), and a Smarty SO3 on SW# 5 as well. I am just getting ready to install new RV275 injectors and I am very curious as to how well they will perform. I hope to do as well as your setup. - John
-
I wait until it snows to do my burnouts. That way I can make my truck last longer. - John
-
I just did a round trip from Salem, OR to Medford, OR and back (500 miles) with the 245's to pick up an excavator bucket. No mpg reduction - 20.2 mpg at 65 - 73 mph. Got slowed to 45 mph up steep grades a couple of times in southern Oregon - stayed in 6th gear and accelerated quickly back up to 65 mph. I'll never go back to the 265's. - John
-
I have 73,000 miles on four Bilstein 4600 shocks and they are still working vey well today. - John
-
If the operator shifts the transmission into neutral and takes his foot off of the clutch pedal (as he should) when he brings the truck to a stop, then the transmission input shaft and all the gears and bearings on the counter shaft would still be turning, albeit everything would be turning at a much slower speed and there would be no load on the gears and bearings. However, there still would be plenty of splashing going on so I would think that the oil level would be quite a bit lower than it would be if the engine was shut down. Since friction from loaded bearings and gears would generate heat, it stands to reason that heat would be conducted to the oil as the oil flows around the bearings and gears. So it seems to me that you would want that sensor immersed in the oil that is returning and collecting in the lower part of the transmission. I think it would be worth some trial runs with the sensor in different locations. Just my two cents. I agree. For example, if you had been pulling a load at highway speeds for awhile and then you decided to stop and get some fuel, by the time you arrived at the service station, the transmission would have cooled considerably because of the greatly reduced load. - John
-
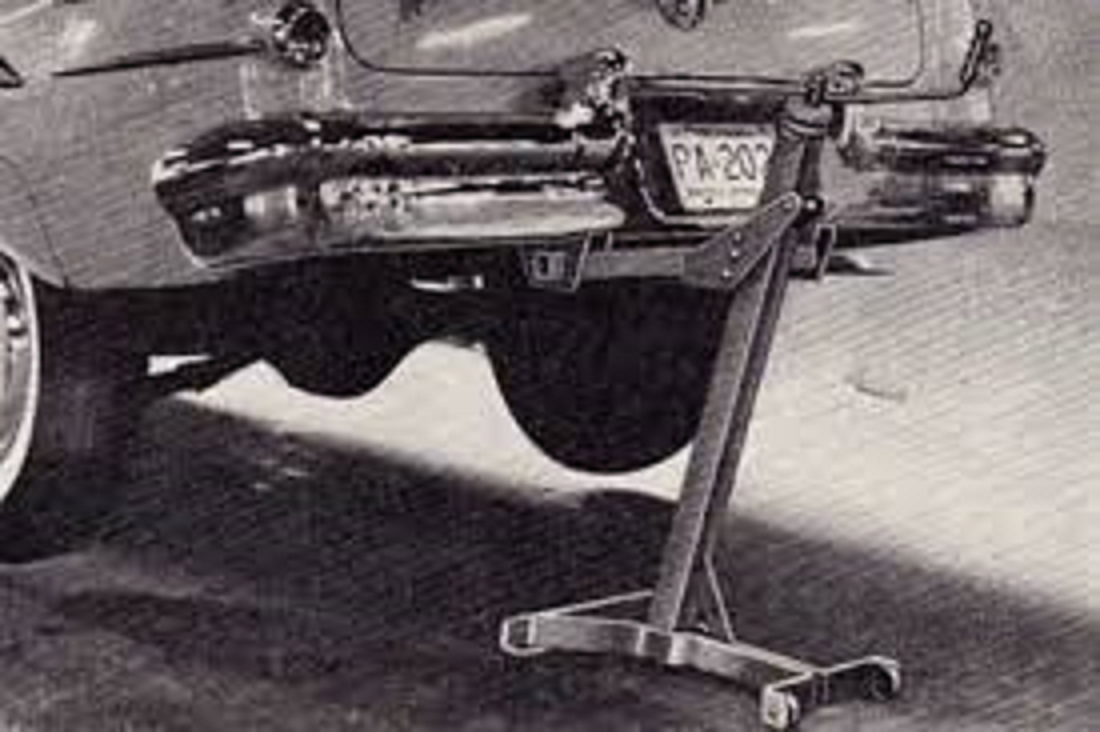
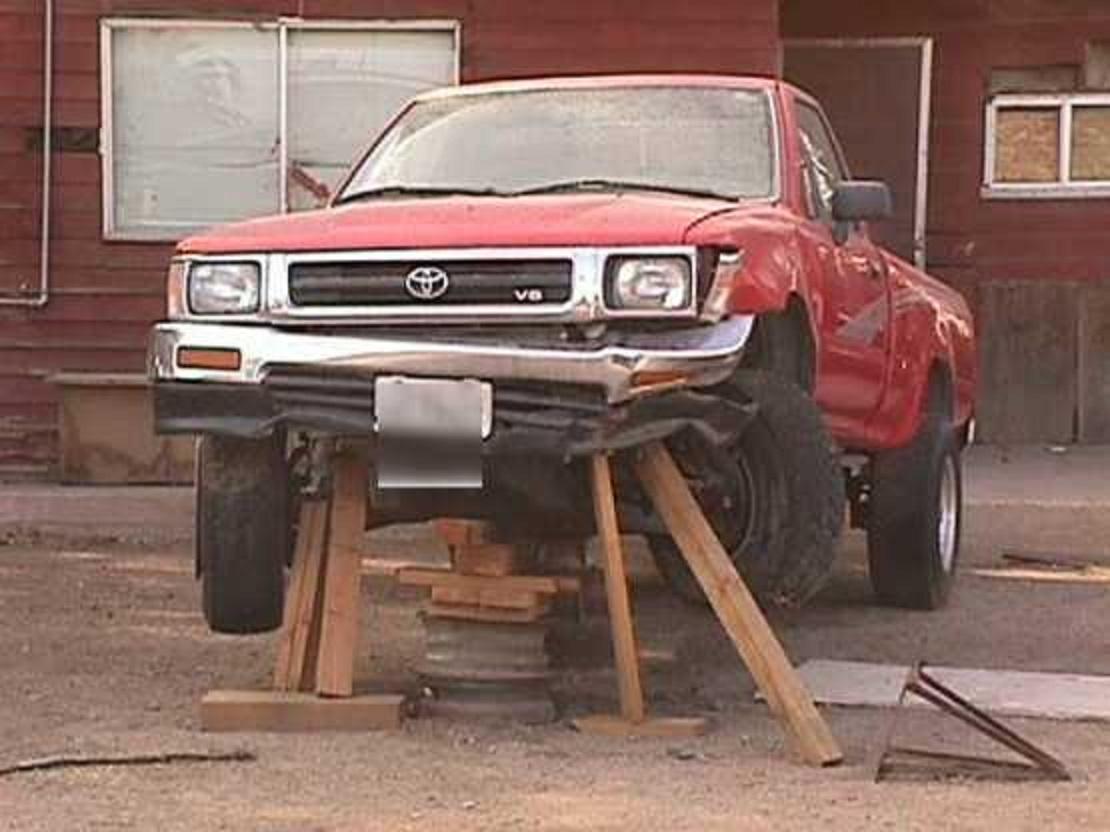
The new jacks are junk. I use old jacks because they are cheap and safer. It will mess up your grill the first time you use it, but it only happens once. They just don't make cars and trucks like they use to. What is more important is safe blocking. Jack stands are junk. Wood is cheaper. - John
-
Sometimes, when the transmission input shaft comes to a stop, two teeth are lined up and contacting each other head on making it hard to shift into gear - that is normal. If a pilot bearing is dragging, it will be hard to get into gear every time. Double clutching allows you to use the throttle to control engine rpm's while passing through neutral to better match engine speed to road speed, as well. Good to hear that the clutch and transmission are working okay. - John
-
So lots of new parts went into the transmission. You didn't specifically answer my question regarding shifting into gear from neutral at idle. Assuming that it shifts into gear easily and the only problem you really have is difficulty in shifting, try driving it for awhile in the manner I suggested in my earlier post. You may find the transmission gets easier to shift as the miles roll by. - John
-
What bushing are you referring to? With the engine at idle (cold or warm) with clutch engaged in neutral (foot off pedal), can you depress the clutch pedal, pause for a couple of seconds, and then easily select a gear from neutral repeatedly? If the answer is yes, then the pilot bearing is not likely causing any problems. A rebuilt transmission can feel notchy for awhile depending on how involved the rebuild was. A notchy shifter combined with a dual disc clutch will affect your shift timing, especially when upshifting. The transmission synchro is not designed to handle mismatched road to engine speed during a shift with the added weight of a dual disc clutch setup, hence "you kinda feel the teeth in third sometimes". If you decide to drive the truck as is for awhile, be deliberate in your shifting method and match engine speed to road speed for the selected gear when upshifting or downshifting. - John
-
It might be worth the time to inspect the new thermostat without removing it. If that rubber has separated, then coolant would be bypassing the thermostat at a low rate and it could match your symptoms. If the seal looks good, then remove the thermostat and check if any debris is lodged in the operating part of the thermostat. Sometimes it takes awhile for debris to settle after a radiator flush because you can't get all of the debris out. - John
-
Fuel dumping into the fuel neck is a long way from the fuel basket. After the fuel meets and mixes with the fuel in the tank, its velocity is greatly reduced giving the fuel plenty of time for any dissolved air to rise to the top. Aerated fuel entering the basket right next to the suction could be a problem. - John
-
I now have 302,000 on my CAD axle with original axle seals. About 12,000 miles ago the right front axle seal was leaking to the point it was leaving oil on the floor every time I parked the truck. I was not looking forward to that repair. Turned out to be a blocked vent. A piece of hardware that fastened the vent hose to the frame or body had crushed the hose. - John
-
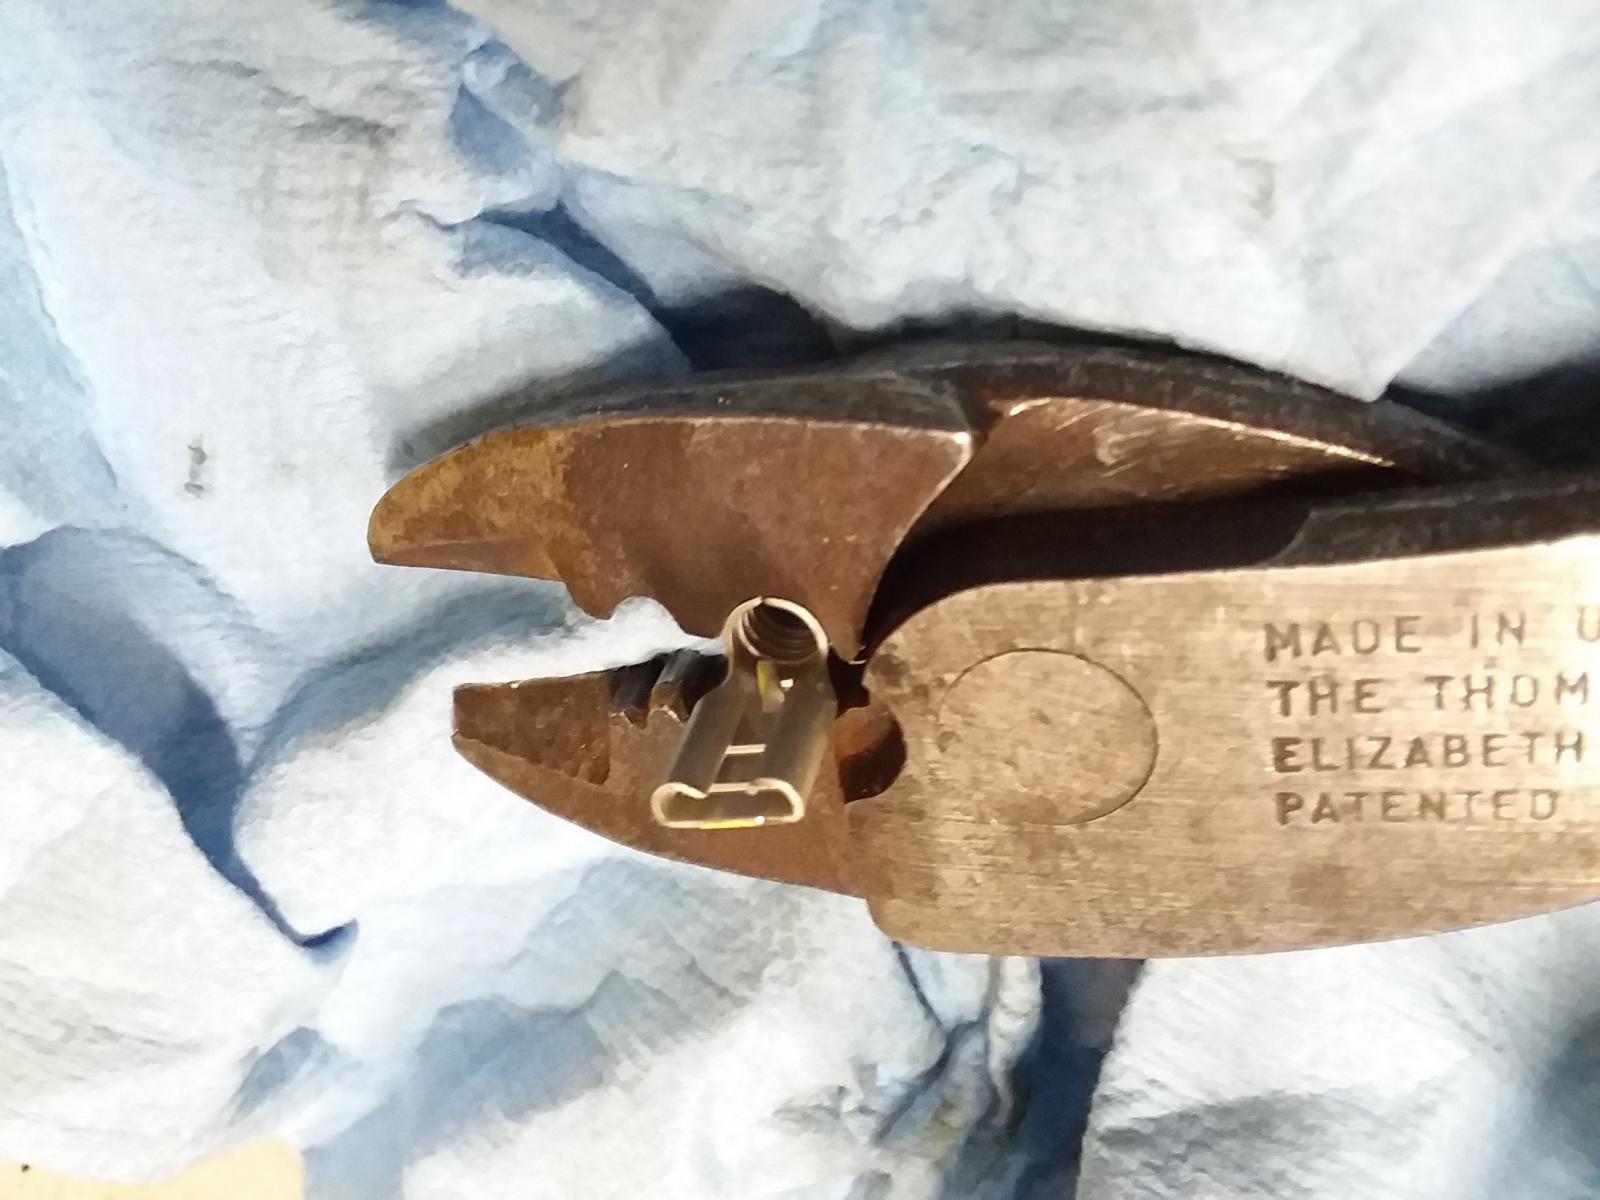
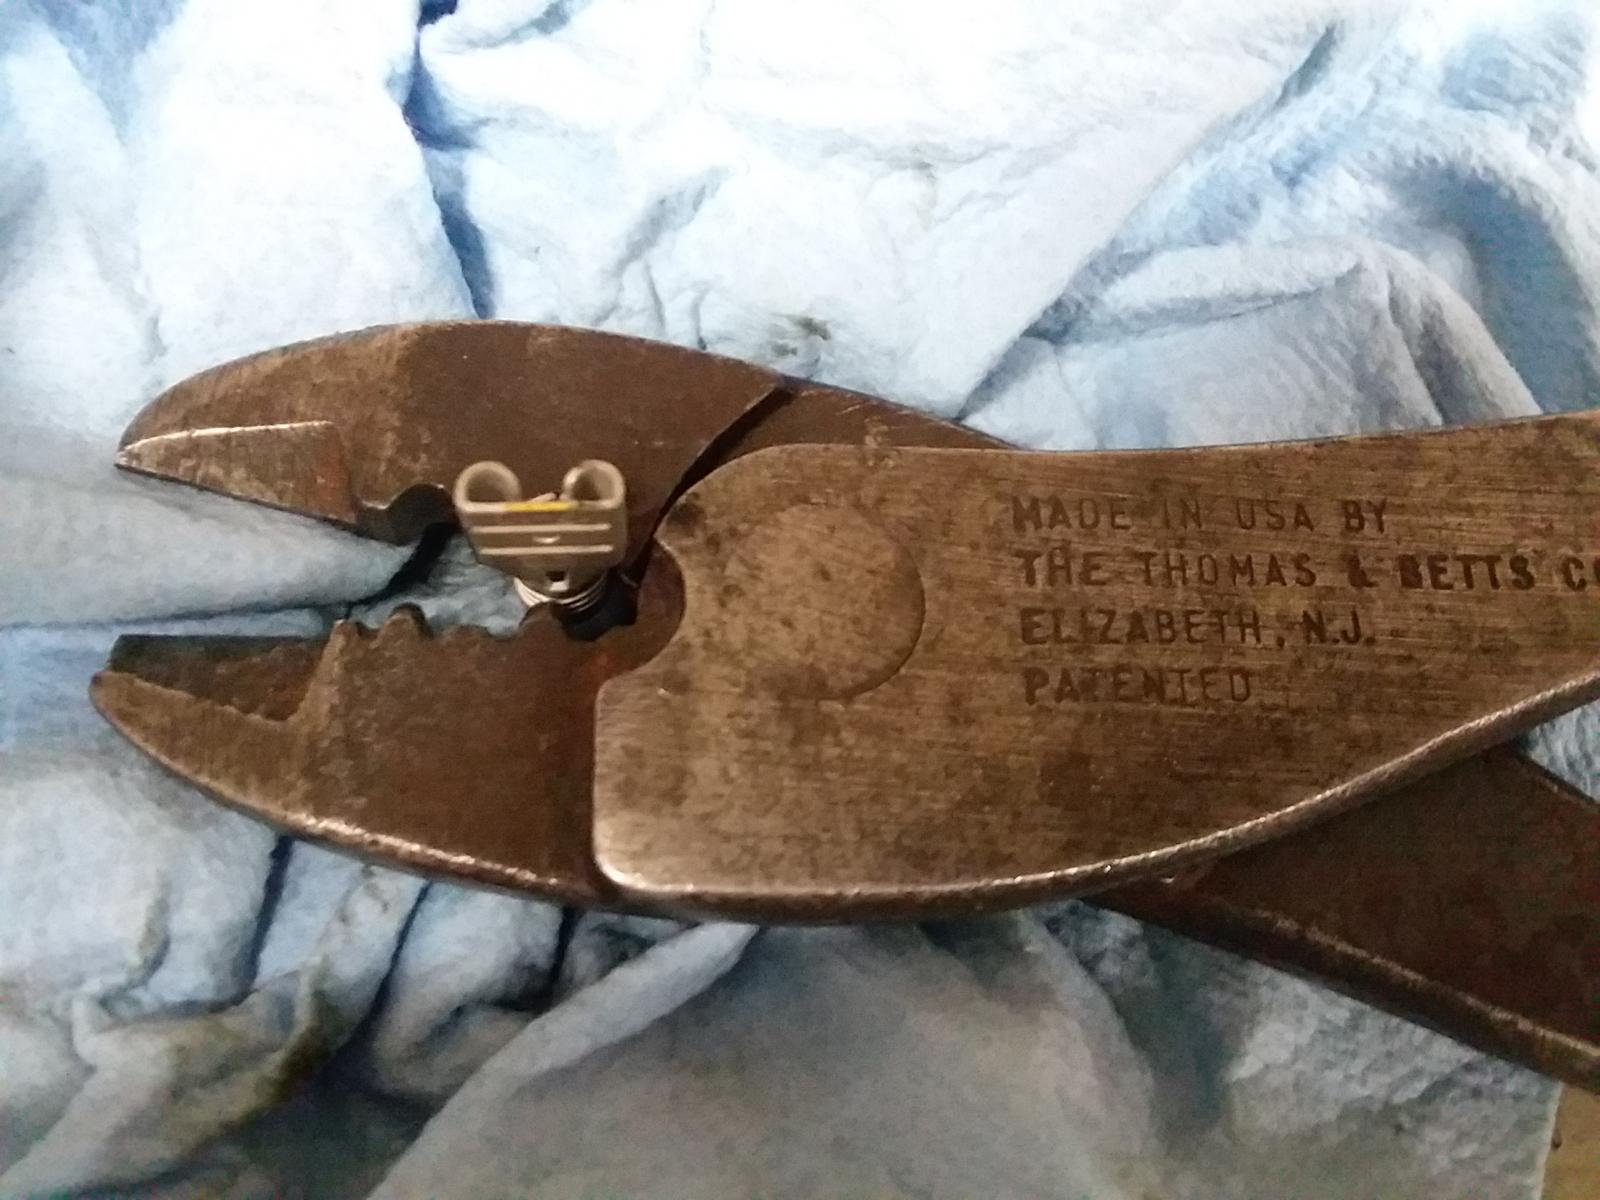
I just posted, but I see that Dripley beat me. He went into more depth and provided more information than I did. Are you using an electric soldering gun? What is the wattage? The joint in the photo looks like it needs more heat. Try adding some flux and more heat to the one in the photo and see if you can get the solder to flow using the procedure below. When soldering, hold the tip of the soldering gun against the crimped terminal. The heat will transfer through the crimp into the wires. Touch the solder at a point where the terminal edge meets the wires. When the terminal and wires get hot enough, the solder will start flowing. Keep the soldering gun tip on the crimped terminal and keep adding solder as it disappears through the crimp following the wire strands up to the insulation. Watch a couple of soldering videos on You Tube and do some testing until you get it right. As far terminal ends - personally I don't like insulated terminal ends because they are too difficult to crimp properly. I do what you did, but before crimping the terminal onto the wire, I place the proper size of heat shrink with sealant over the wire and push it out of the way. I then crimp the wire into a bare terminal end as you did (except that I will crimp it correctly) and solder the joint. After the joint cools, I move the heat shrink into position and finish the job. - John
-
From looking at the photo, you need to rotate the terminal 180 degrees before you squeeze the crimping tool. The dimple created by the tool should be on flat side of the terminal and the "ears" of the terminal end will be contained by the curved part of the crimping tool. The resistance test is not a valid test. Only one strand of wire needs to be connected to show a "0" ohm reading. The solder job in the photo will not be a reliable connection electrically. If the surfaces were clean, flux was added, and the proper amount of heat was applied, the solder would have freely flowed through the connection and through the strands of wire up to the insulation. - John
-
Yes, they do and it is a worthwhile investment. The filters are washable, as well. I did my HVAC repairs one year ago and I did not want anything to be able to work its way into the ducts. I also installed a coarse screen over the inlet part of the upper fan housing. The screen fits around a removable part that can be accessed with the heater fan removed. If you don't do the Geno's cabin filter, at least add the coarse screen. - John
-
Now that's good advice! - John
-
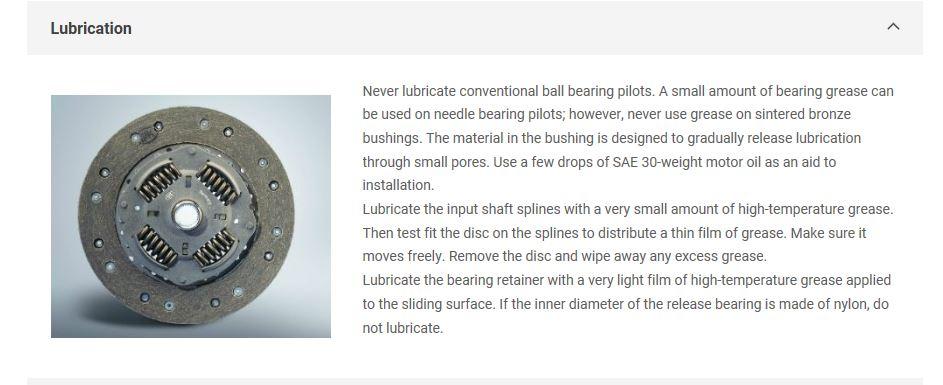
I think you make a good argument here about the grease thickening and attracting dirt, that is why I use a very thin film. Luk is the manufacturer for the clutch I just installed in my truck and they say basically the same as the FSM. - John From Luk,
-
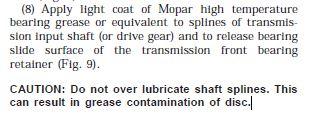
To grease or not to grease... this is one of those topics that may leave some undecided. Good arguments can be made for both sides. In the end one will have to make the decision based on information from service manuals, professional and non-professional experience, and your own experience. Personally, I have always put a very thin coat of grease on the transmission input shaft splines and the transmission front bearing retainer sliding surface for the release bearing. From the FSM for 2002 truck. - John
-
I did the same thing. Only I didn't go outside and wait for it to cool off and then come back and hit it with a hammer. I was smarter. I stayed on the job and kept applying heat until it let loose. I never saw the ball stud, but I heard it hit several different places in the shop at supersonic speeds. It left quite a dent in the floor, too. It took a few minutes to find it, but it gave me some time to reflect on just how stupid I was for applying heat to a sealed ball joint. Fortunately, I and my helper were not injured, but not because of any skill on my part. - John
-
Me three. - John
-
I think there are some things going on with the grid heater operation that are normal, but have not been mentioned so far. Also, I don’t think that the grid heaters are the problem (as in defective). To illustrate, consider a 136 amp alternator charging a circuit that is electrically sound maintaining 14.0 volts with engine running. Alternators typically put out their maximum rating at around 6,000 rpm (alternator speed) Engine pulley to alternator pulley ratio for diesel engines is approximately 3:1 (6.7 Cummins 3.22:1, not sure what 5.9 is) A diesel engine at idle – alternator is not capable of delivering rated output amperage. A diesel engine at high idle (1200 rpm) – alternator will deliver higher amperage, but probably not rated amperage. With engine running the alternator will deliver up to its rated output (dependent on alternator speed) if battery voltage at sensing location is pulled down by one or two tenths of a volt and held there. Example: If an electrical load pulls battery voltage down to 13.9 volts, the voltage regulator (PCM) will command alternator output, but only enough output to bring battery voltage back to 14.0. If a large electrical load, such a two grid heaters pulling 200 amps total load, is placed on the electrical system, the battery voltage will fall rapidly even if the alternator is delivering its rated output of 136 amps (136 amps being delivered – 200 amps being consumed = a 64 amp deficit). Battery voltage will continue to fall until combined battery amperage and alternator amperage is equal to the load amperage being consumed. If the alternator speed is less than rated speed, the alternator amperage to the batteries could be considerably be less, especially with an idling engine. Diodes by design generate a voltage drop, about .6 volts. This voltage drop generates very localized heat. The example below assumes 40 amps are passing through a diode. Example: 40 amps x .6 volts = 24 watts (think of a 25 watt soldering gun) So, ( just my opinion) but I think that after the grid heaters are cycled , the starter is cranked, and finally the post grid heater cycles begin, that the diodes being hot to the touch on any alternator would be a normal condition. Another thought. An idling engine with grid heaters cycling would generate a specific amount heat in the diodes with a specific amount of air flowing past the diodes for cooling. An engine fast idling under the same conditions would generate more heat in the diodes, but would have more air flowing by the diodes for cooling. Would the diodes actually be cooler than the above example? Maybe, maybe not. Maybe the diode heatsink is inefficient or there could be other factors like what Haggar mentioned – quality control with diode manufacturing. One way that grid heaters could affect the life of an alternator could be in controlling the post heat cycle event – how long each cycle is activated and how long each cycle is deactivated. Also, are both grid heaters activated, or just one? I am not sure how that is supposed to work. I know that this information does not provide a definitive answer as to why your original alternator performed so well, but I just wanted to share what I have learned over the years and maybe some of the information can possibly help with diagnosing your issue. My method of avoiding repeated high alternator current output conditions has been to re-wire the grid heater control relays with a momentary switch so that I control when and how long the grid heater cycles and to avoid the post heat cycles completely. I know that this method sets a couple of codes, but I know what the codes mean and the codes have no impact on driveability. - John
-
I have completed the article. Your request got me thinking (I hate it when that happens). When I made the BHAF muffler I didn't follow through with any pressure drop tests regarding the air flow through the new pipe that was introduced into the air intake stream. So, I did some testing and put the results in the article. I also scrapped the plastic ribbed pipe idea and went to a simpler design. Dripley gets credit for the name "BHAF Muffler"/ I think this shortcut will get you to the article. - John