


Mopar1973Man
Owner
-
Joined
-
Last visited
Everything posted by Mopar1973Man
-
 There is some truth in that. Ummm... Yeah and no... If I had the power bug I would step up much higher. So no, I'm still looking for economy because I'm still having to travel 4,200 miles roughly every month to keep MoparMom going to dialysis. The only gain is the +25 HP step from my old +50HP VCO injectors that failed to +75 SAC's that I have now. So if you call that a power bug wow... Now being the Quadzilla does a superior job of fuel management over my old Edge Comp. Yes I opted for just a touch more HP no the injectors since I could easily do clean tunes with +50 HP now the +75HP now I'll start to tweak in. Being I've been fighting timing issues (failing injectors and P0216 VP44 injection pump).
 -
Field lead got weak. You might be able to get the pic tail from a part store. If holding pressure on the plug makes it work.
-
The only sealant I used was the copper coating used for tacking the seal to the metal cover. Wiped the block edge off and installed. No sealant used on the mating face of the seal. Left it dry and clean. Installed the same way OEM did. If it worked this long don't mess with What works.
-
Mopar Performance PCM. If I run less than 90 octane the preignition knock gets rather nasty climbing grades. The Performance PCM was only 360 dollars compared to nearly 900 dollars for stock PCM.
-
Do not have the time to wait for the bearings. I need this truck to keep rolling. MoparMom has to make trips to dialysis. I've already took a good hit from driving the 96 Dodge for the week making only 14 to 15 MPG and requires 91 octane or better. Not cheap. Already got the passenger side bearing in the bed of the truck.
-
Budget way too limited for flashy free spin or timken. I've still got to replace the passenger side bearing at roughly 500 for the pair. @MUDDY try to sell me on the free spin but my pockets are not deep after injectors, VP44 pump, and now wheel bearings.
-
I'm running a Kenwood MP3/CD player. I can typically burn 120 to 130 song on a disc. Then I've got AUX audio ja:'( for my phone being the Bluetooth is used for my Quadzilla.
-
I'm liking my 7x0.0085 SAC injectors.
-
Well at least got MoparMom and Diesel to the RV now I got to rescue the truck in Boise.
-
Suppose to not suggest... I need to edit.
-
Absolutely. If this one failed the other is right behind ready to fail.
-
Exhaust brake typically has a 2 to 3 second delay At least my Jacobs brake does. No tapping of wires it uses the signal directly from the ECM. I normally rev match on downshift to lessen the load on the clutch.
-
Very sudden failure. Started darting back and forth on the I184 and I got off the interstate and could hear the growling. I knew I was done. So I limp to shop I had to pick up parts for a friend and here I sit. @MUDDY is going to pick me up and trailer my truck to Parma, ID.
-
I'm stuck in Boise. I just lost a wheel bearing. Cell 208 315 1470.
-
I got about 270k out of the stock brushes. I've still got my stock starter yet.
-
Weird... So far the VP44 is doing good. Starts easy without grid heaters idles good. Now after the trip to Boise it got the like yet which is hard to explain. The coasting to light it sounds like Alex pulled after a run with slight surge idle that fades out. For information value I'm NOT wire tapped. Power isn't as good as with the tap, but still very strong running on the highway. MPG wise it appears to be close to the 18 to 19 range yet.
-
Absolutely true. Also, most daily driver trucks don't require upgraded manifold either. Now performance trucks like TFaoro or Jlbayes now your talking another story these guys are pushing a lot of boost and lot of fuel and need the engine to breathe. Even with as much as I got my normal cruising boost pressure is still well below 10 PSI so I don't flow enough to even worry about upgrading nor worry about EGT's temps. Example 65 MPH I'm 2-3 PSI of boost and 550-600*F EGT's. This doesn't require an upgraded manifold.
-
Sorry to say but RV's are a moving and shaking house that flex. That being said you have to inspect the body yearly for water leaking in. Like on my RV the clearance lights on top were leaking causing my delamination that occurred. The lower skirts are rotting out from crappy butyl rubber tape every says to use which I think is junk. I've been slowly rebuilding the joints with 50 year silicone and scrapping all the junk butyl rubber out. I'm at least gaining on my RV and going to extend the life span with what I've done.
-
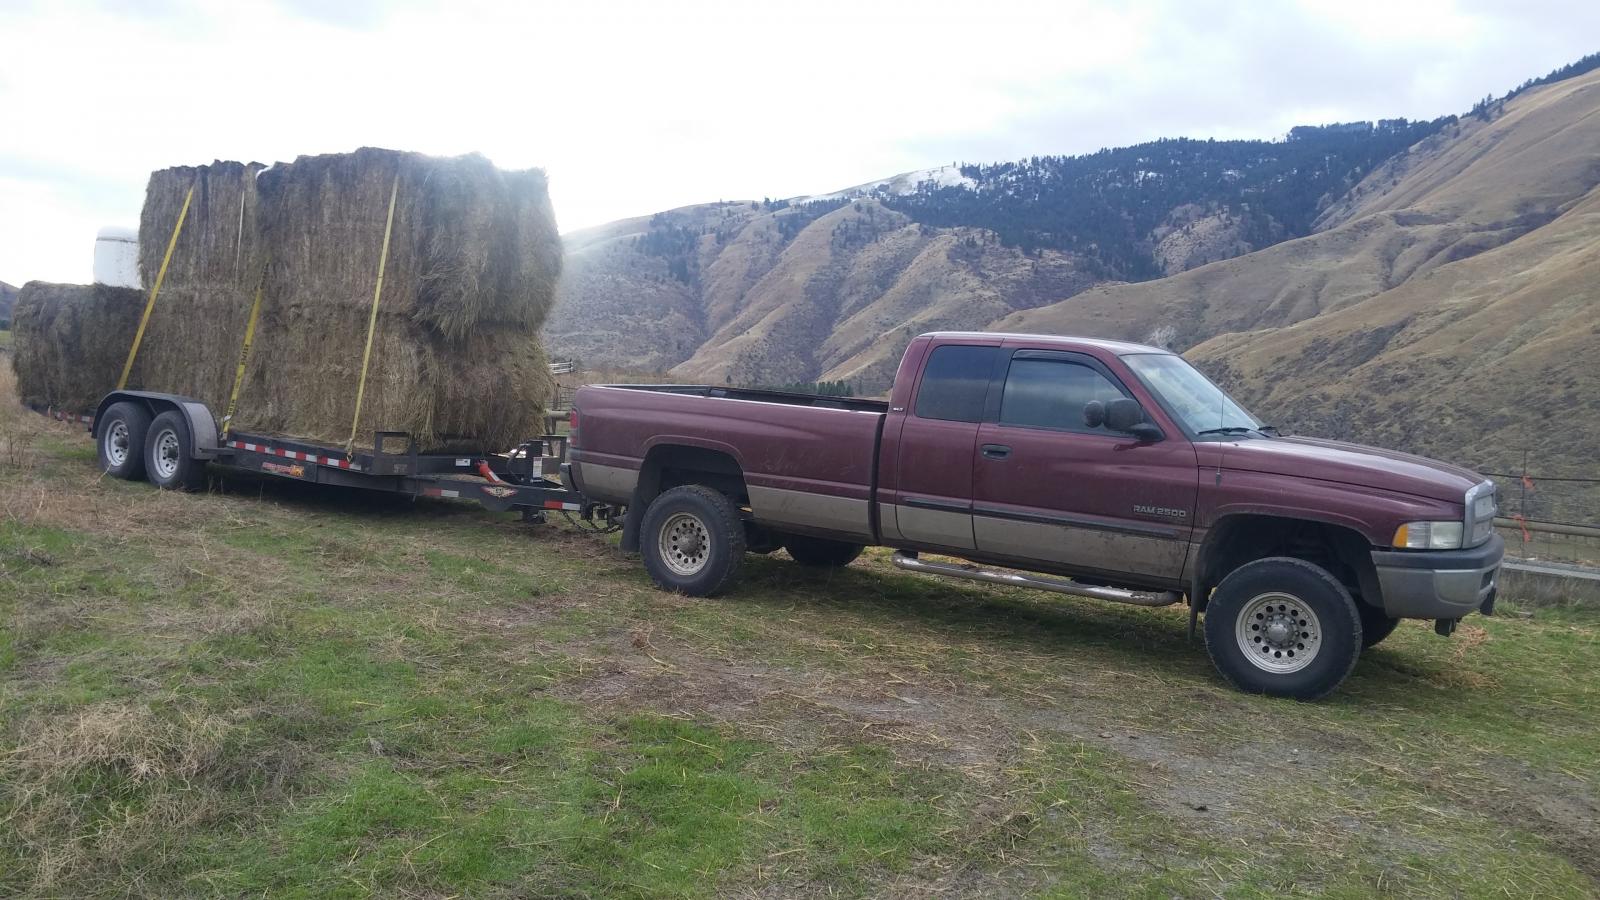
I've towed may times over 10,000 pounds of cargo (excluding the trailer weight). Fact is the two upper gears you use the most are on a 6 speed are the exact same gear on a 5 speed. Nothing gained and 5 speeds are cheaper to rebuild and no 5th gear nut is not a problem as long as the nut is properly torqued. IIRC the torque for the 5th gear nut is like 600 ft/lbs. So all these redneck youtube video beat the nut on with a hammer and chisel are going to fail anyways. Yes it's going to cost in tools to be able to do it properly but in the end the transmission is very strong. (Just 1-ton hay bails there are five hay bails on the trailer)
-
Becareful... P1693 code could be an error in either ECM and/or PCM. So your going to need a actual OBDII code reader. I bought a OBDLink for cheap and use it with my tablet works very well.
-
I hate to say but wrong. You know the two nuts on the block side I dropped one and never found it. Drove me crazy check everything making sure that it couldn't do any damage where ever it fell. That is so true. But my problem is going from extreme heavy rattle to almost dead silent. Now I've got to figure out a good tune. I've asked @me78569 for his specs so I've got a base line to look at.
-
After a week of sleeping in the garage the lazy Cummins didn't want to wake up. I ran the batteries dead attempting to get it to fire up. After fighting for a good 15-20 minutes I finally got it to light off. Now it does run I'm not seeing the wild lope I had before nor am I getting that wild aggressive timing any longer. I've only made a few short trips here locally which was getting a tank of fuel and taking out the trash. So I'll see what happens after a long haul.
-
This is normal if the outside temperature is below 60*F. The other sensor that kicks in is the battery temperature sensor. Like on my truck if I use MPG mode which is 143*F IAT temp so now outside temperature is below 60*F the grid heater will still cycle post starting.
-
New Pump is installed. More to post later on...
-
I could do the same thing with my Jayco. I've found several joints that were a joke and the wood behind it damaged. Personally, I've got no love for butyl rubber and tend to peel all that junk out and replace with silicone.
