
Mopar1973Man
Owner
-
Joined
-
Last visited
Everything posted by Mopar1973Man
-
Well gang I figure I do a simple little show and tell of the 24V injectors for ya... Here is a stock 24V injector (235 HP) Now lets break it down into pieces... (Body, spring shim. spring, pintle seat, mid-body, pintle, nozzle, collar nut, and the copper shim) Ok some people don't understand how small the nozzle holes are... Here is a 10x Mag of the nozzle tip. With and Without pintle in the nozzle take notice to the upper hole that is the fuel hole. This hole routes the fuel down tip so it can push the pintle back against the spring when the pressure over comes the pop pressure of the spring. Here is the pintle needle... So there you go a 24V injector opened up so other can understand what is there...
-
Error codes would be a good thing to get...
-
Check the label on the back for CJ-4 or CI-4 (plus)...If its starts with "S" its gasser oil. (Spark)
-
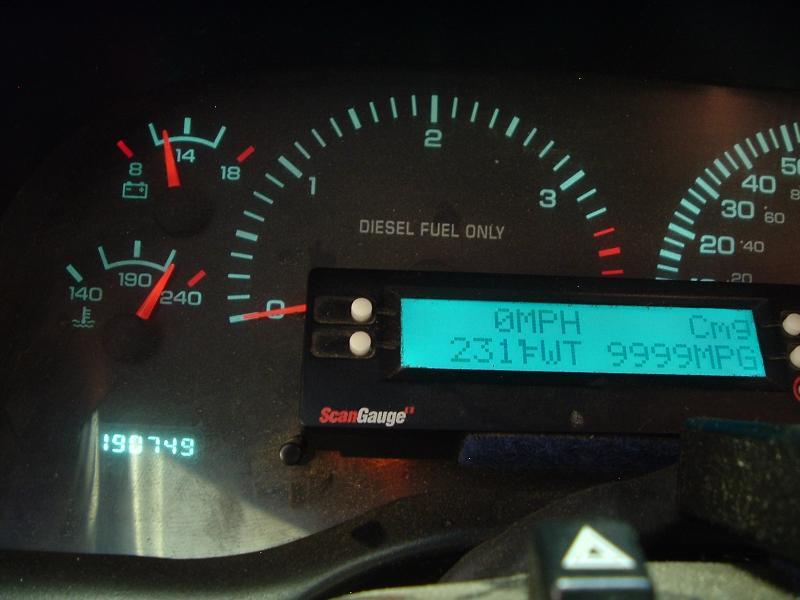
Coming down the home stretch to 200K miles... (191K currently)
-
About the same here... With all the dirt roads and towing time it tends to eat up tires rapidly. It not like I go out roasting tires for smoke shows but like AH64ID points out torque and dirt are just hard on tires.
-
Tire rotation sohuld be done every oil change... (7-10K miles) As for wear issues most of the guys are right you might look into worn front end parts. As for the brake pulling its time to rebuild you calipers... Really cheap to get a seal kit and do... I did all 4 calipers (seal kit) and all brand new brake pads for $130 bucks...
-
Actually if the heater core is working it would have one hose slightly cooler than the other because of heat exchange... Just like the radiator the upper hose is always hotter than the lower. But when the heater core gets plugged up then both hose are hot because there is no exchange of heat...
-
Sounds like a Edge Juice issue...
-
I see about 140-150*F from my vents so I would imagine your heater core is plugged up with debris. You might try flushing the heater core out...
-
My post above is for climbing 7% gades with 16,080# GCW (~8,000# of trailer).
-
I went with the cheapest one I could fine... I don't normally use my brakes much. Exhaust brake is my primary stopping force.
-
Even my truck hauling trailers and firewood 193* to 197*F is normal run range... Climbing grades you might see 206* to 208*F
-
Build a heat shield. Use a nuts below the plate and nuts above the plate and adjust them so the top nut are just flush...
-
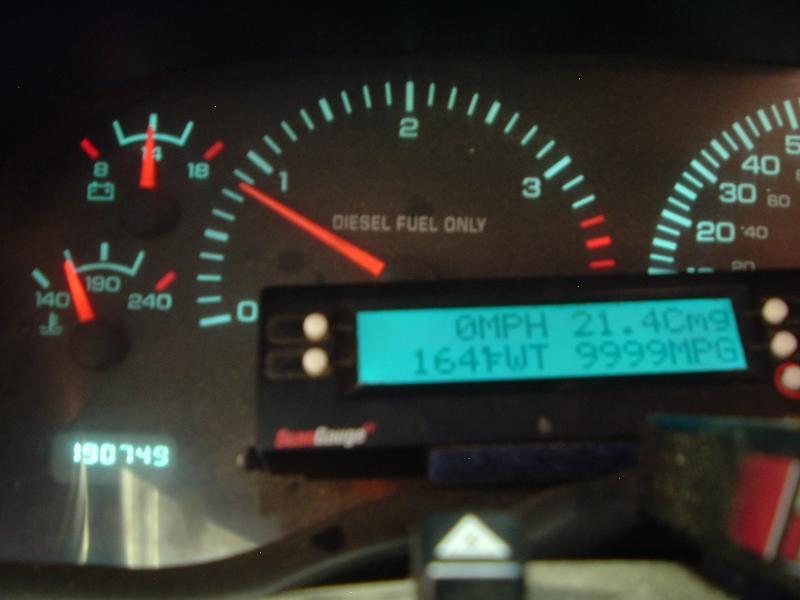
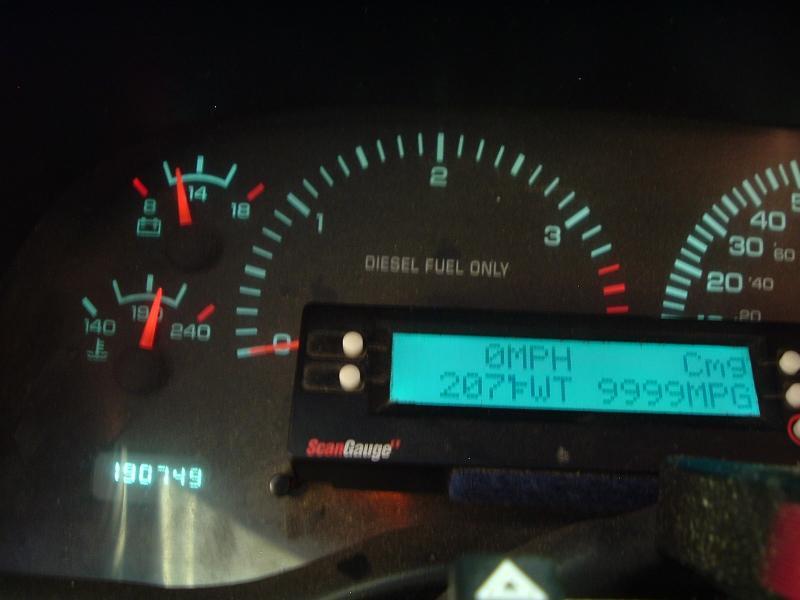
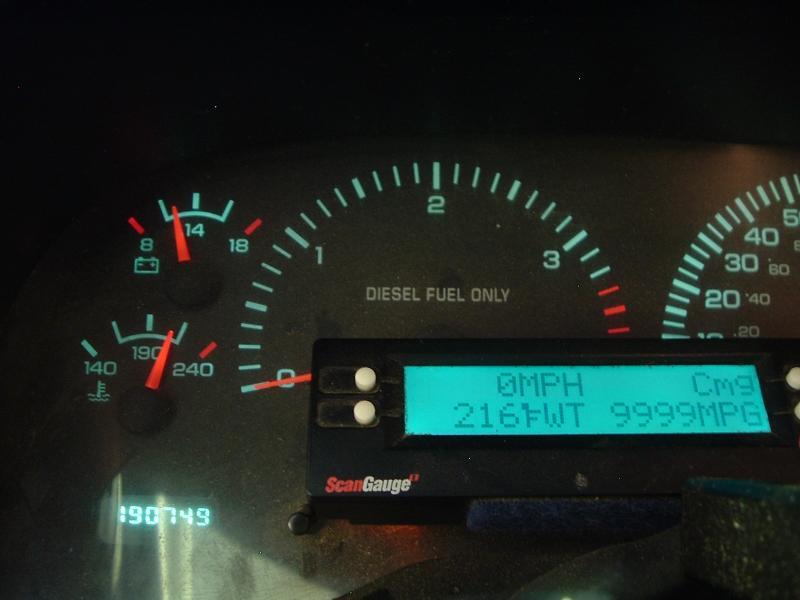
Results are in... I tried using a rheostat and the lower values are easy to hit but the upper value kept doing werid things so I went to resistors and stuffing different resistors into the plug. Tidbit though... I found out the lower the coolant temp the highier the idle is. At 0*F the idle is like 1,100 RPM on its own...:stuned:Lower mark is 165*F...Just for fun to show 207*F...Upper limit is going to be 220*F
-
Dripley don't do it... :duh:What I'll do later on when I get some time is using my ScanGauge II and a rheostat I'll find out exactly what it is...
-
I'm pretty sure the lower line is ~160*F and the upper line is ~220*F
-
I'm not sure about EPA regs...
-
I've been helping a buddy do this through the hunting season. Making burger, vacuum packing, etc... Lots of work that for sure...
-
I've rebuilt a 1972 Dodge Power wagon steering box once long ago. But all I can suggest is be slow and take notes on everything. There is a lot of small part like BB's and such so take your time.
-
I tend to rather rely on the AirDog filters and the stock filter to catch everything before the injection pump and injectors...
-
Ok... Try this... http://mopar.mopar1973man.com/cummins/2ndgen24v/high-idle-diag/high-idle-diagnostics.htm Here you go... P0113 - Intake Air Temp Sensor Voltage High Intake air (charge) temperature sensor input above the maximum acceptable voltage. Monitor & Set Conditions Intake Air Temperature (IAT) sensor voltage is monitored when ignition is on and battery voltage is greater than 10.4 volts. DTC may be stored when IAT sensor voltage at ECM is greater than 4.97 volts for greater than 2 seconds. Possible Causes [*] Intermittent Wiring Problem [*] IAT Signal Circuit Shorted To Voltage [*] IAT Sensor Signal Circuit Open [*] Sensor Ground Circuit Open [*] IAT Sensor [*] ECM Testing 1. Turn ignition on with engine off. Using DRBIII® scan tool, read IAT sensor voltage. If IAT sensor voltage is greater than 4.5 volts, go to next step. If IAT sensor voltage is 4.5 volts or less, go to step 6 . 2. Turn ignition off. Disconnect IAT sensor harness connector. IAT sensor is located on driver's side rear corner of cylinder head. Turn ignition on with engine off. Using scan tool, read IAT sensor voltage. If IAT sensor voltage is 6 volts or less, go to next step. If IAT sensor voltage is greater than 6 volts, repair IAT sensor signal circuit for a short to voltage. 3. Turn ignition off. Connect a fused jumper wire between IAT sensor harness connector terminals. Turn ignition on with engine off. Turn ignition on with engine off. Using scan tool, read IAT sensor voltage. If IAT sensor voltage is one volt or greater, go to next step. If IAT sensor voltage is less than one volt, replace IAT sensor. See appropriate REMOVAL, OVERHAUL & INSTALLATION article. 4. Turn ignition off. Disconnect ECM harness connector. ECM is located on driver's side of engine, just in front of fuel transfer pump and contains a 50-pin connector. Ensure IAT sensor harness connector is still disconnected. Using DVOM, measure resistance of Black/Red wire between terminal "B" on IAT sensor connector and terminal No. 7 on ECM connector. If resistance is less than 10 ohms, go to next step. If resistance is 10 ohms or greater, repair open in Black/Red wire between IAT sensor and ECM. 5. Using DVOM, measure resistance between ground and IAT sensor harness connector terminal "A" (Black/Light Blue wire). If resistance is less than 10 ohms, replace and program the ECM. See appropriate REMOVAL, OVERHAUL & INSTALLATION article. If resistance is 10 ohms or greater, repair open in IAT sensor ground circuit. 6. The conditions that set the DTC are not present at this time. With ignition on engine off, monitor DRBIII ® scan tool parameters related to the DTC while wiggling wiring harness. Look for parameter values to change and/or a DTC to set. Review the DRBIII® Freeze Frame information. If possible, try to duplicate the conditions under which the DTC was set. Refer to any Technical Service Bulletins (TSB) that may apply. Visually inspect the related wire harness. Look for any chafed, pierced, pinched or partially broken wires. Visually inspect the related wire harness connectors. Look for broken, bent, pushed out or corroded terminals. Were any of the above conditions present? If yes, repair as necessary. If no, test is complete.
-
Well there is a lot of members down there in the Texas area... towhungerford - He's over in Deridder, LA (Really good guy).JL Welding - he might know of a good shop.Just a few I remember quickly.
-
Well sorry about that but I saw you name on the caller ID I figured I'd let you talk to me a for a little bit before I left the house... I'm also running 8/18 setting too and saw about a 3 MPG gain hauling 16,000# GCW weight. I can't speak for the EGT's because of my stock injectors it was much higher that typical that the RV275 hence why I got busy fixing the RV's again... So I'm getting itchy to haul the TT again and see what it will do...
-
WalMart Super Tech Unverisal Outboard 2 Cycle Oil - ~$11At WalMart...
-
Actually 96 was the tranition year to OBDII... And yes Mom's 96 does the blink count thing too and its also OBDII... All OBDII have a standard port like what in your Cummins But the OBDI is non-standard and requires all kind of weird adpaters to hook up.